Writing & Publishing Blog Posts
Table of Contents
Writing and Publishing Your Posts
Posts are where you share your ideas. Every post includes your text, a main photo, and special settings that help people find your content on Google.
1. Creating a New Post
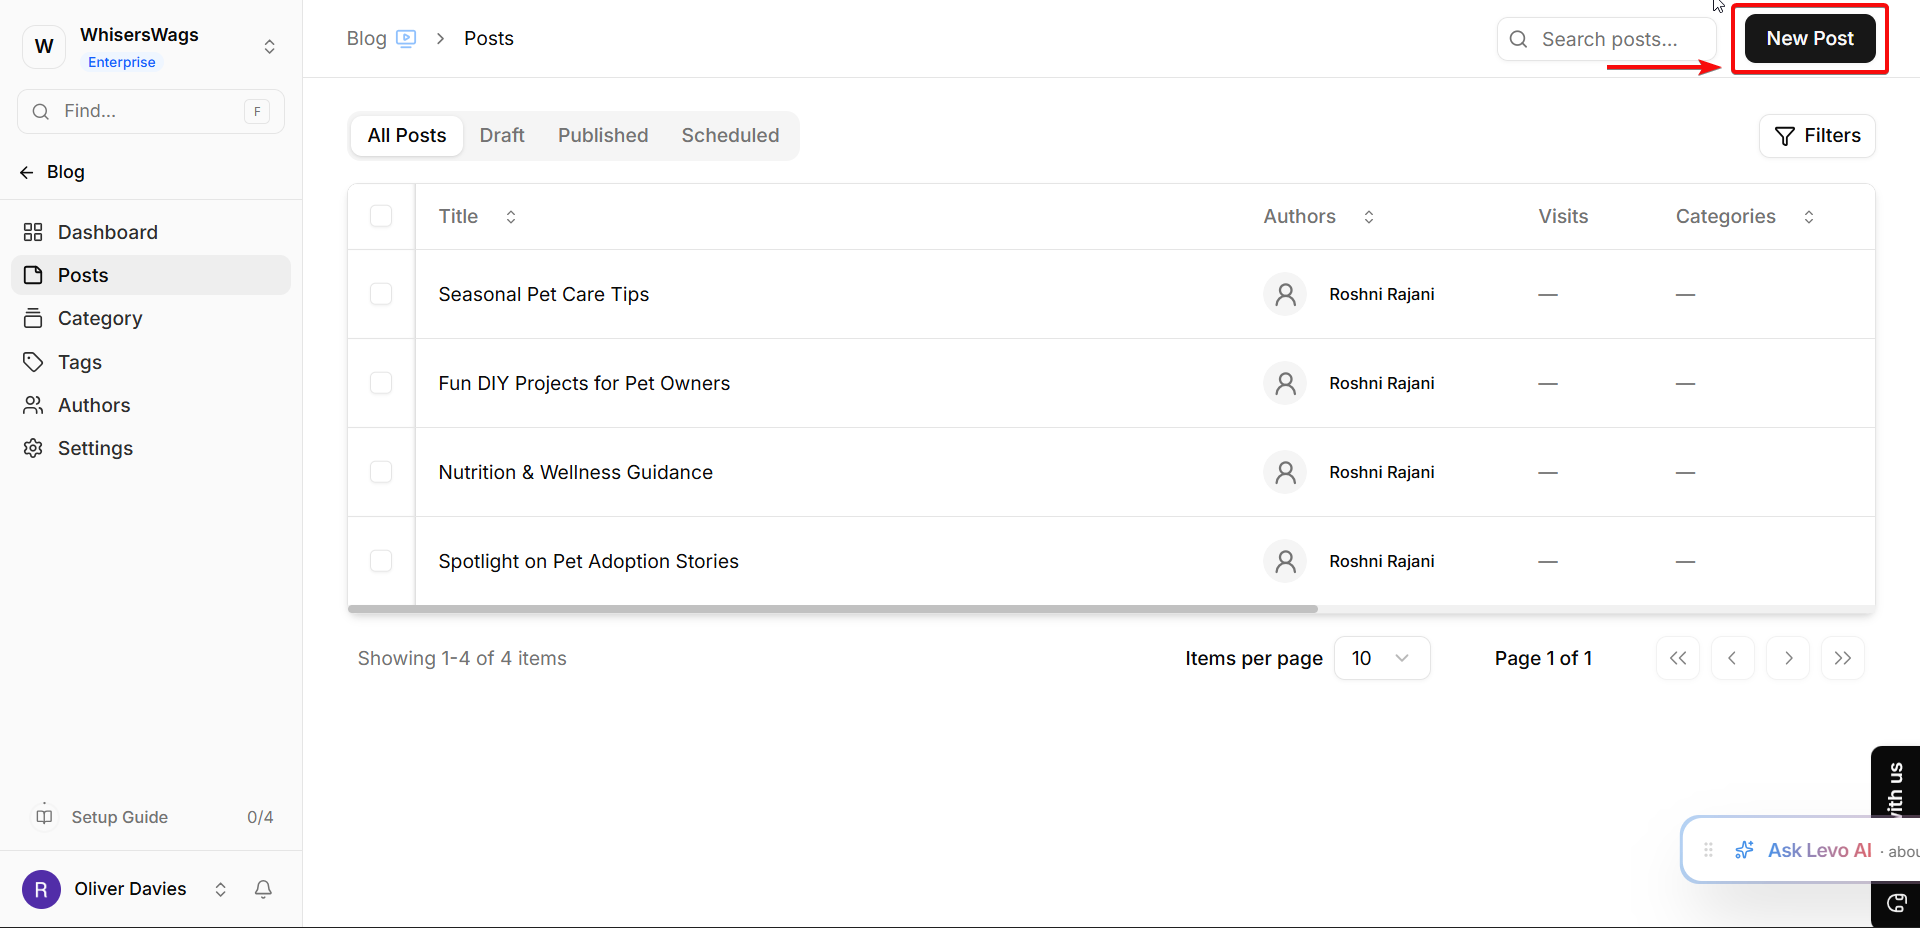
To start, go to Posts inside the Blog sidebar and click the New Post button in the top-right corner.
2. Anatomy of a Post
When you create a new blog post, the screen is divided into two main areas: the Main Editor (where you write) and the Settings Panel (for behind-the-scenes details).
1. The Main Editor
Before you start writing the actual article, you'll fill out these visual details right at the your screen:
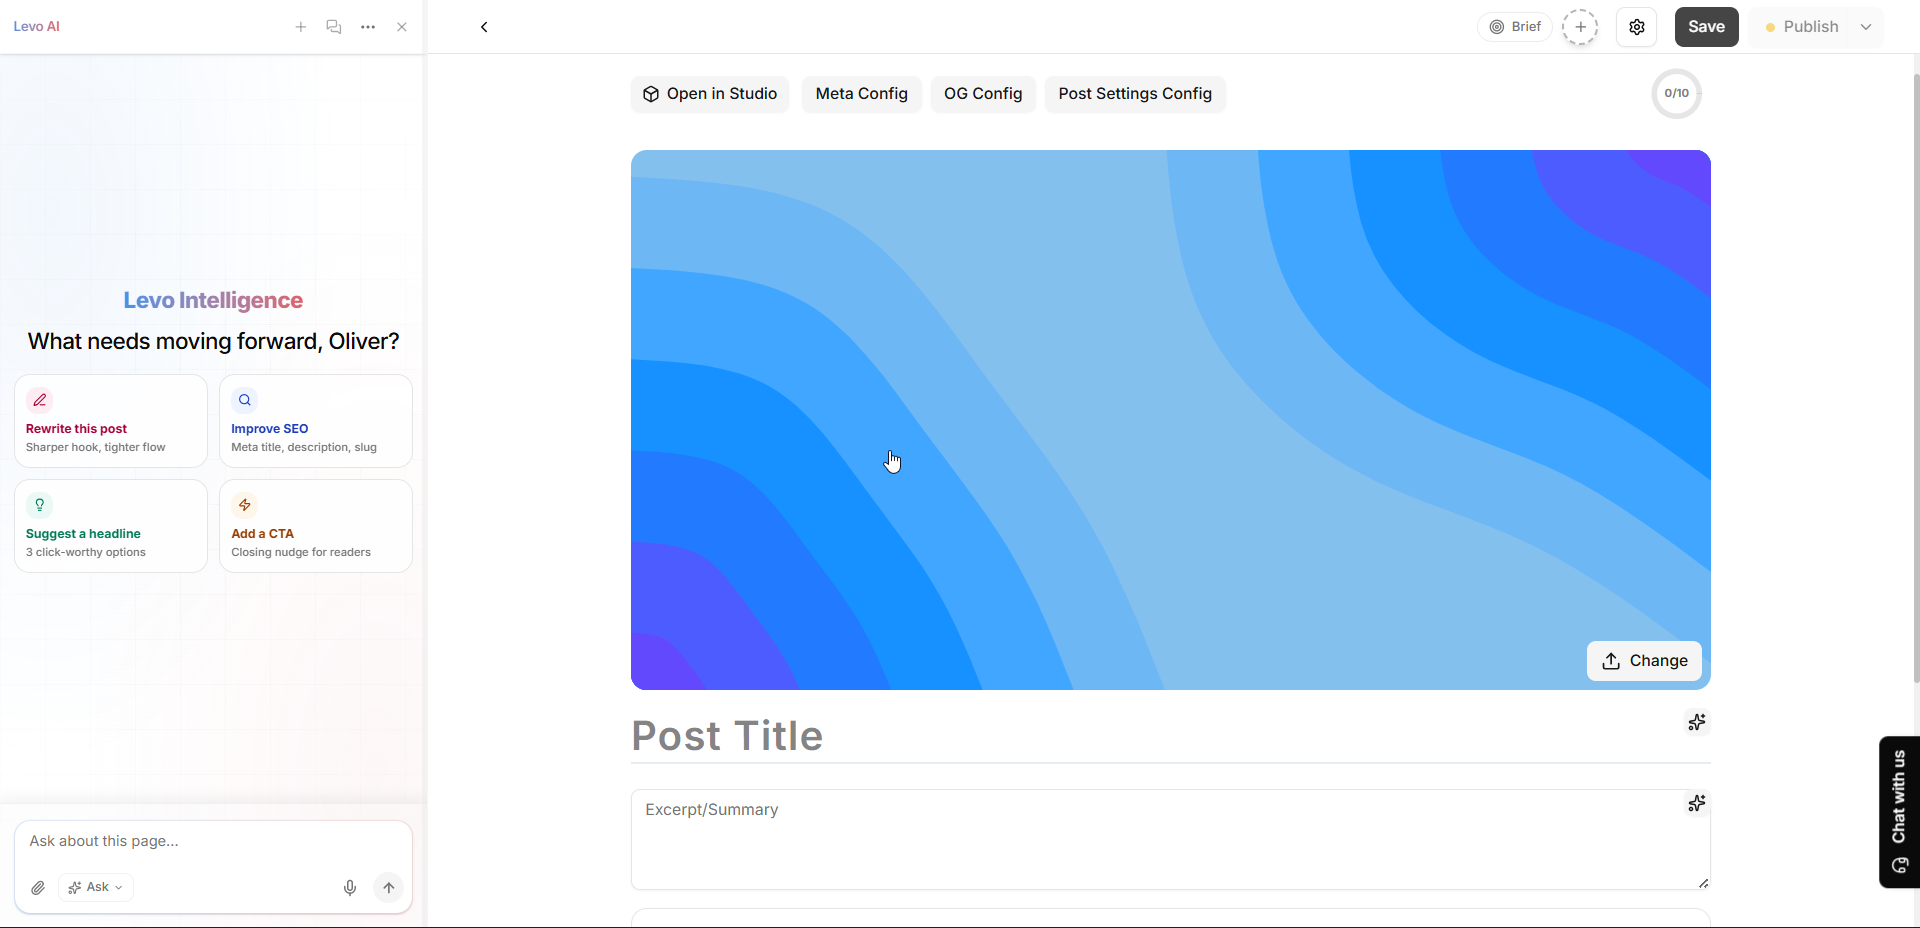
Cover Image - This is the "thumbnail" or main visual that sits at the top of your post and usually appears on social media.
Title - The main headline of your article.
Summary (Description) - A short excerpt or summary of what the article is about. This is what shows up on your website's list of articles right under the title.
Tip - You can also write your blog using Levo AI.
2. The Settings Panel
Click the Settings icon to open the right-side panel.
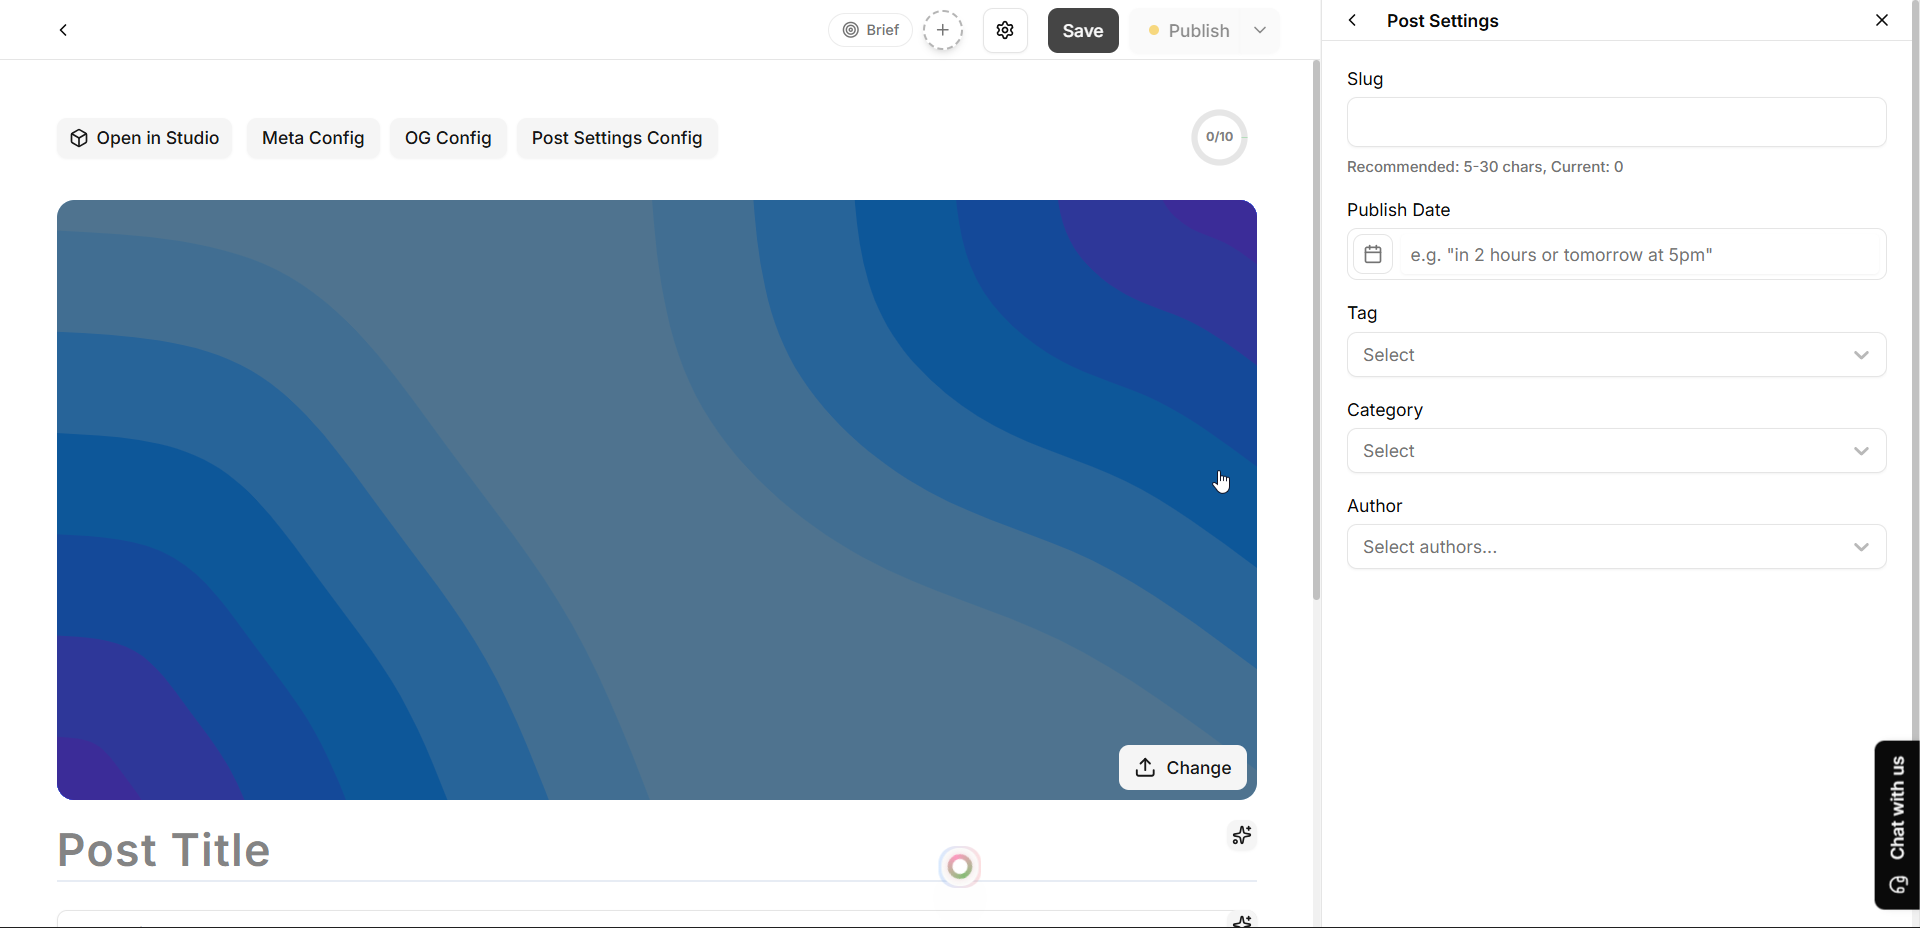
Under the Post Settings tab, you'll find the organizational details:
Authors - You can pick who wrote the post from your team's directory. You can even list multiple authors if it was a team effort!
Categories & Tags - Use these to keep your posts organized so readers can filter them (like grouping posts into a "News" category or tagging them with "How-to").
Publish Date - Set or schedule exactly when you want the post to go live.
Slug - This is the web address for your specific post (e.g.,
your-site.com/blog/my-new-post). Levo generates this automatically from your title, but you can customize it here.
3. Google and Social Media (SEO)
Inside the settings panel, you can control exactly how your post looks when it's shared across the internet by using the dedicated SEO tabs:

1. Meta Tags (Google Preview) - Customize the specific title and description that will appear when people find your article on search engines like Google.

2. OG Tags (Social Media) - Pick a special image, title, and description specifically for when your link is shared on sites like X (Twitter), LinkedIn, or Facebook.
3. Write with AI - Don't want to write these summaries yourself? Both the Meta Tags and OG Tags tabs feature a "Write with AI" button that will automatically read your post and generate perfectly optimized titles and descriptions for you!
5. Status and Publishing
You have three choices for your post's lifecycle:
Draft: You’re still working on it. It’s private.
Published: It’s live on your website for everyone to see.
Scheduled: You can pick a future date and time, and Levo will automatically publish it for you!
6. Dashboard Views
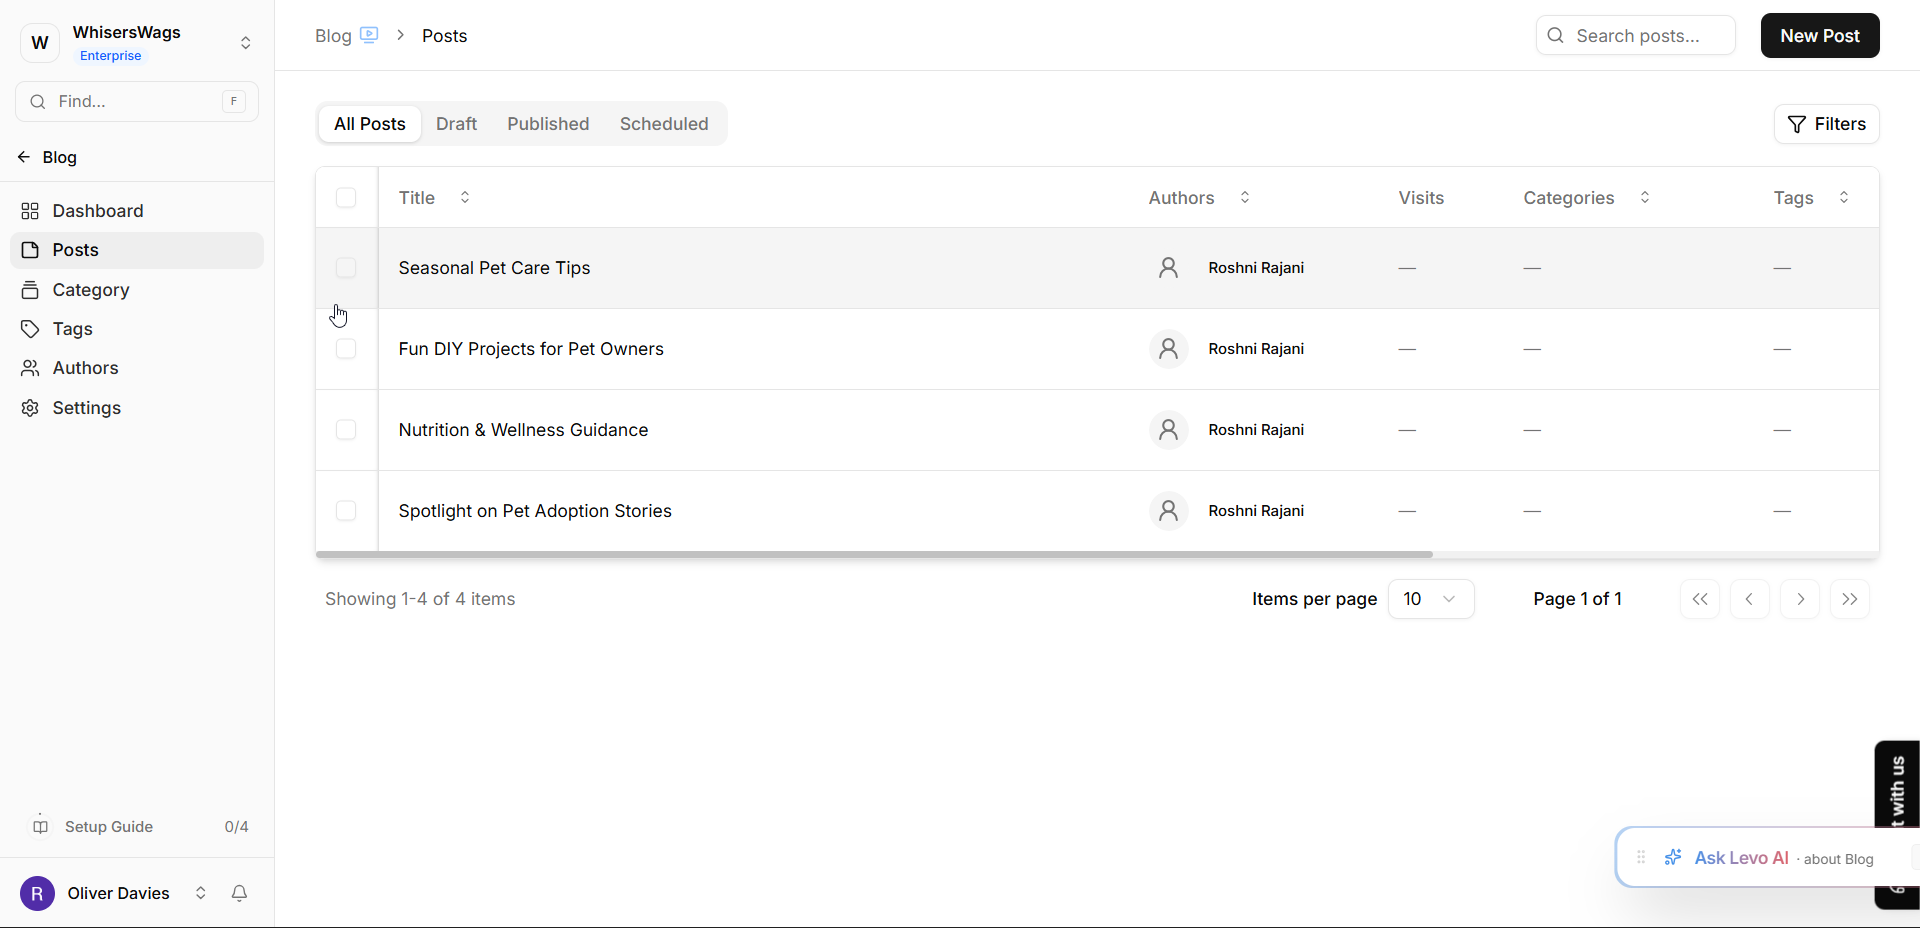
Table View: See all your posts in a simple list. This is best for seeing authors and dates at a glance.x
Advanced Filters: If you have hundreds of posts, you can use the filter button to narrow down your table by specific categories, tags, or authors.