How to Set Up Your First Blog
Table of Contents
Getting Started
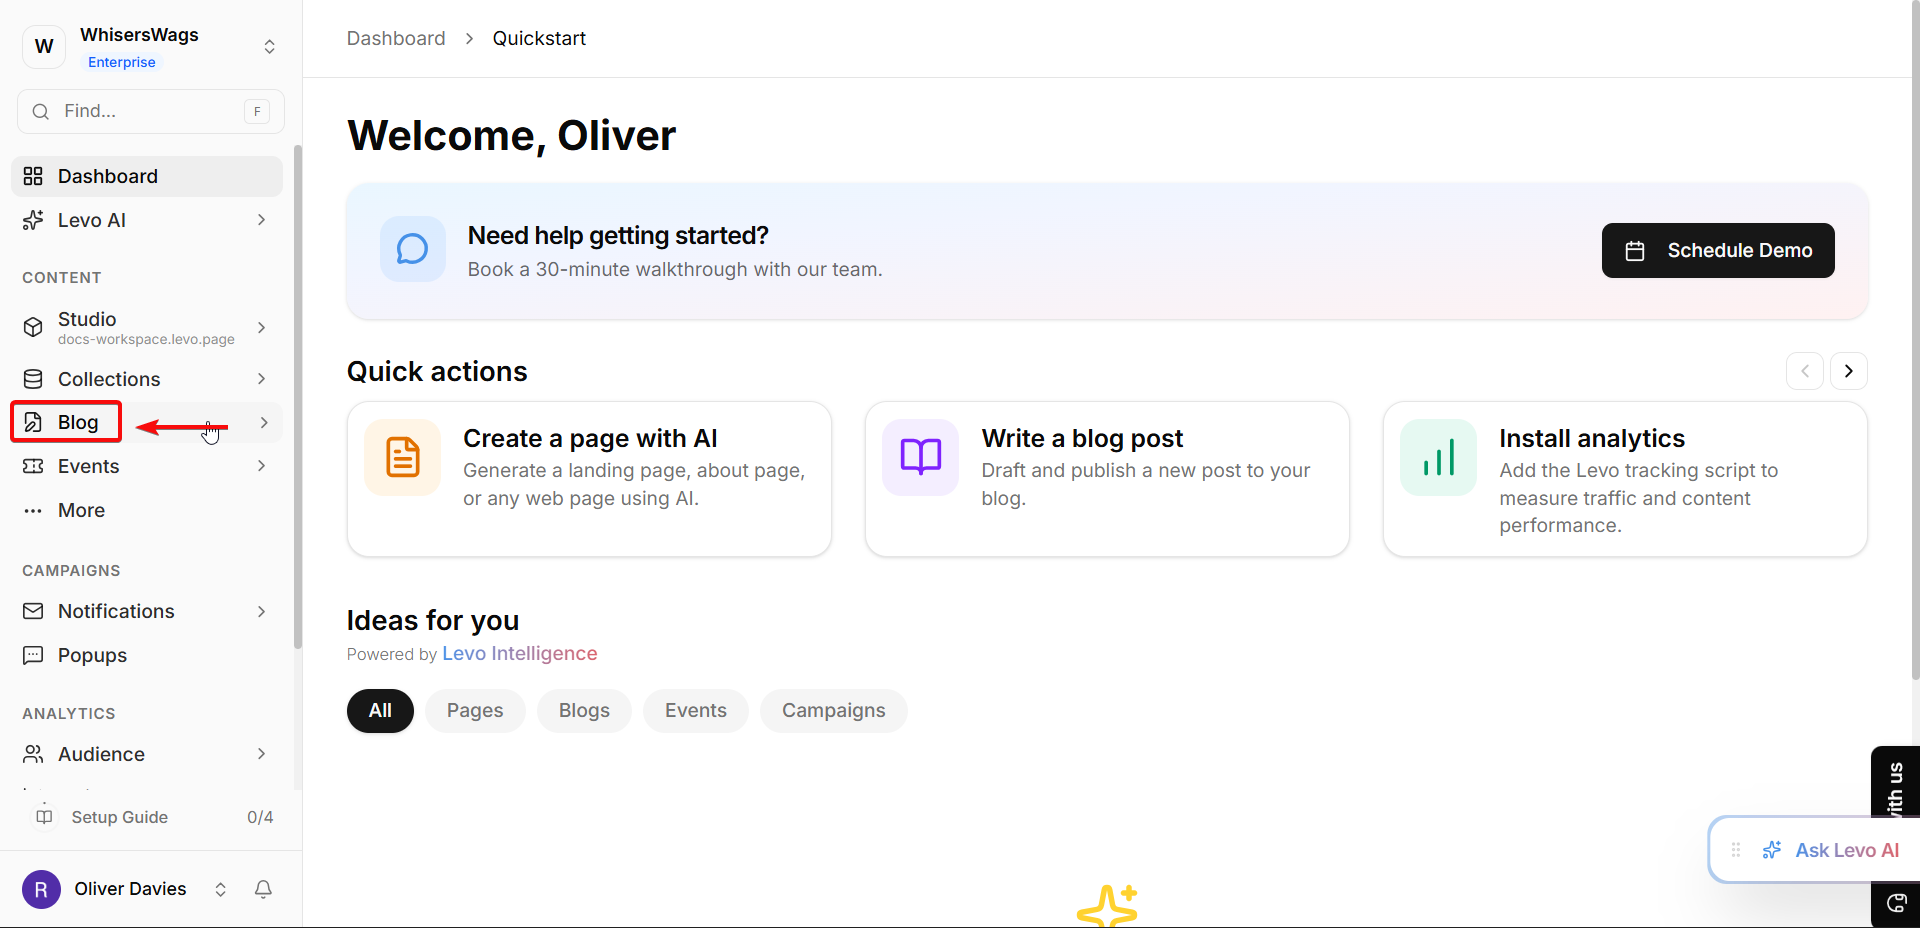
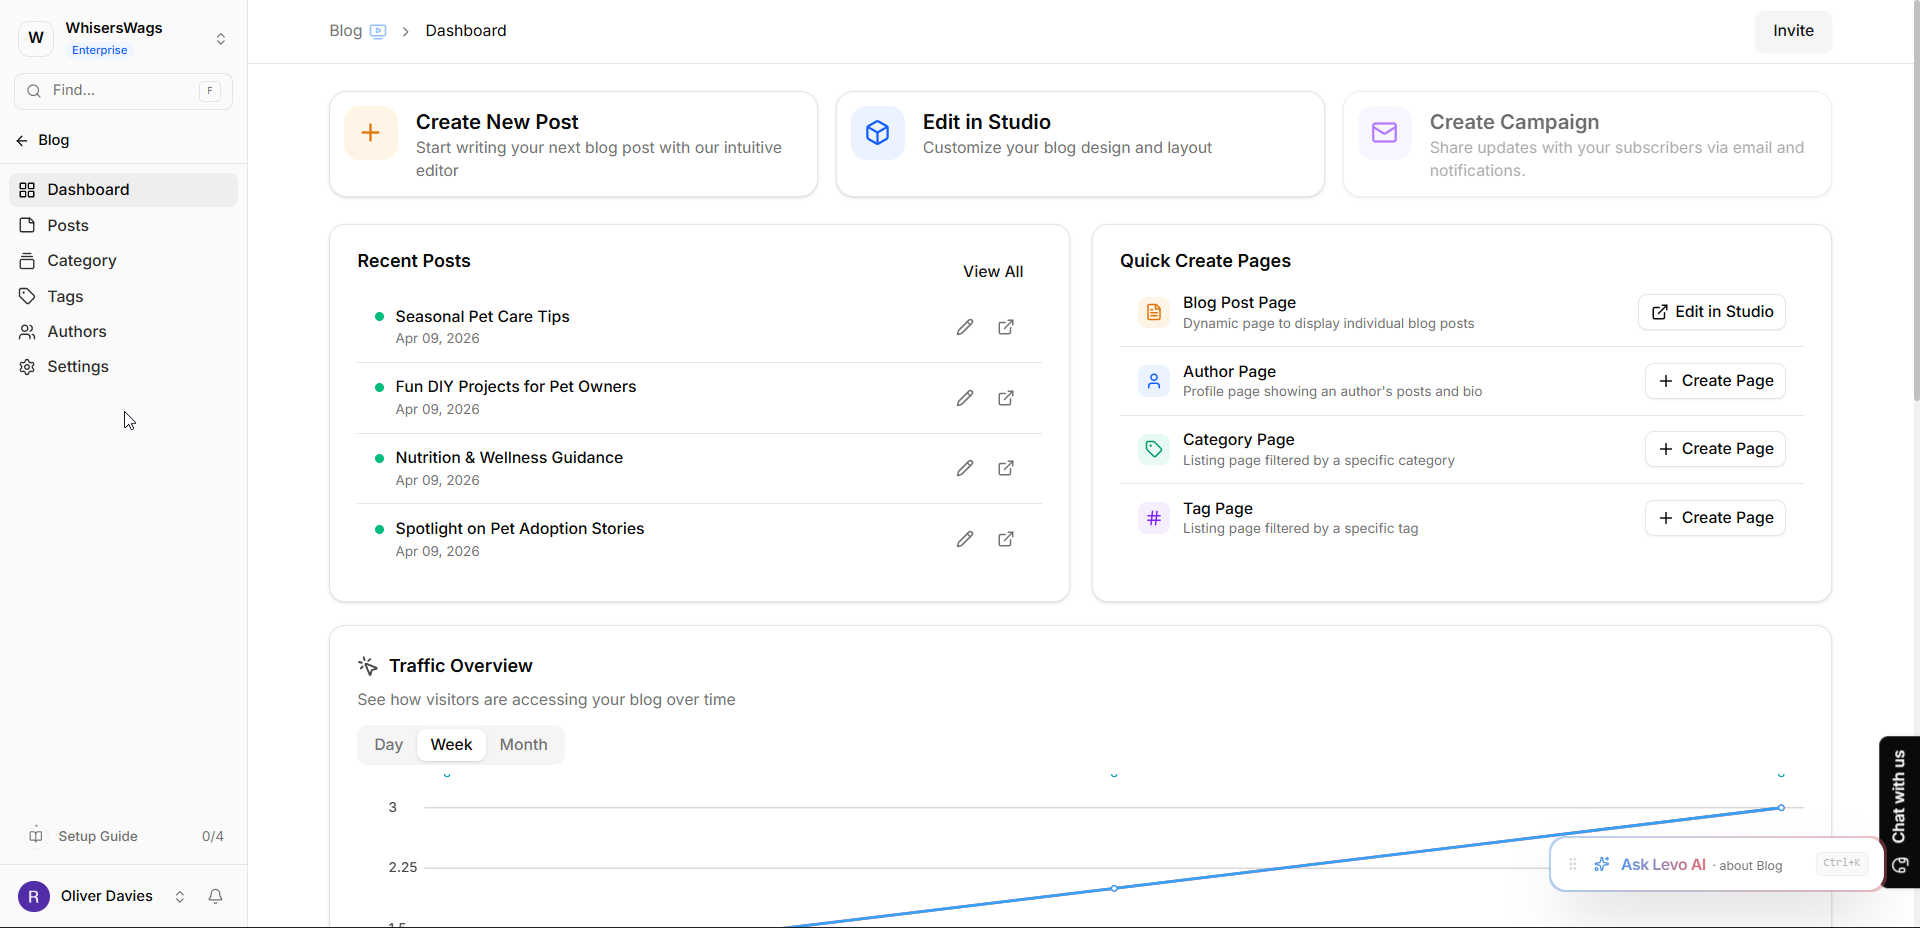
You can find the Blog module by clicking Blogs in the left menu of your workspace.
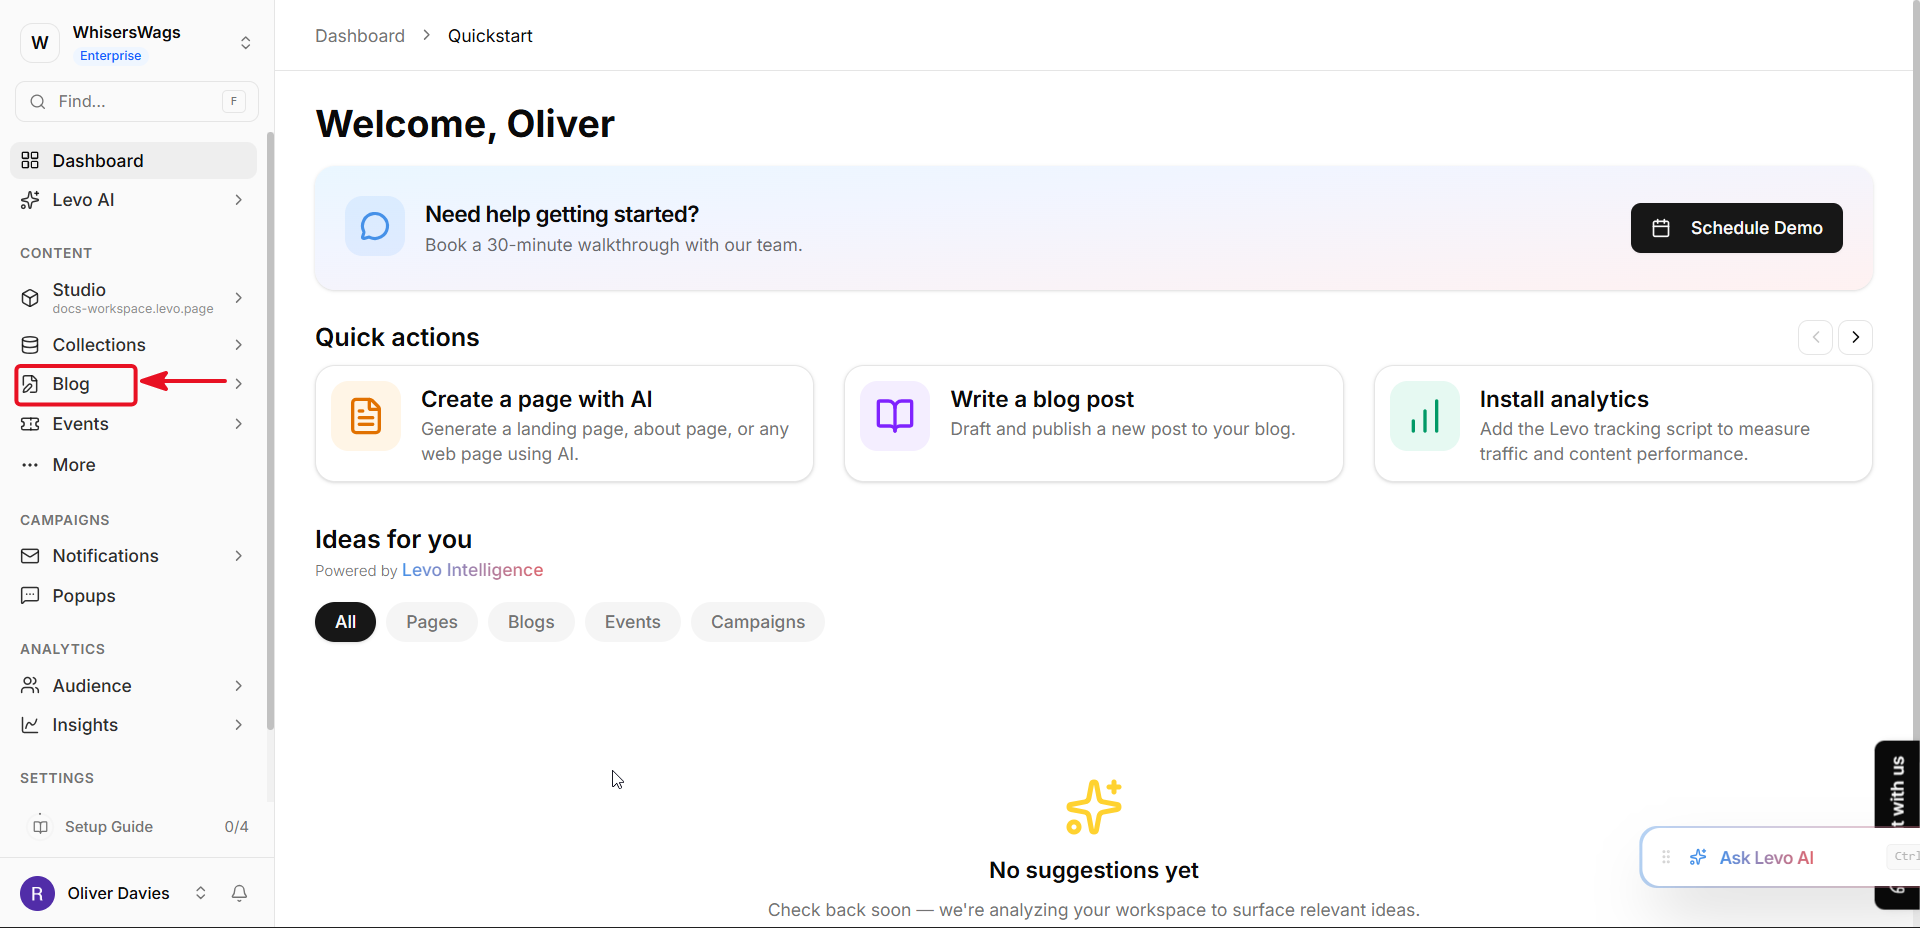
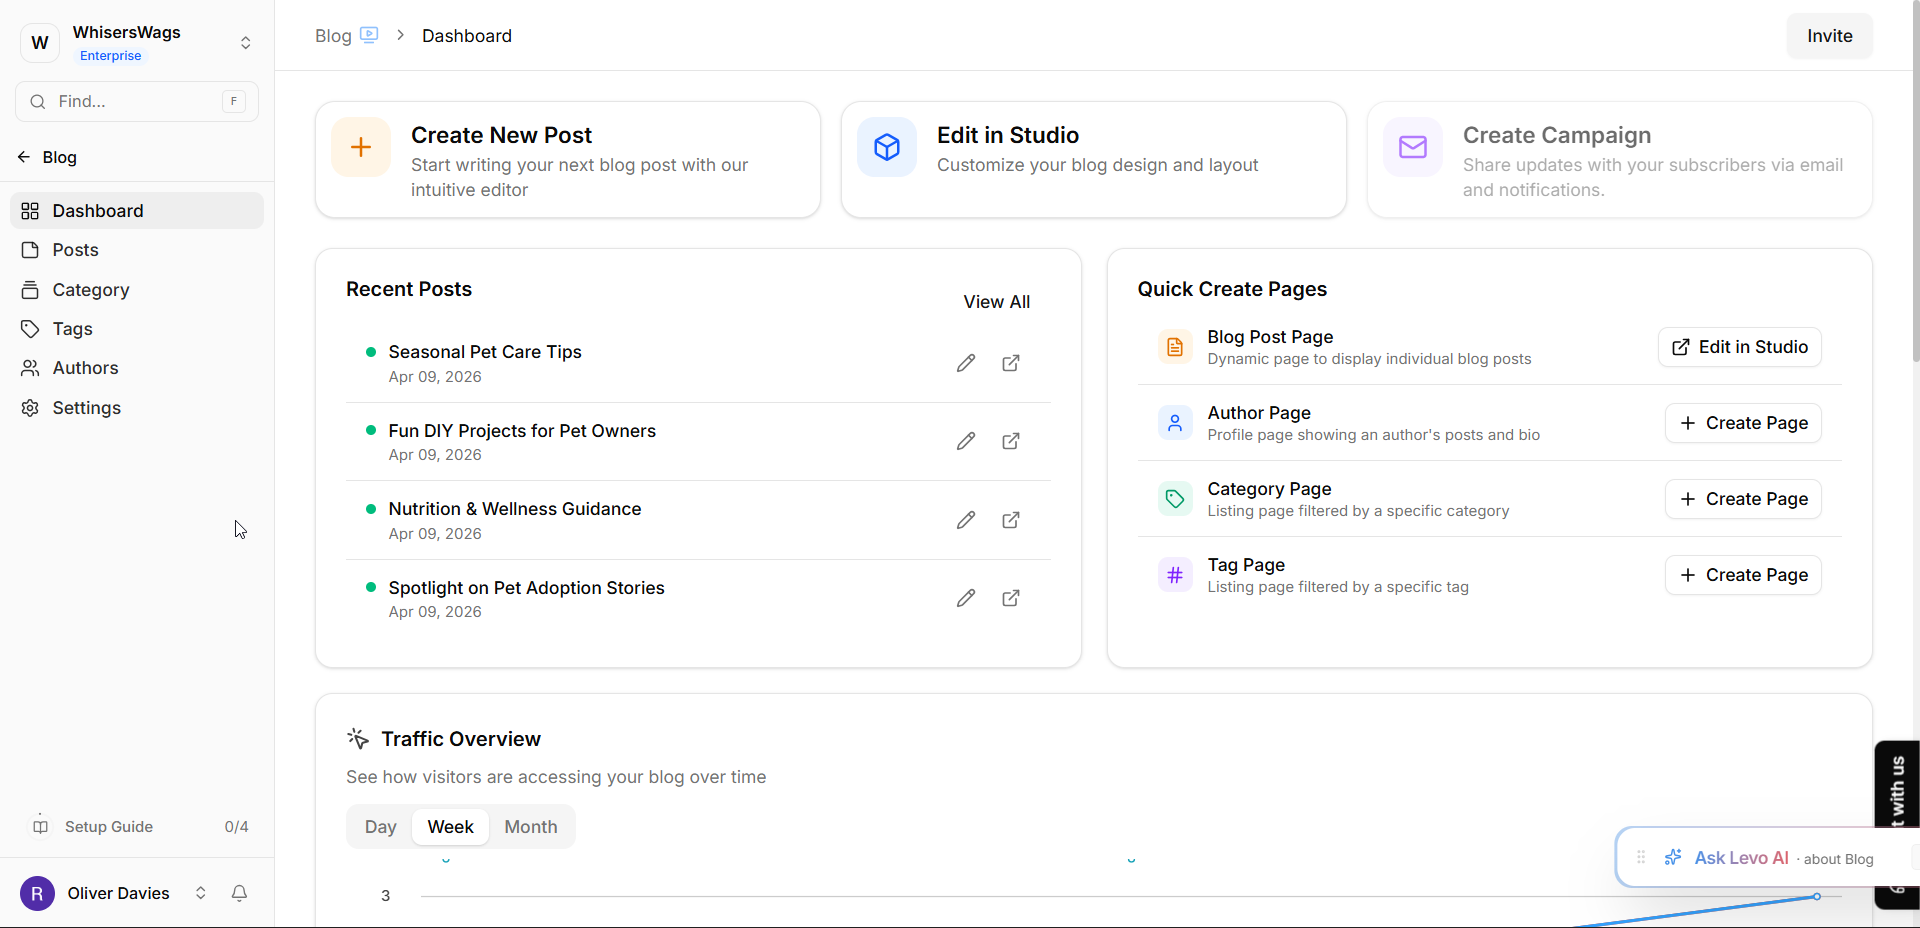
From the Blog Dashboard, you can check your visitor data, see your latest AI writing suggestions, or jump into the Studio to change your blog's design.
It’s your home base for everything related to your stories!
In Levo, Blogs are created using the Apps system. A Blog serves as the main home for all your articles, and you can have multiple different blogs within one workspace (like one for "Product Updates" and another for "Engineering Notes").
1. How to Create Your Blog (Install the App)
To start your blog:
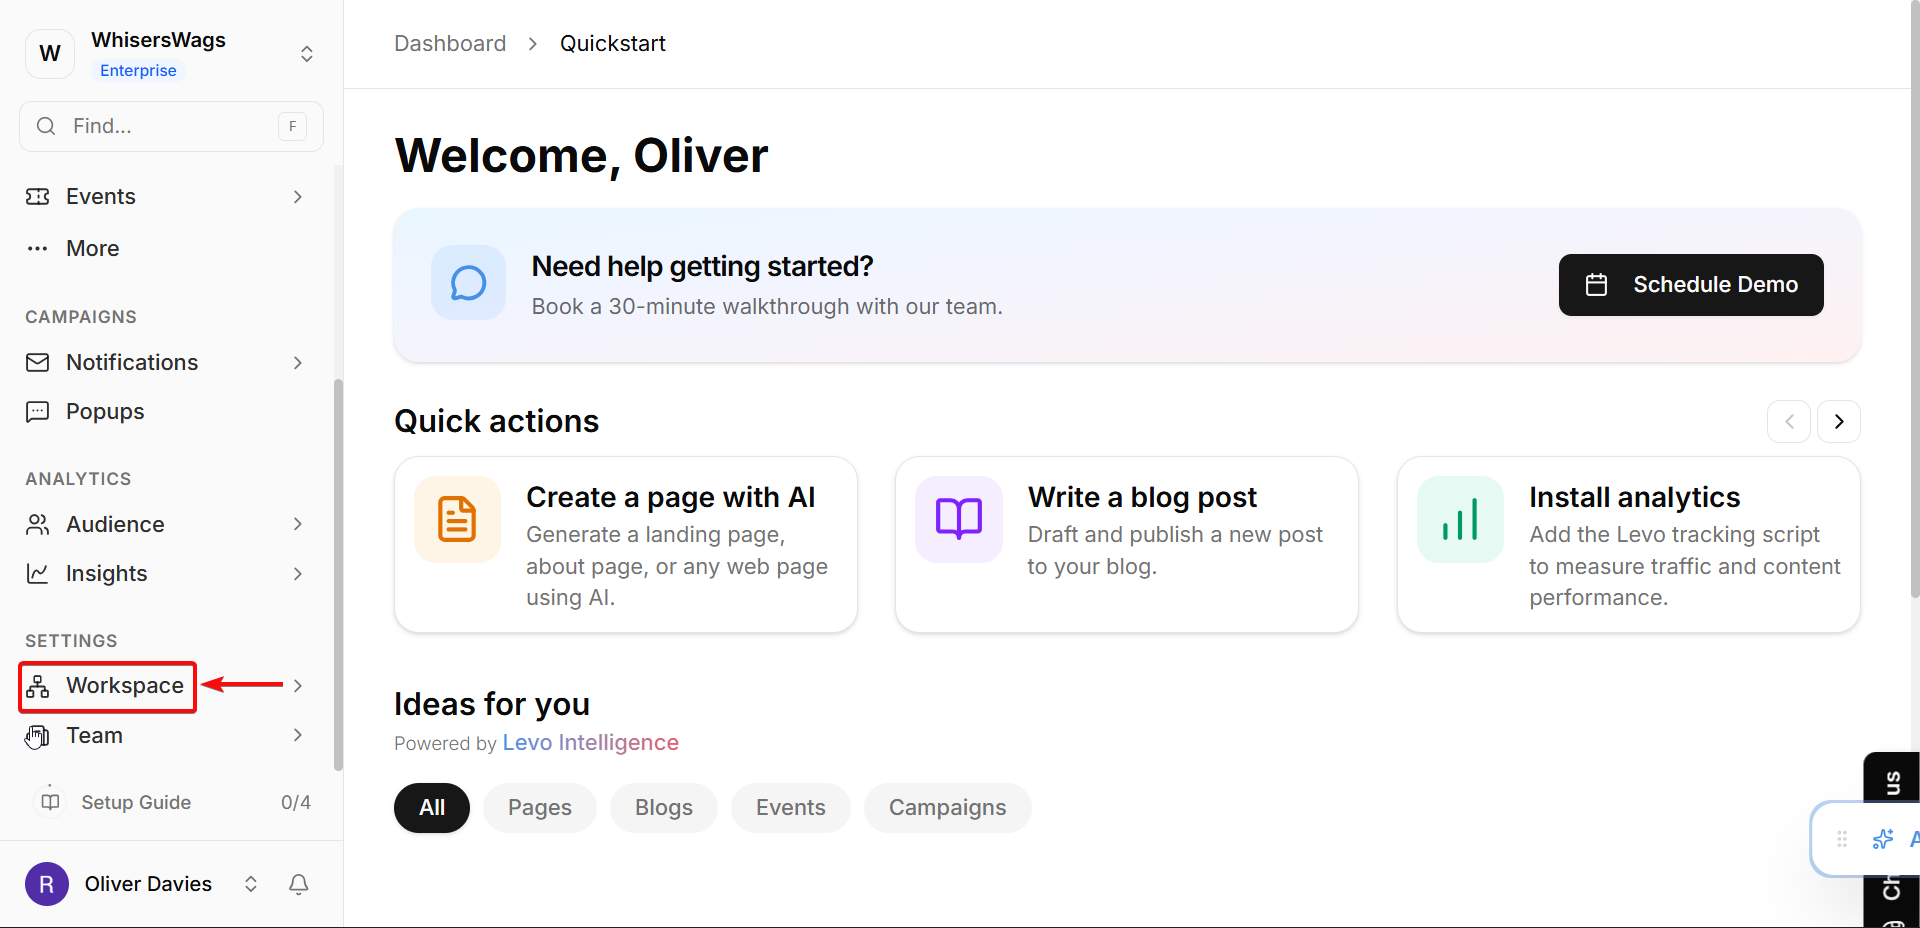
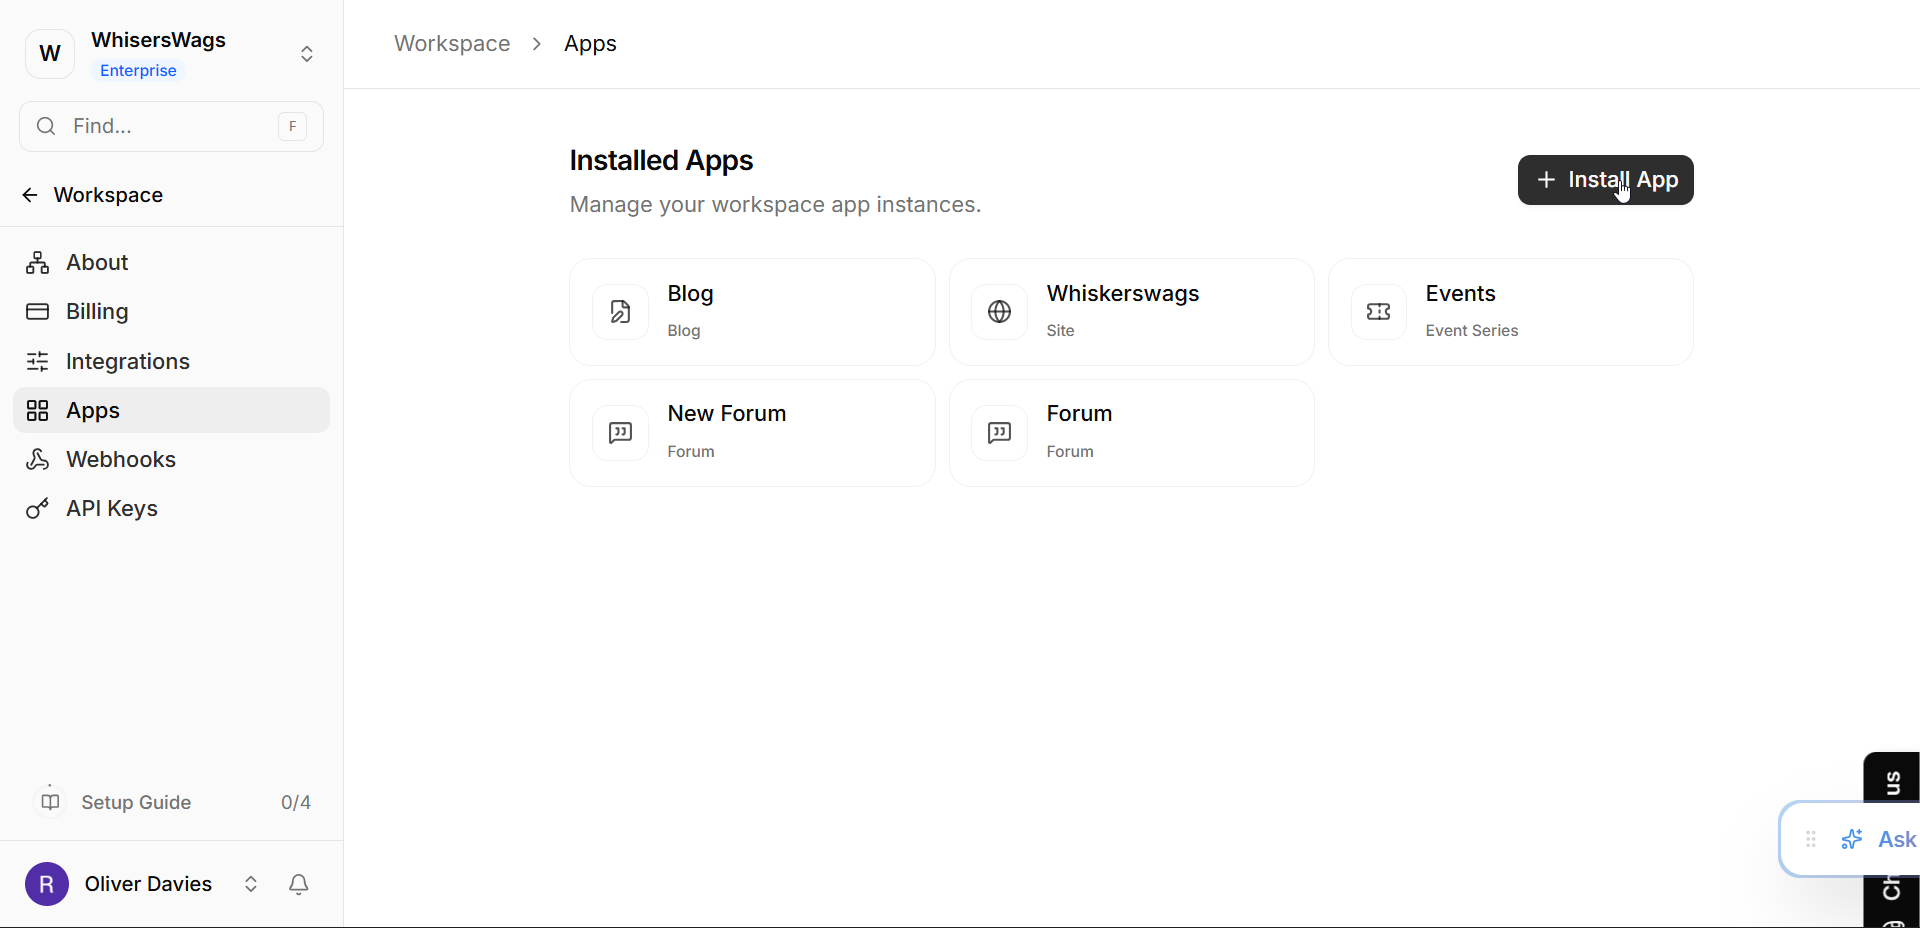
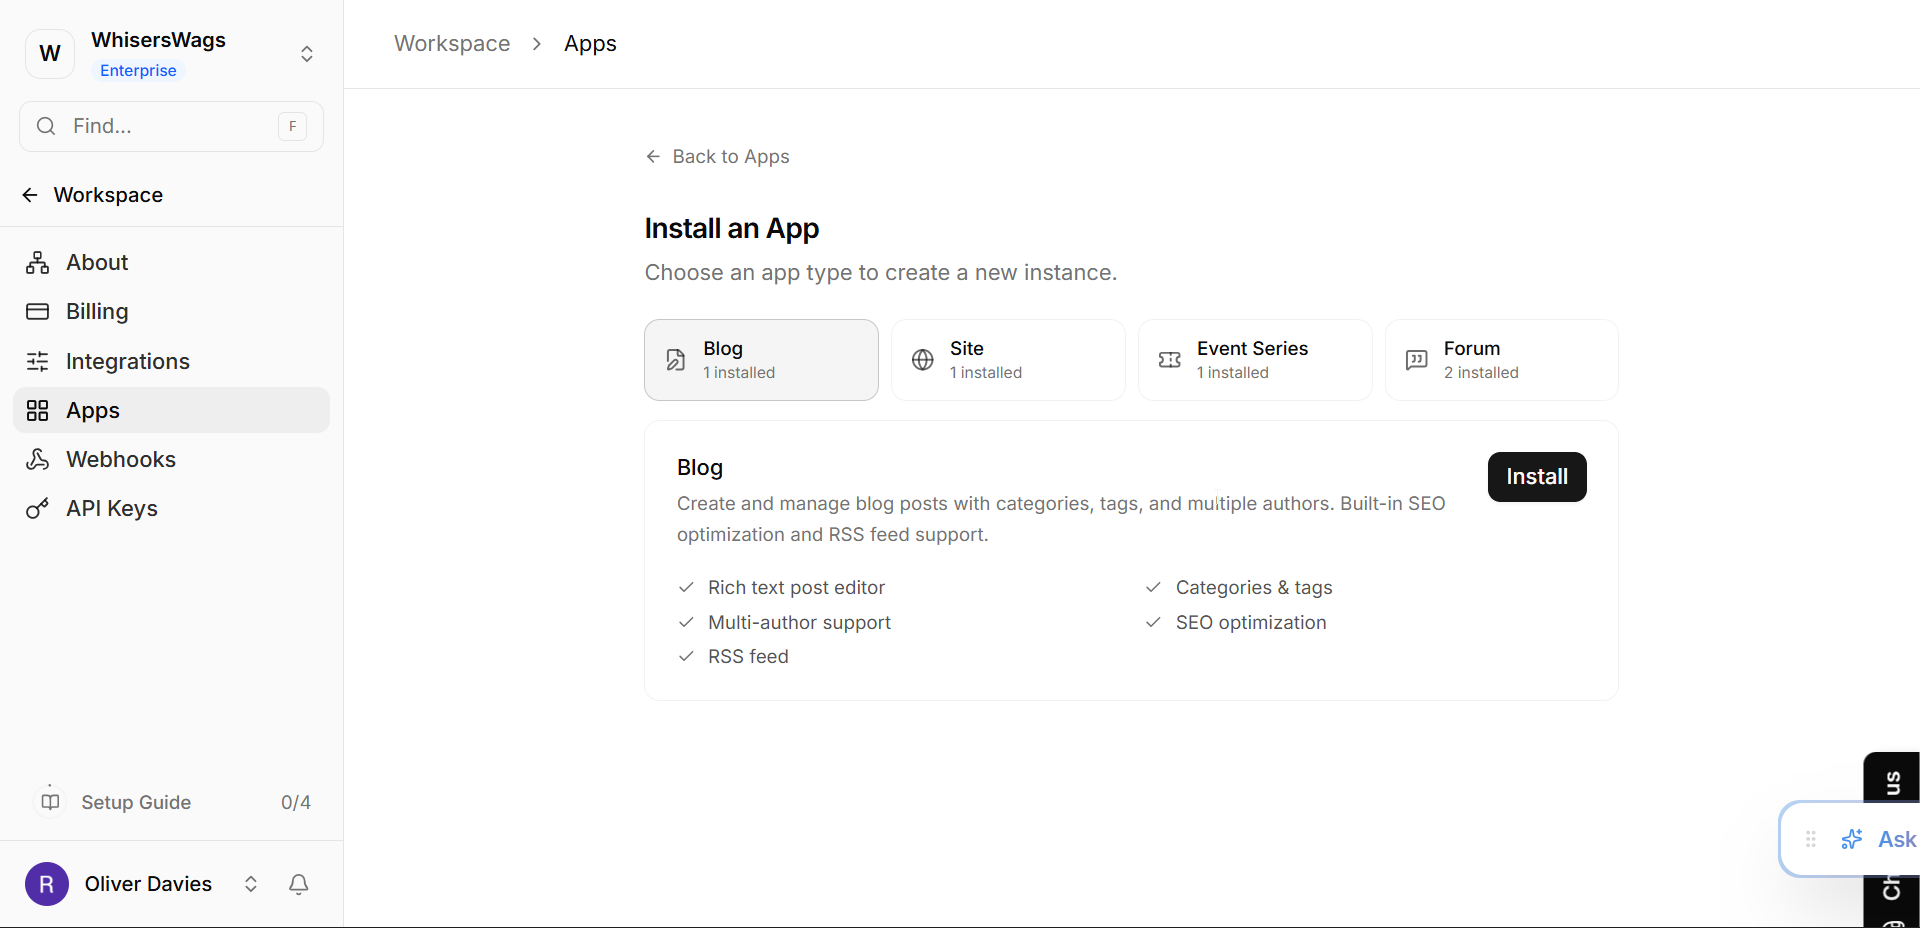
Navigate to Apps in your workspace sidebar.
Click the Install App button.
Select App Type: Find Blog from the list of available apps and click its Install button.
Customize:
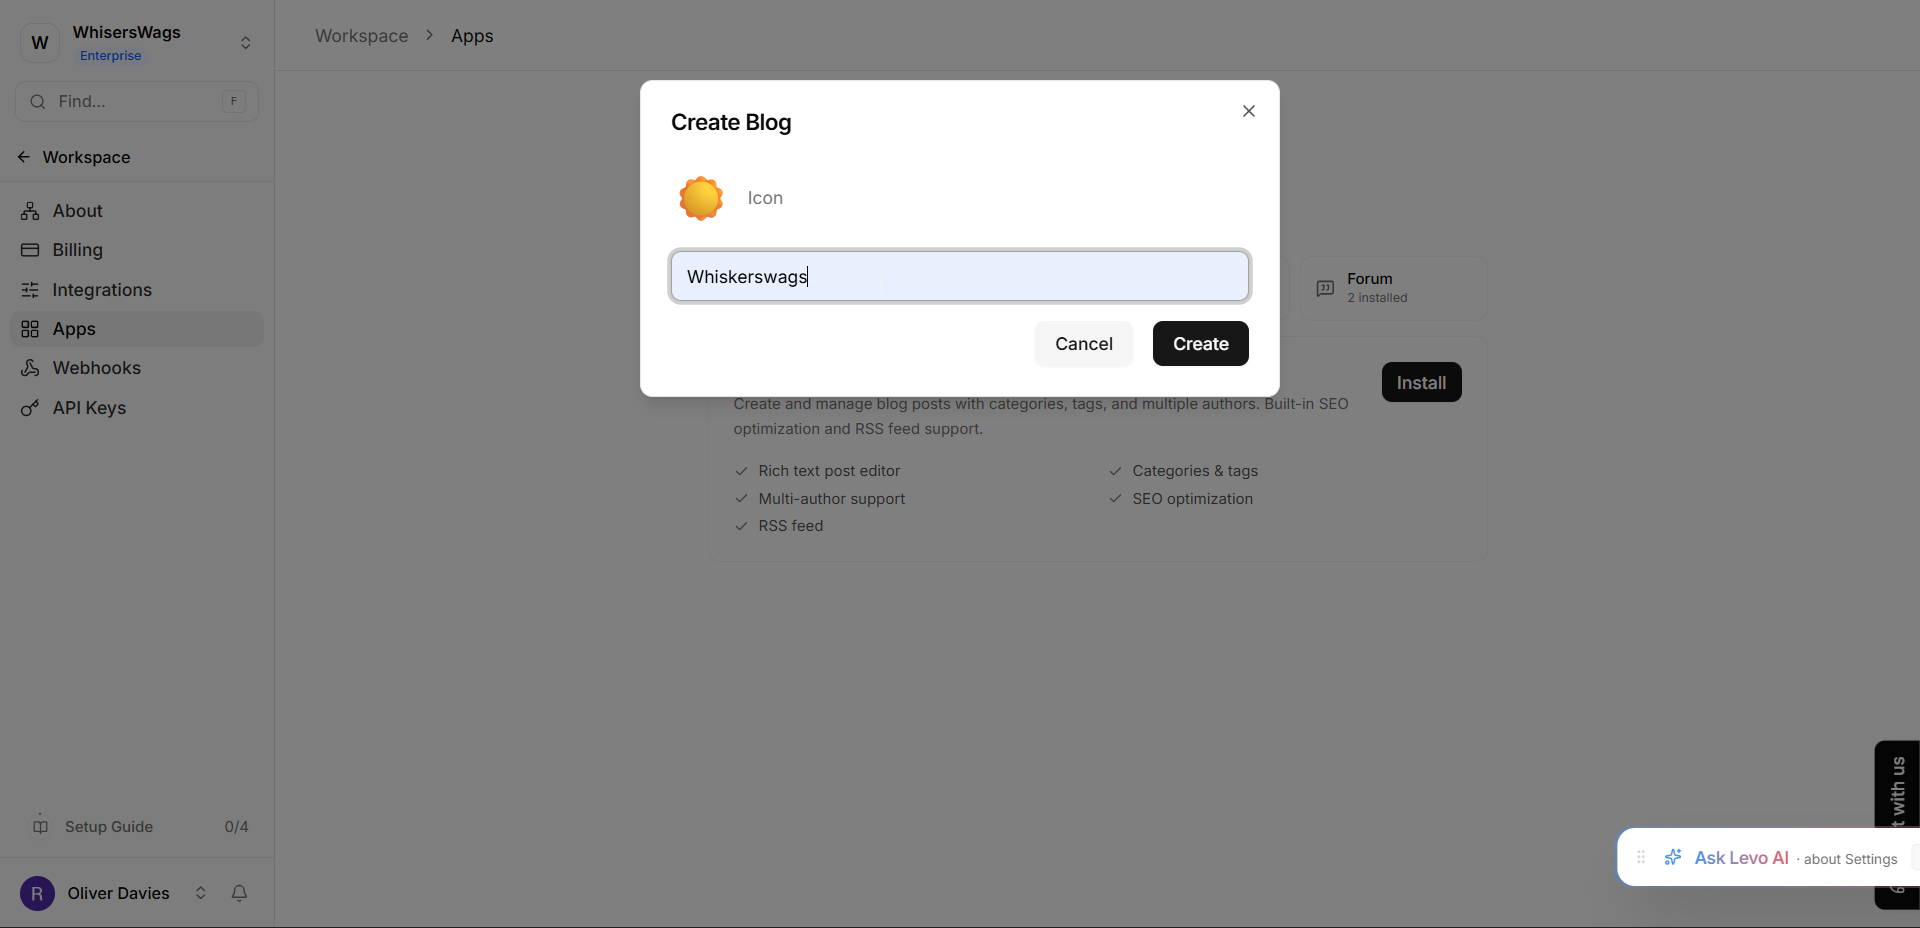
Pick an Icon: Click the icon button to choose an emoji or icon that represents your blog.
Pick a Name: Enter a name that represents your content (for example, "Our Travel Stories").
Click Create.
Once created, your blog will appear in your sidebar or under the "Installed Apps" list. Click on it to open your Blog Dashboard.
2. Managing Your Blog Settings
You can tweak your blog's basic info by visiting the Settings tab inside your blog:
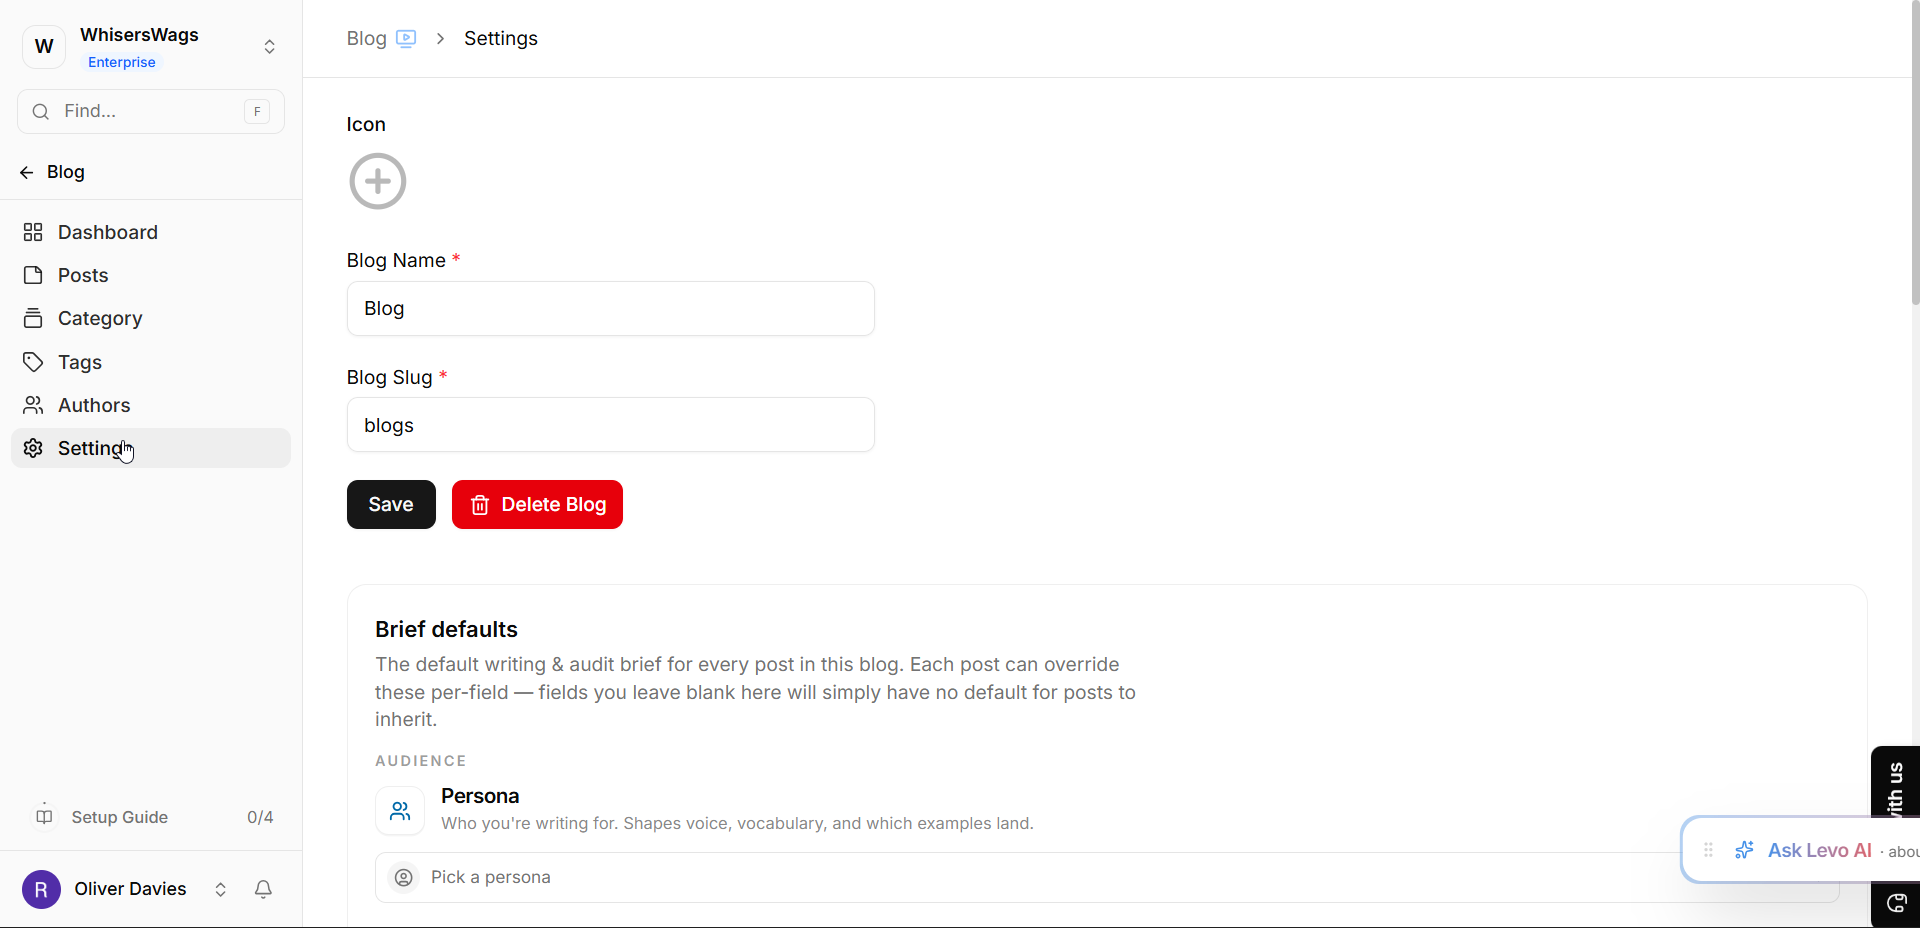
Blog Name: You can change the display name at any time.
Blog Slug: This is the web-safe name used in your links (for example,
your-site.com/blogs/travel-stories). Levo creates this for you automatically, but you can customize it here.
3. What’s Next?
After setting up your blog, you’re ready to start writing! From the dashboard, you can:
Write Posts: Click "New Post" to start your first draft.
Add Authors: Create profiles for the people who will be writing.
Organize: Create Categories (like "Tutorials" or "News") and Tags to help readers find your stories.
 Pro Tip:
Since each Blog is its own "App instance," you can keep your content perfectly separated. If you have two different websites in your workspace, you can install one Blog app for each site to keep your articles organized!