Typography — Choosing & Styling Fonts
Table of Contents
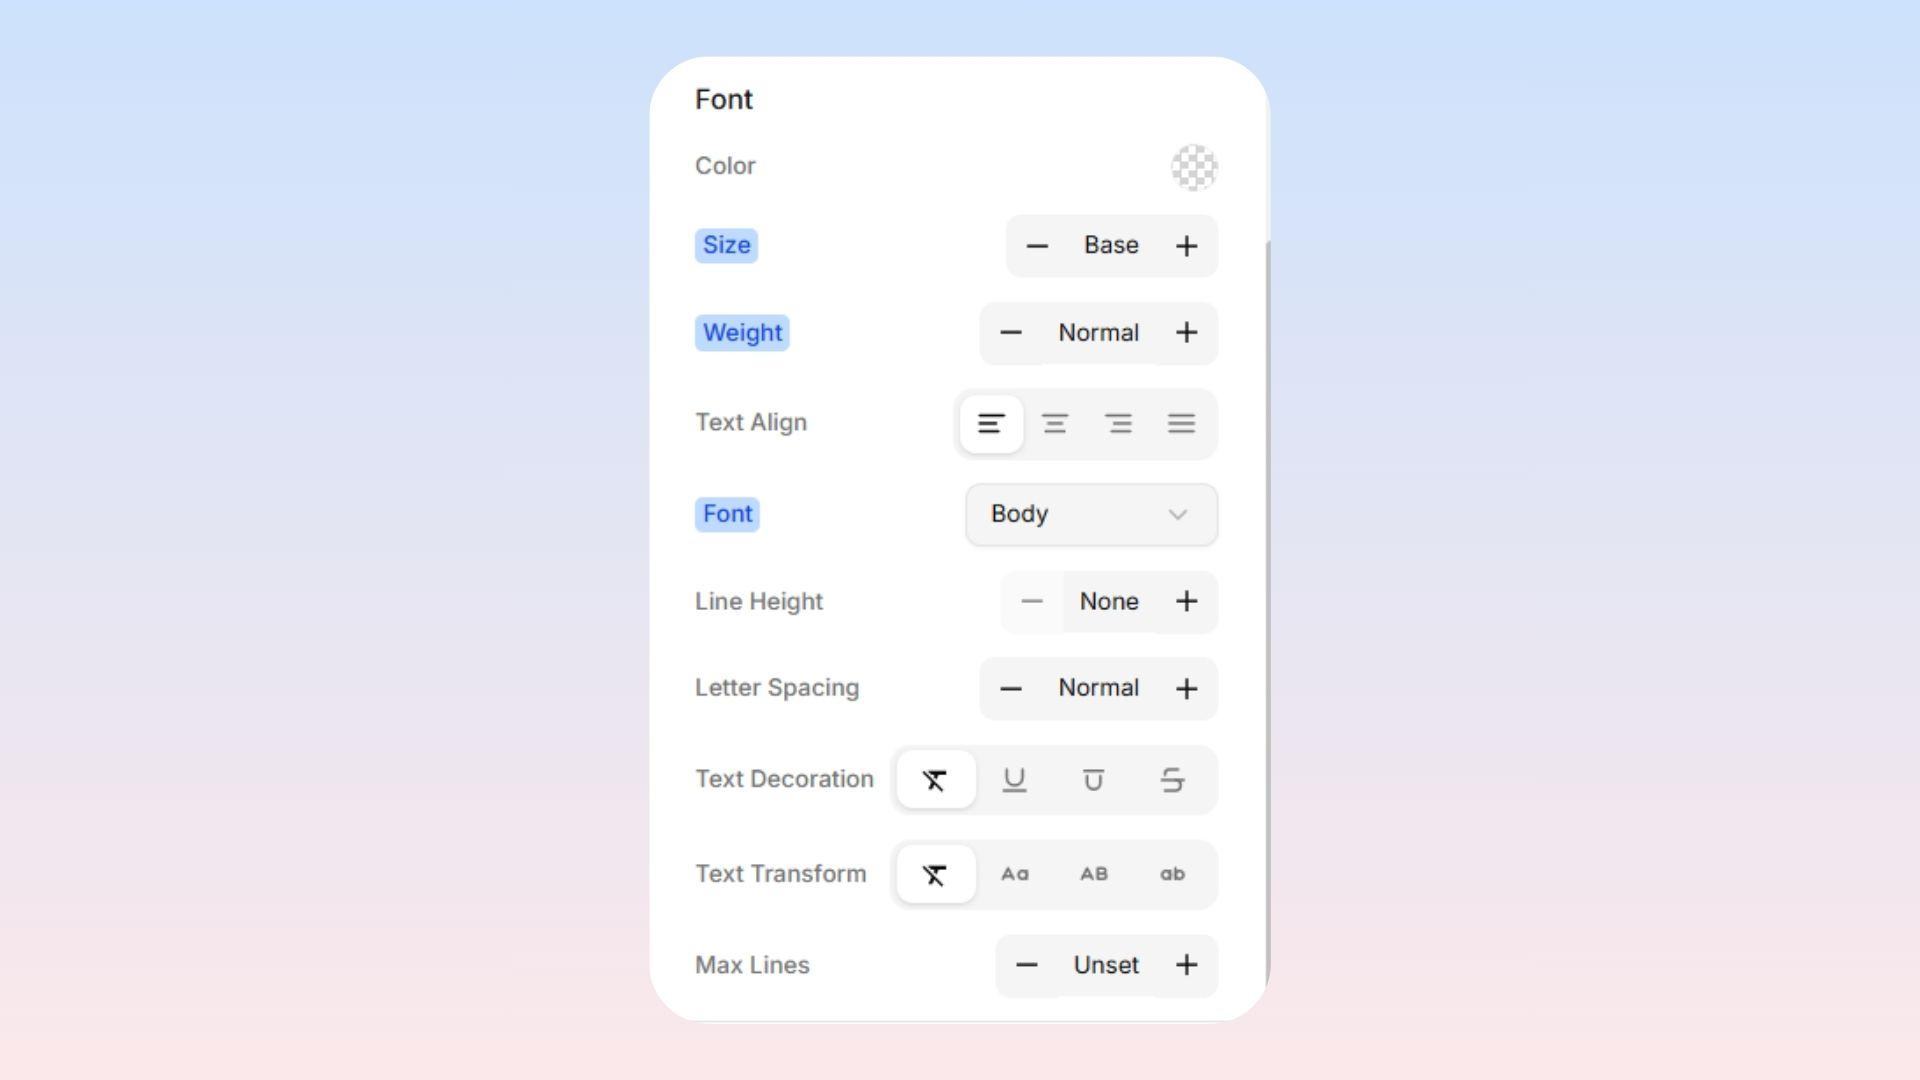
The Font Options menu controls how all your words look and feel! You can use these settings to style your headings, paragraphs, and buttons so they perfectly match your vision.
Text Color
Click the color picker to easily choose a color for your words! You can pick a color by eye, or paste in an exact color code (like a #hexcode) if you need to perfectly match your brand's style.
Font Size
Easily make your text bigger or smaller! You can choose from simple preset options (like Small, Medium, Large) instead of worrying about exact pixel measurements.
Font Weight (Thickness)
Controls how thick your letters are, ranging from incredibly thin to heavily bolded.
Light: Gives an elegant and airy feel.
Regular: The standard, everyday thickness perfect for long paragraphs.
Semi-Bold: A nice middle-ground to make something stand out without being huge.
Bold: Heavy and strong! Perfect for important headings.
Text Alignment
Controls how your text sits inside its box:
Left: The easiest to read! This is the standard for long paragraphs.
Center: Looks great for big titles, headings, and hero sections.
Right: Pushes text to the far right. Good for small notes or dates.
Justify: Stretches your text out so it perfectly touches both the left and right edges. (Use this carefully, as it can sometimes leave weird gaps between words!)
Font
You can choose between Heading and Body. Choose the actual font (letter style) for your text. You can select the default fonts from your main Theme.
Line Height
Controls the vertical space between the lines of your text. It massively affects how easy your paragraph is to read!
None (1.0): The lines almost touch. Use this only for huge, single-line headings.
Tight: Compact and snug.
Normal: The easiest, most comfortable distance for reading everyday paragraphs.
Relaxed: Gives your words a little extra breathing room.
Spacious: Very open and spread out. Great for making tiny text much easier to read!
Letter Spacing
Controls the horizontal space between the individual letters in a word!
Tighter: Squeezes letters closer together. Sometimes looks cool on massive headings.
Normal: The standard, default spacing.
Wider / Widest: Spreads the letters far apart! This looks incredibly stylish on ALL-CAPS labels.
Text Decoration
Lets you easily draw lines on your text!
None: The default. No extra lines.
Underline: Draws a line underneath. Usually used to show someone that a word is a clickable link.
Line-Through: Strikes a line right through the middle of the word. Perfect for showing an old price on a sale item!
Overline: Draws a line on top of the text.
Text Transform
A magic trick that changes your text's capitalization without you having to re-type a single thing!
None: Displays your text exactly how you actually typed it.
Uppercase: Turns everything into ALL CAPS.
Lowercase: Turns everything into all lowercase letters.
Capitalize: Capitalizes The First Letter Of Every Single Word.
The best part? If you change your mind, just turn it off! Your original text will go right back to exactly how you really typed it.
Max Lines
Caps how many lines of text are allowed to show before getting chopped off with "...". This is incredibly useful for designing beautiful, even layouts (like recipe cards) where some descriptions happen to be way longer than others!
If you are not seeing any of the options above, click on + icon on the top left of “Font” section