Managing Your Team Members
Table of Contents
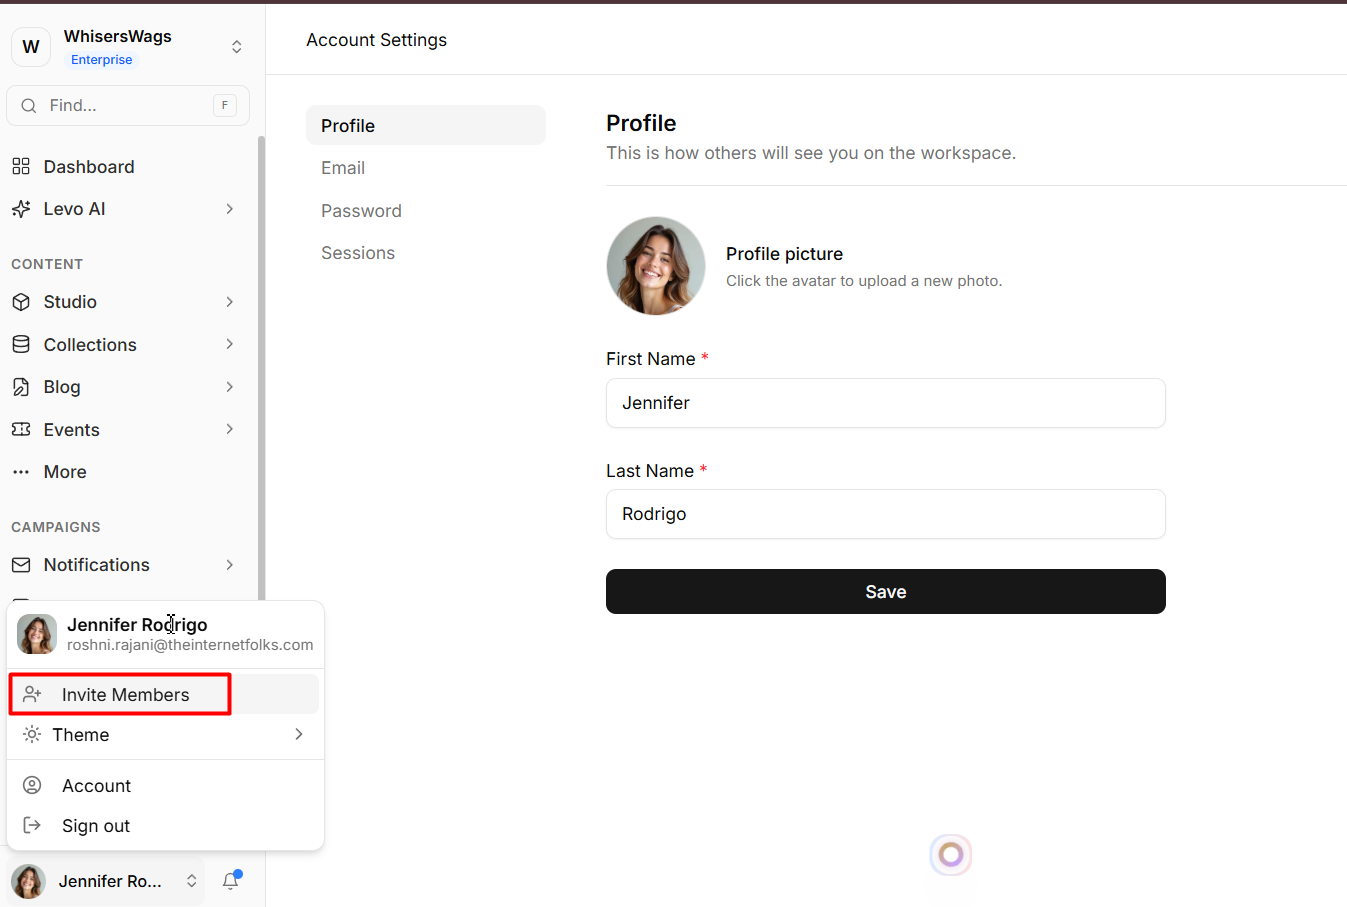
The Team section gives you the administrative power to manage exactly who has access to your workspace and what level of permissions they hold.
Inviting New Members
Bring your colleagues into your workspace securely:
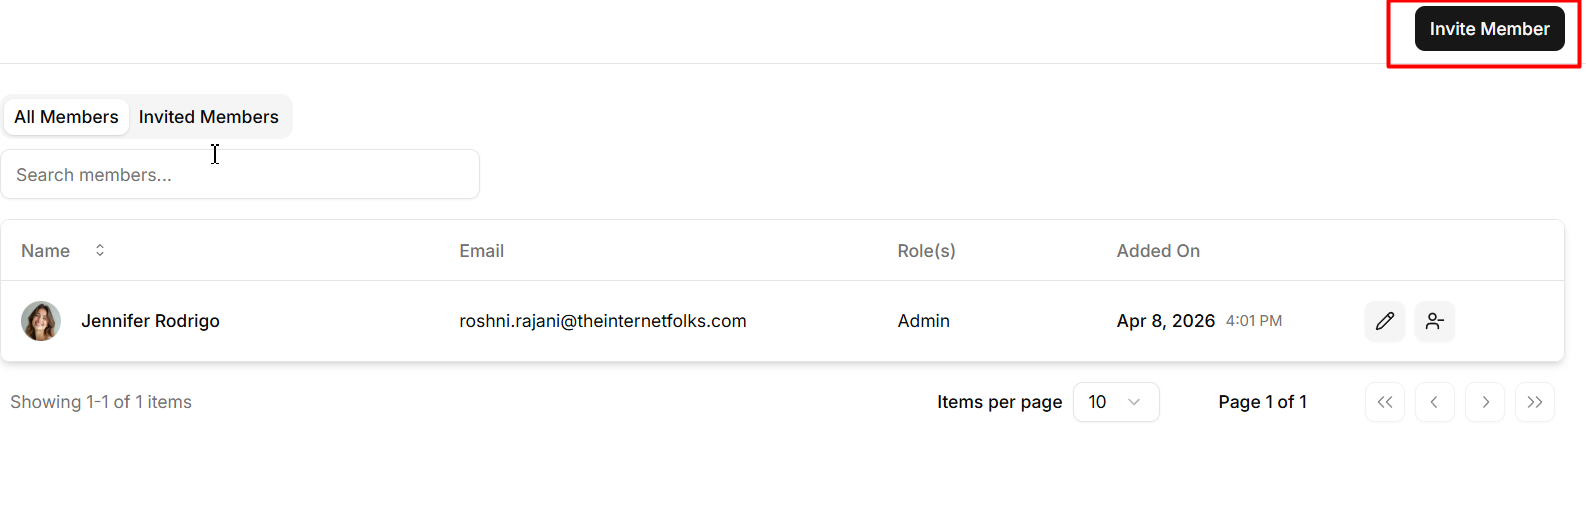
Click the Invite Member button located in the top-right corner of the page.
Enter the new member's Email address.
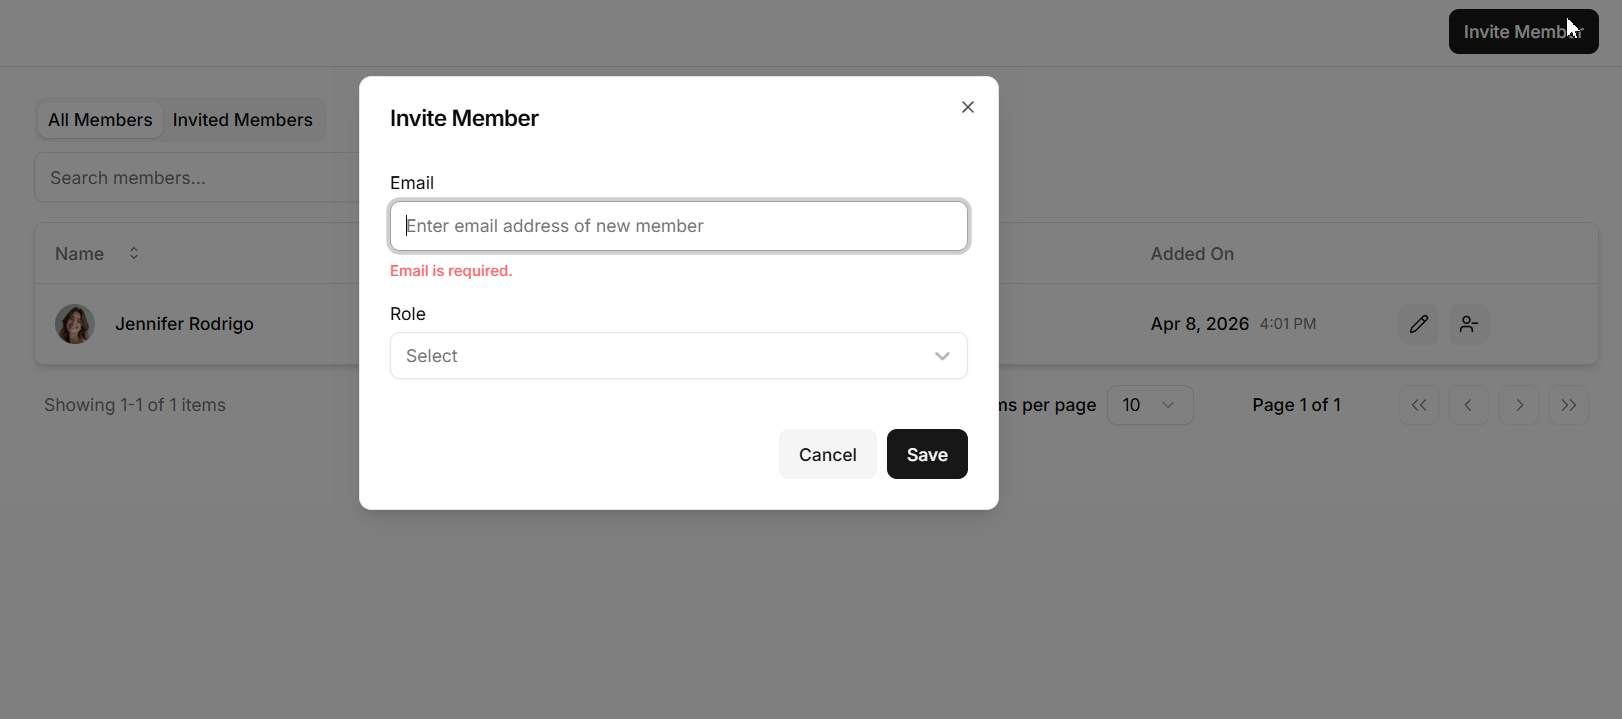
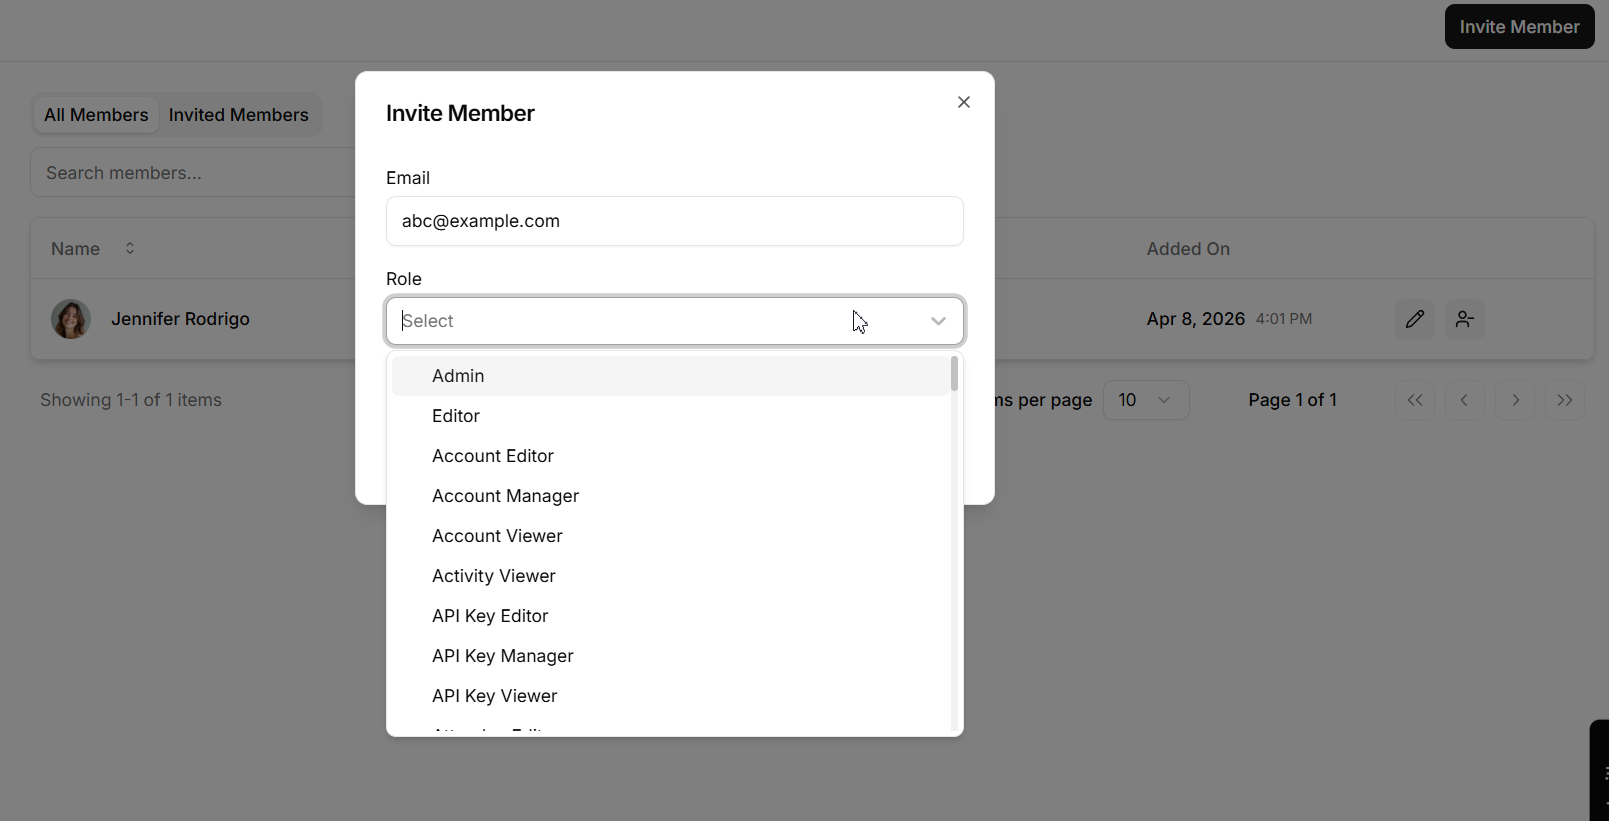
Select the appropriate Role(s) from the dropdown menu. (Note: You can choose foundational roles like Admin or Editor, or select any custom-built roles you've created in the Roles tab).
Click Save to dispatch the invitation. The user will immediately receive an email containing a secure link to join your workspace.
All Members Tab
This tab gives you a birds-eye view of everyone actively participating in your workspace. You can review the following details:
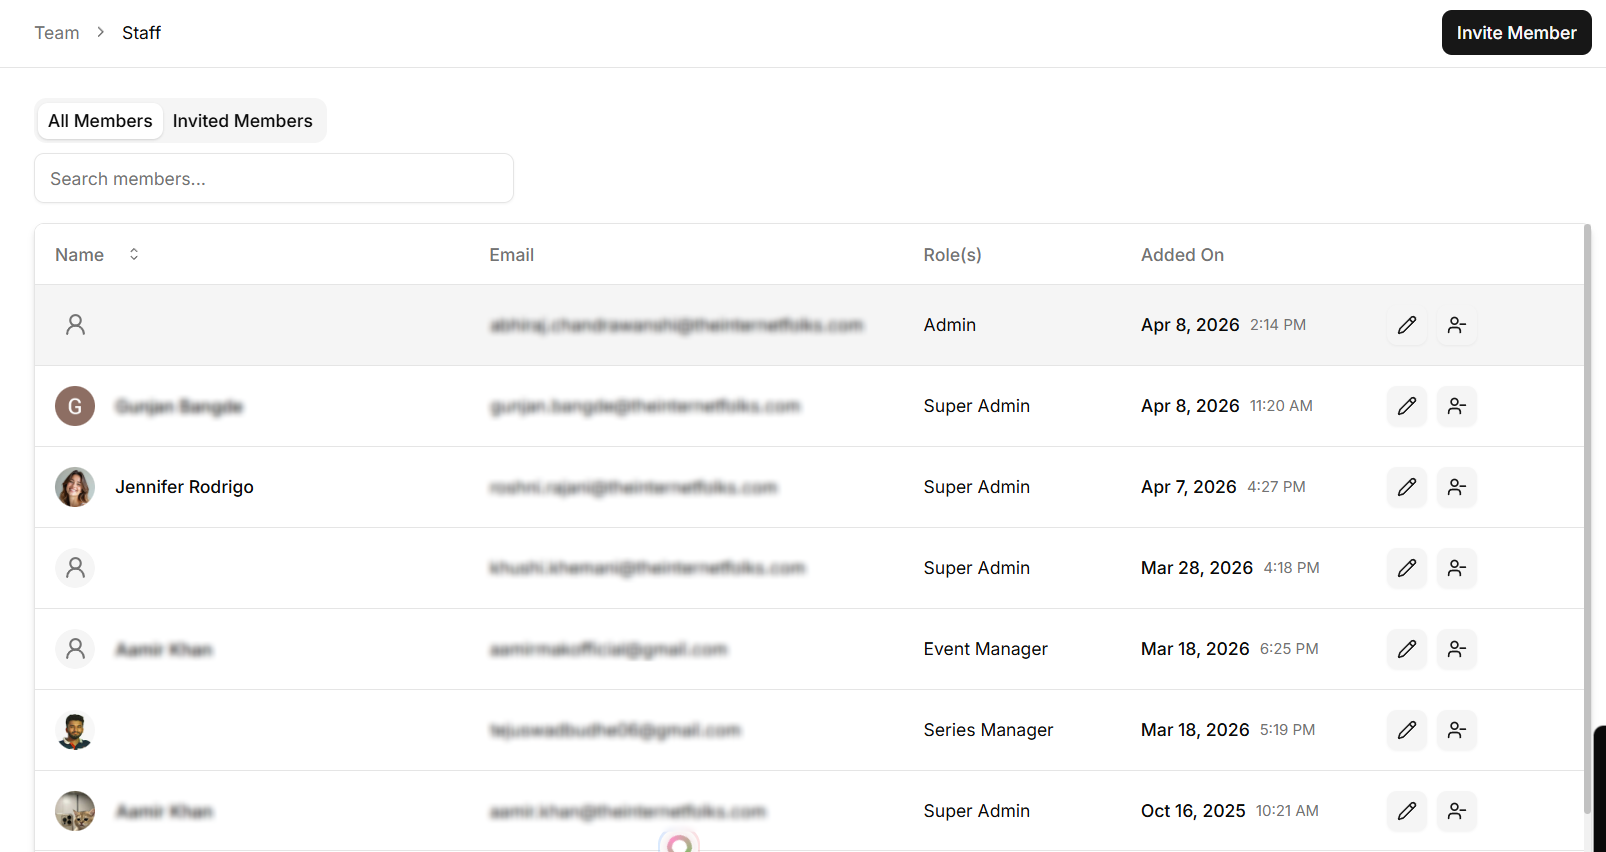
Name & Email: The core contact profile for each active user.
Role(s): The specific permission level(s) assigned to the member, dictating their administrative limits.
Added On: The timestamp of when they officially joined.
Take Action: Click the Pencil icon to modify a member's assigned roles at any time. If someone leaves the team, click the Remove (User Minus) icon to permanently revoke their workspace access.
Invited Members Tab
Keep track of pending invitations that haven't been accepted yet:
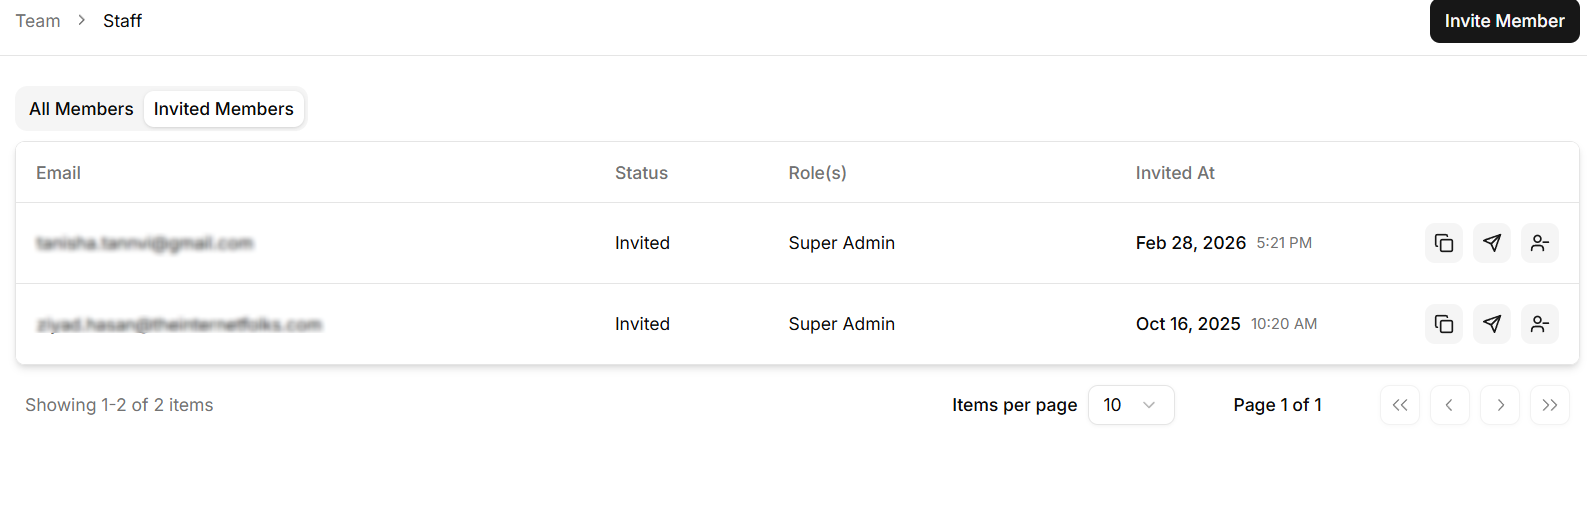
Overview: Verify the pending Email, current Status, proposed Role(s), and the exact date they were Invited At.
Take Action: Need to nudge someone or cancel an invite? Use the action icons on the right edge of the table to:
Copy the direct invite link to send via a chat app.
Resend the email invitation to bump it to the top of their inbox.
Revoke (User Minus icon) to entirely cancel the invitation before the user accepts it.