How to manage your Community in Levo?
Table of Contents
Once your community is live, this guide helps you handle daily tasks — creating posts, organizing content, managing members, and moderating activity.
Posts
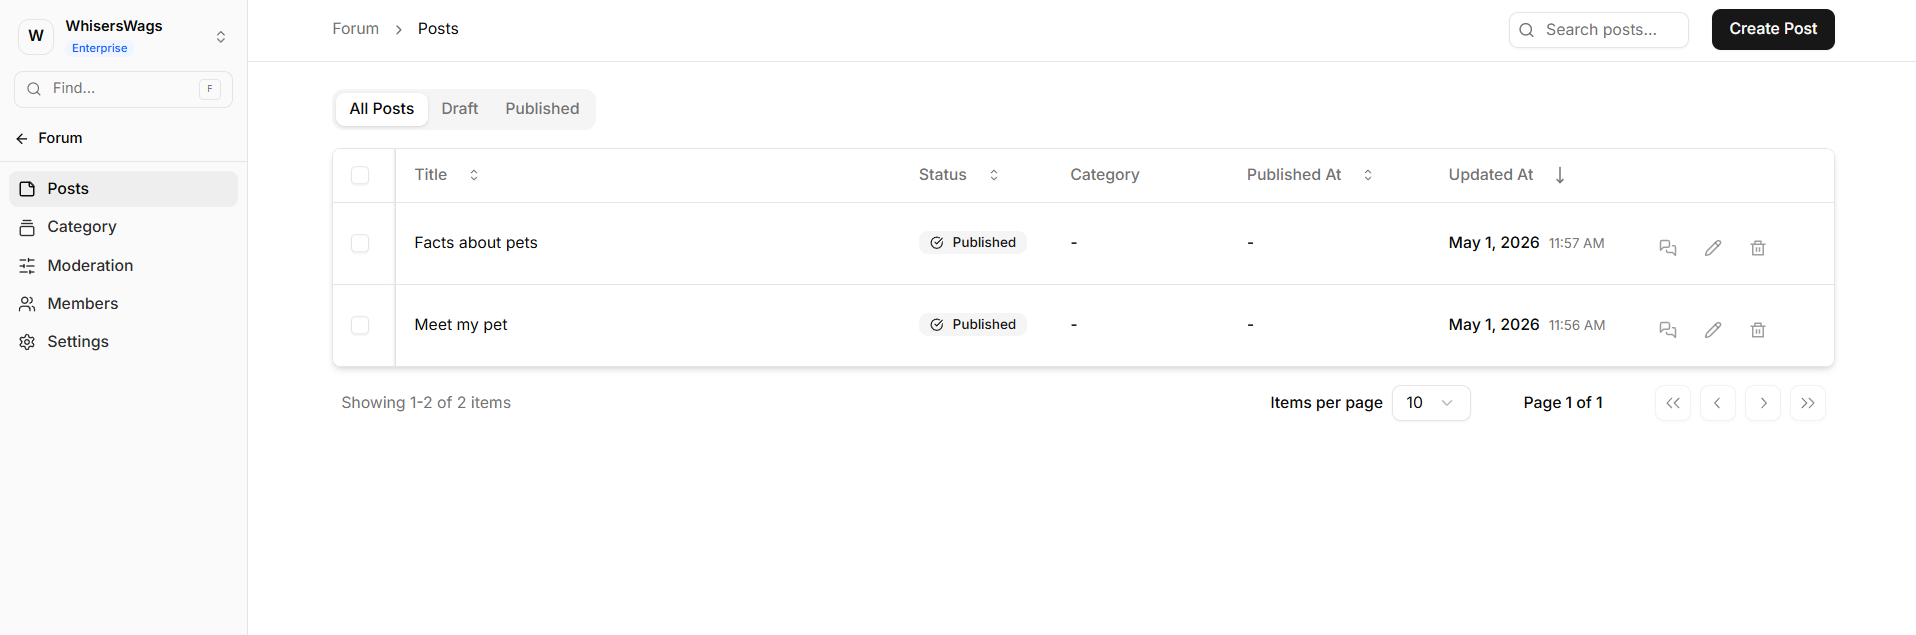
Go to Community → Posts
This is where you manage all posts in your forum.
What You See
Column | Description |
|---|---|
Title | Post title |
Status | Draft or Published |
Category | Assigned categories |
Published At | When it was published |
Updated At | Last edited time |
Actions
Filter posts: All, Draft, or Published
Search: Find posts by title
Options on each post:
Action | What it does |
|---|---|
View Comments | See comments on the post |
Edit | Update the post |
Delete | Remove the post |
Commenting as the Organisation
The Post Discussion panel also lets an admin comment on behalf of the organisation. Comments posted this way appear with a verified badge, making it clear they come from the official account rather than an individual user.
Admins can also participate in comment threads as the official handle — replying directly within a thread to keep the conversation on record under the organisation's identity.
Create a Post
Click Create Post (top right).
Post Types
Type | Description |
|---|---|
Post | Regular post with text |
Gallery | Post with images |
Link | Post with an external link preview |
Fill Details
Title (required)
Category (optional)
Content / Description
Images (for Gallery)
URL (for Link)
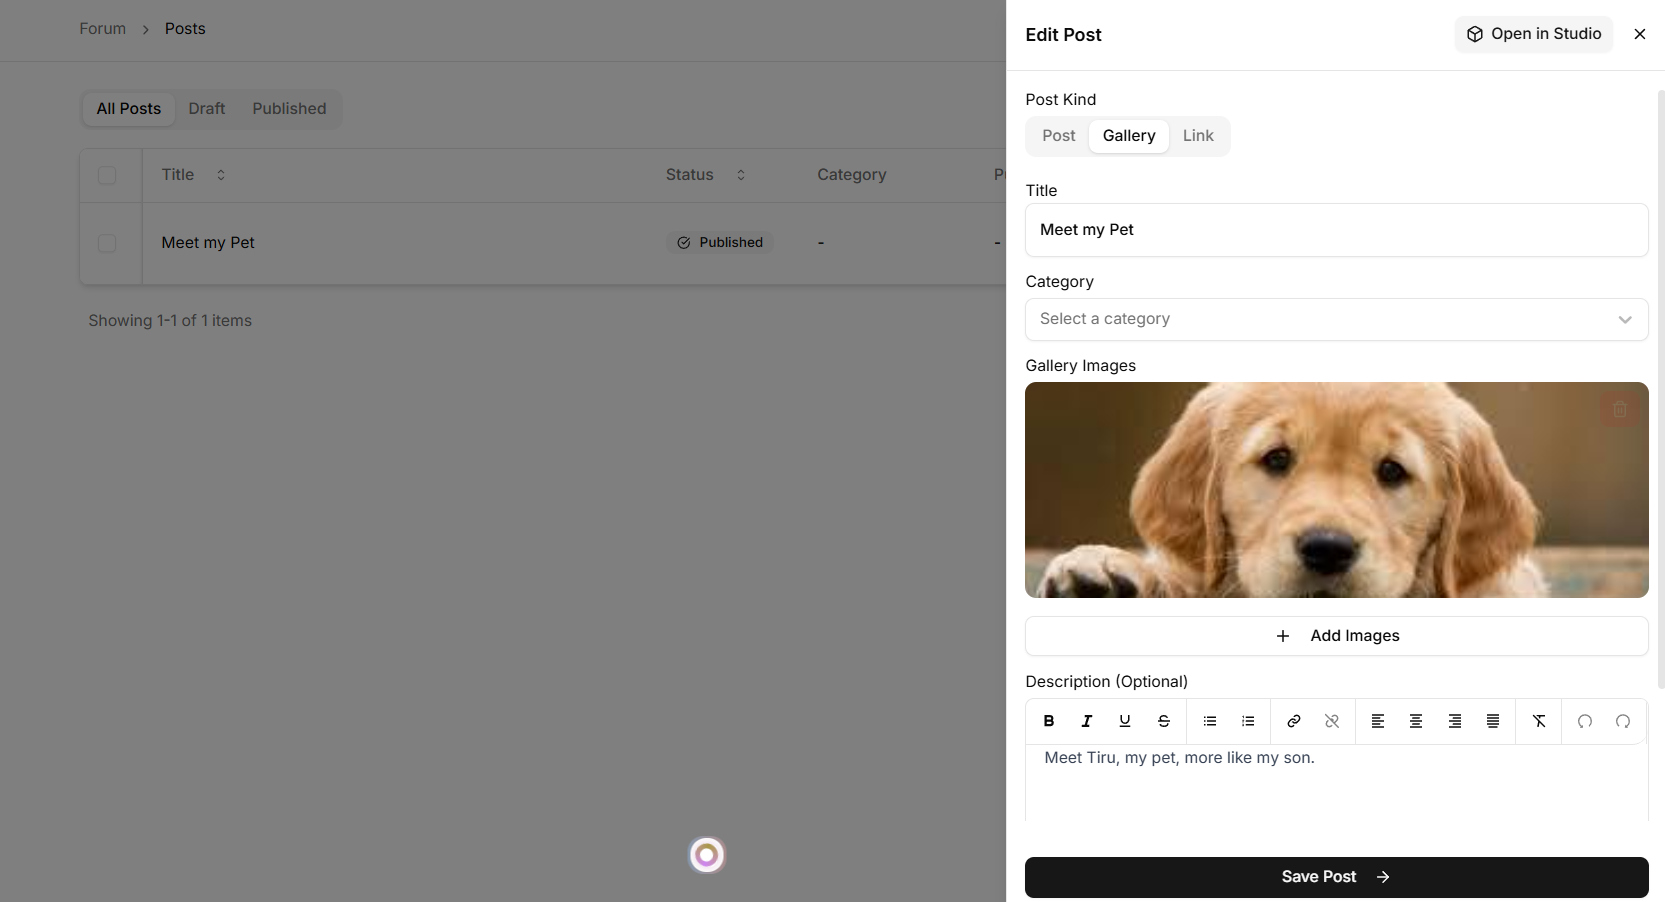
Click Create Post → to publish.
If auto-approval is off, the post will go to moderation first.
Note: Posts created from the dashboard appear with a *verified* handle, indicating the post was made from the official organisation account.
Categories
Go to Community → Category.
Categories help organize posts and appear as filters on your website.
Actions
Create: Add a new category
Edit: Update category details
Delete: Remove category (posts stay, but lose category)

Fields
Tag Title (required)
Meta & OG fields (optional, for SEO and sharing)

Members
Go to Forums/Community→ Members.
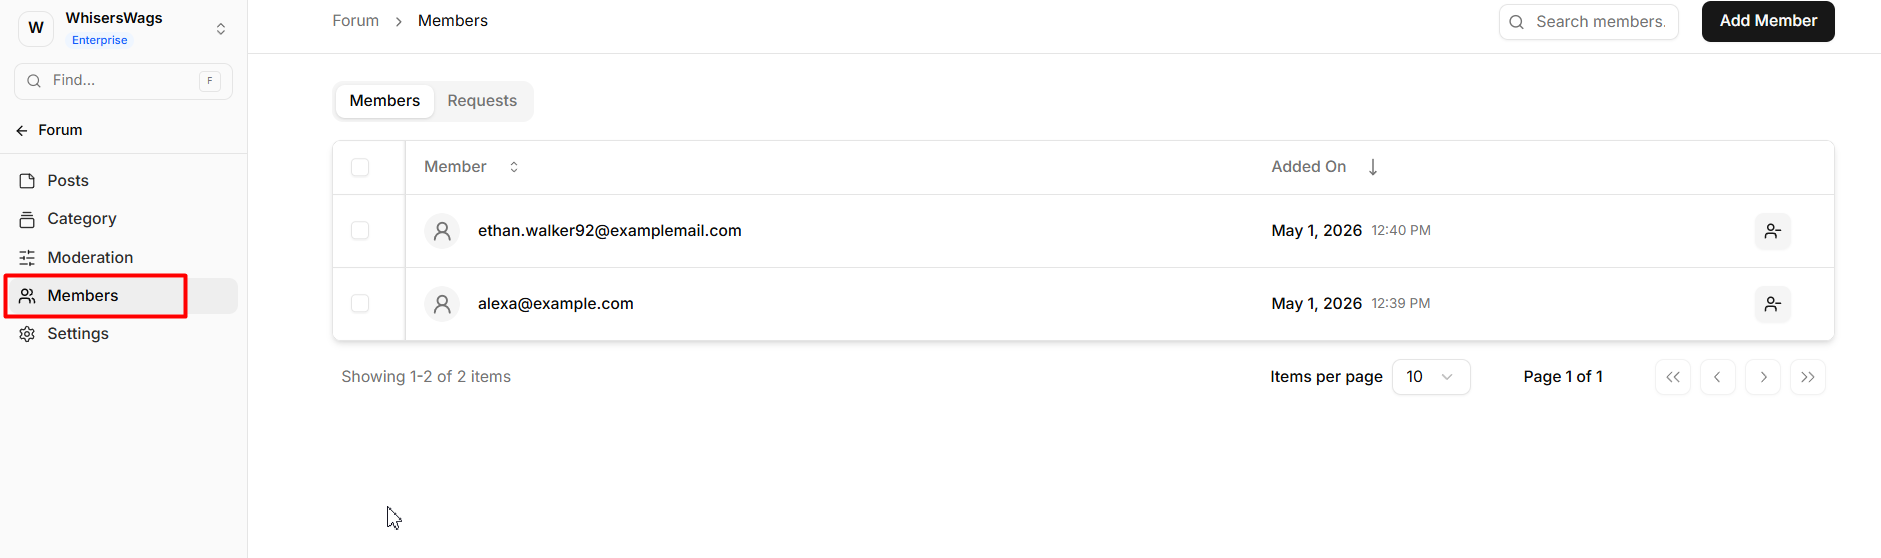
What You Can Do
View all members
Remove members
Add new members
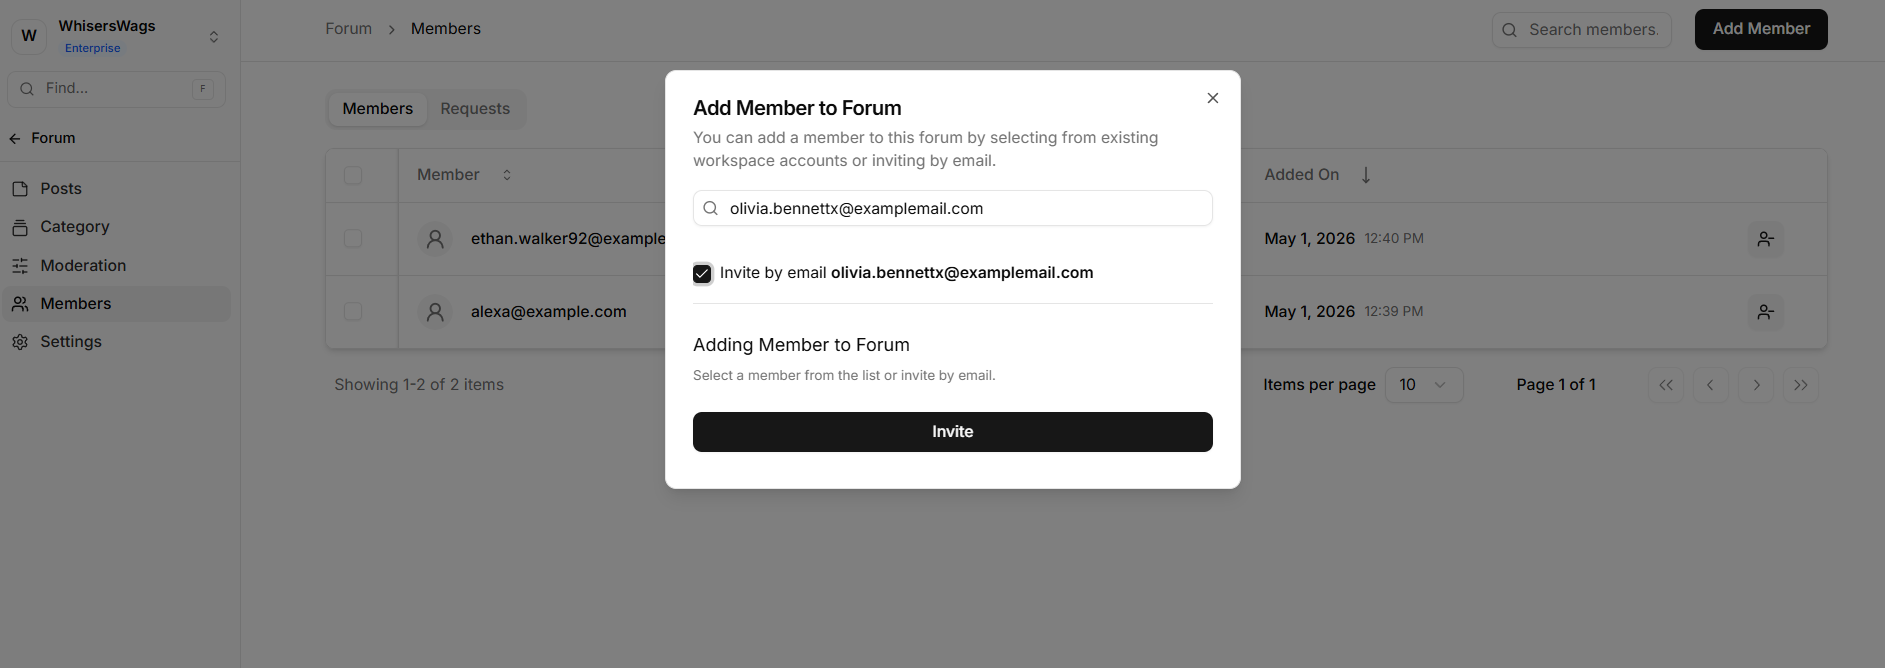
Add a Member
Click Add Member
Search by name or email
Select user → Add
If not found, invite them via email.
Requests
This tab appears only when Allow Join Requests is enabled under Settings → Access Control. When active, a badge on the tab shows the number of pending requests and updates automatically every 30 seconds.
Request Details
Column | Description |
|---|---|
User | Displays the name and email of the member requesting access |
Message | Shows the message submitted with the request (hover to view full text; displays |
Requested On | Date and time when the request was submitted |
Actions | View · Approve · Reject |
Actions Explained
Approve: Instantly grants the user access to the forum.
Reject: Opens a confirmation prompt before declining the request. Users can submit a new request later.
View (Eye icon): Opens a side panel with the user’s full profile, request details, and message. You can Approve or Reject directly from this panel without going back to the table.
Moderation
Go to Community → Moderation.
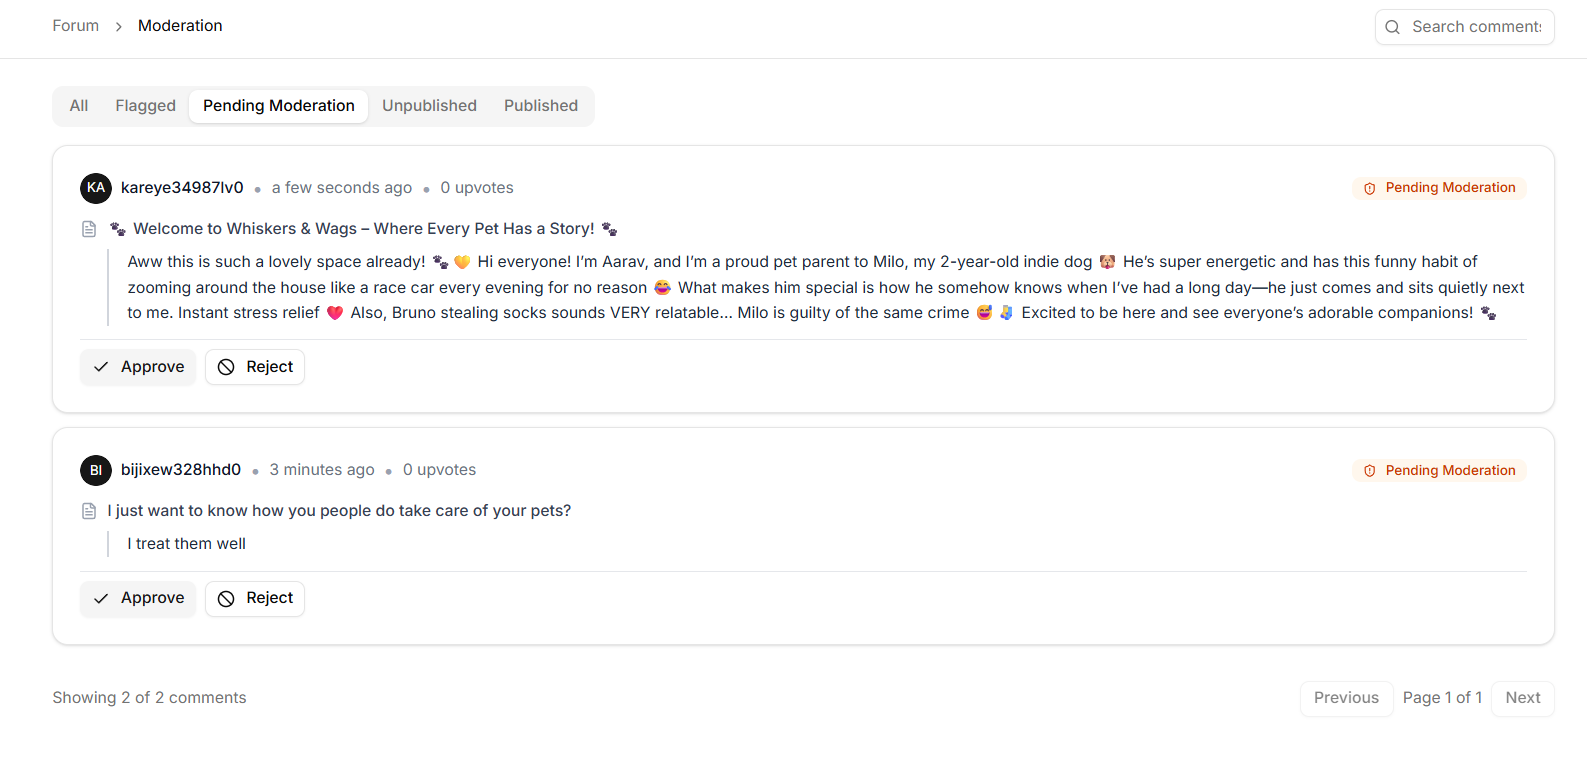
Comments
Comments appear as cards.
Filters: All, Flagged, Pending, Unpublished, Published
Actions
Status | Actions |
|---|---|
Pending / Flagged | Approve, Reject |
Unpublished | Approve |
Published | Approve, Reject, Unpublish |