How to create a Community/Forum in Levo?
Table of Contents
Levo Community module lets you create and manage discussion forums easily with admin controls in the Dashboard and a ready-to-use frontend in Studio.
Getting Started
Step 1: Create a Forum
Click Community in the left sidebar
If no forums exist, you’ll land on an empty state
In the dialog:
Enter a Forum Name (e.g., Product Feedback, Developer Hub, General)Click Create
Levo will:
Generate a URL-friendly slug
Create your forum
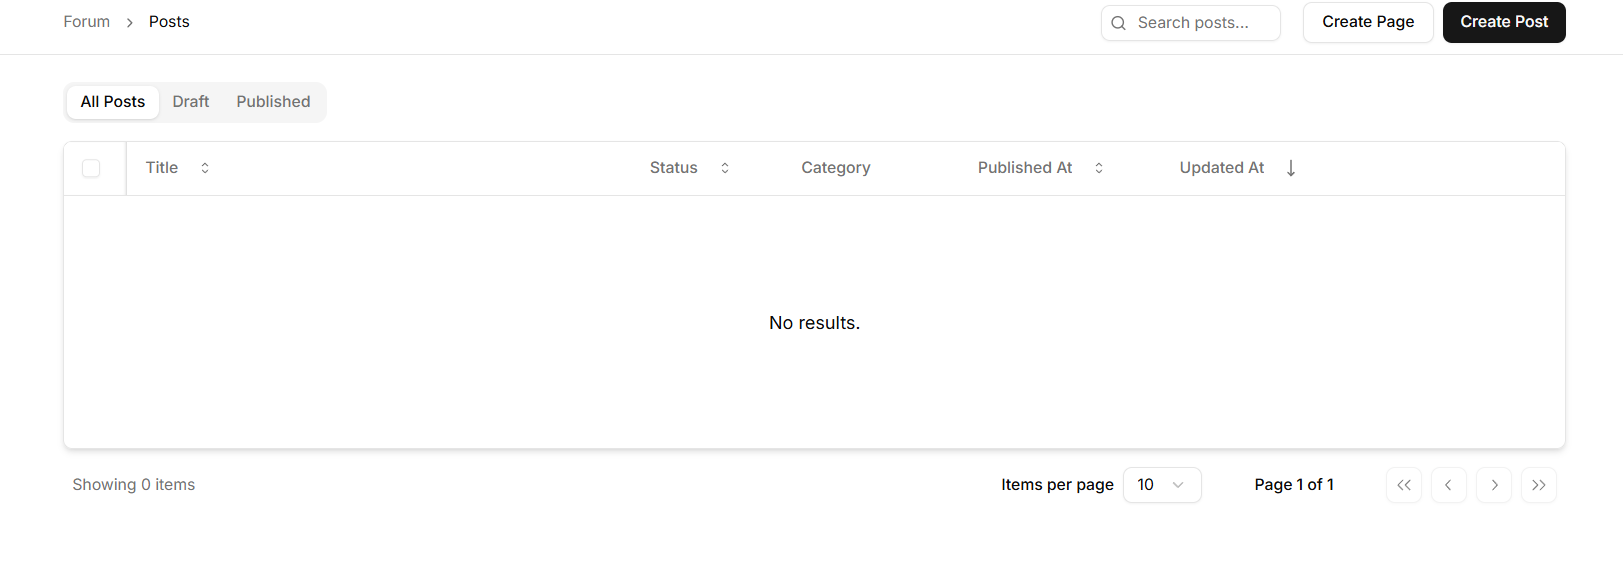
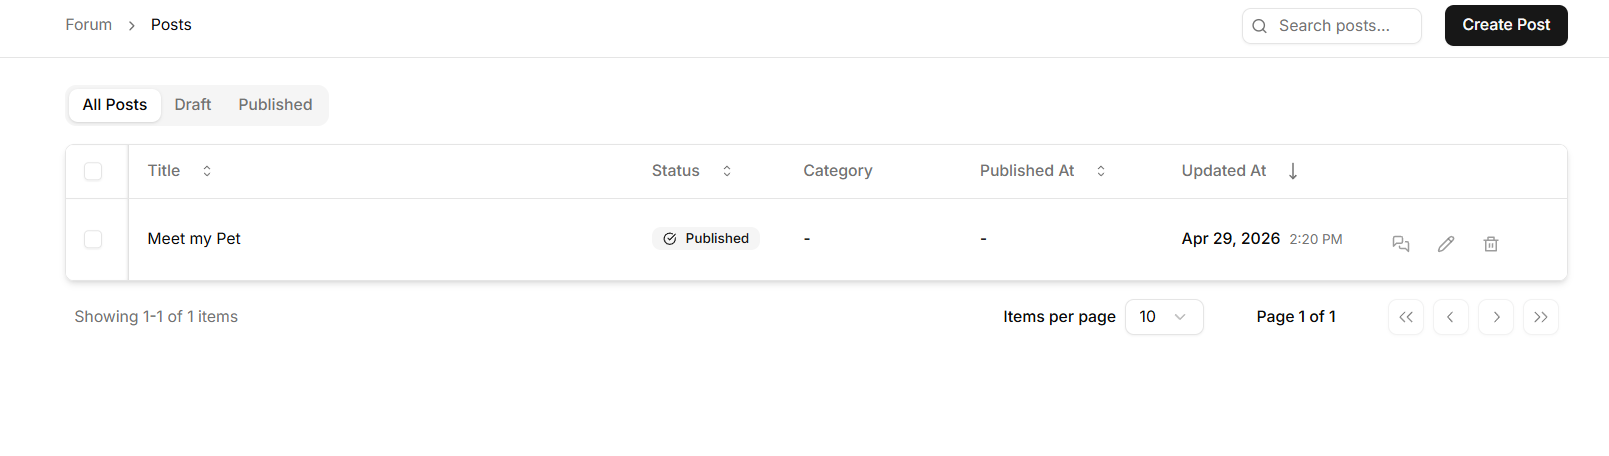
Redirect you to the Posts view
Step 2: Create a Page (Publish Your Community)
This step makes your forum visible on your website.
Click Create Page (top-right in the Posts view)
Select Layout
In the setup wizard:
Choose Community 1 (default layout)
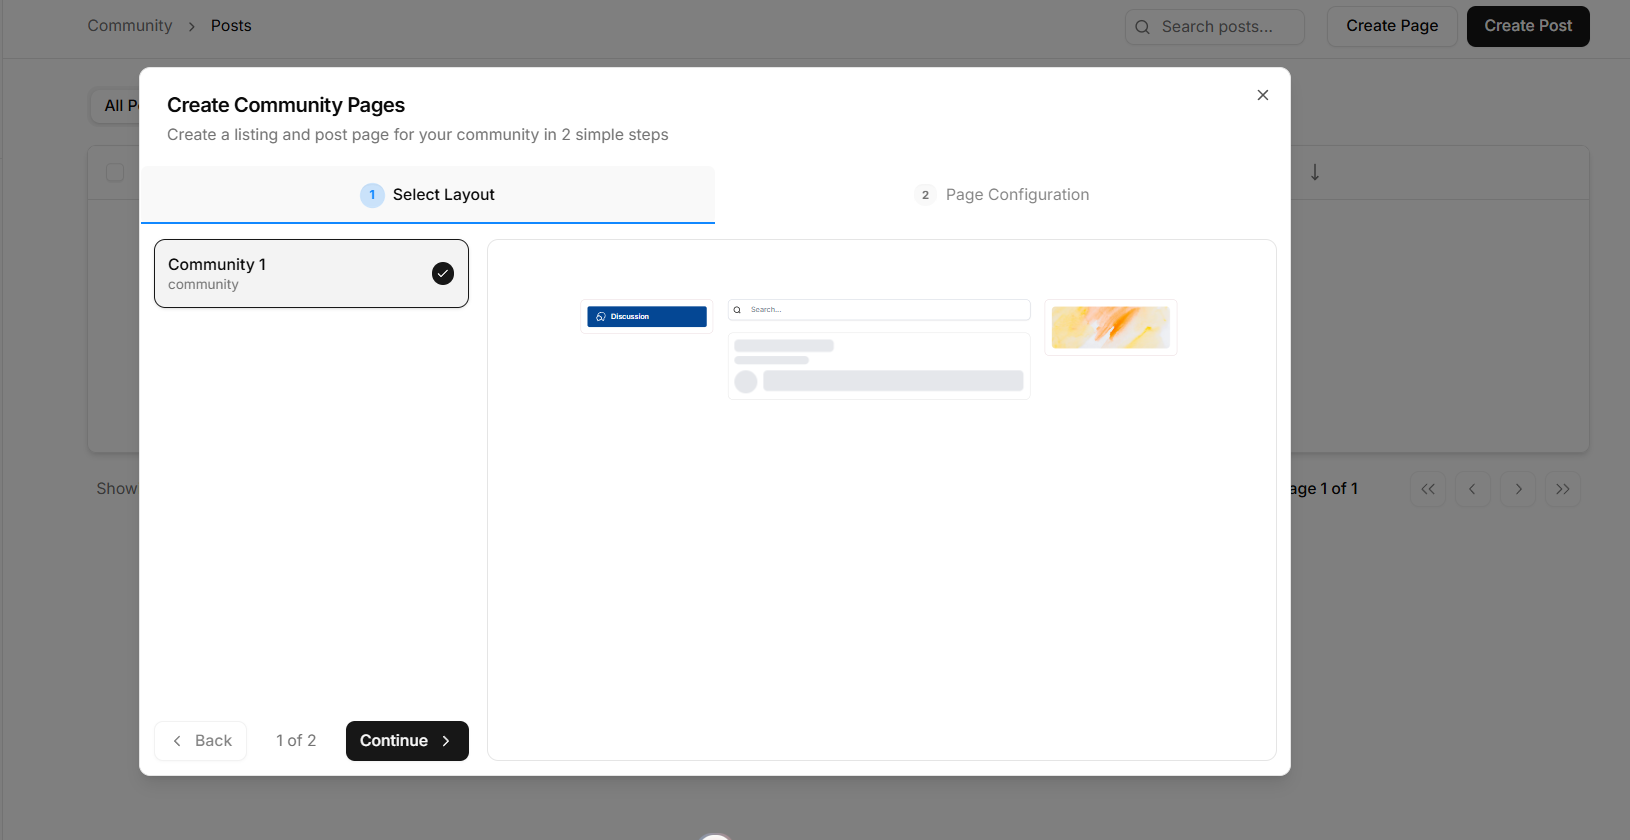
Click Continue
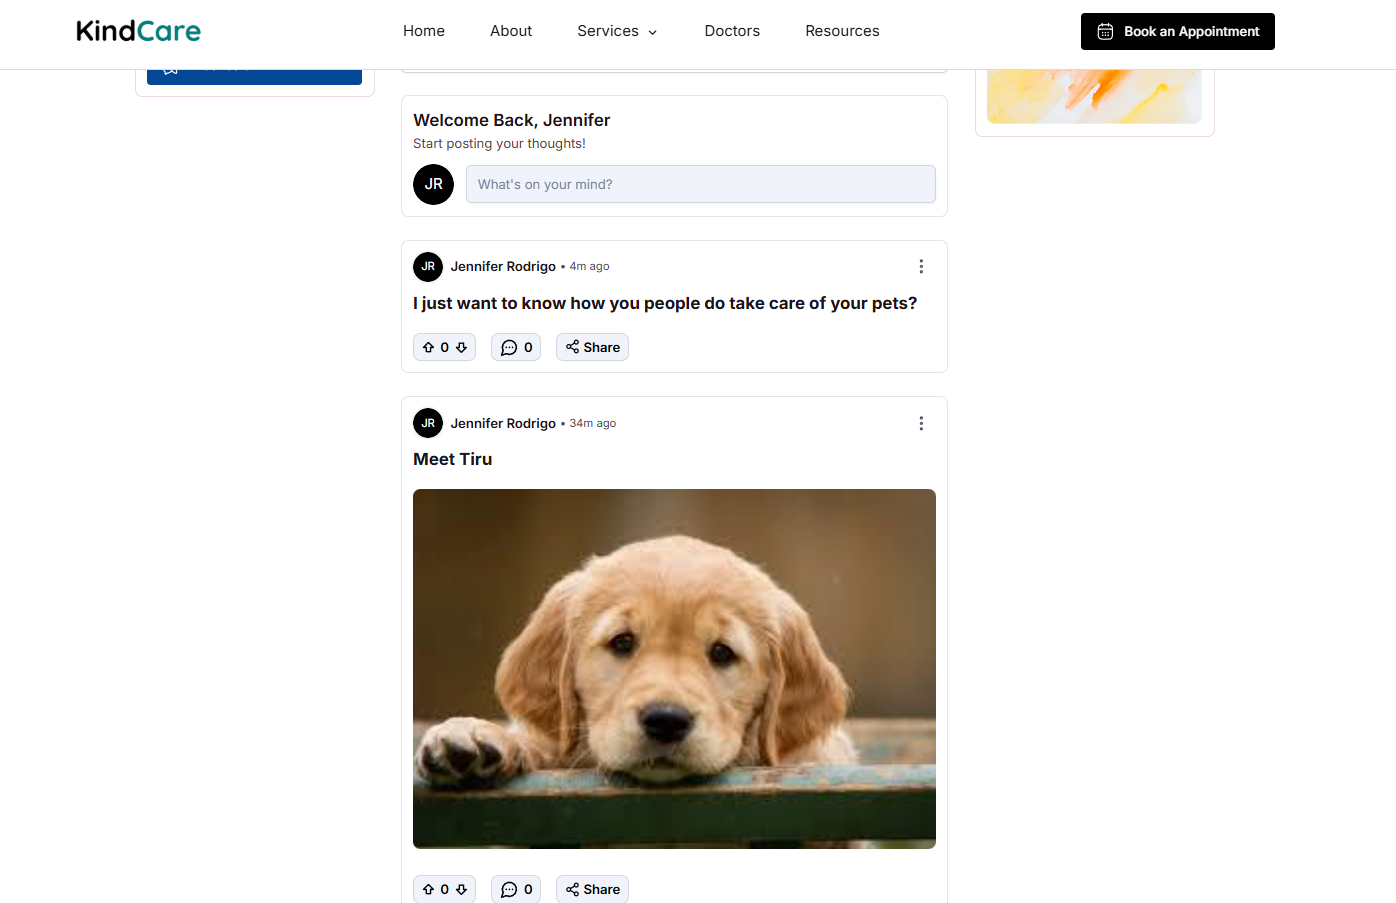
This layout includes:
Post feed
Search bar
Category filters
Community profile card
Sidebar navigation
If you have multiple sites, select the target site first.
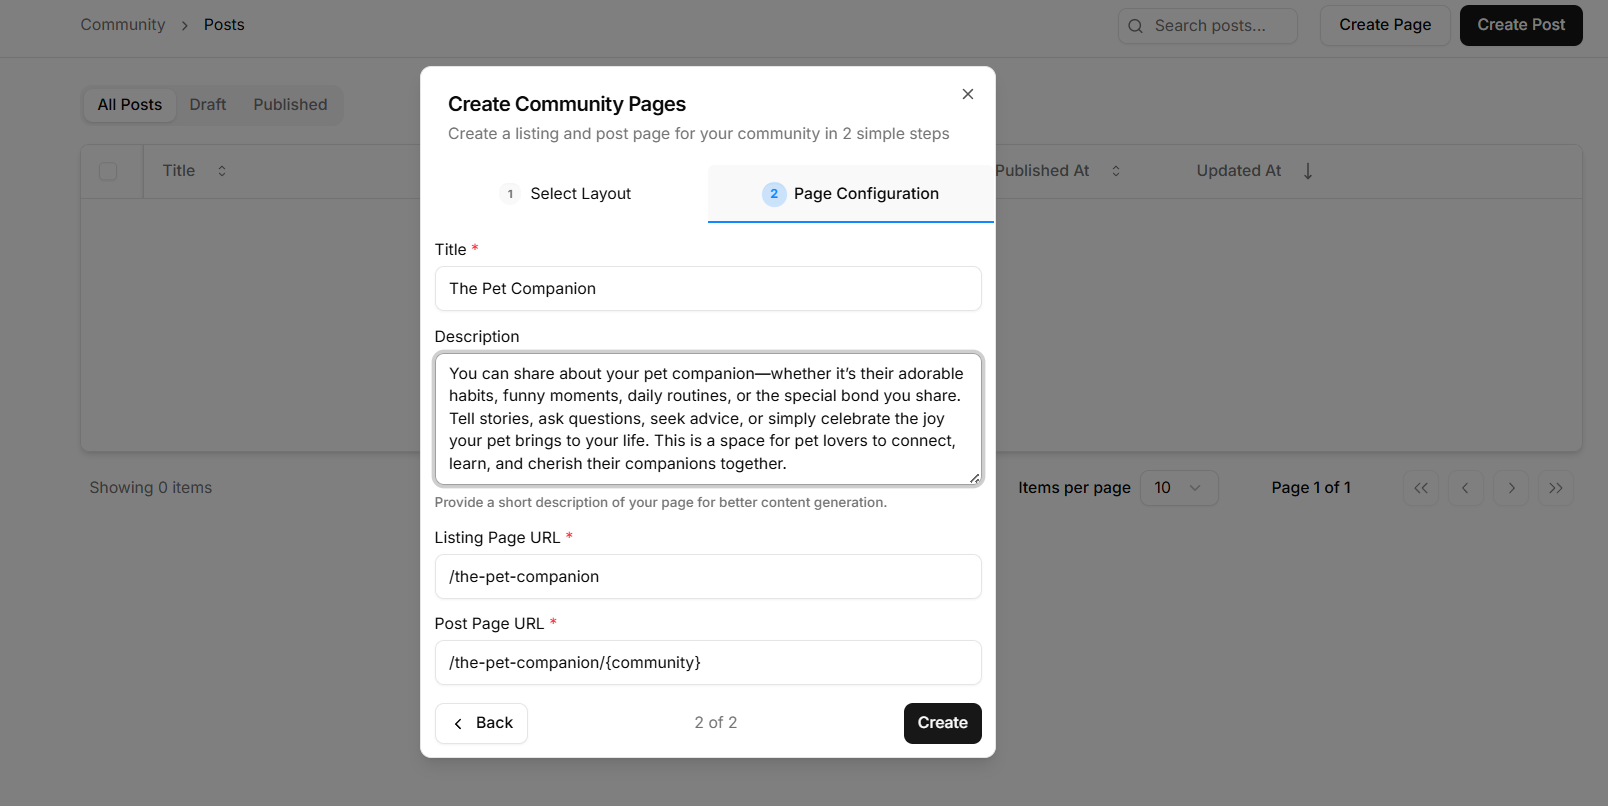
Configure Pages
Fill in the required details:
Field | Required | Description | Example |
|---|---|---|---|
Title | Yes | Name of the listing page | Community |
Description | No | Short description | Join the conversation |
Listing URL | Yes | URL for the feed page | /community |
Post URL | Yes | URL prefix for each post | /community/posts |
Click Create.
What Gets Created
Levo automatically generates:
A Listing Page (
{Listing URL}) with thecommunity-1blockA Post Detail Page (
{Post URL}) with thecommunity-post-1blockBoth pages inherit your site's navbar and footer
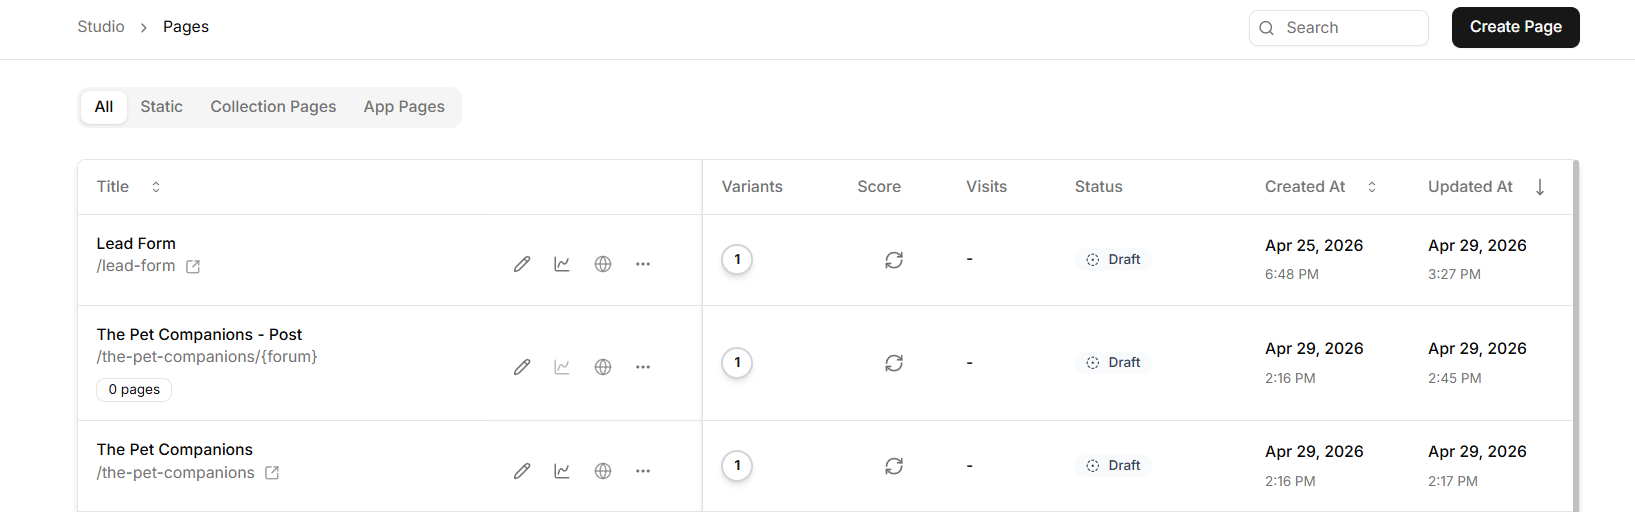
You’ll be redirected to Studio → Pages
Step 3: Create Your First Posts
Before publishing, add a few posts so your forum feels active instead of empty.
Steps:
Go to Posts
Click Create Post
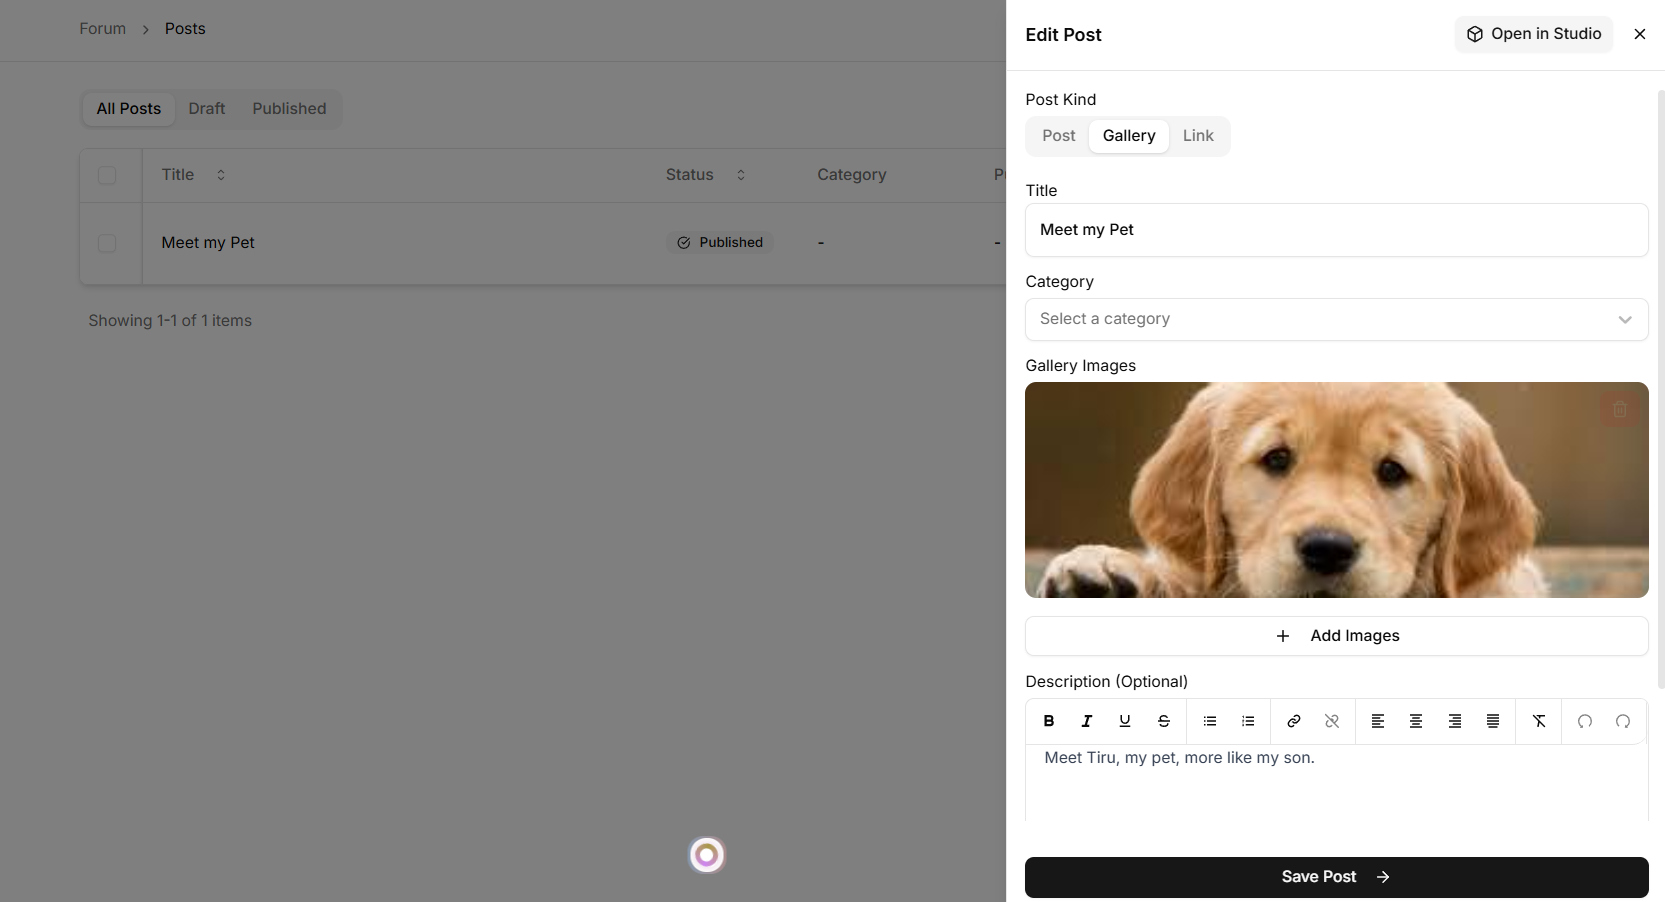
Choose a Post Type
Type | What it creates |
|---|---|
Post | Title and rich text body. Standard discussion format |
Gallery | Title with one or more images and an optional description. Best for visual content |
Link | Title with an external URL. Levo automatically fetches Open Graph data and shows a preview card |
Add title and content
Click Create
Note: If Auto-approve posts is set to Manual in Settings, the post will go into moderation and will not be visible until approved. During the seeding phase, set it to Auto so posts are published instantly. You can switch back to Manual later.
Step 4: Edit and Publish in Studio
In Studio, locate the two pages created for your community.
What Gets Created
Page | Description |
|---|---|
Listing page | Contains the Pet Companions block that displays all posts |
Post detail page | Contains the Pet Companions Post block for individual posts |
Navbar and footer | Automatically added to both pages |
Studio access | Pages are ready to open directly in the editor |
Open the pages in the editor to:
Adjust layout, spacing, typography, and colors
Update the Community Profile Card with banner, logo, title, description, and CTA buttons
Configure SEO settings like meta title, description, and OG image
When everything looks good, publish both pages to make your community live on your domain.
Populating your forum before launch improves engagement.