Roles & Permissions — Controlling Team Access
Table of Contents
Roles: Permission Architecture and Access Control
A Role is a defined set of permissions that determines what a team member can view and perform within the platform.
Levo operates on a granular, action-based permission model, allowing administrators to explicitly control whether a user can:
Create
Read
Update
Delete
These actions can be configured independently across every module in the system, ensuring precise and predictable access control.
Core Concept: Global vs. Resource-Scoped Access
Levo’s permission system is built on a dual-layer scoping model that supports both broad and highly restricted access.
Workspace-Wide Roles (Global Scope)
Permissions apply across the entire workspace.
For example: Granting “Blog: Create Posts” allows the user to create posts in all blog collections within the workspace.
Resource-Specific Roles (Scoped Access)
Permissions can be restricted to a specific resource or instance.
For example: The same “Blog: Create Posts” permission can be limited to a single blog (e.g., Engineering Blog), preventing access to other blogs such as Marketing Blog.
This allows administrators to maintain strict boundaries while reusing the same role definitions.
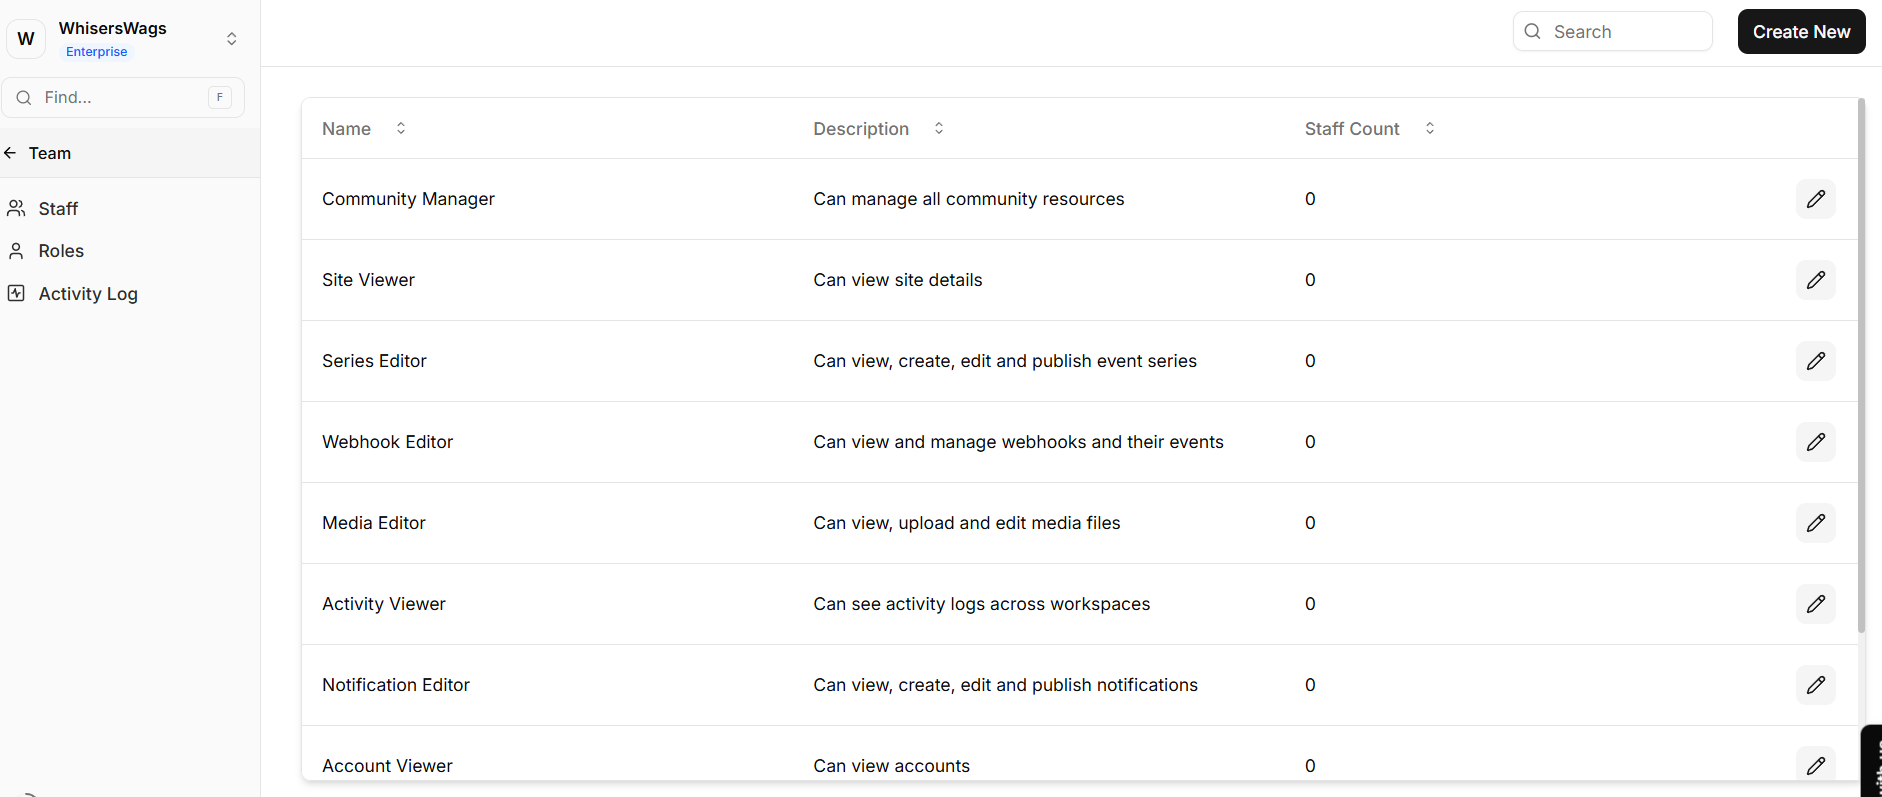
1. Creating a Role
To create a new role:
Navigate to the Roles dashboard
Click Create Role
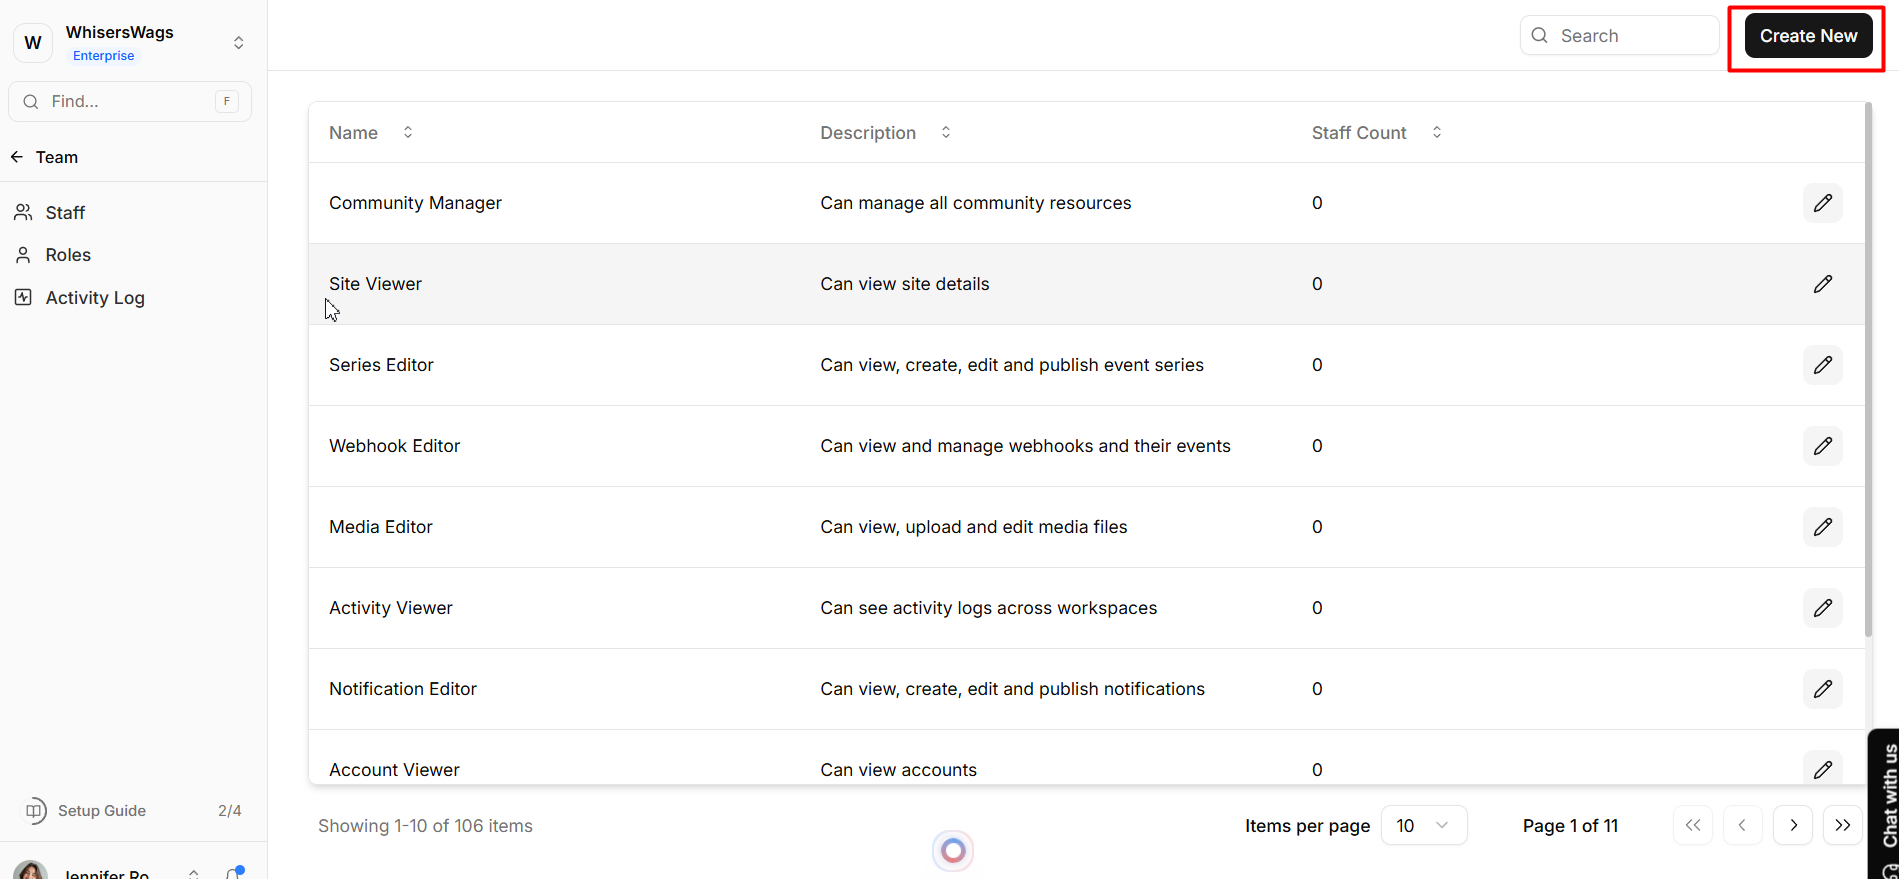
Enter a clear name and description
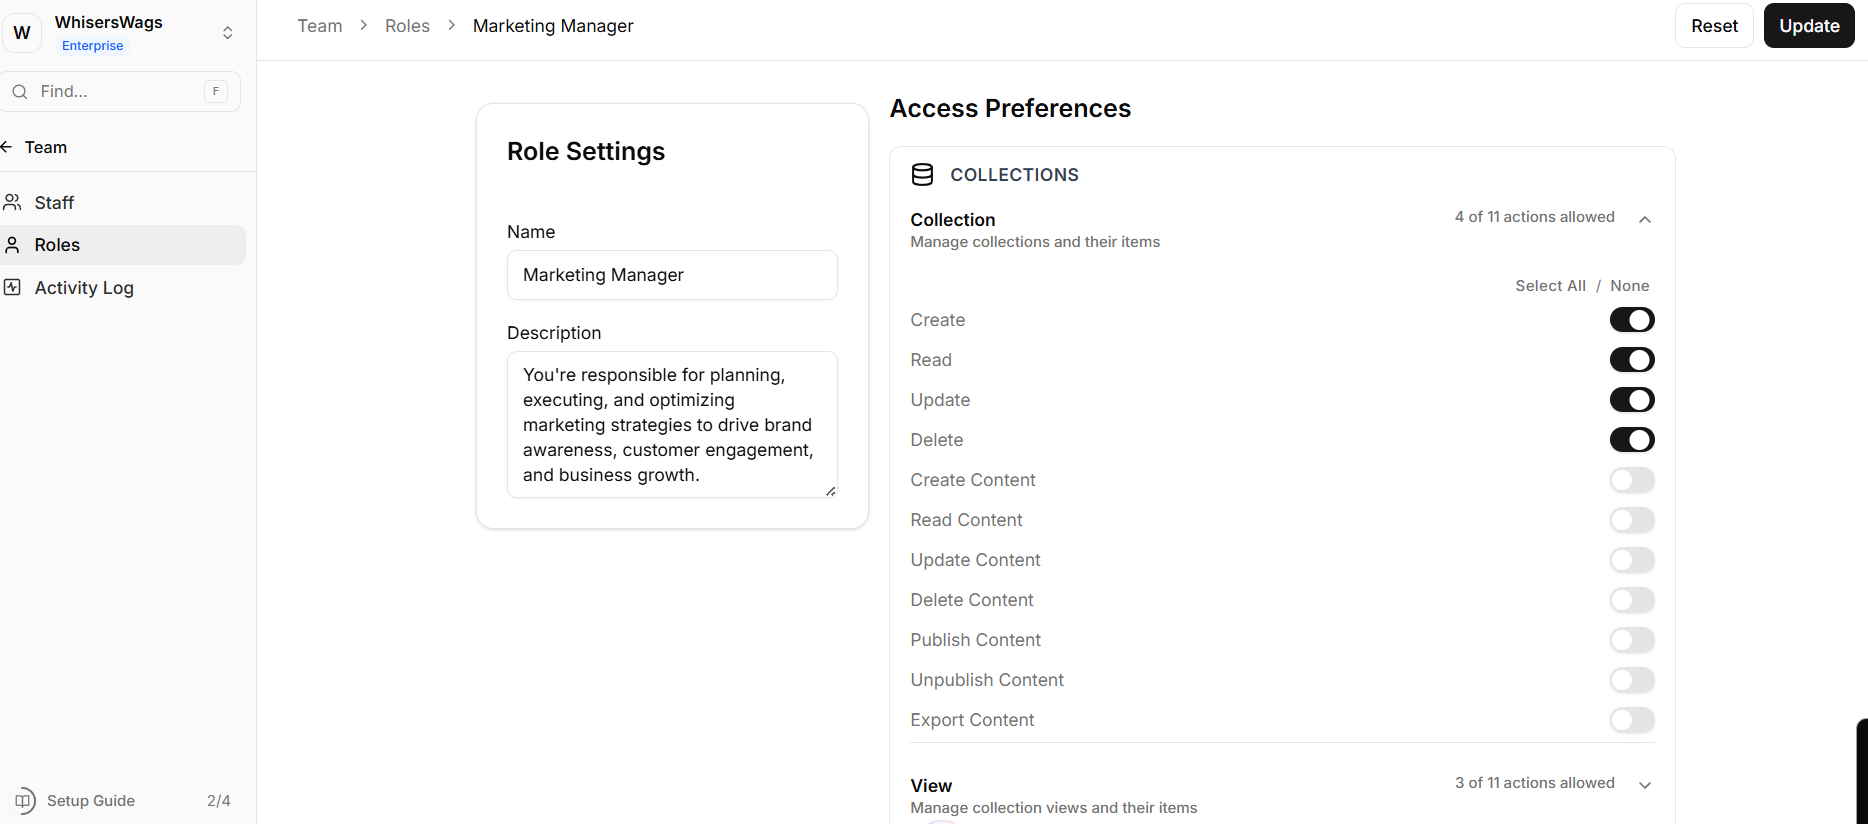
Configure permissions using the available controls
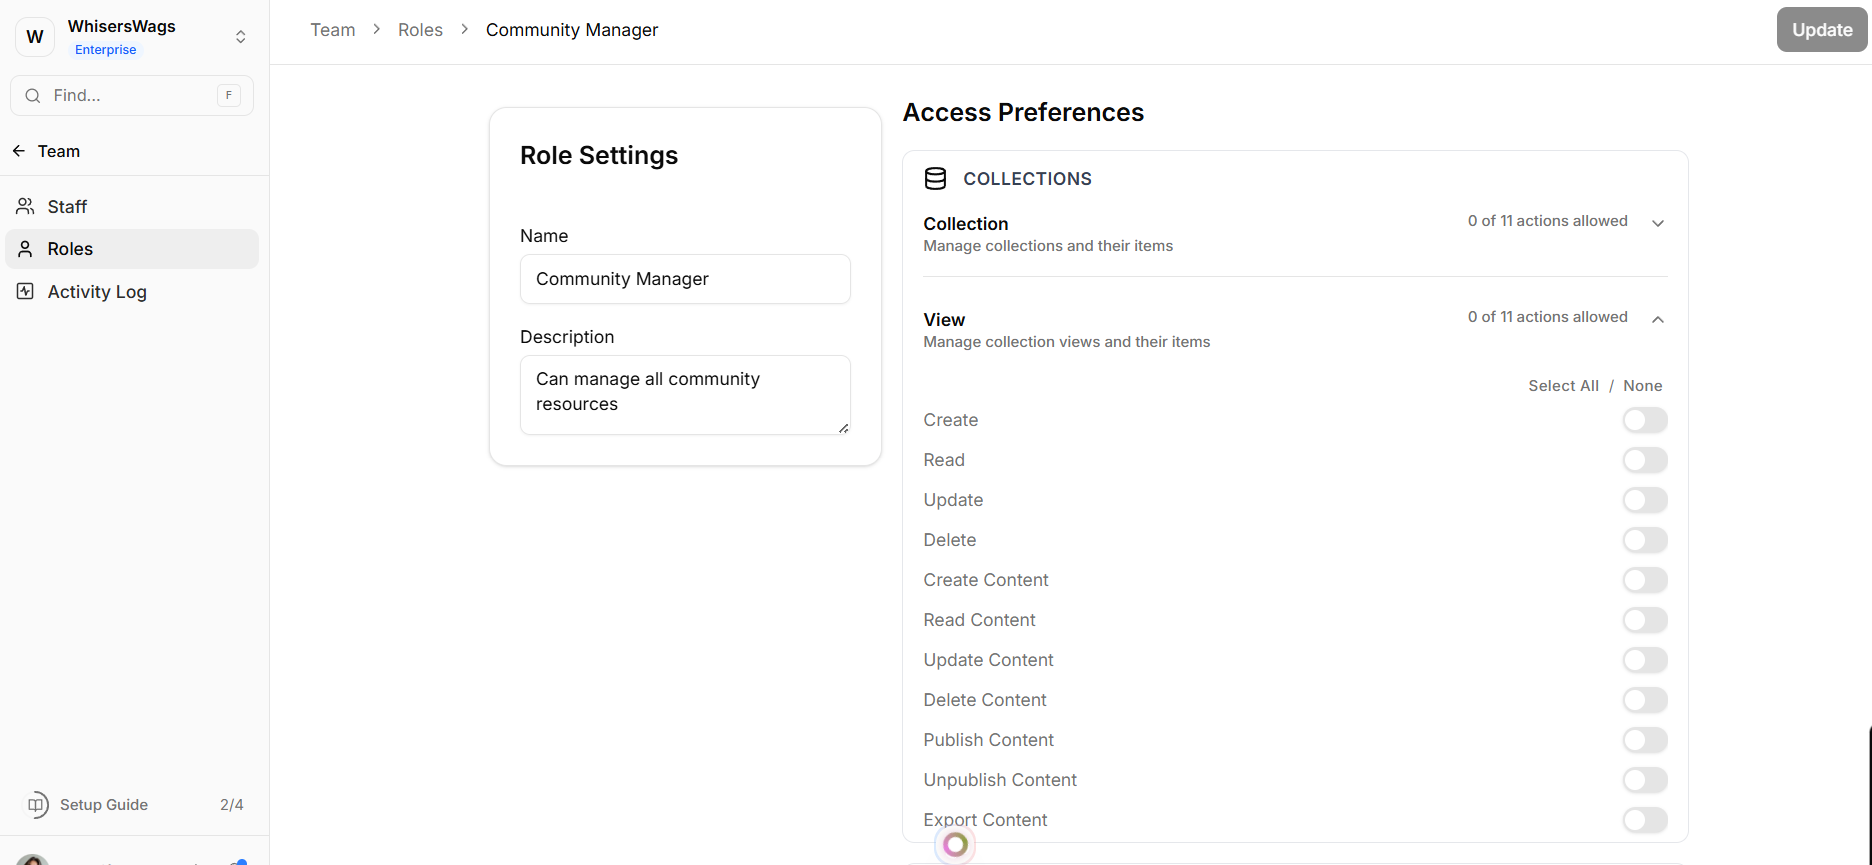
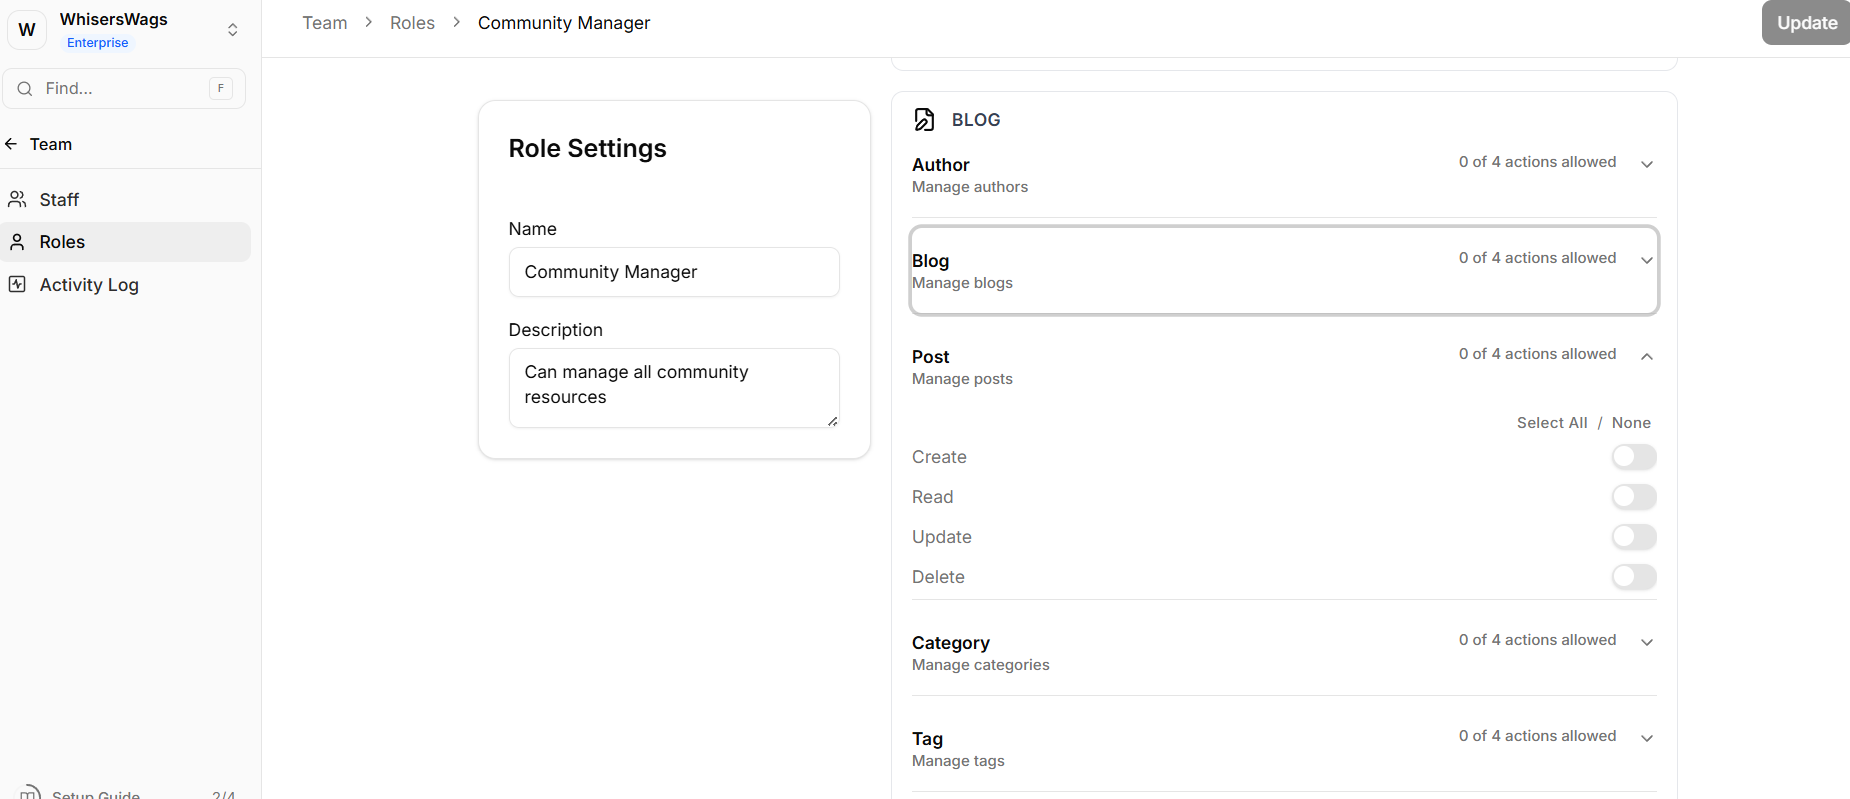
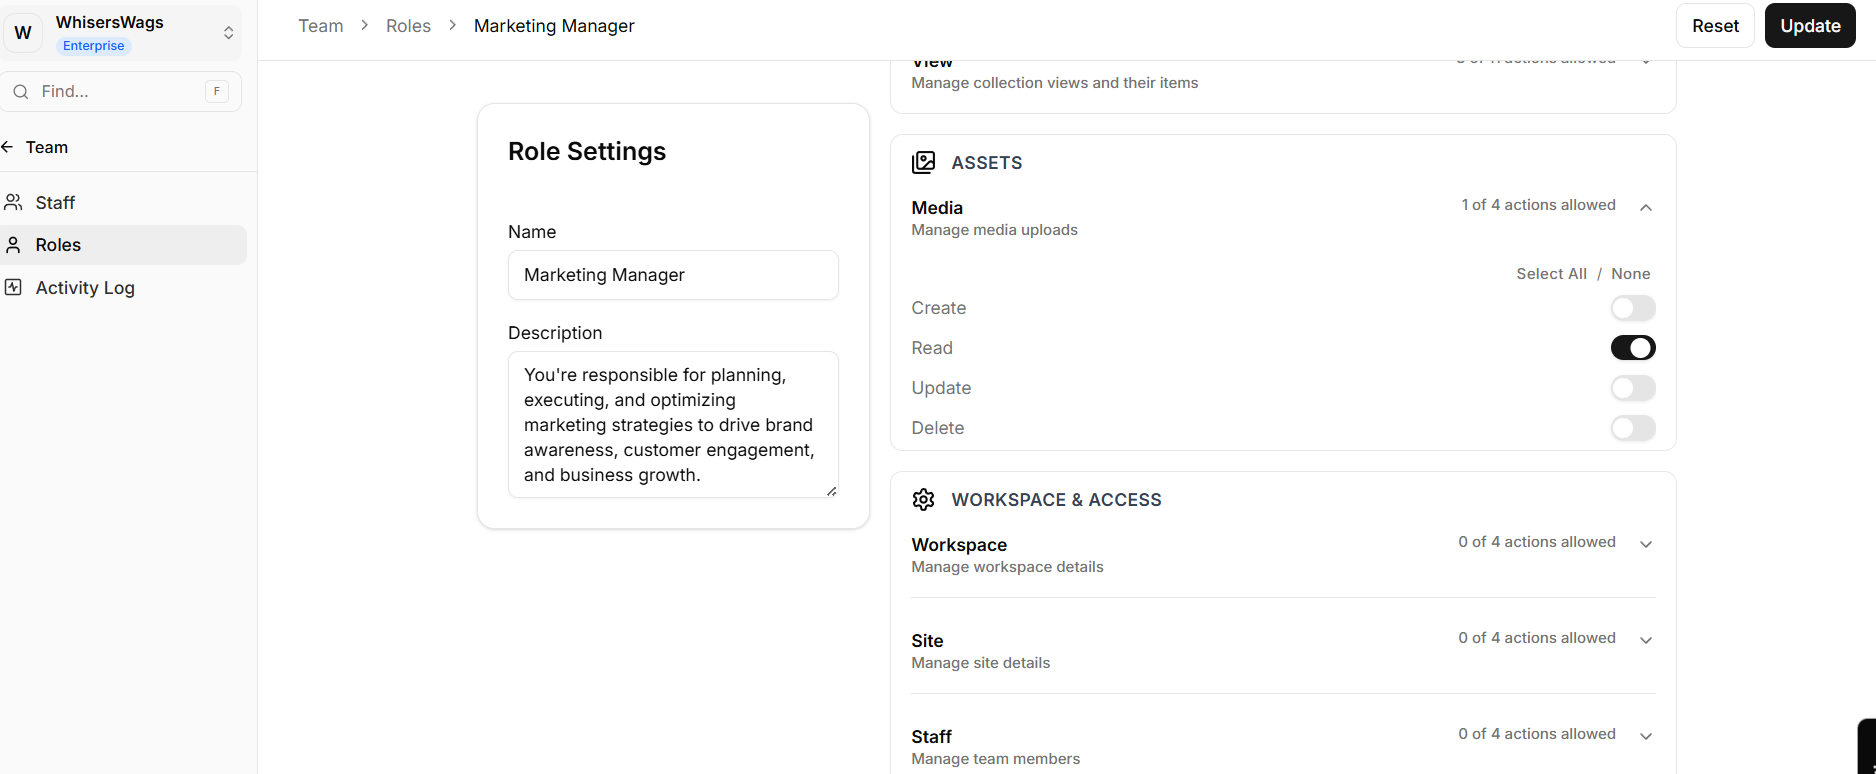
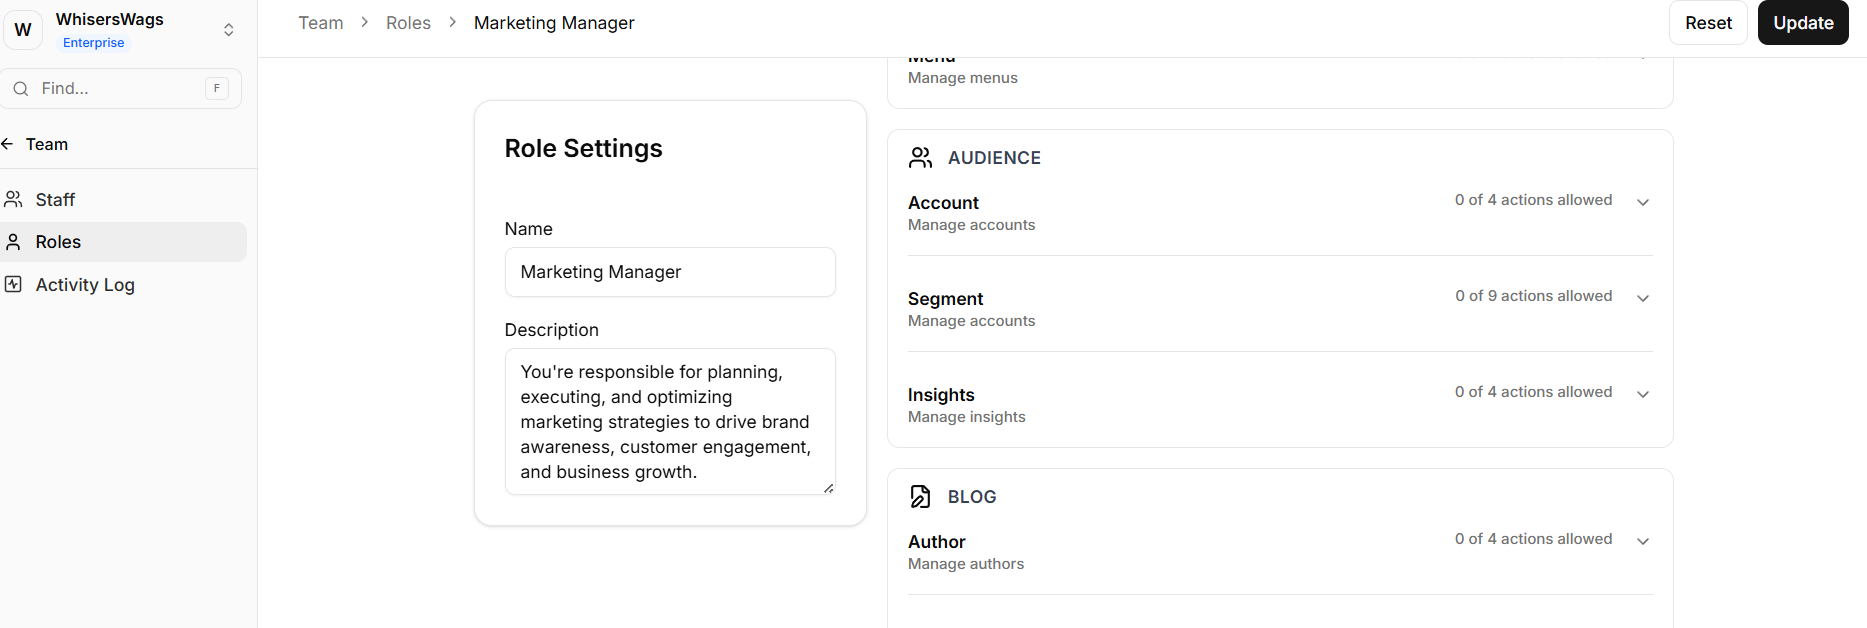
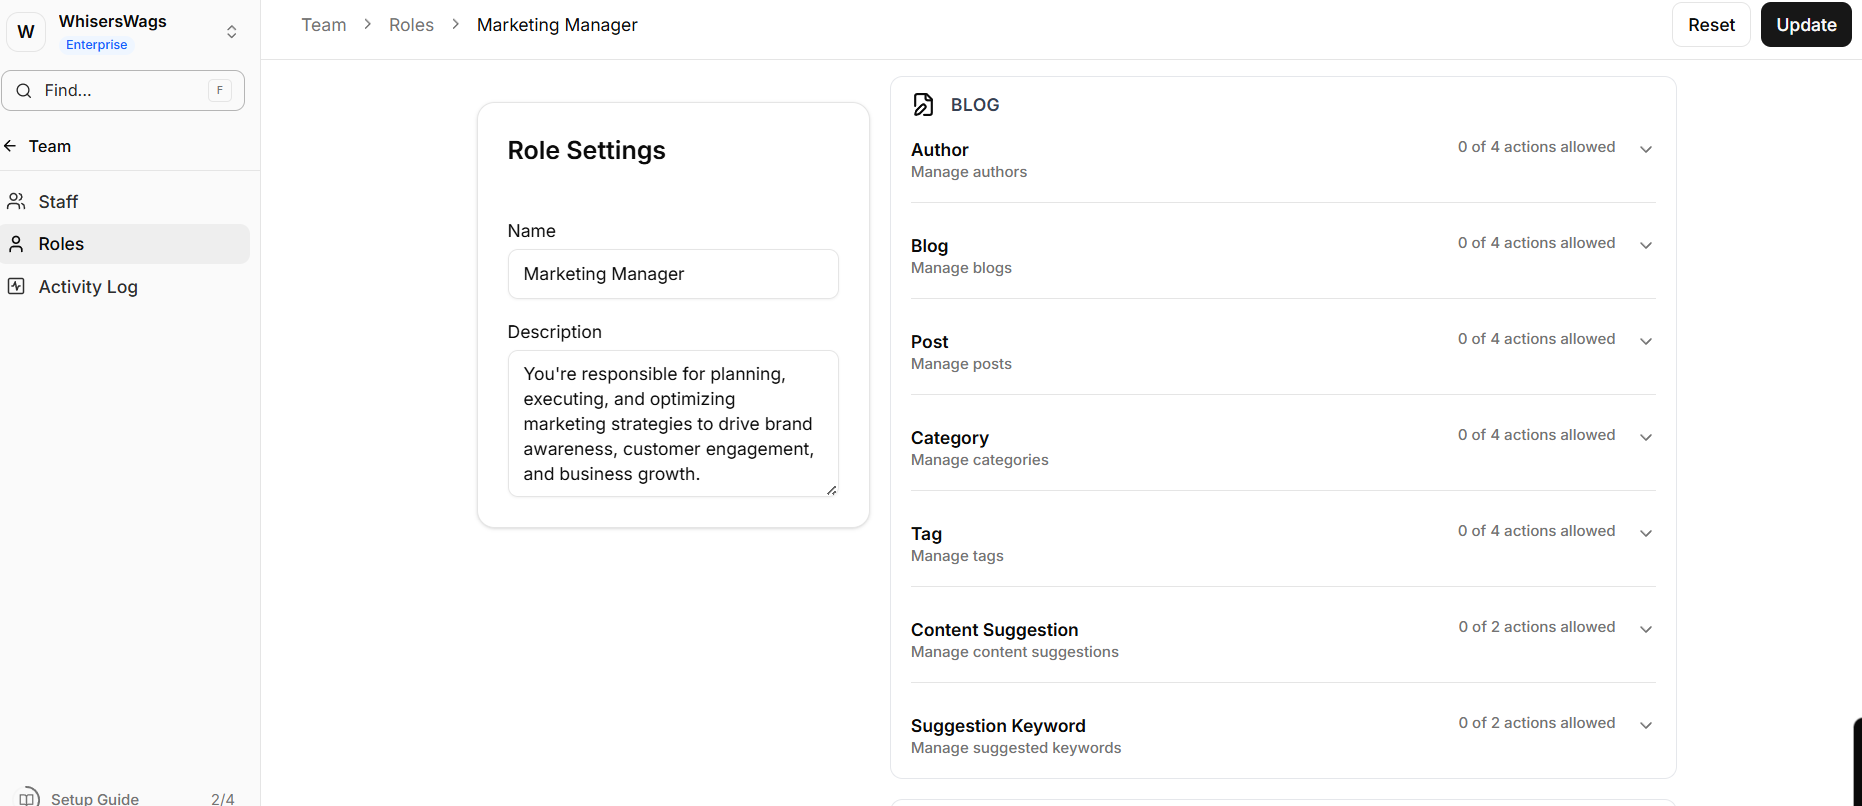
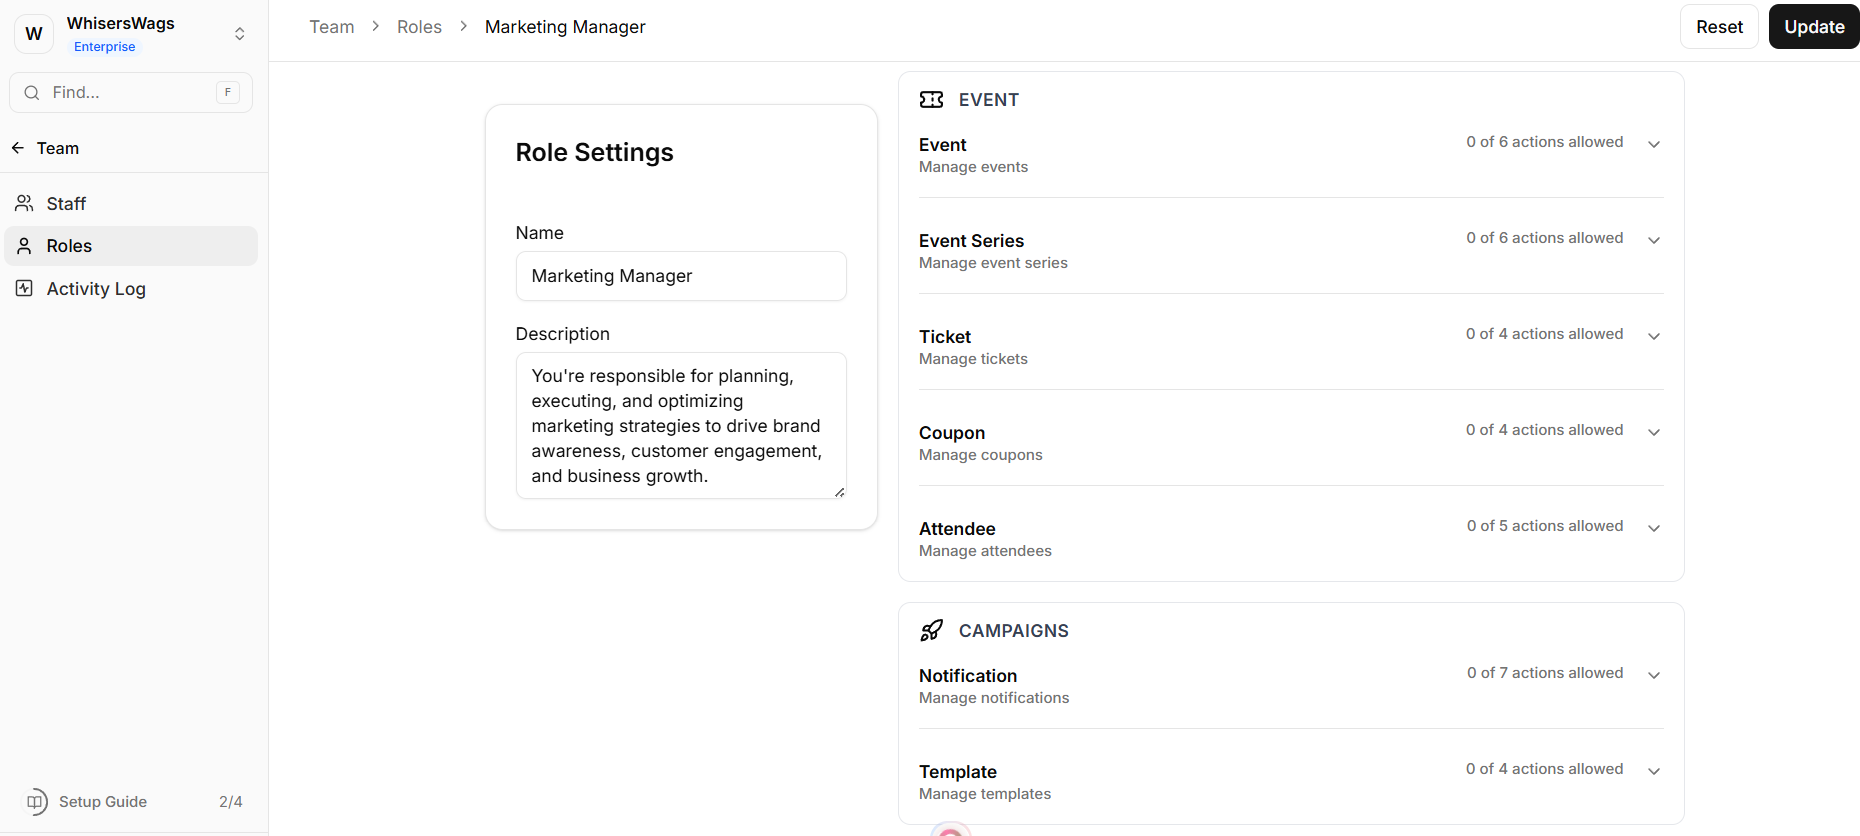
Permission Configuration
Permissions are organized by module in an expandable interface
Each module exposes Create, Read, Update, Delete actions
Toggle permissions to define the exact access level
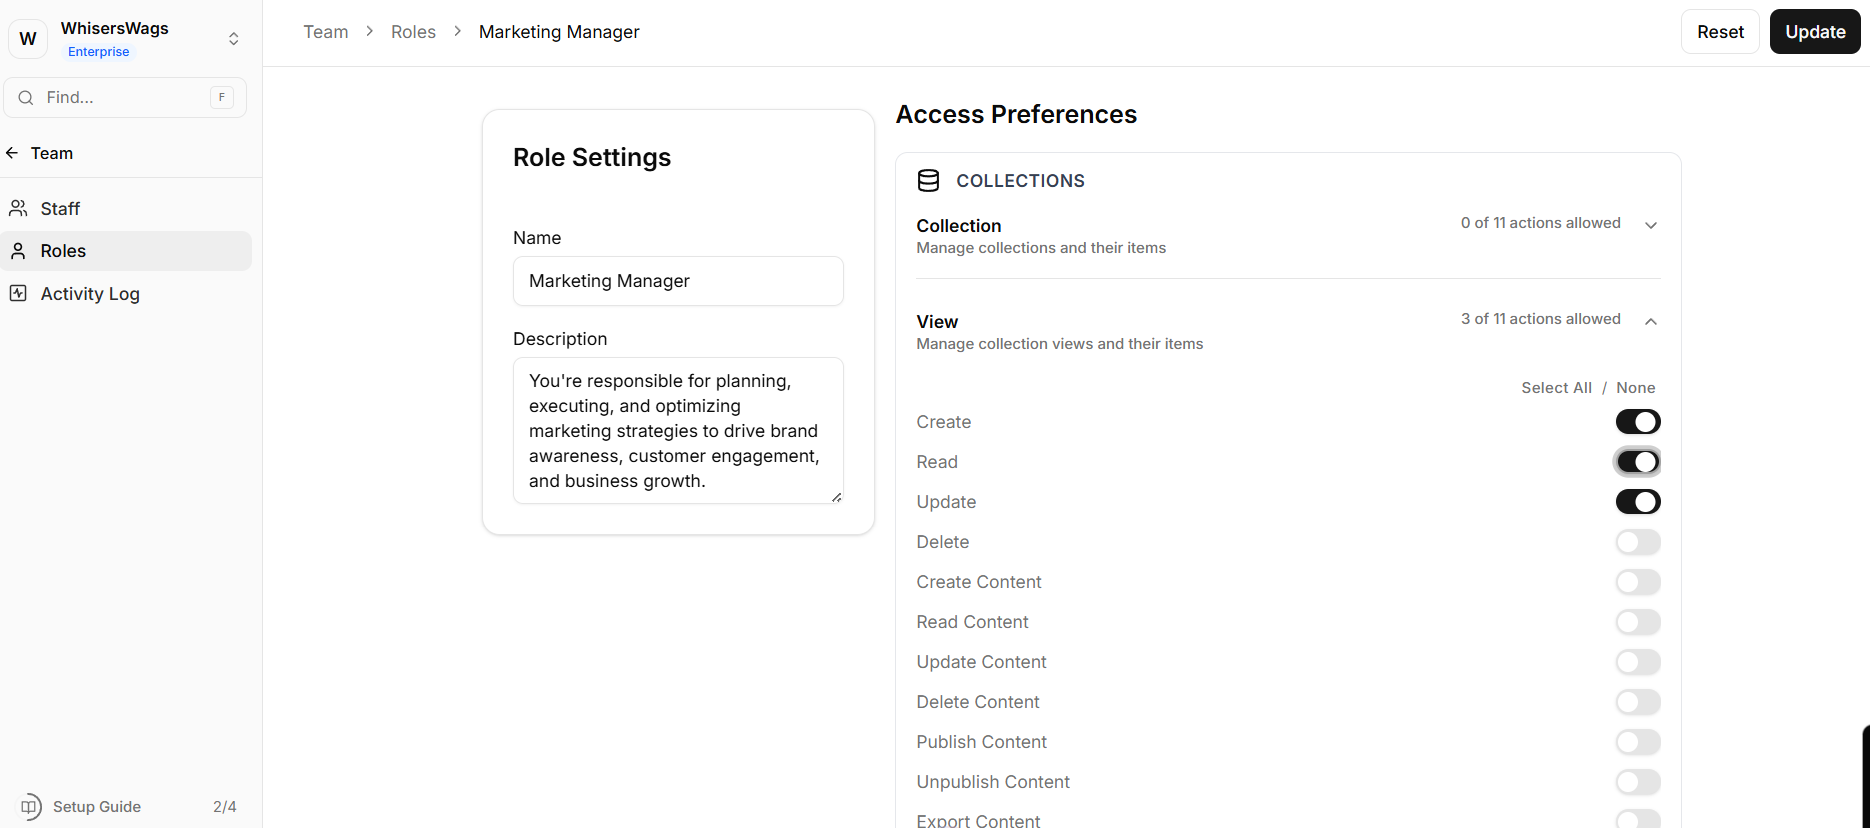
Tip: Use the Select All / None options within each module to speed up configuration.
2. Permission Matrix Overview
Roles can be configured across all major system components:
Databases
Control access to collections, including creating entries, editing data, and exporting records.
Assets
Manage permissions for the media library, including upload, modification, and deletion of assets.
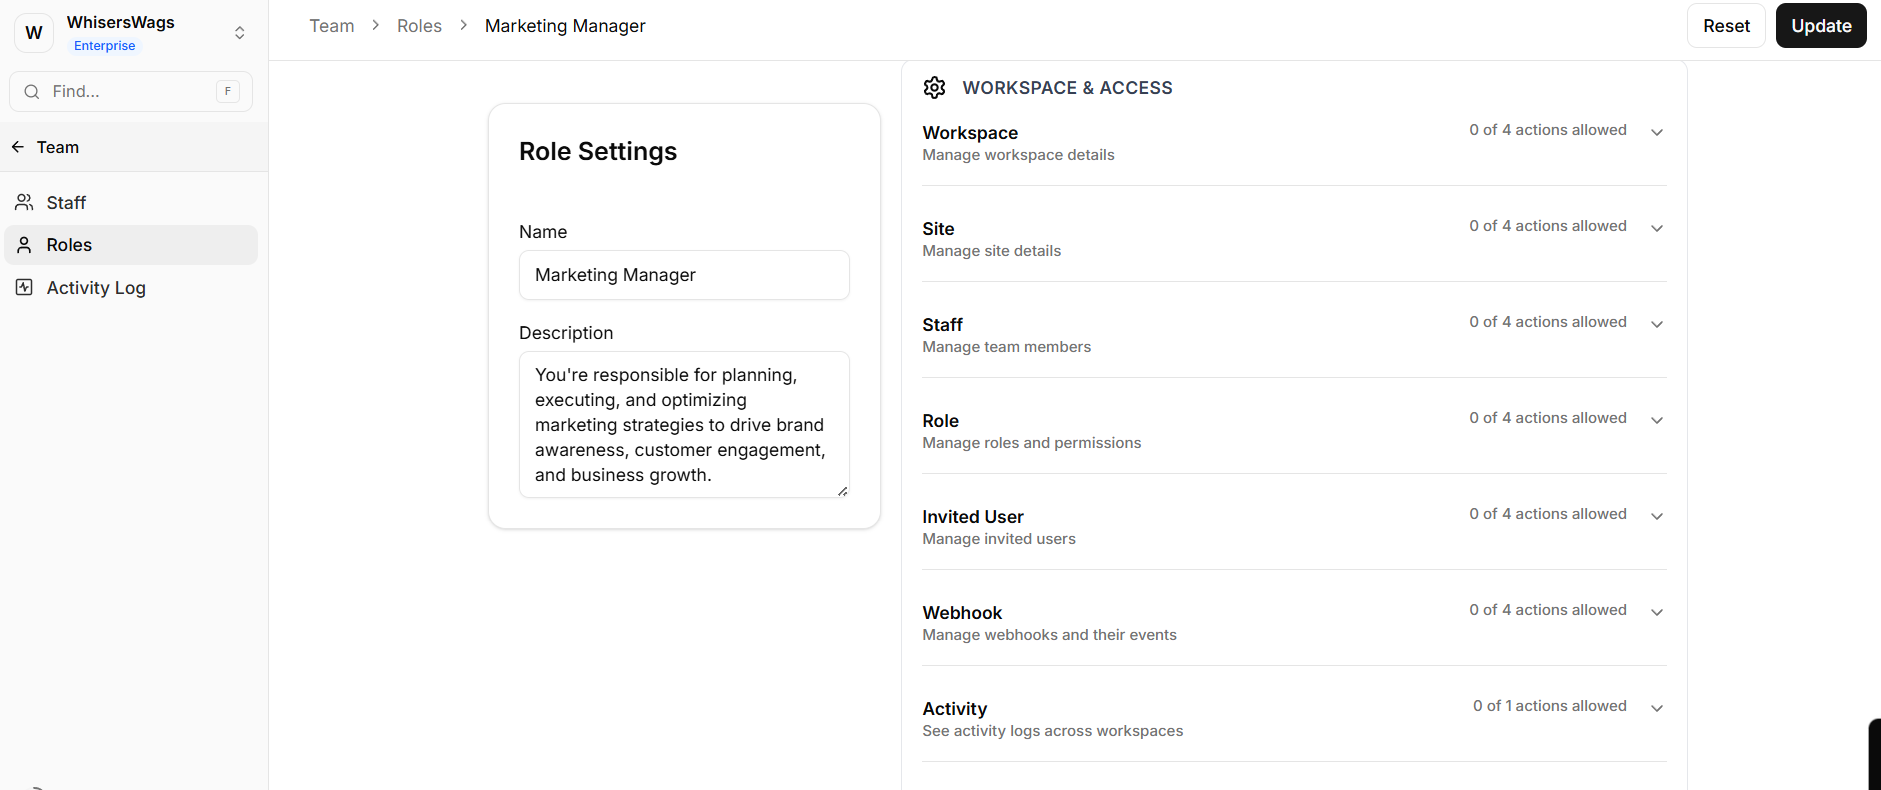
Security & Settings
Define access to sensitive areas such as:
Workspace settings
API keys
Webhooks
Staff management
Activity logs
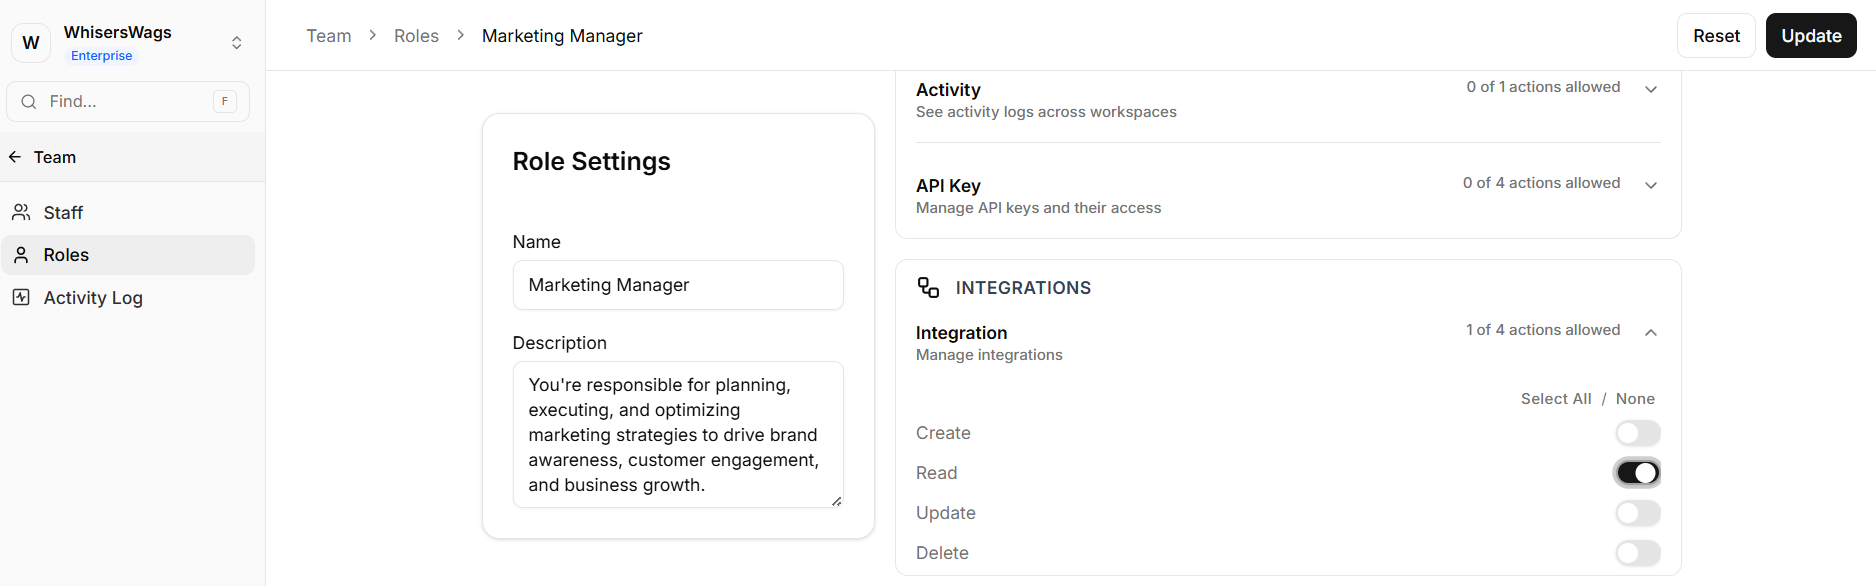
Integrations
Control who can connect and manage third-party services.
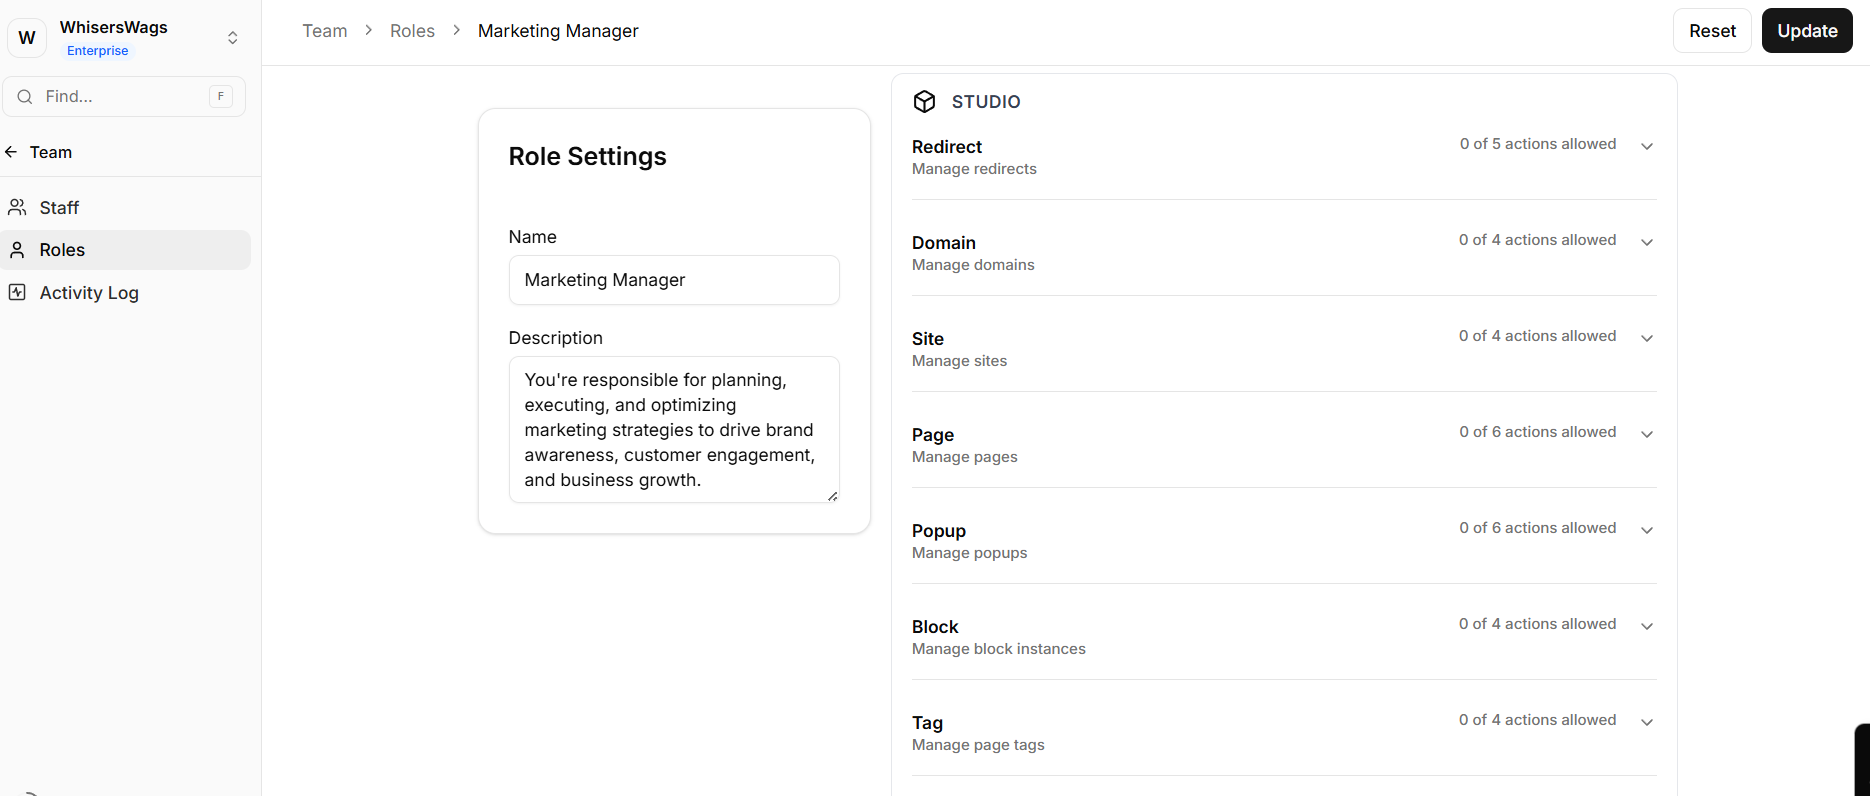
Studio Editor
Manage access to site structure and design elements, including:
Pages
Domains
Popups
URL redirects
Audience Data
Restrict or allow access to user data and analytics, including:
Member accounts
Segments
Insights
Content Systems
Control publishing capabilities across:
Blog (posts, categories, tags)
Events (tickets, coupons, attendees)
Campaigns & Bookings
Manage access to:
Notifications and templates
Booking and checkout systems
3. Example Role Configurations
Content Editor
Blog Posts: Create, Read, Update
Studio Pages: Read-only Allows content creation without impacting site structure.
Event Coordinator
Events, Tickets, Coupons: Full access
Studio, Audience Data, Billing: No access Focuses access strictly on event management.
Data Analyst
Audience Insights & Segments: Read-only
Collections: Export access
All other actions: No update or delete permissions Ensures safe data analysis without risk of modification.
Developer (Sandbox Access)
Integrations, API Keys, Webhooks, Collections: Full access
Roles & Staff: No access Allows development work while protecting administrative controls.