Building with Blocks
Table of Contents
Blocks are the building units of every page you create in Levo. Each block is a pre-built section — Navbar, Hero, Content, Contact Us, Footer, and more — designed so you can assemble a full webpage without writing a single line of code.
Every block category comes in multiple variations (Navbar 1, Navbar 2, Navbar 3, etc.), so you always have a starting point that fits your layout. Pick the one closest to what you need, customise the content and design to match your brand, and you're done — no developer needed, even for future updates.
Adding a Block
In Levo Studio -> click the "+" icon on the right side to open the Add Block Panel.

The Block Panel will be visible to you.

All blocks are pre-optimised for responsiveness and design, removing the need to handle any technical complexities from your side.
You will see 2 tabs:
My Blocks
All Blocks
To use the block that you have used earlier, use "My Blocks". To use the base collection of blocks from Levo, use "All Blocks". We will dig deeper for "My Blocks" in this section.
For now, you can initially learn to add from "All Blocks" by going to that tab, choosing the category of your choice and clicking "Add Block" item.

This will add the chosen block at the end of the page or below your previously selected block in the page.
Edit Block Panel (aka Right Side Panel)
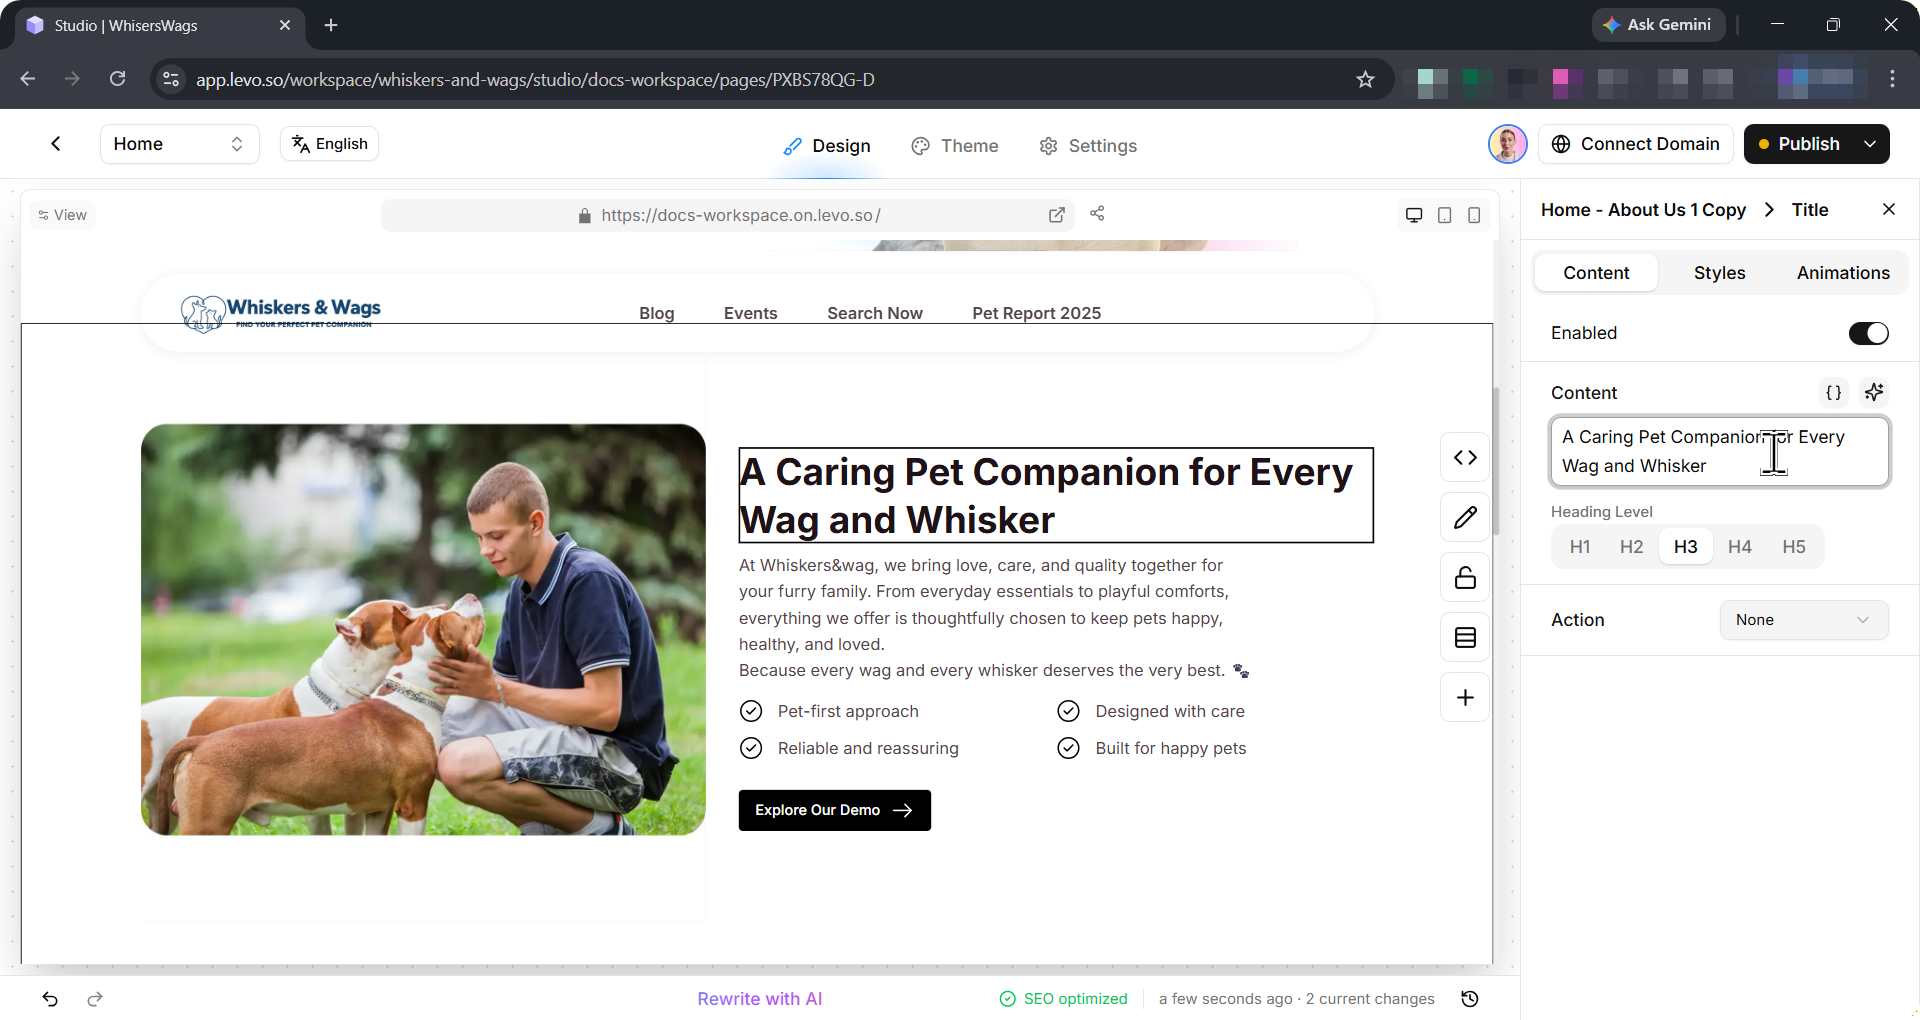
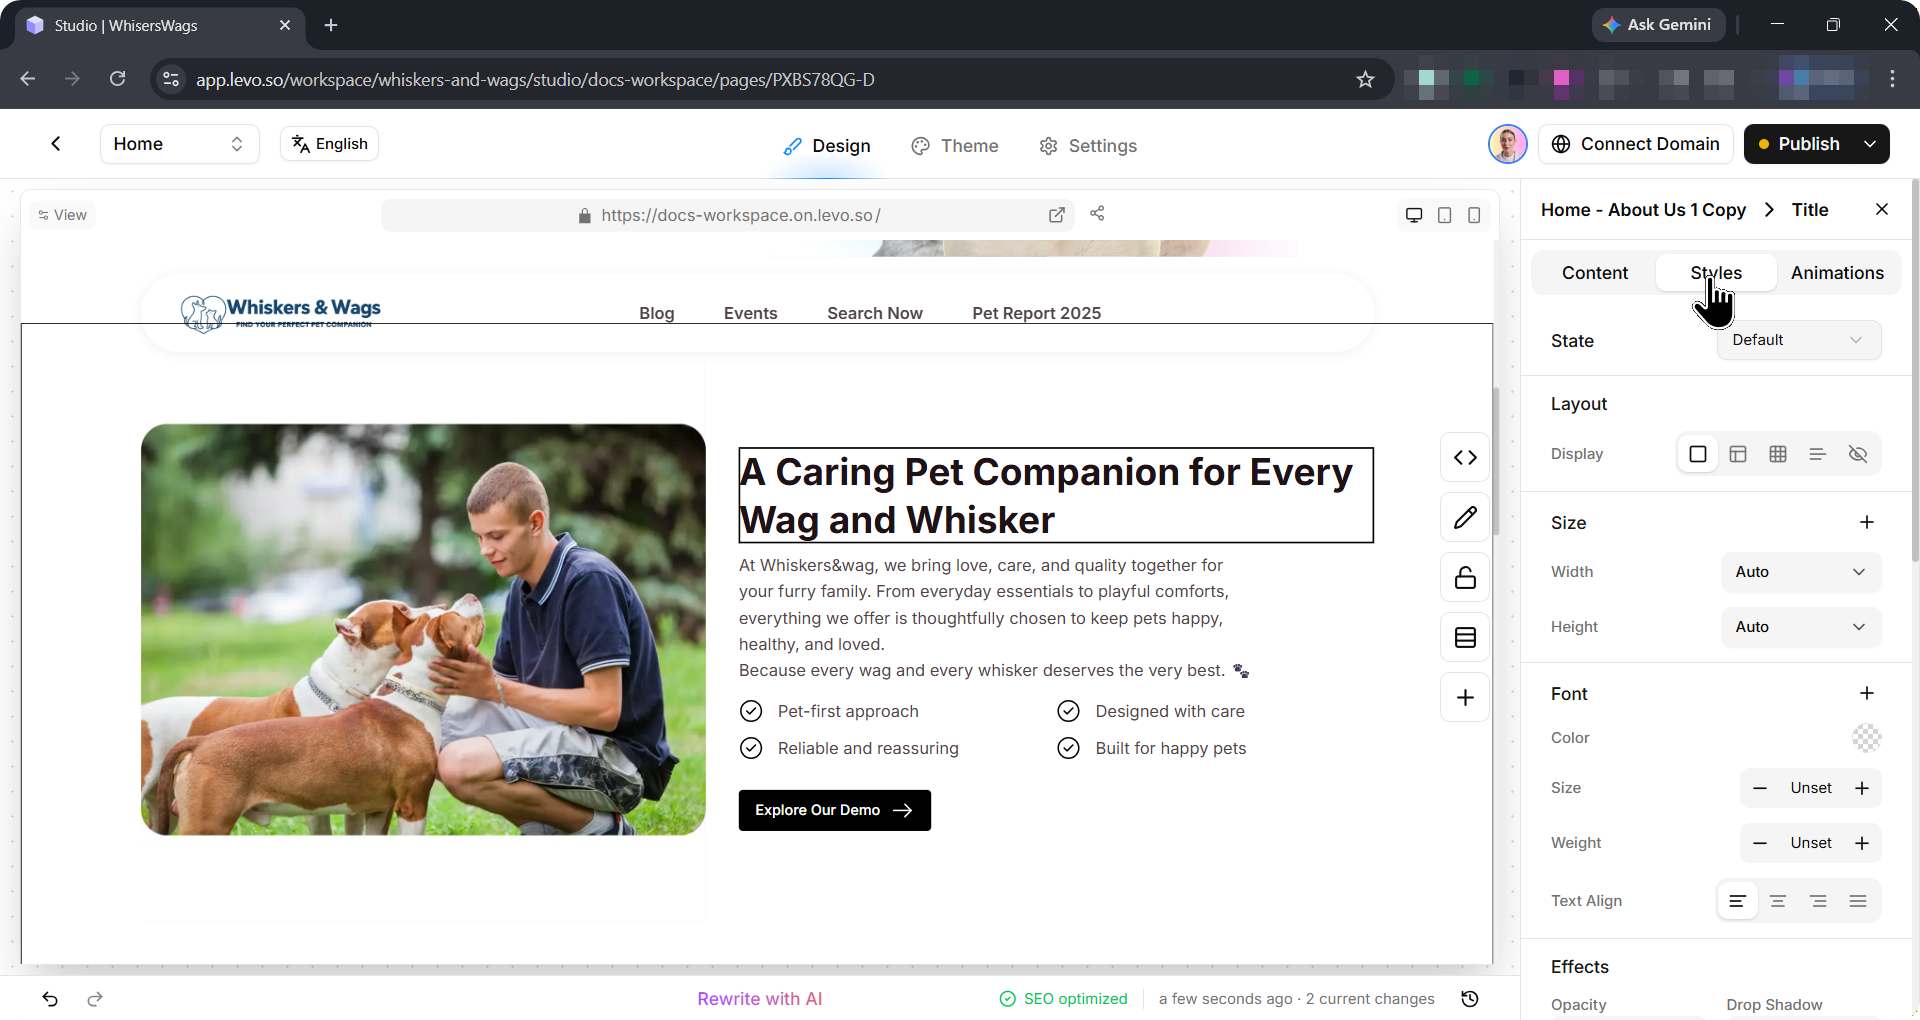
After adding a block in Levo Studio, you can customise it by clicking directly on the element in the block. This will open the Edit Block Panel on the right side of the screen.
There you will see 3 tabs for:
Content: for adding or editing content like text, image, link etc.
Styles: for defining how your element, or wrapper of the element(s) will look
Animation: to animate your element or section on Entry, Scroll or Hover

Now, you know the basics, so you can play around with it or jump on these detail guides on how to use it: (to be linked)
How to edit the content of a Block?
How to style in Levo Studio?
How to animate elements or sections?
My Blocks
My Blocks is your personal block library. Save any block once, then reuse it across as many pages as you need.
Here is the problem it solves: imagine your site has 50 pages, all sharing the same Navbar, Footer, and Testimonial section. Without My Blocks, updating the phone number in your Footer means opening all 50 pages and editing each one manually. With My Blocks, you change it in one place and every page updates instantly.
Access "My Blocks" from the tab next to "Add Block" in the right panel.

What is an instance?
An instance is a placed copy of a saved block. There are two kinds:
Same instance — the block stays linked across all pages. Edit it anywhere and it updates everywhere. Use this for content that must always be consistent: Navbars, Footers, announcement bars.
New instance — an independent copy with no link to the original. Edit it freely without affecting any other page. Use this when you need a variation for a specific page.
How to use it?
Hover over any saved block in the My Blocks tab and you will see two options:
Use this instance: Hover over the block, and select "Use this instance." Any edits will automatically apply across every page using the same instance.

When a shared instance is on the canvas, the panel shows "This block is used in N pages". Hover over that message to see exactly which pages.
Create a new instance: adds an independent copy. Changes to this block stay isolated to the current page and do not affect the original or any other page using it.