How to Edit Page Settings
Table of Contents
Your Page Settings allow you to control the details, links, and behind-the-scenes information for your page.
Finding Your Page Settings
You can open Page Settings in two simple ways:
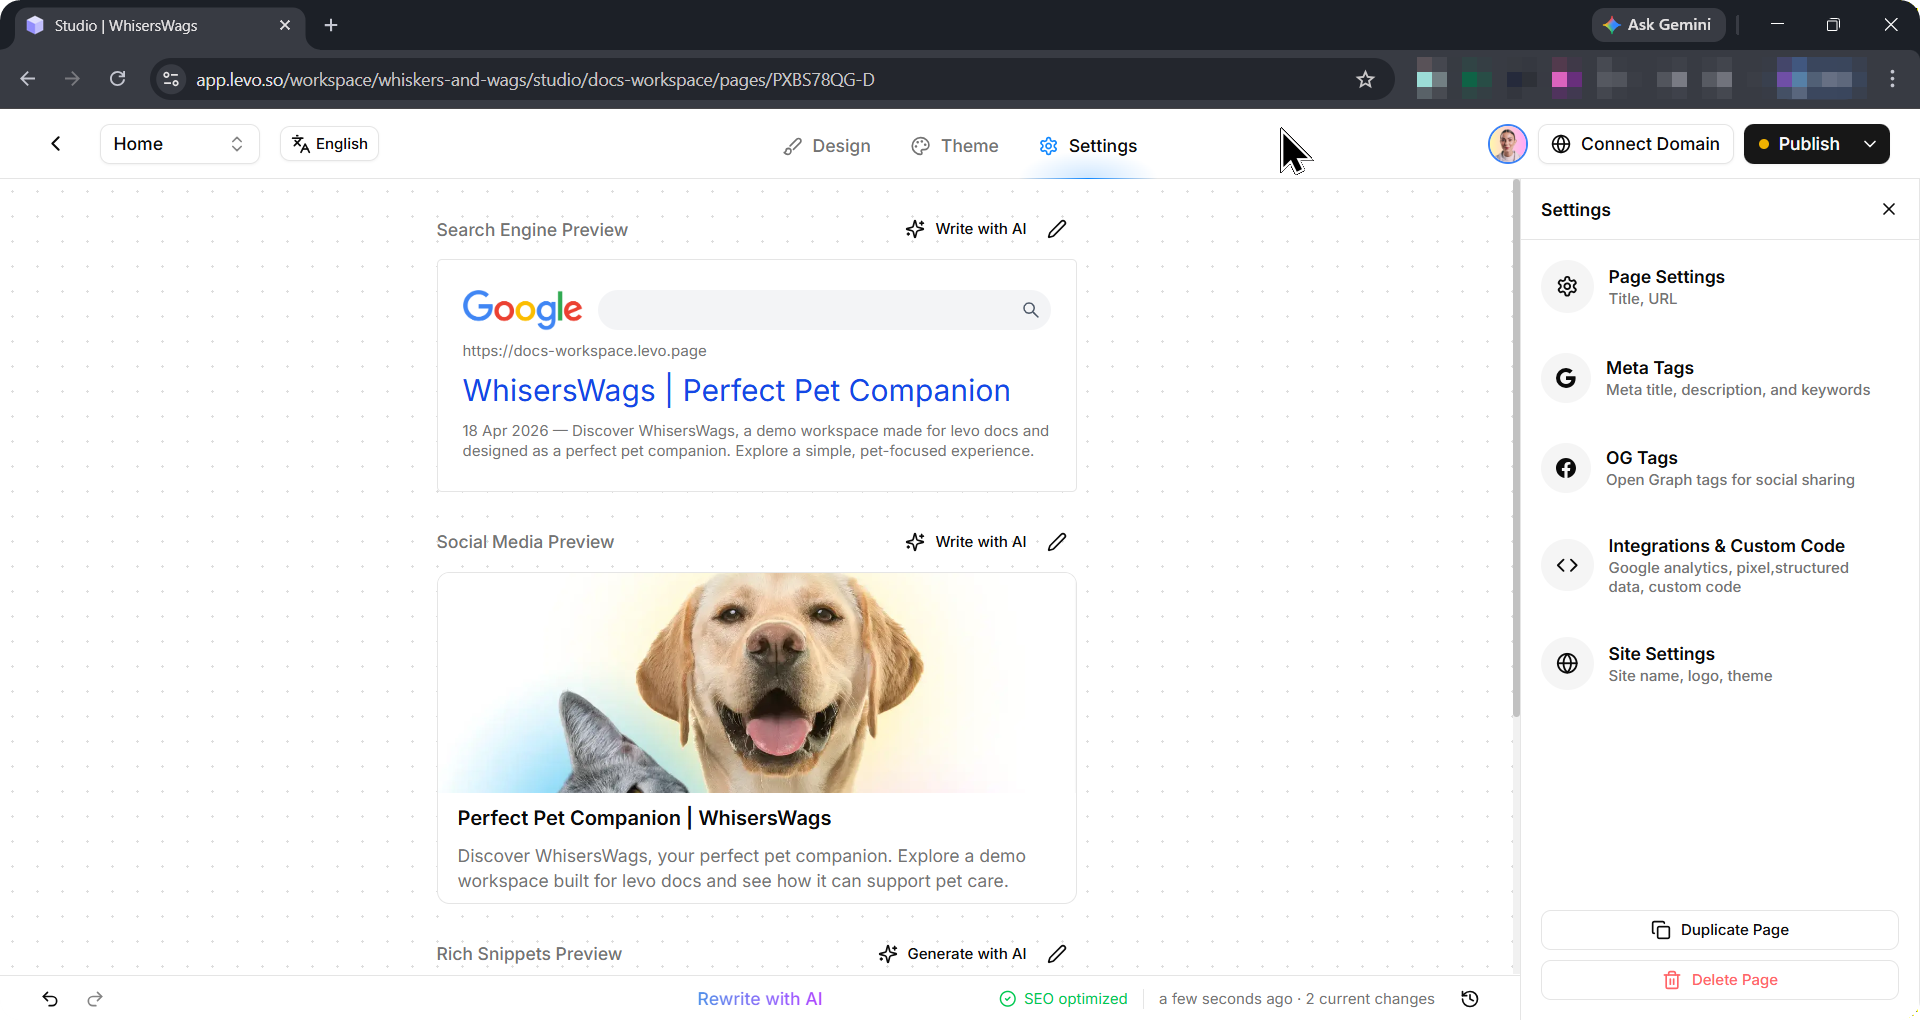
From the Studio: Click the
 Gear icon at the very top of your screen.
From the Dashboard: Click the three dots next to a page in your page list and select Page Settings.
What You Can Customize
The Page Settings area is split into five main sections to keep things organized:
General: Update basic details like your page's name, its web address (URL), and its overall type.
SEO / Meta Tags: Control exactly how your page looks when people search for it on Google.
Social Sharing (OG Tags): Control the image and text that appear when your page is shared on social media like Facebook, Twitter, and LinkedIn.
Custom Code: Advanced settings where you can add extra tracking scripts or custom code.
Site Settings: Quickly access global, workspace-wide settings like your custom domain and analytics.
1. General Settings Breakdown
Here is exactly what you can change under the General tab:
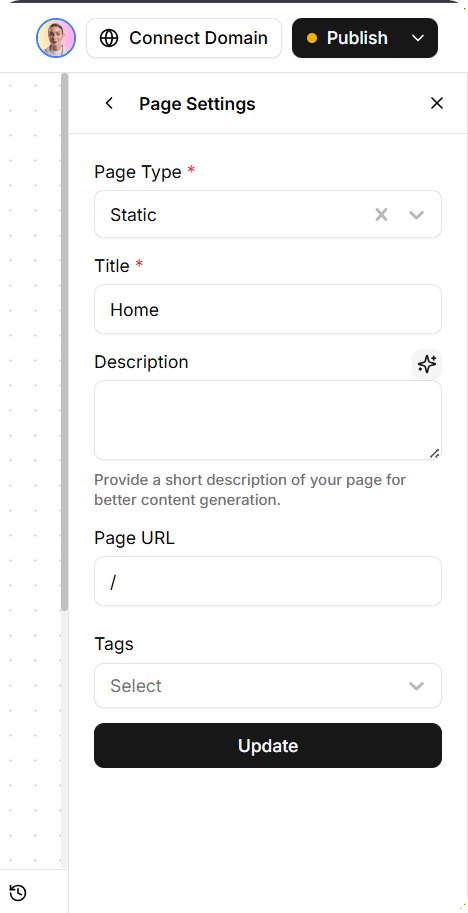
Page Type
This tells Levo how this page should behave. You can choose from:
Static: A standard, everyday web page (like a Home or About page).
Blog: A post that lives in your blog section.
Collection: A page that displays a group of items (like products or portfolio pieces).
Event: A page designed specifically for an upcoming event.
Community: A page where your users can interact.
Title
This is the name of your page that appears in the browser tab at the very top of your screen.
Note: This is just for your visitors' browser tabs. The title that search engines like Google see is set over in the SEO tab
URL (Web Address)
This is the exact link people will use to visit your page. For example, typing in about-us makes your link yourdomain.com/about-us.
Important: If your page is already live and shared, changing its URL will break the old link. Levo automatically creates a redirect from the old URL to the new one, so users won’t see an error page.
Description
This is a private note just for you and your team. Visitors to your website will never see this description. It is a great place to jot down what the page is for or what needs to be added later.
Tags
These are private, hidden labels that help you organize and search for your pages quickly inside your workspace. Your website visitors will not see these tags.
2. SEO / Meta Tags
This tab controls how your page looks on search engines like Google or Bing.
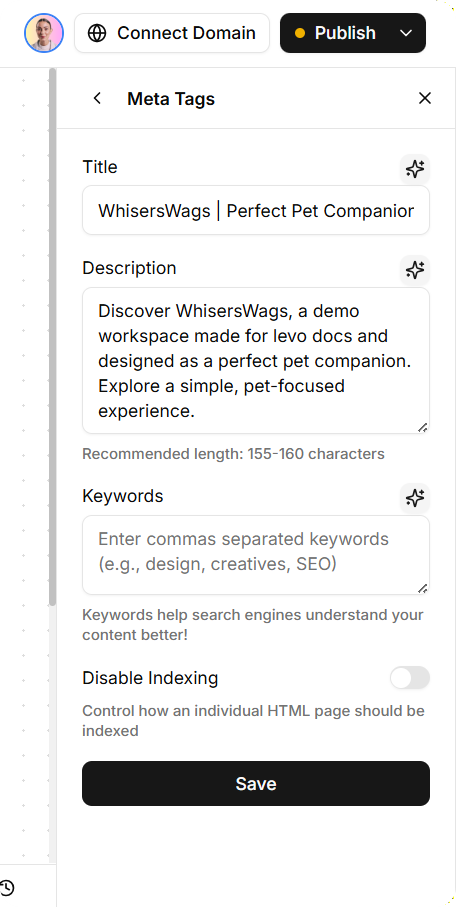
SEO Title
This is the blue, clickable headline people will see in Google search results. Tip: Keep this catchy and under 60 characters so it doesn't get cut off.
SEO Description
This is the short paragraph text that appears under the headline in search results. Use this to describe what the page is about and encourage people to click. Tip: Keep this around 150 to 160 characters.
Search Engine Visibility
This lets you hide the page from Google.
Turned On: Search engines will scan and list your page.
Turned Off (Hidden): Search engines will ignore this page (great for private pages, thank-you pages, or pages still under construction).
3. Social Sharing (OG Tags)
This tab controls what your page looks like when someone shares its link on social media (like Facebook, LinkedIn, X/Twitter) or in text messages (like iMessage or WhatsApp).
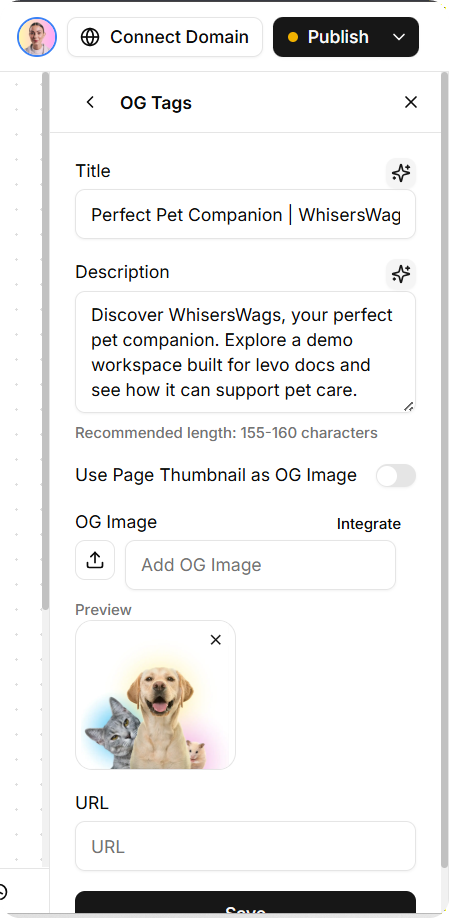
Social Image (OG Image)
This is the preview picture that appears with your link. A good, eye-catching image makes people much more likely to click. Tip: The best size for social images is 1200 x 630 pixels.
Social Title
The bold headline that appears on the social media post. If you leave this blank, Levo will usually just use your SEO Title.
Social Description
The short summary text that appears below the Social Title.
4. Custom Code & Integrations
If you need to connect your page to outside tools or add custom styling, this is where you do it.
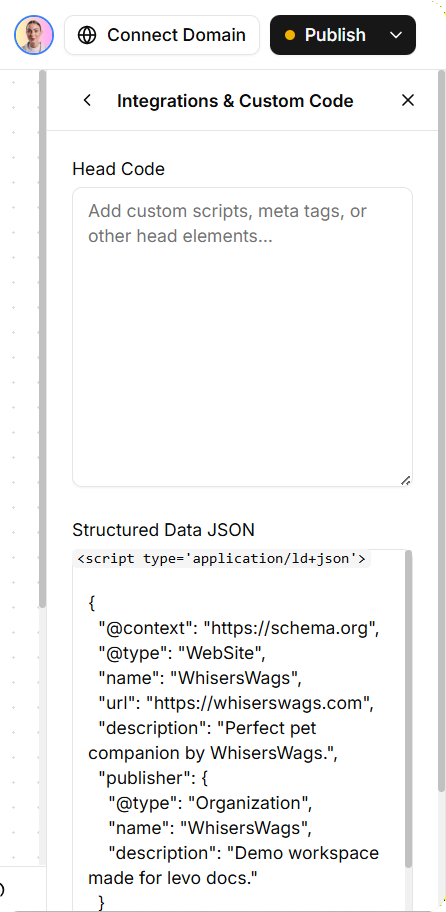
Header Code (Inside <head>)
This code loads extremely fast, before people even see the page. This is the best place to paste scripts for:
Google Analytics
Meta (Facebook) Pixel
Custom CSS styling
Verification tags
Footer Code (Before </body>)
This code loads after the main page is visible. This is a great place to add interactive tools that don't need to slow down your page load time, like:
Live chat widgets (like Intercom or Crisp)
Pop-up tools
Extra tracking scripts
What about Site Settings?
[!NOTE] Page Settings vs. Site Settings It is important to know that Page Settings only change the exact page you are currently working on.
If you want to apply changes to your entire website all at once, you need to use Site Settings. Site Settings (found in your main Workspace menu) control the big-picture items like:
Connecting your main custom domain name (like
yourcompany.com).Setting up a single Google Analytics tracking code for every page on your site.
Setting your global favicon (the tiny icon inside the browser tab).
Setting a default Social Image for the whole website if a specific page doesn't have one.