Adding Languages for Multilingual Sites
Table of Contents
If you want your website to appeal to an international audience, the Personalization module is where you start! This area lets you configure support for different languages and regions, empowering you to build specialized, localized versions of your pages.
Navigation: How to Access Language Settings
To access your site's language configuration:
1. Navigate to your Workspace Dashboard.

2. Click on the Studio module in the left sidebar.
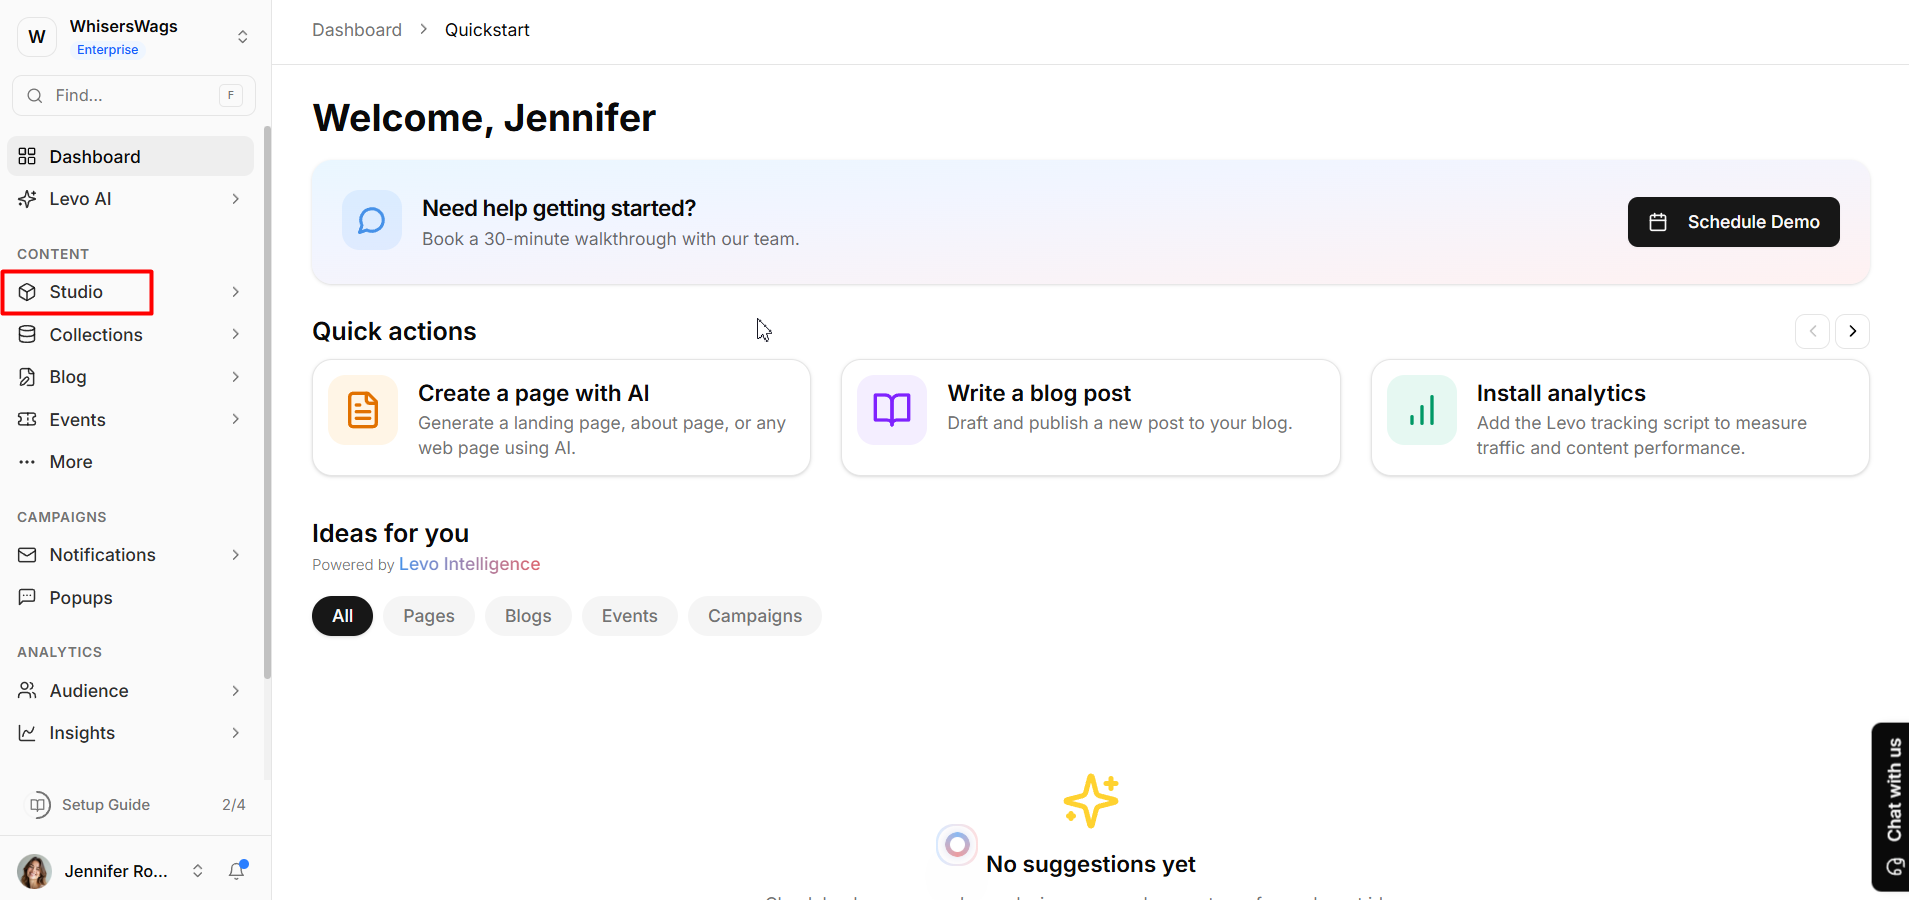
3. Select your active site (if you have multiple).
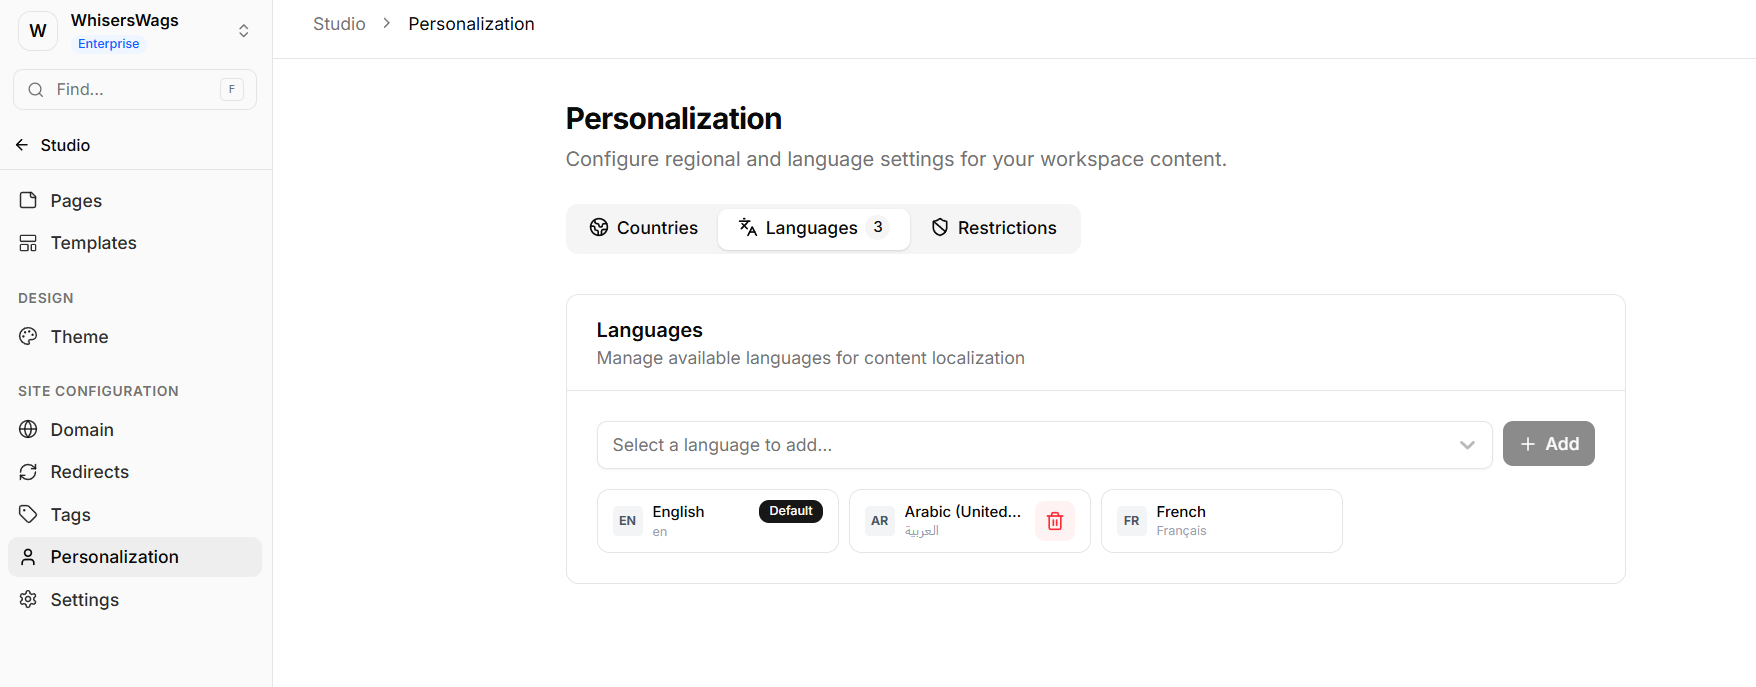
4. In the secondary Studio sidebar under Site Configuration, click on Personalization.
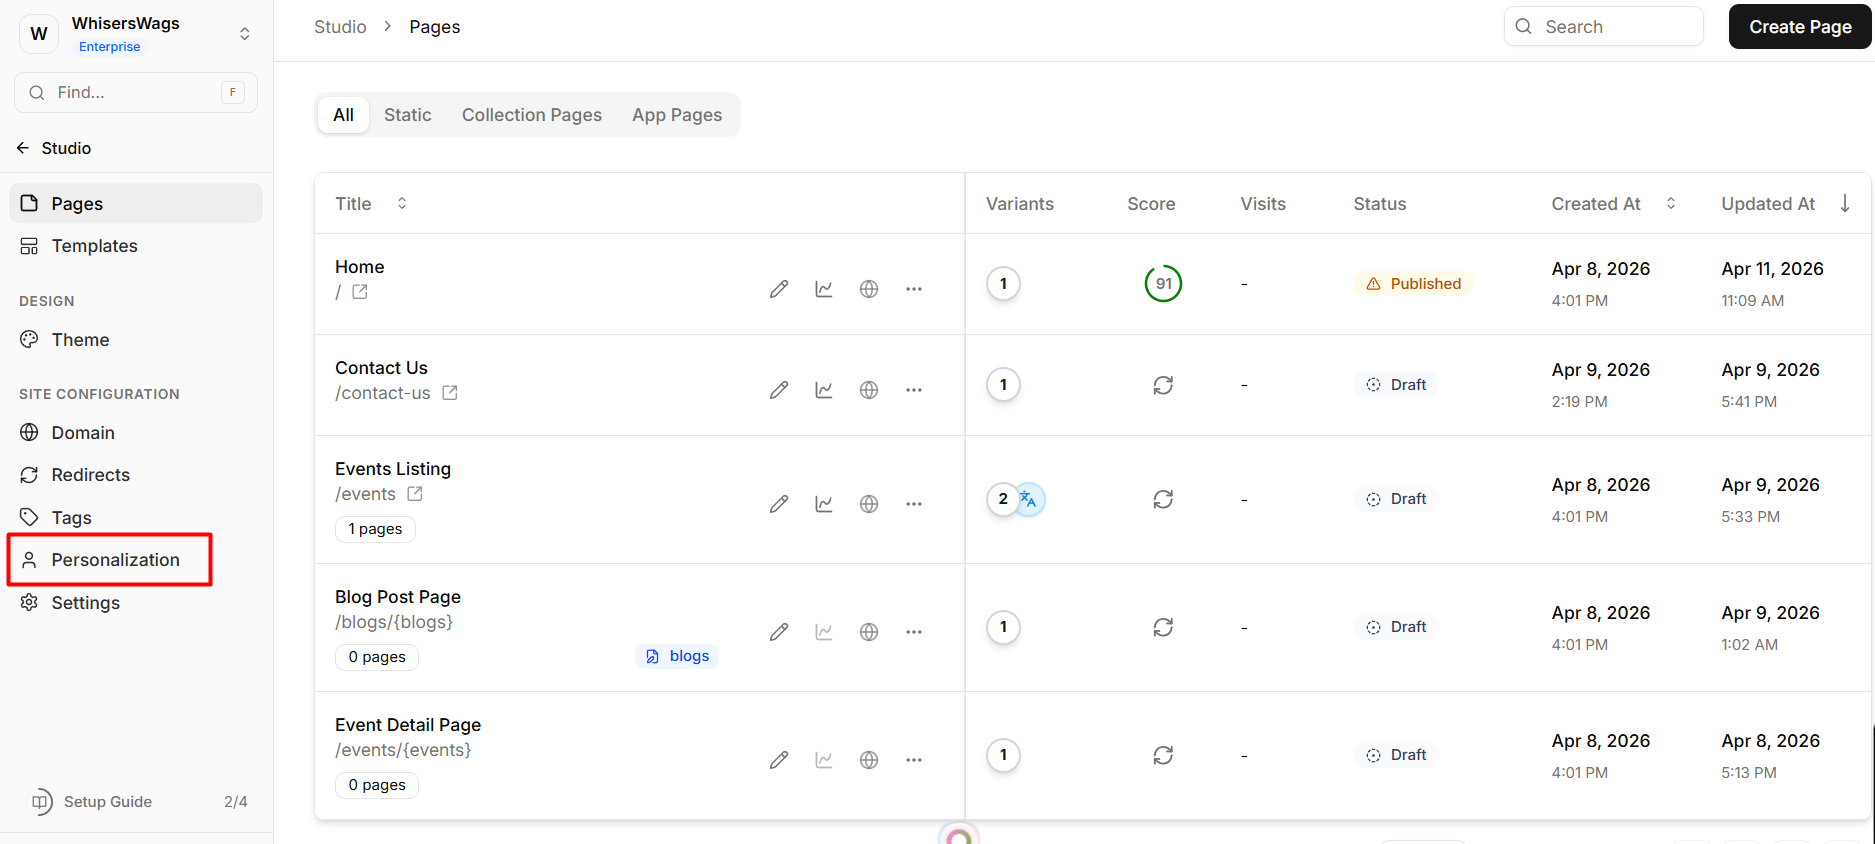
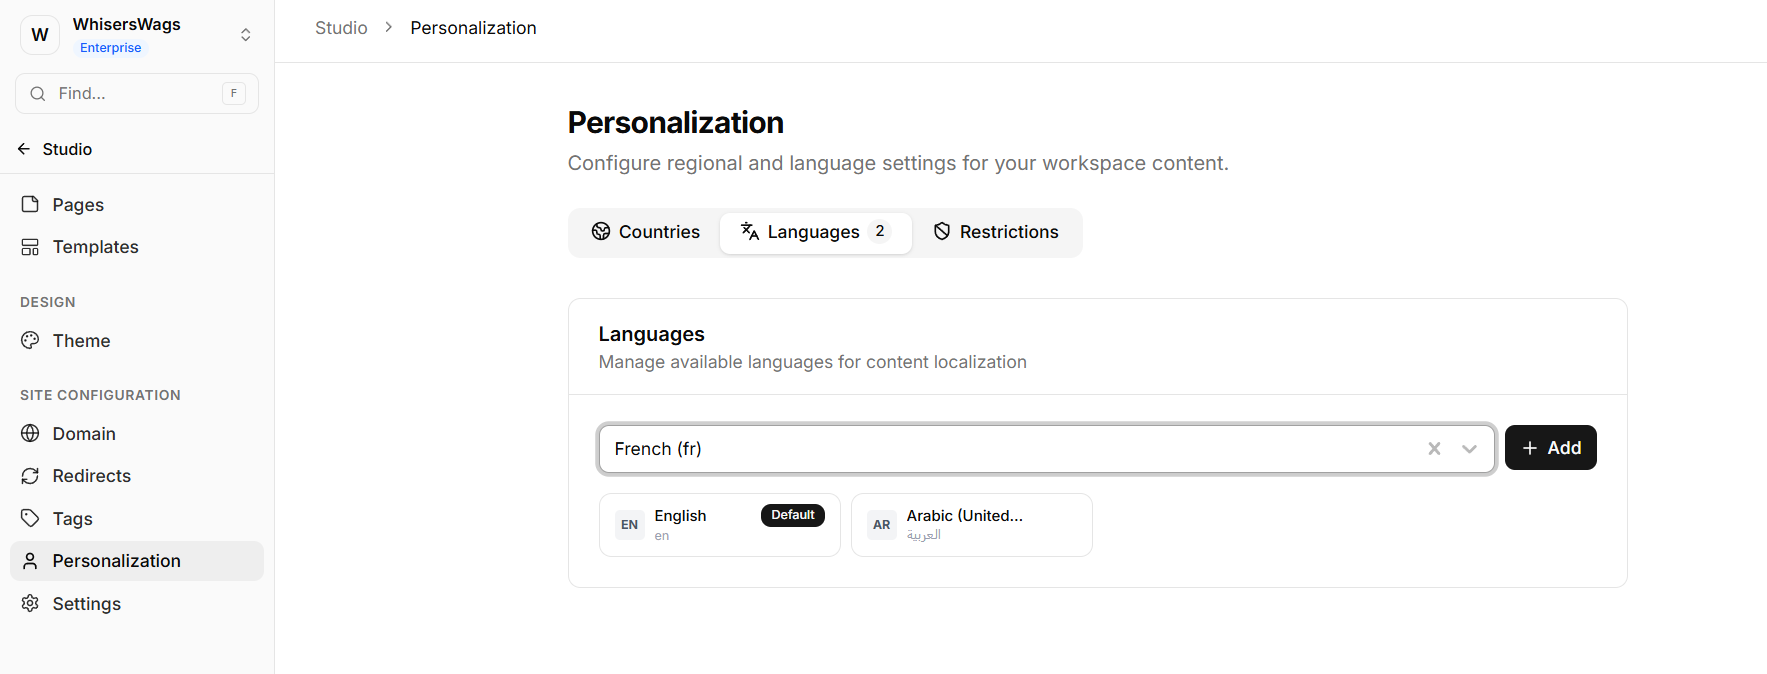
5. Navigate to the Languages tab.
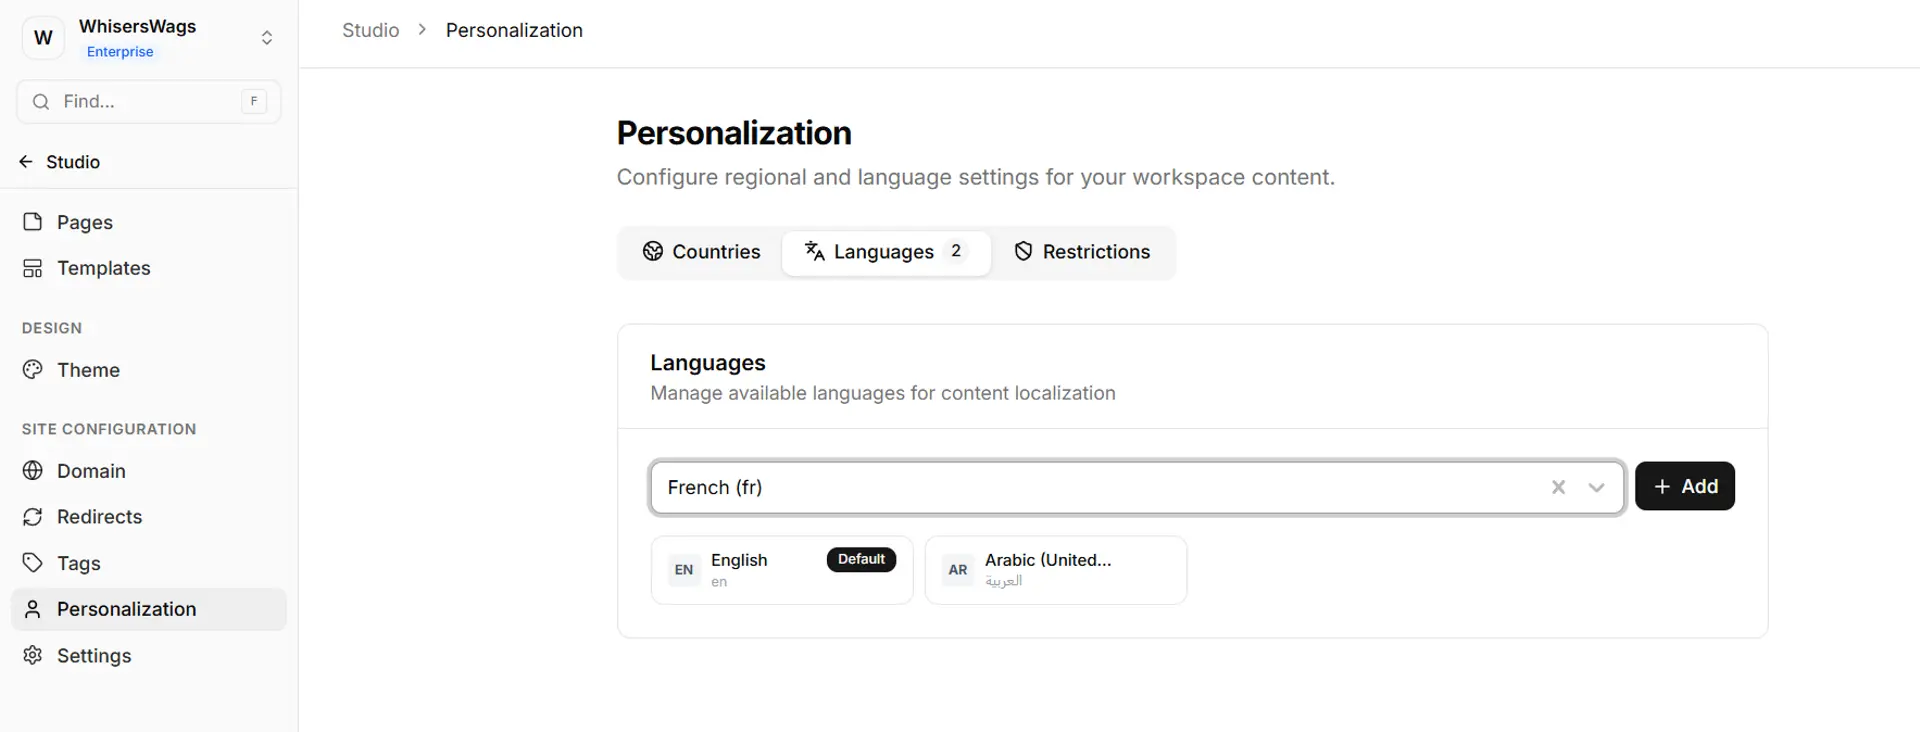
Adding Supported Languages
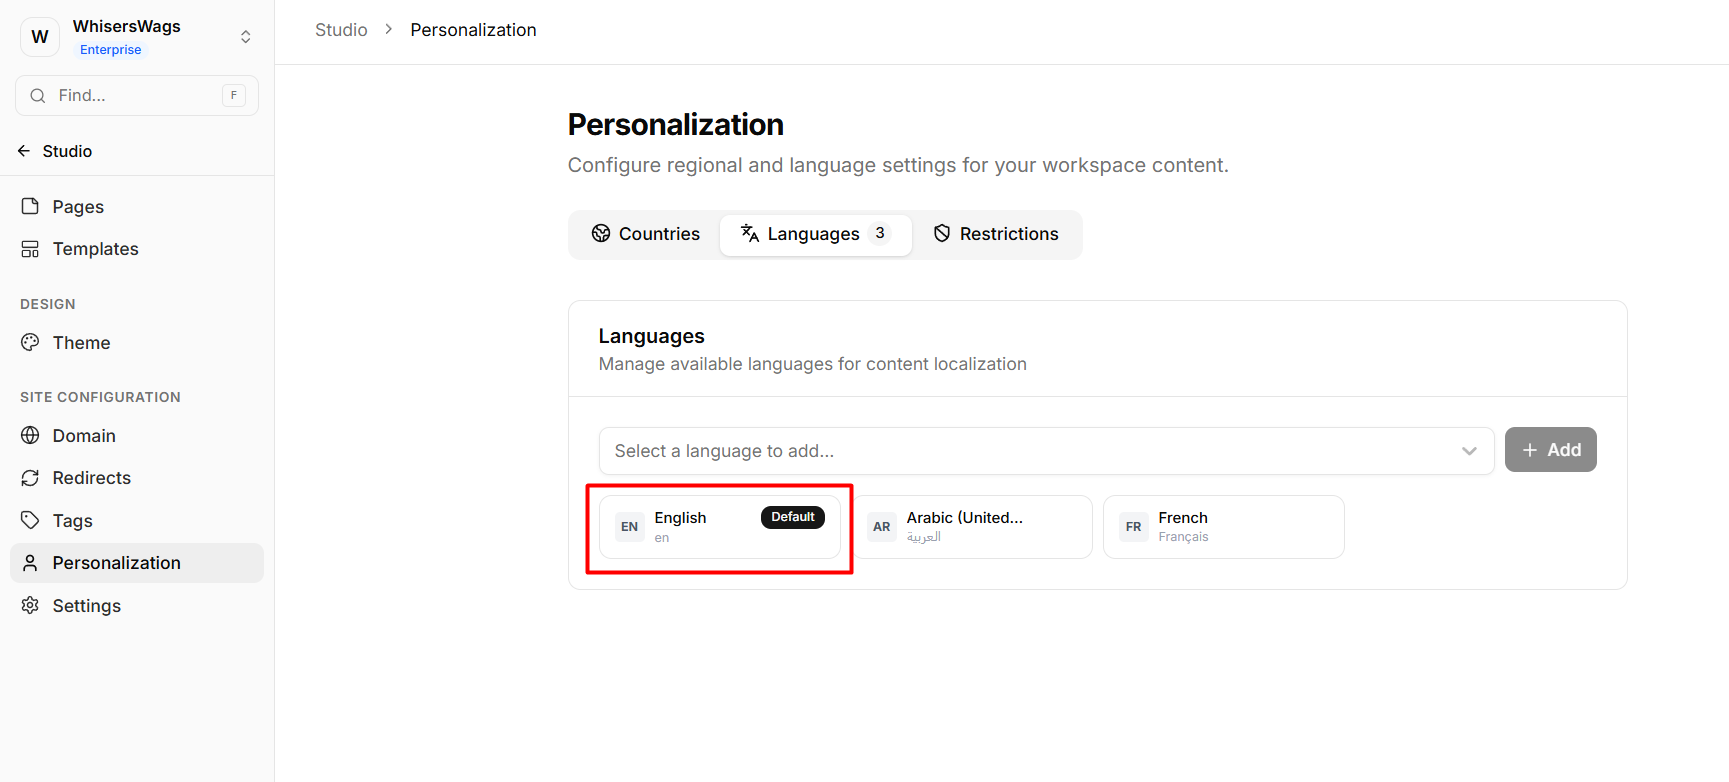
Once you are in the Languages tab:
Click Add to pick from the list of available world languages.
Note: Languages are displayed in their native nomenclature to make them easy to find (e.g., you will look for "Français" instead of French, or "Español" instead of Spanish).
Once added, this language becomes structurally available across your entire workspace, allowing you to generate localized page variants.
2. Setting Your Default Language
Your workspace must always maintain one core "Default" language. This acts as your traffic safety net: if a visitor arrives with a locale you don't explicitly support, Levo will serve them your default site language instead.
Currently, your default language is assigned automatically during workspace creation (indicated by a "Default" badge). Because it acts as the primary fallback mechanism for your entire site, it cannot be deleted or manually reassigned at this time.
3. How Language Matching Works
How does Levo know which language variant to serve an incoming visitor?
The routing engine analyzes the visitor's browser language settings. For example, if someone's web browser is natively set to German, Levo will detect this preference and seamlessly route them to your German page variant. It does not arbitrarily look at their physical geographic IP location to guess their preferred reading language.
4. Translating Your Pages (Auto & Manual)
Method A: From the Pages List (Globe icon)
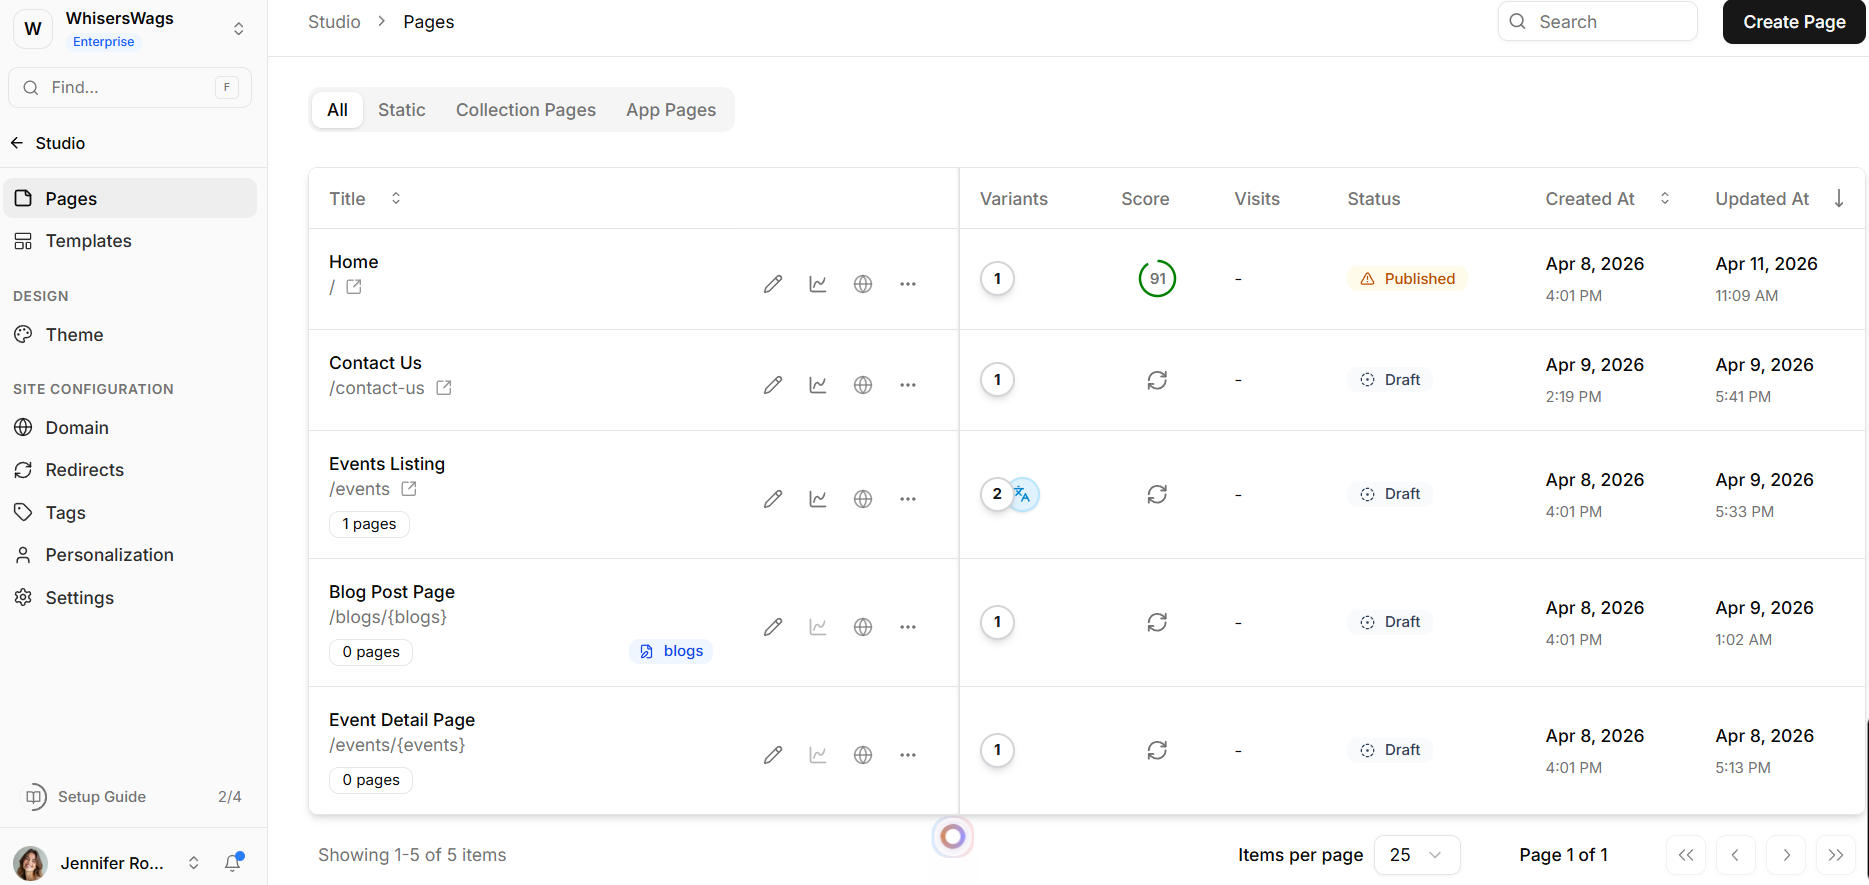
Adding a language to your workspace unlocks the ability to create new "variants" in your Pages list. Here's how you actually translate the content:
Go back to your main Pages list in the Studio.
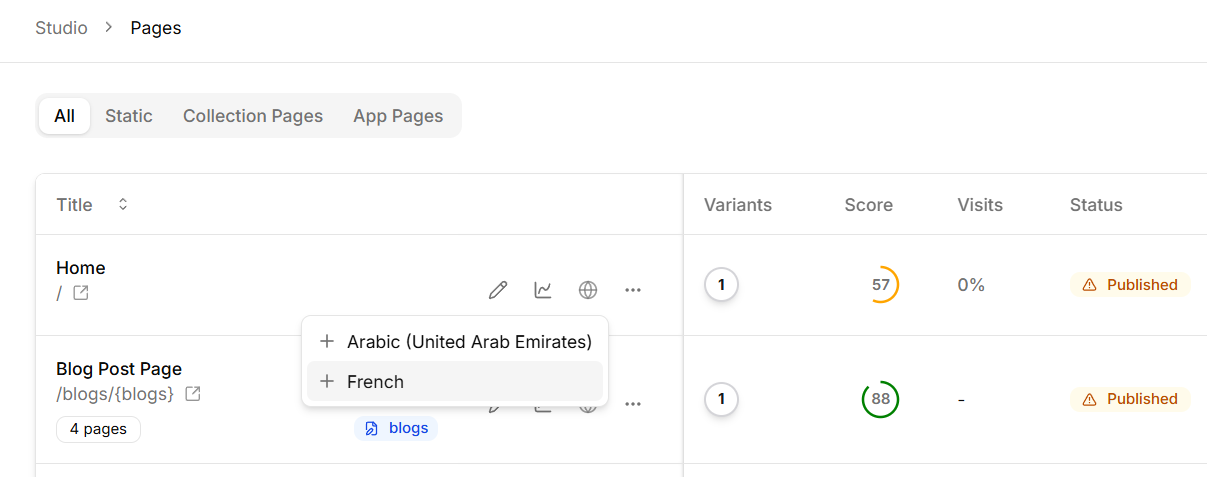
Click the Globe (Translate) icon next to any page you want to localize (e.g., your "Contact Us" page).
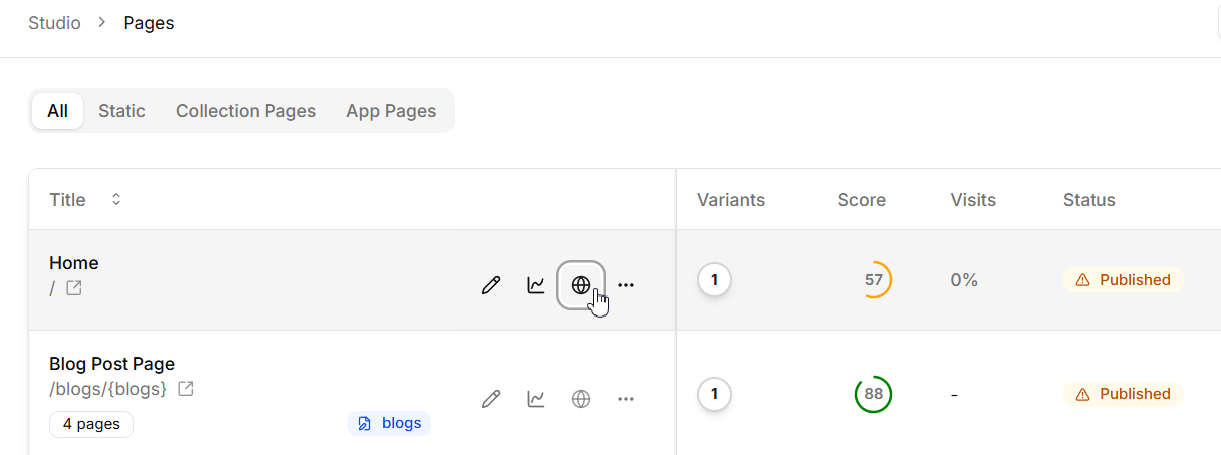
Select the language you want to generate from the dropdown menu.
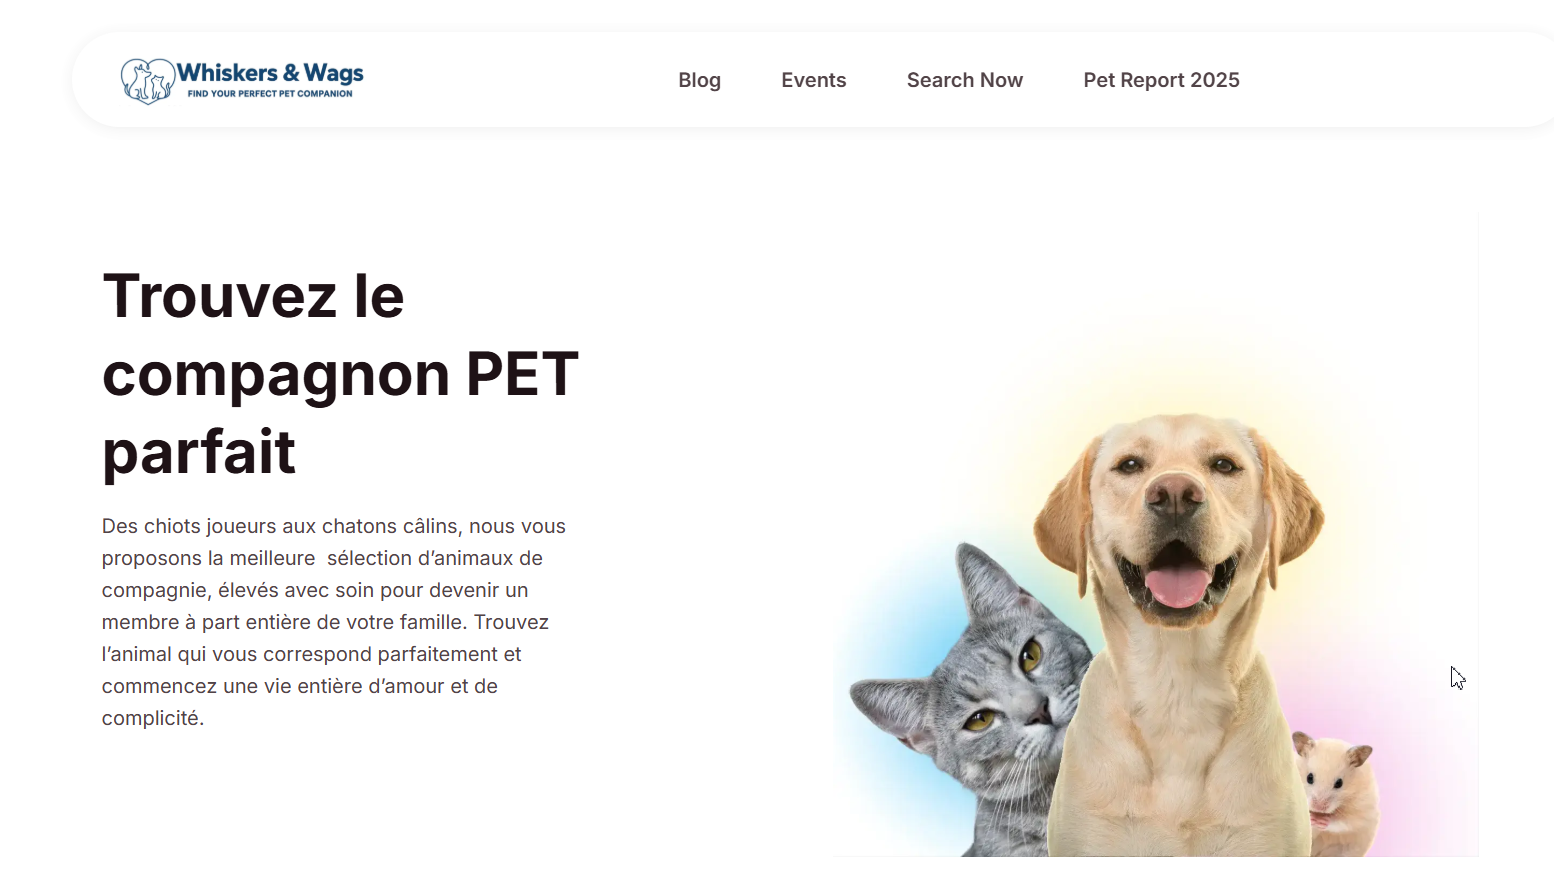
Auto-Translation: A prompt will appear offering to instantly localize the page. By clicking Create & Translate, Levo AI will automatically parse and translate all existing text elements on the page into your target language.
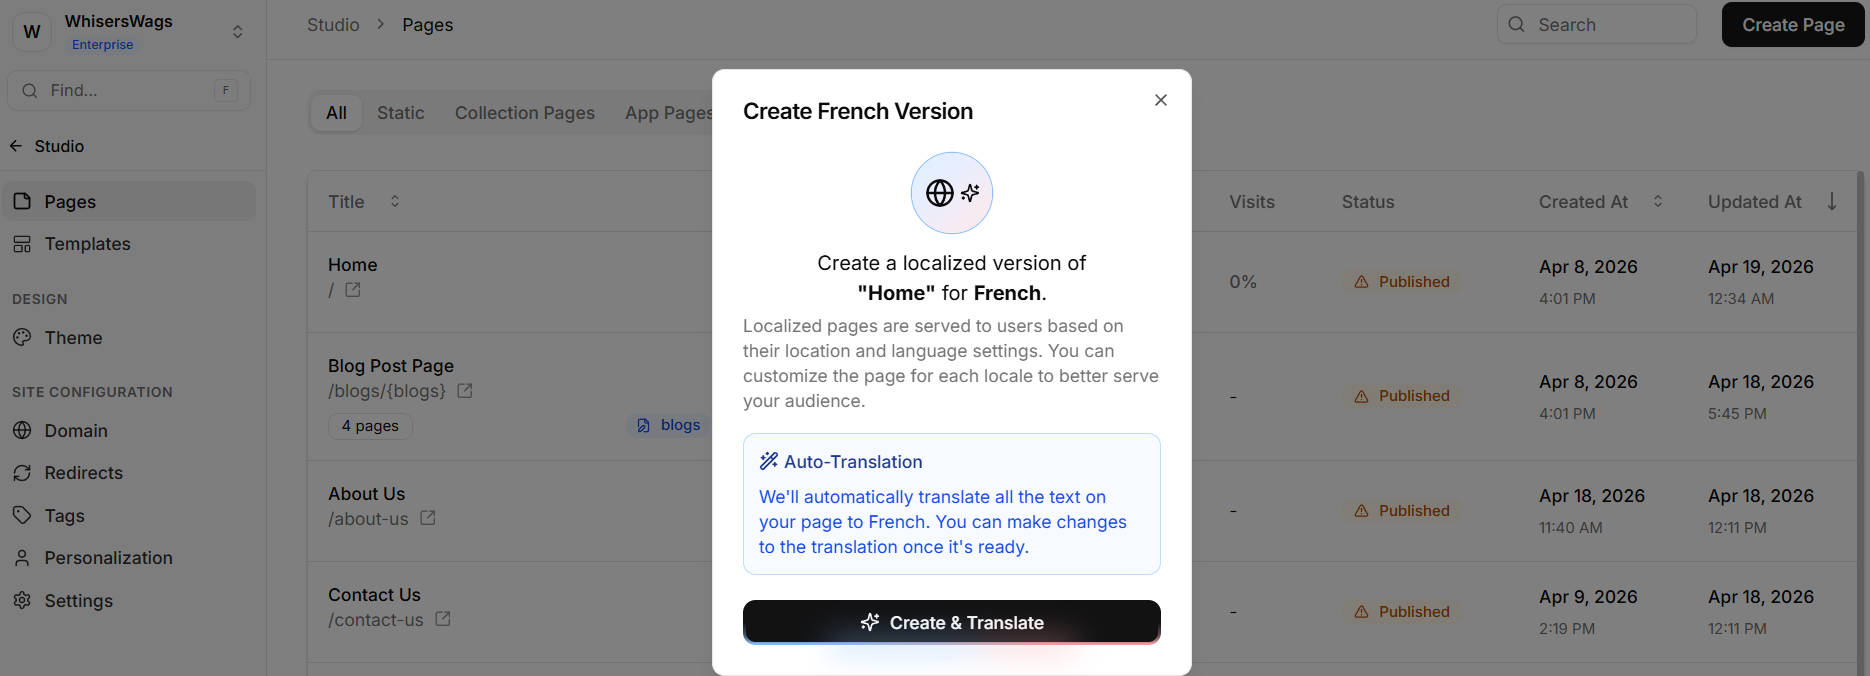
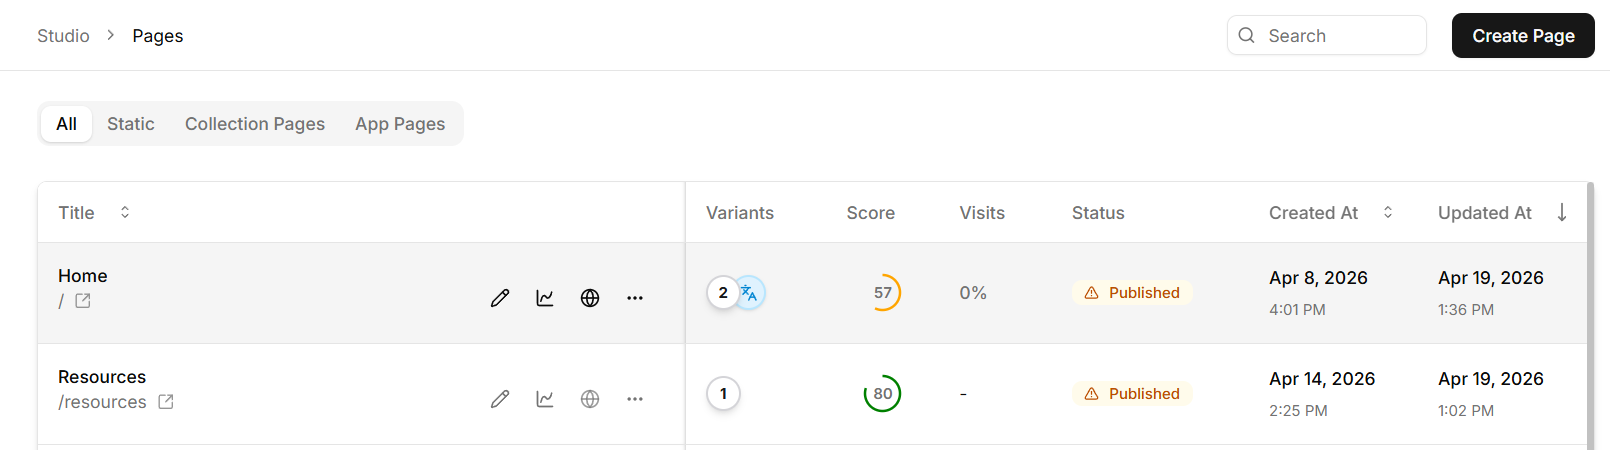
Manual Adjustments: Once the automated variant is successfully created, it will appear in your page list with a "Multiple languages" variations badge. You can open the Design editor at any time to review the generated text and make any manual adjustments you see fit!
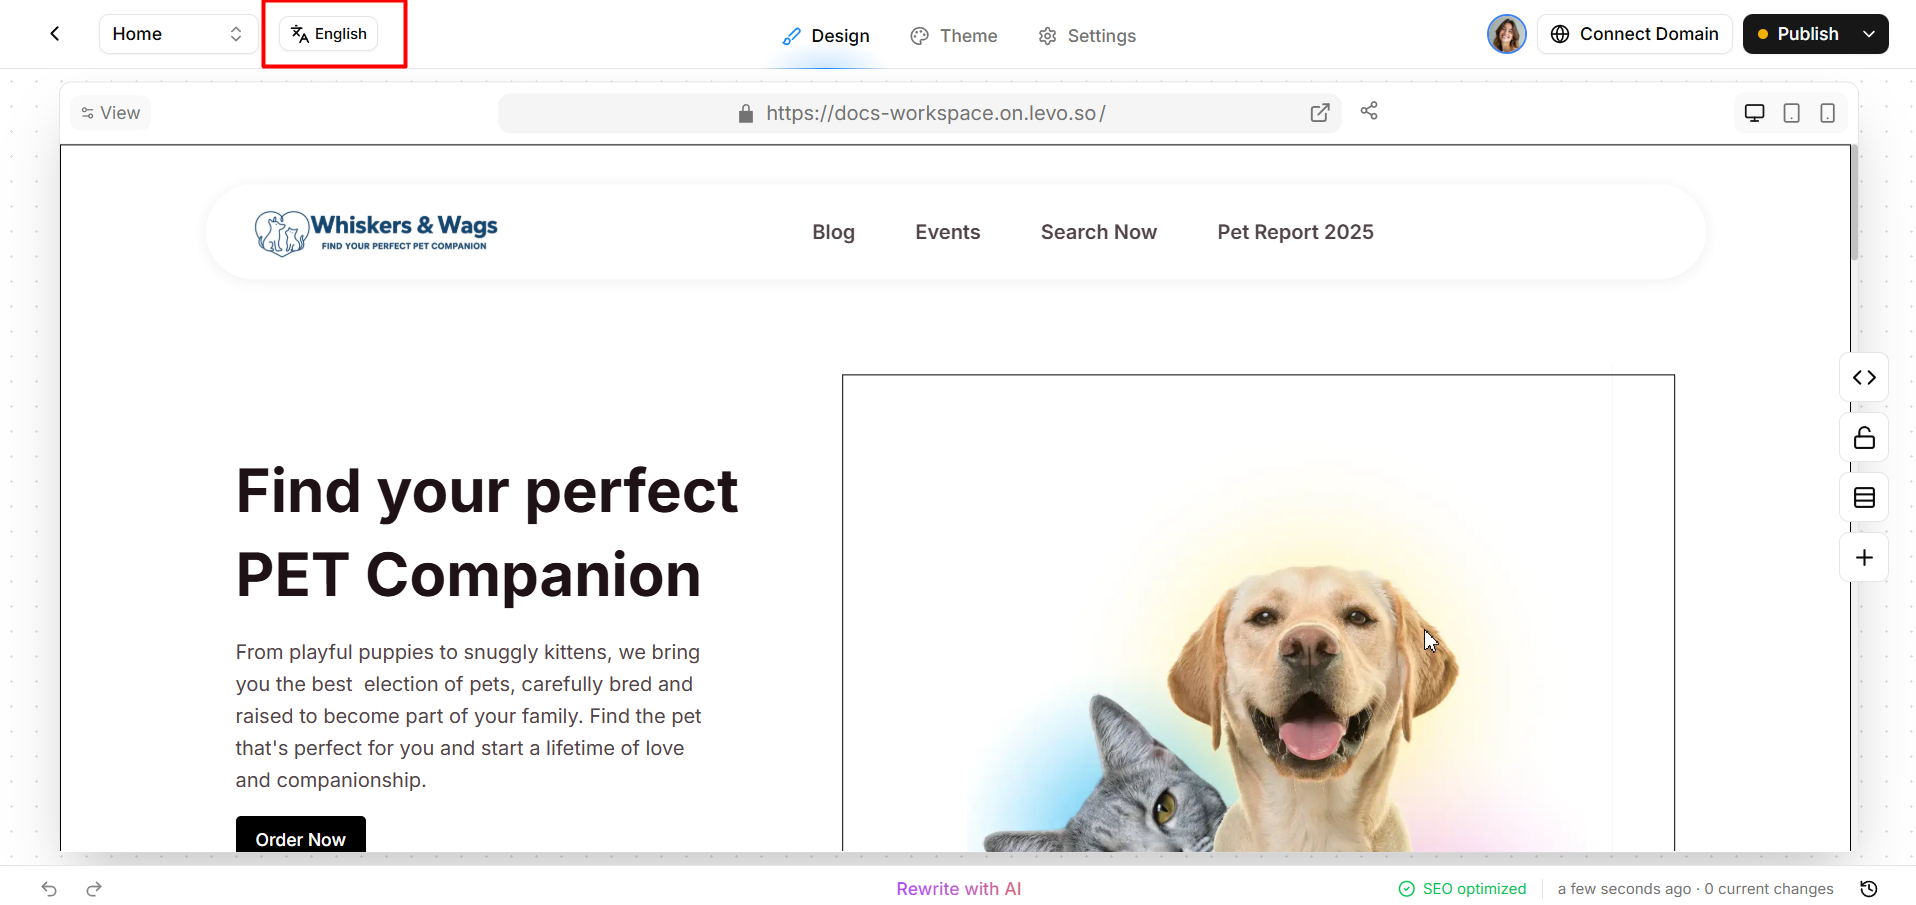
Method B: From Inside the Design Editor (Language Switcher)
While editing a page in the Studio Design Editor, you can create or switch between language variants without leaving the editor:
Open any page in the Studio Design Editor.
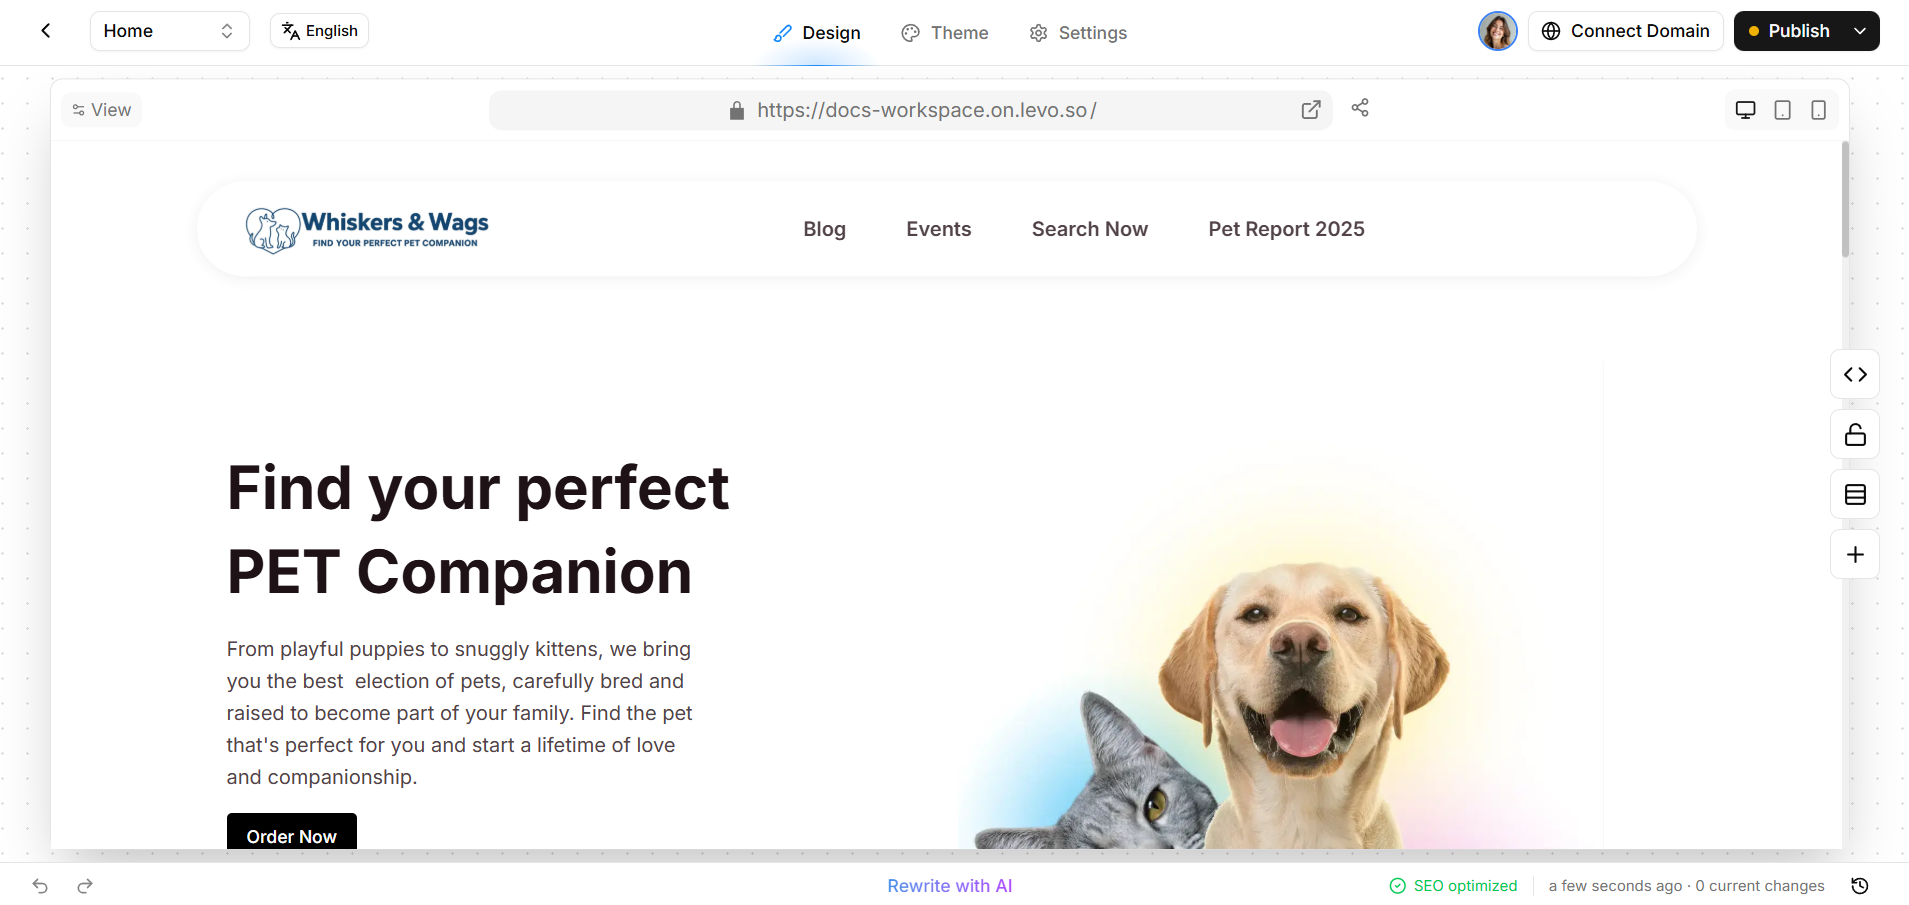
In the topbar, look for the language button (showing the current page language, e.g., English) next to the Design / Theme / Settings tabs.
3. Click it to open the locale dropdown. It shows three sections:
Current language: The locale you are currently editing (shown with a checkmark ✓).
Other Pages: Other locales that already have a translated variant of this page (clicking one opens it in a new tab).
Add New: Locales available in your workspace that don't yet have a variant for this page (shown with a + icon).
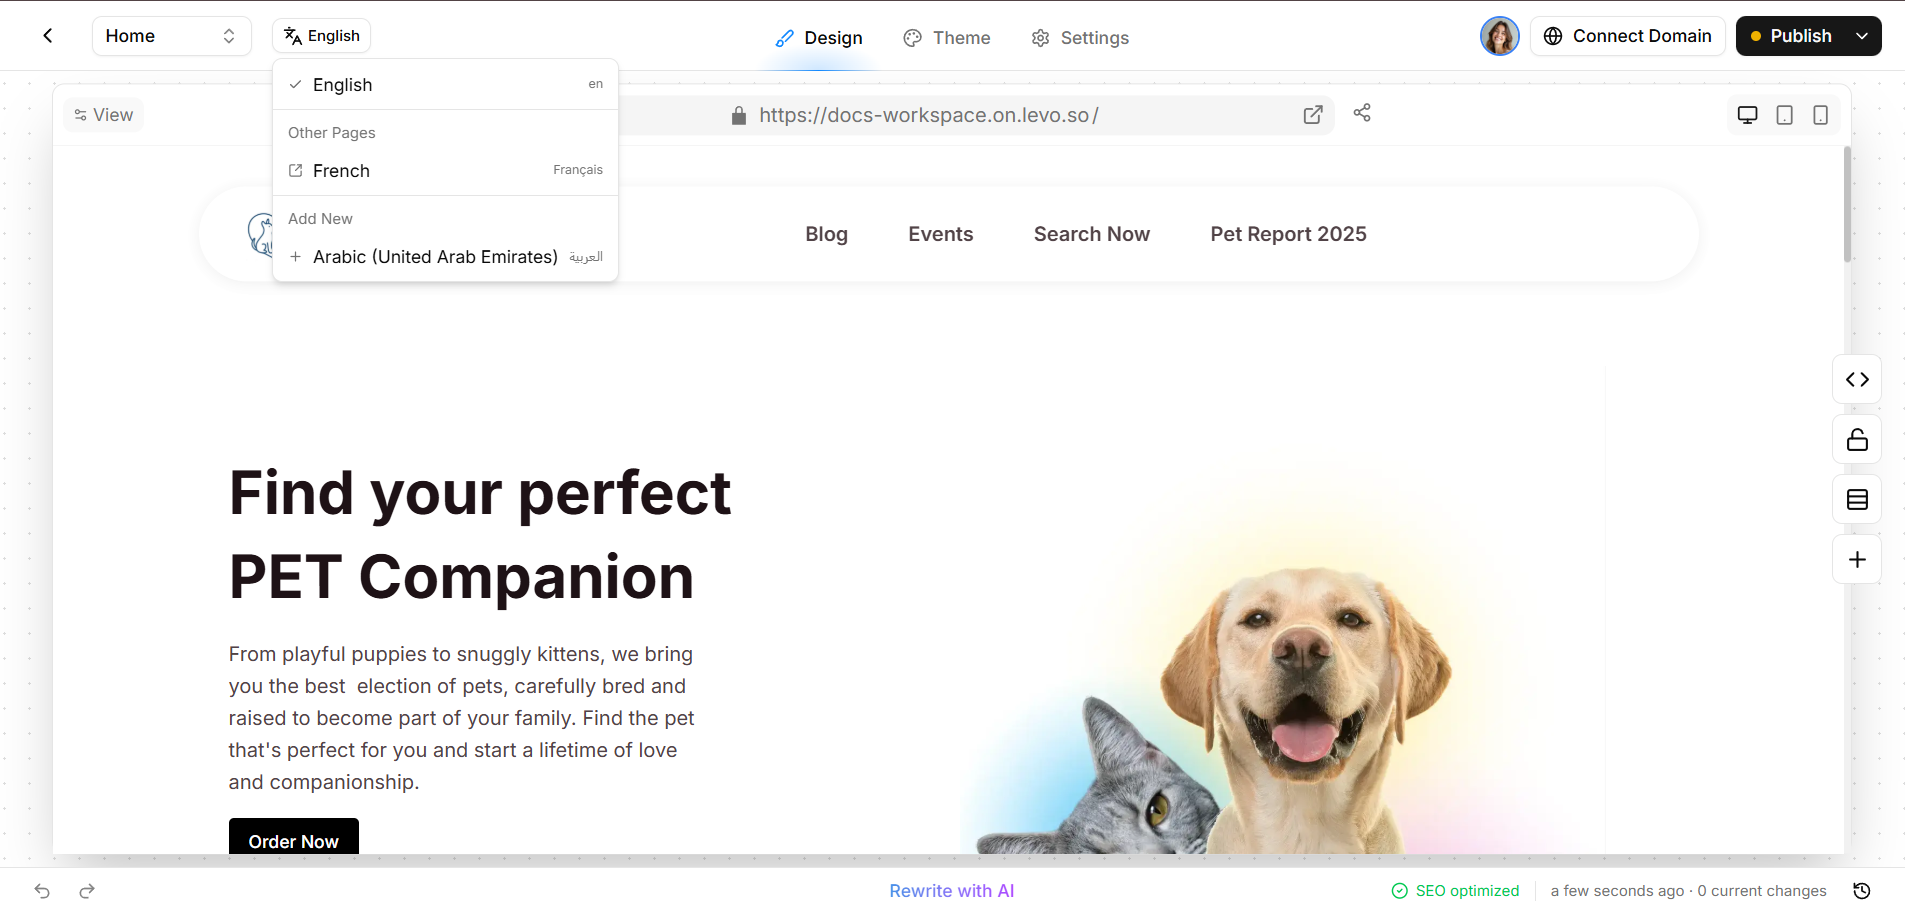
4. Click any language under Add New to open the Create Localized Page dialog.
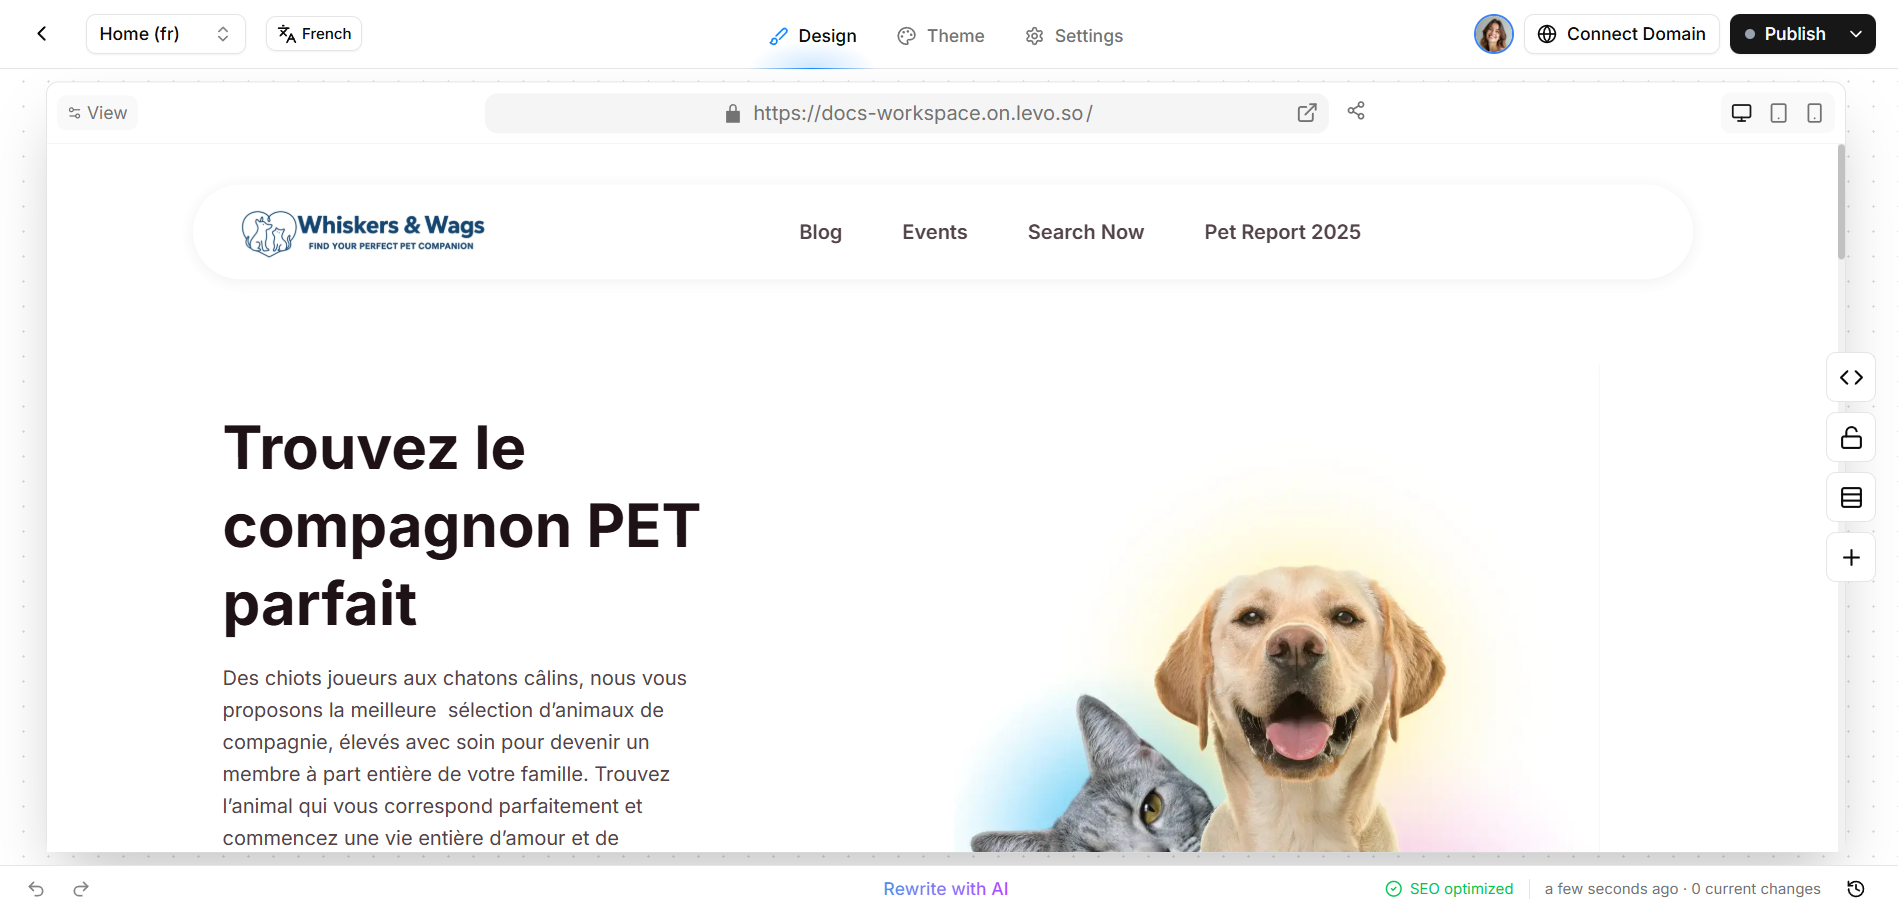
5. Click Create & Translate. Levo AI translates all text content on the page and opens the new variant in a new tab.
Note: Use the topbar language switcher when you're already working inside the editor and want to quickly check or create a variant without navigating back to the Pages list.
5. After Translation
Once a localized variant is created:
It appears in the Pages list under the original page with a "Multiple languages" variations badge.
You can open its Design Editor at any time to review the AI-generated translation and make manual adjustments.
Clicking the variant in the Other Pages section of either dropdown opens it directly in a new Studio tab.
6. Removing a Language
If you no longer wish to support a regional language, navigate back to the Personalization settings and click the Trash (remove) icon next to it.