Creating Event Series & Individual Events
Table of Contents
In Levo, Event Series are built using the Apps system. Think of an "Event Series" as a folder where you group together all your related events (like a conference or a weekly workshop).
Step 1: Create a Series (Install the App)
To start, you need to add the Event Series app to your workspace:
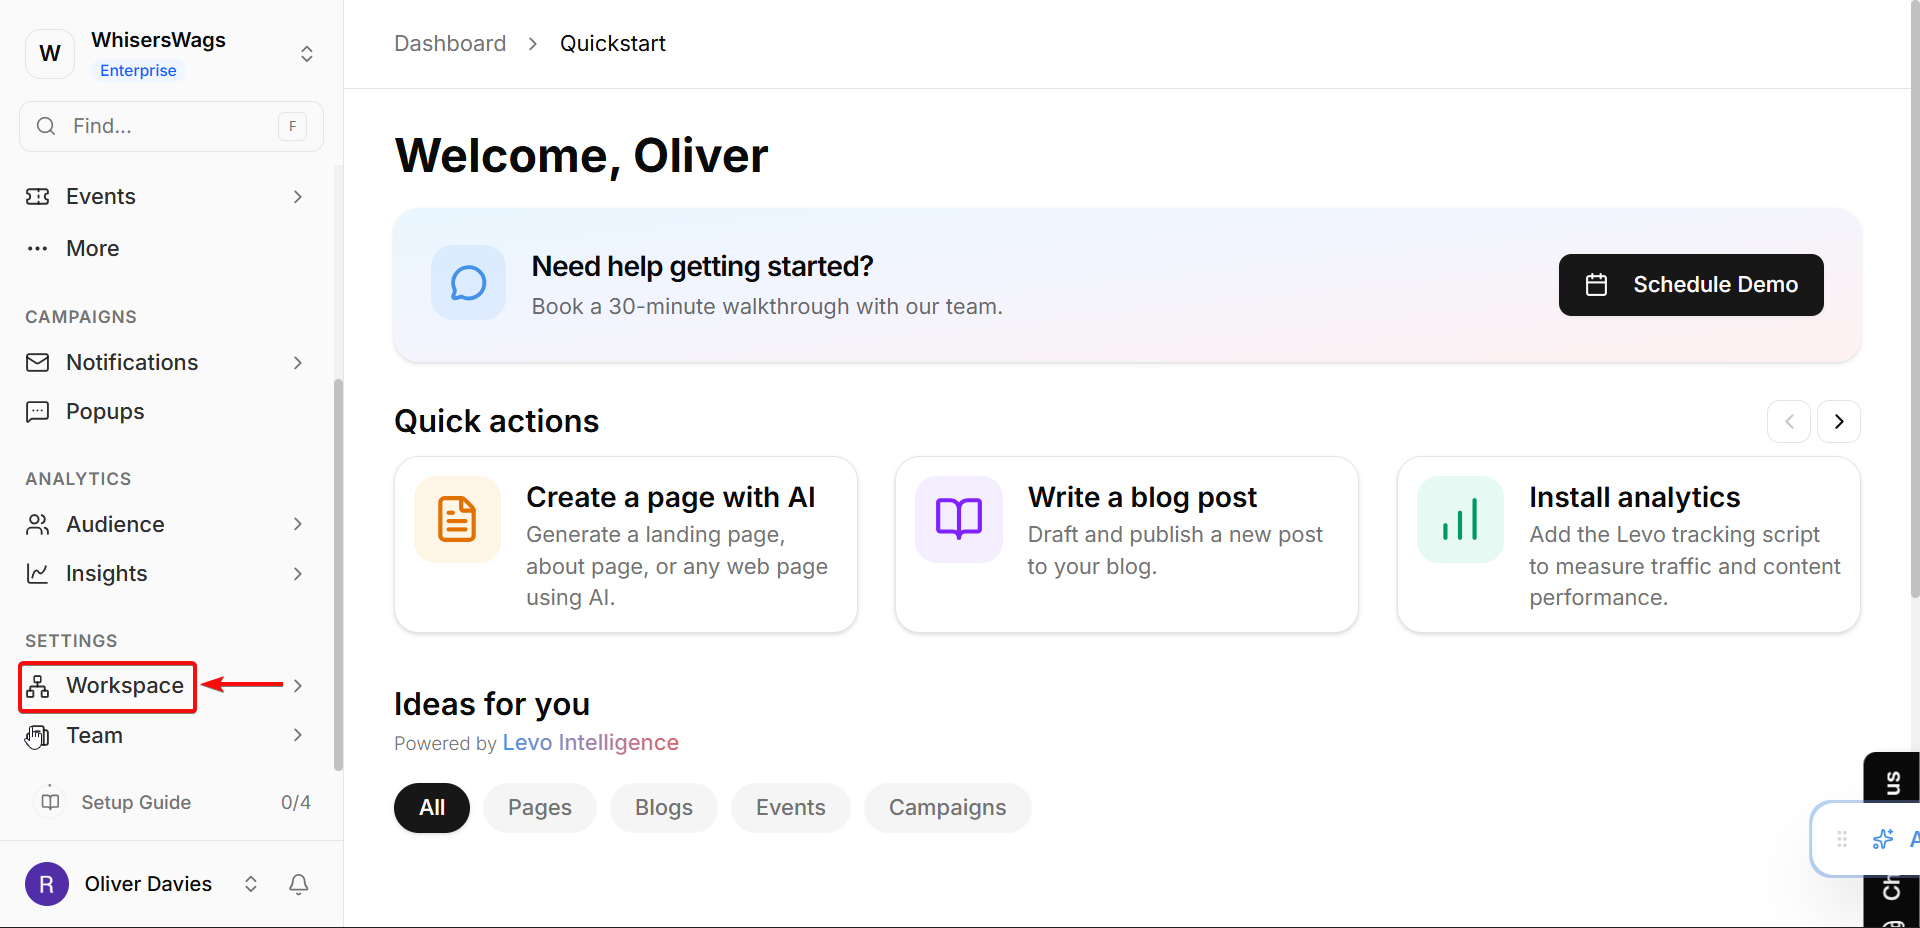
Navigate to Apps in the workspace of your left sidebar.
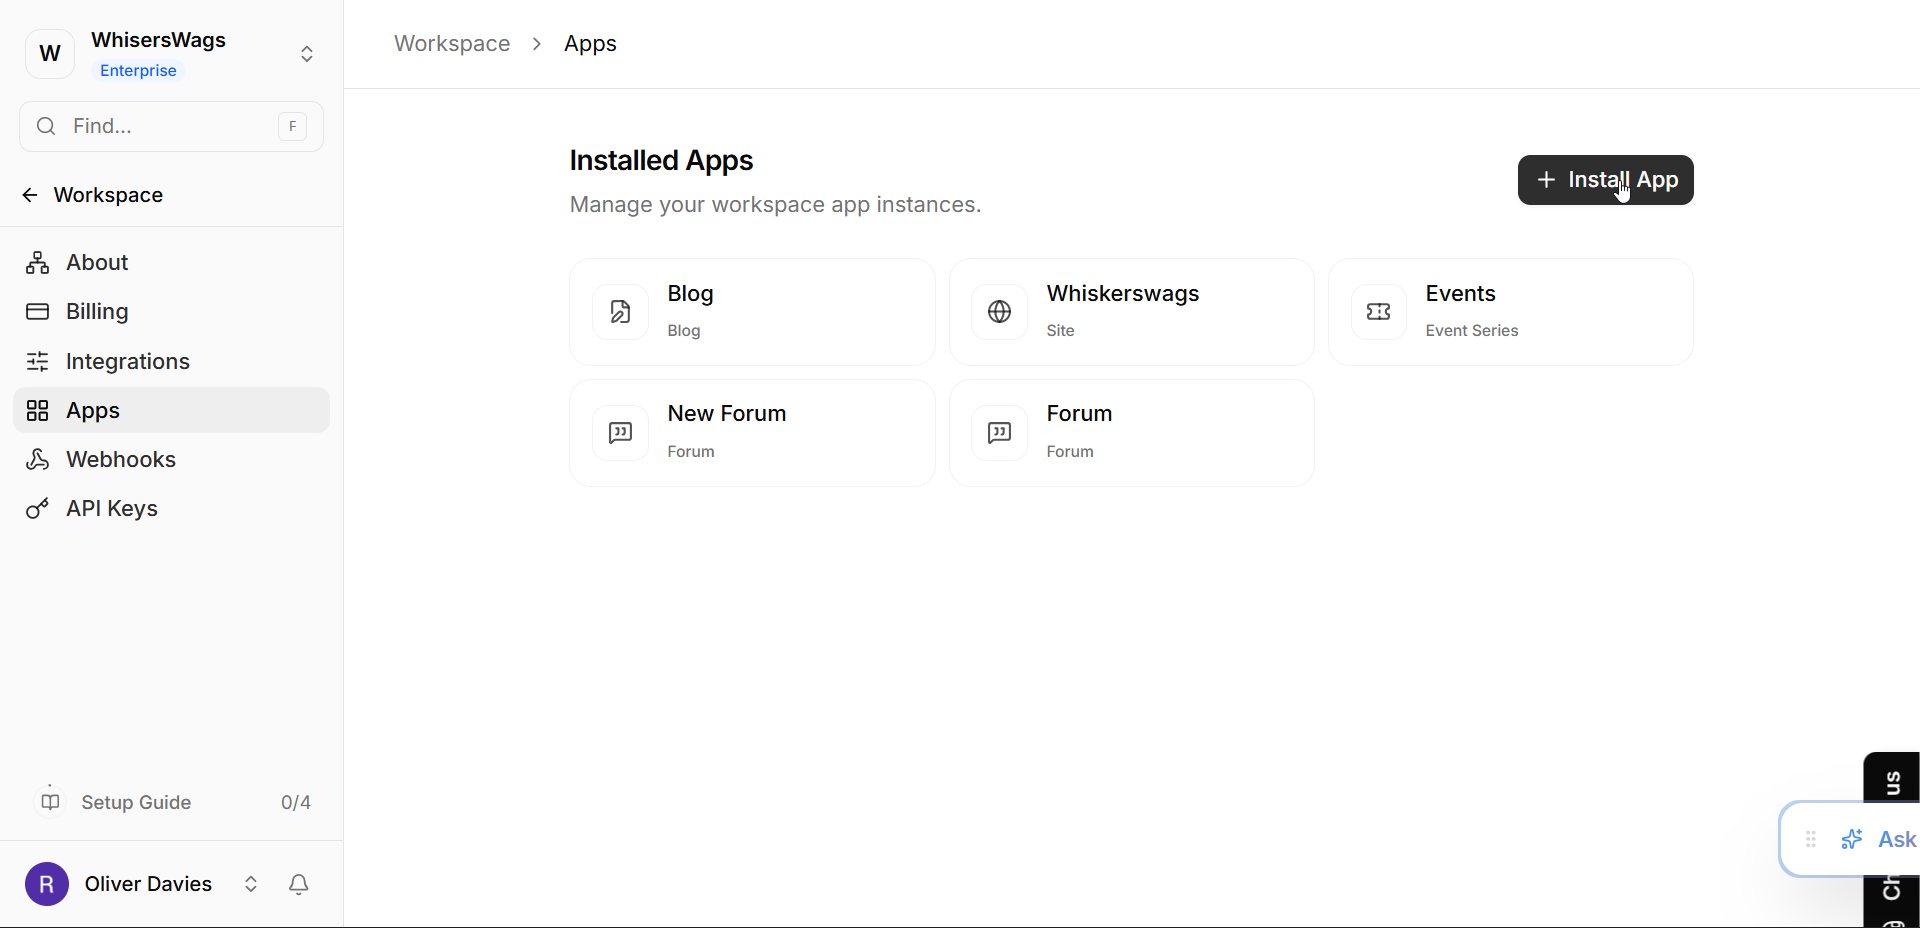
Click the Install App button.
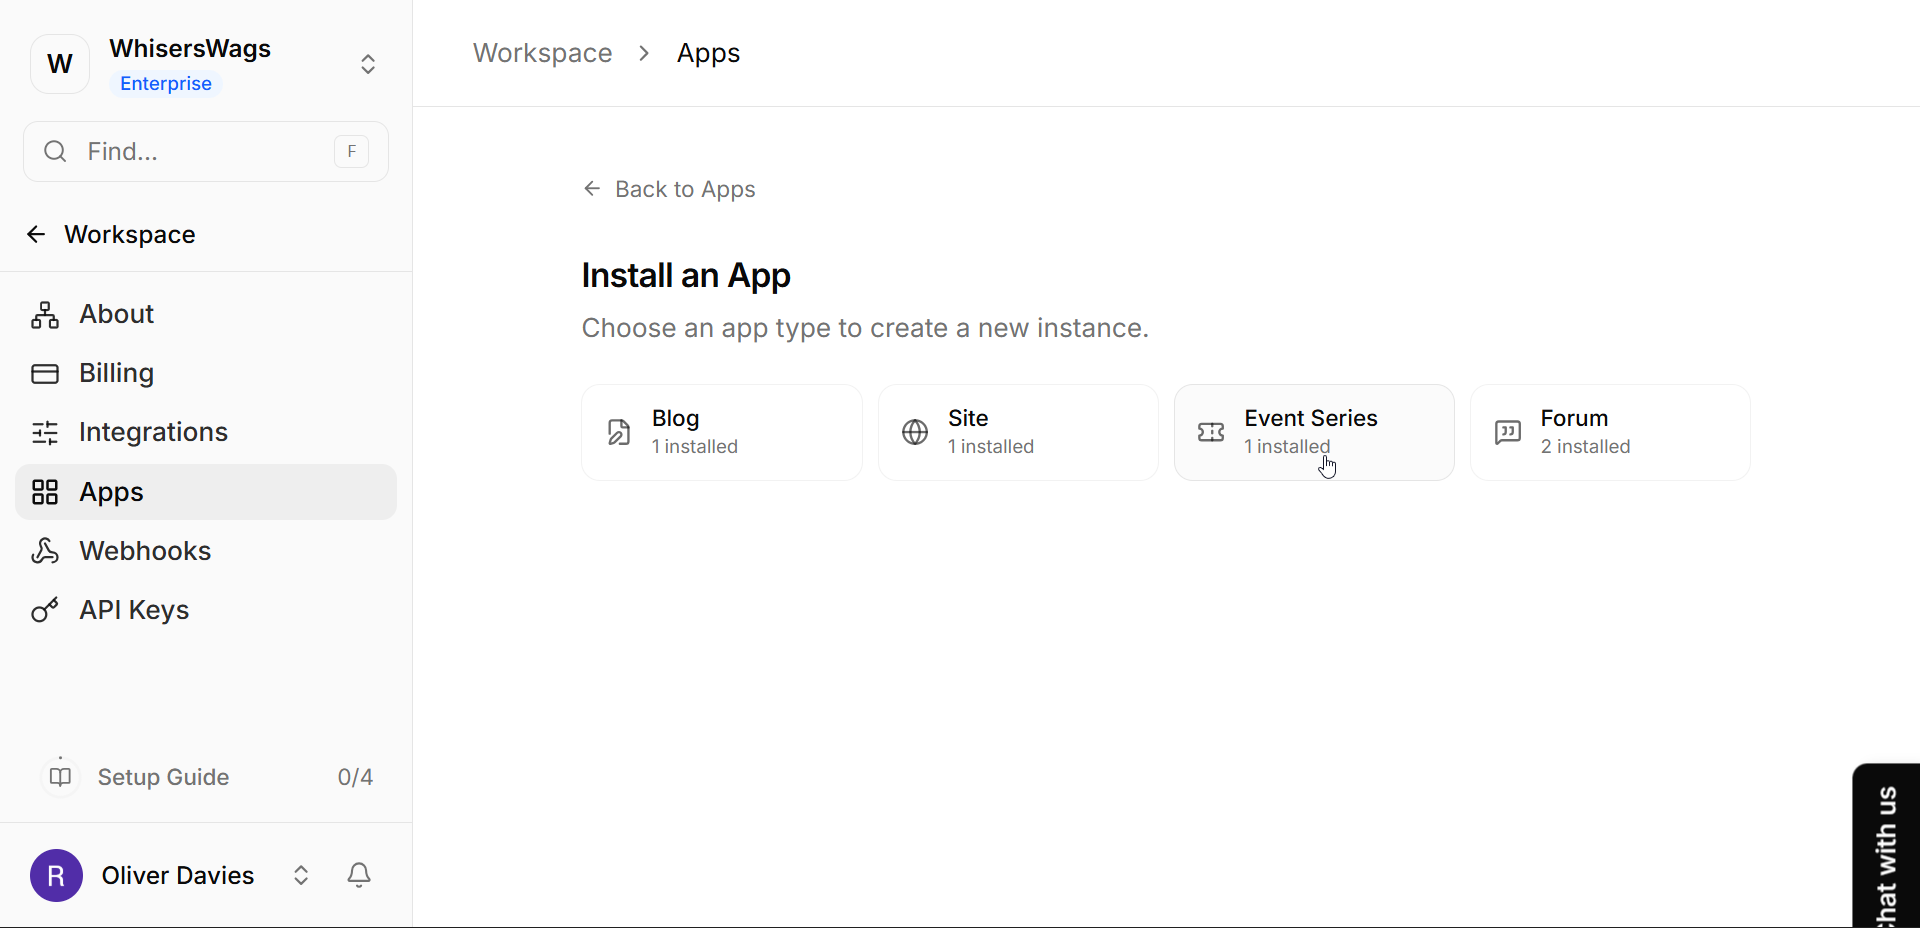
Find and select Event Series.
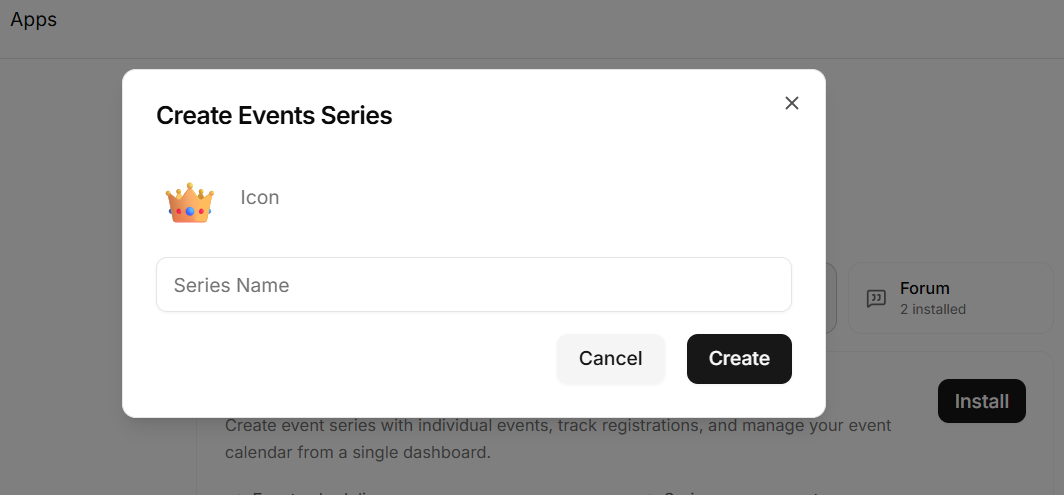
Pick a Name for your series (for example, "Summer Yoga Classes" or "Tech Conference 2024").
Click Create.
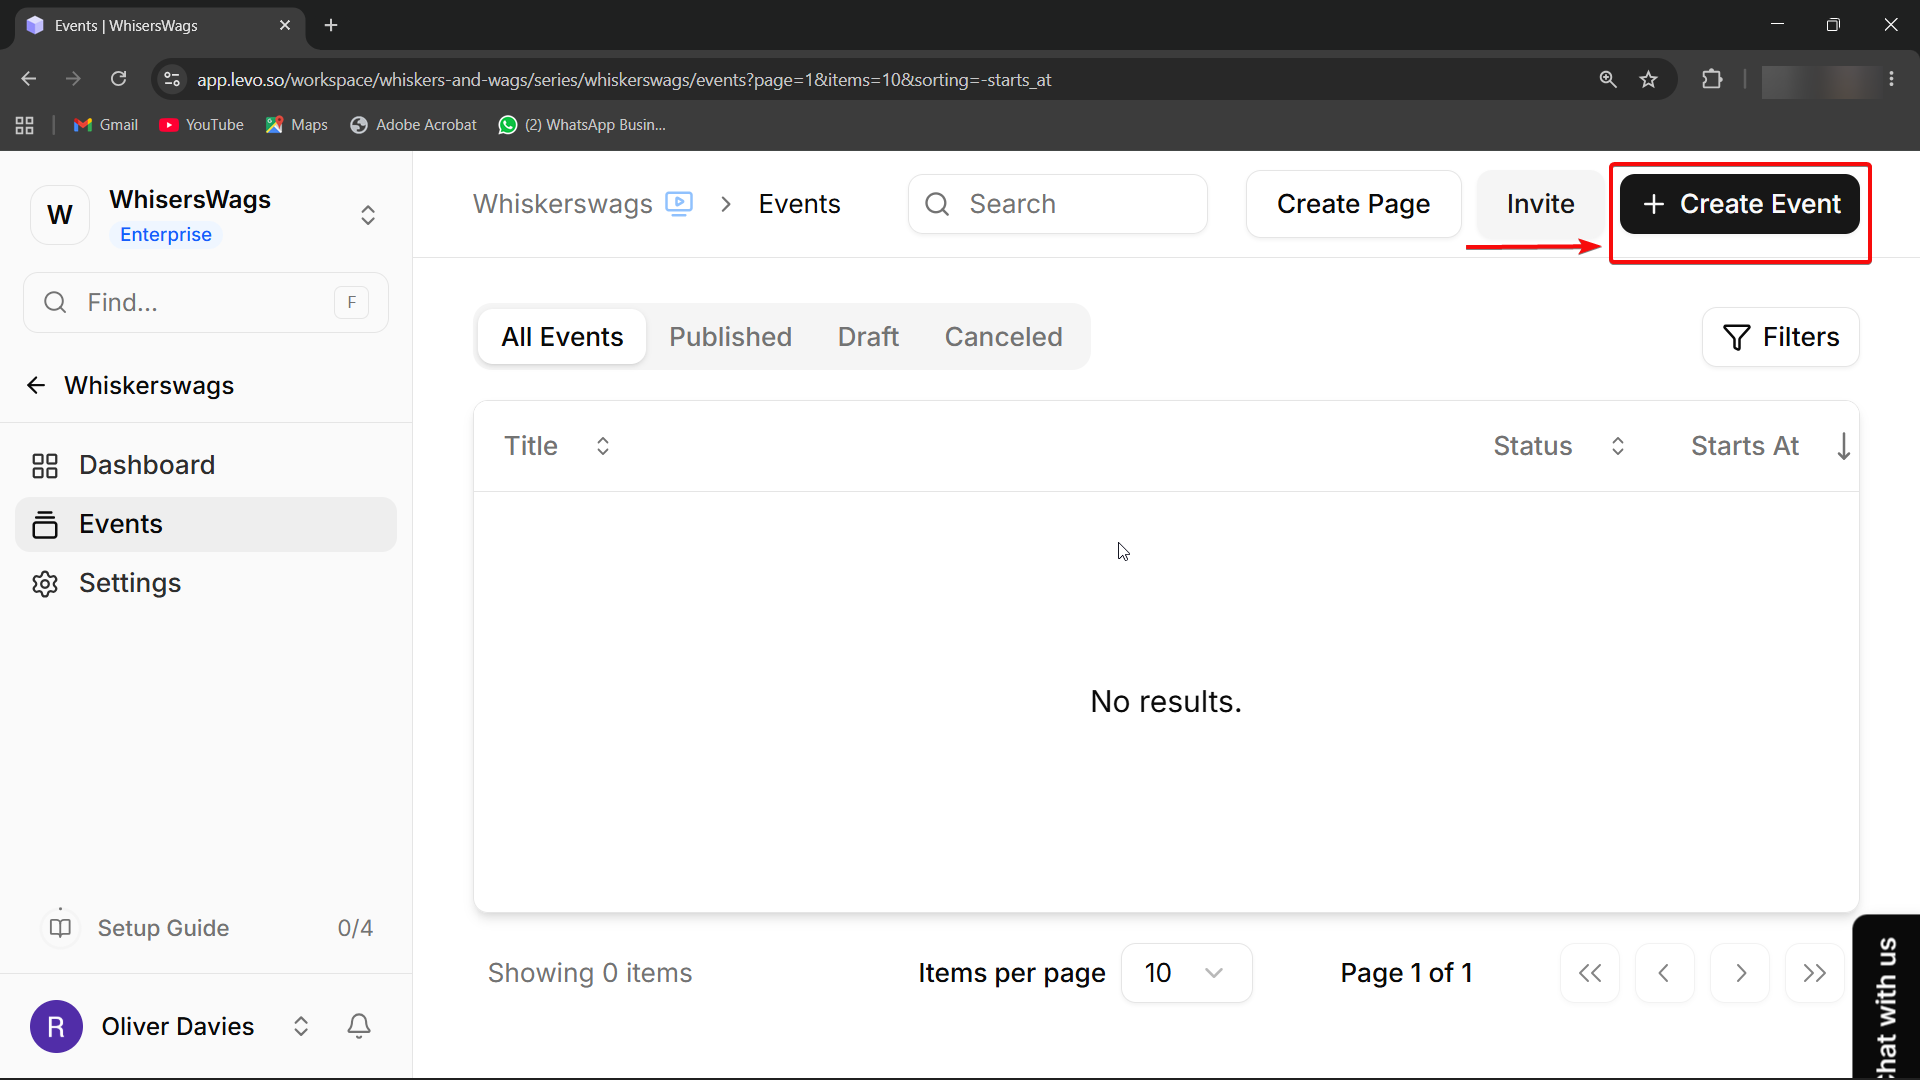
Once created, you can find your series listed under the "Apps" section or pinned to your sidebar. Click on it to open your Series Dashboard.
Step 2: Create an Event
Inside your new Series, click the Create Event button to start adding specific dates.
Basic Info
Title: The public name of your event.
Cover Image: The main photo people will see.
Description: Tell people what the event is about! You can add links, photos, and bold text here.
Contact Email: An email address for questions. This is private unless you choose to show it to the public.
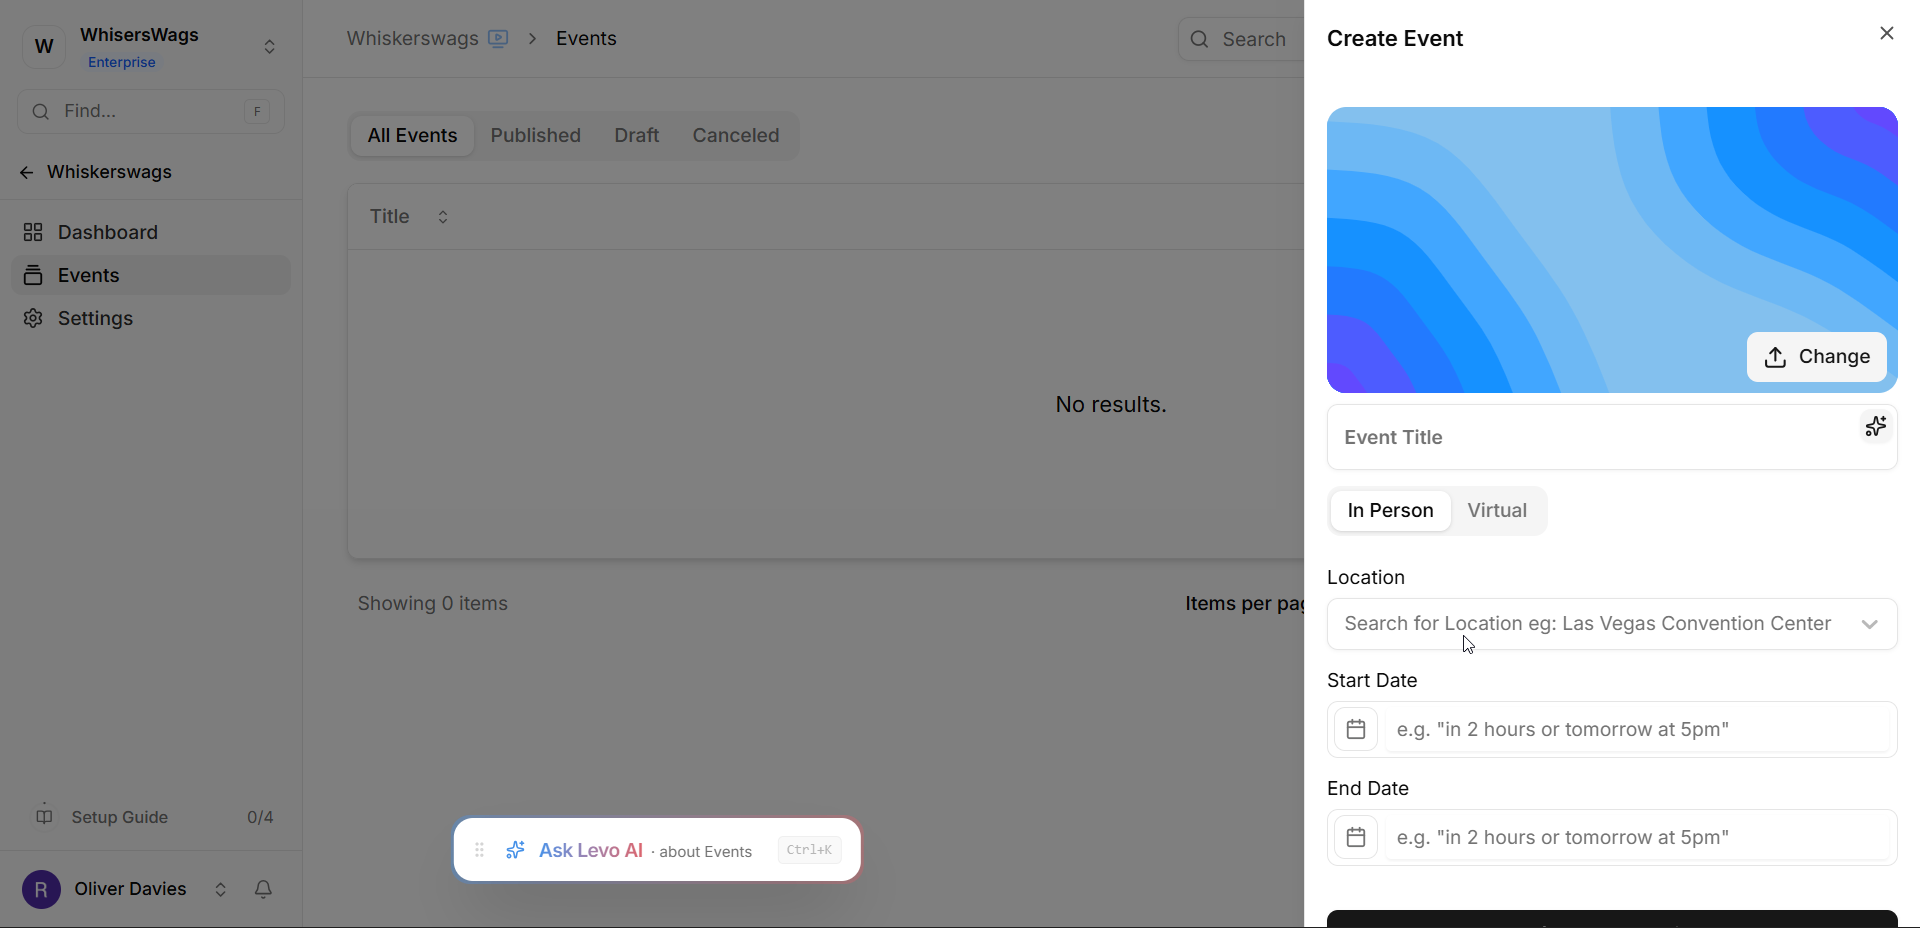
Pick Your Event Type
In Person: Pick this if the event is at a physical building. You’ll use a map tool to pick the location.
Virtual: Pick this for online meetings or livestreams. You’ll need to provide the meeting link (URL).
Private or Public: You can hide the location or meeting link until after someone registers. This is great for keeping your Zoom link private!
Timing
One-Time: Use this for a single event on a specific date.
Recurring: Use this if the event repeats (like "Every Tuesday" or "Every 2 Months").
Publishing and Status
New events always start as a Draft. This means only you can see them.
Published: Your event is live on your site, and people can start signing up!
Cancelled: People can still see the event, but registration is closed. You can notify your guests that it was cancelled without deleting the event.
 Pro Tip:
Since every Series is its own "App instance," you can have multiple different Series running at once. For example, you could have one series for "Careers Webinar" and another for "Public Workshops," each with its own separate settings and dashboard.