Creating Your Workspace
Table of Contents
A workspace functions as an organization's environment within Levo, containing sites, content, members, analytics, and settings.
Users can establish multiple workspaces to serve dfferent brands, projects, or clients.
Creating Your First Workspace
After account registration, users arrive at the workspace creation screen with two required fields:
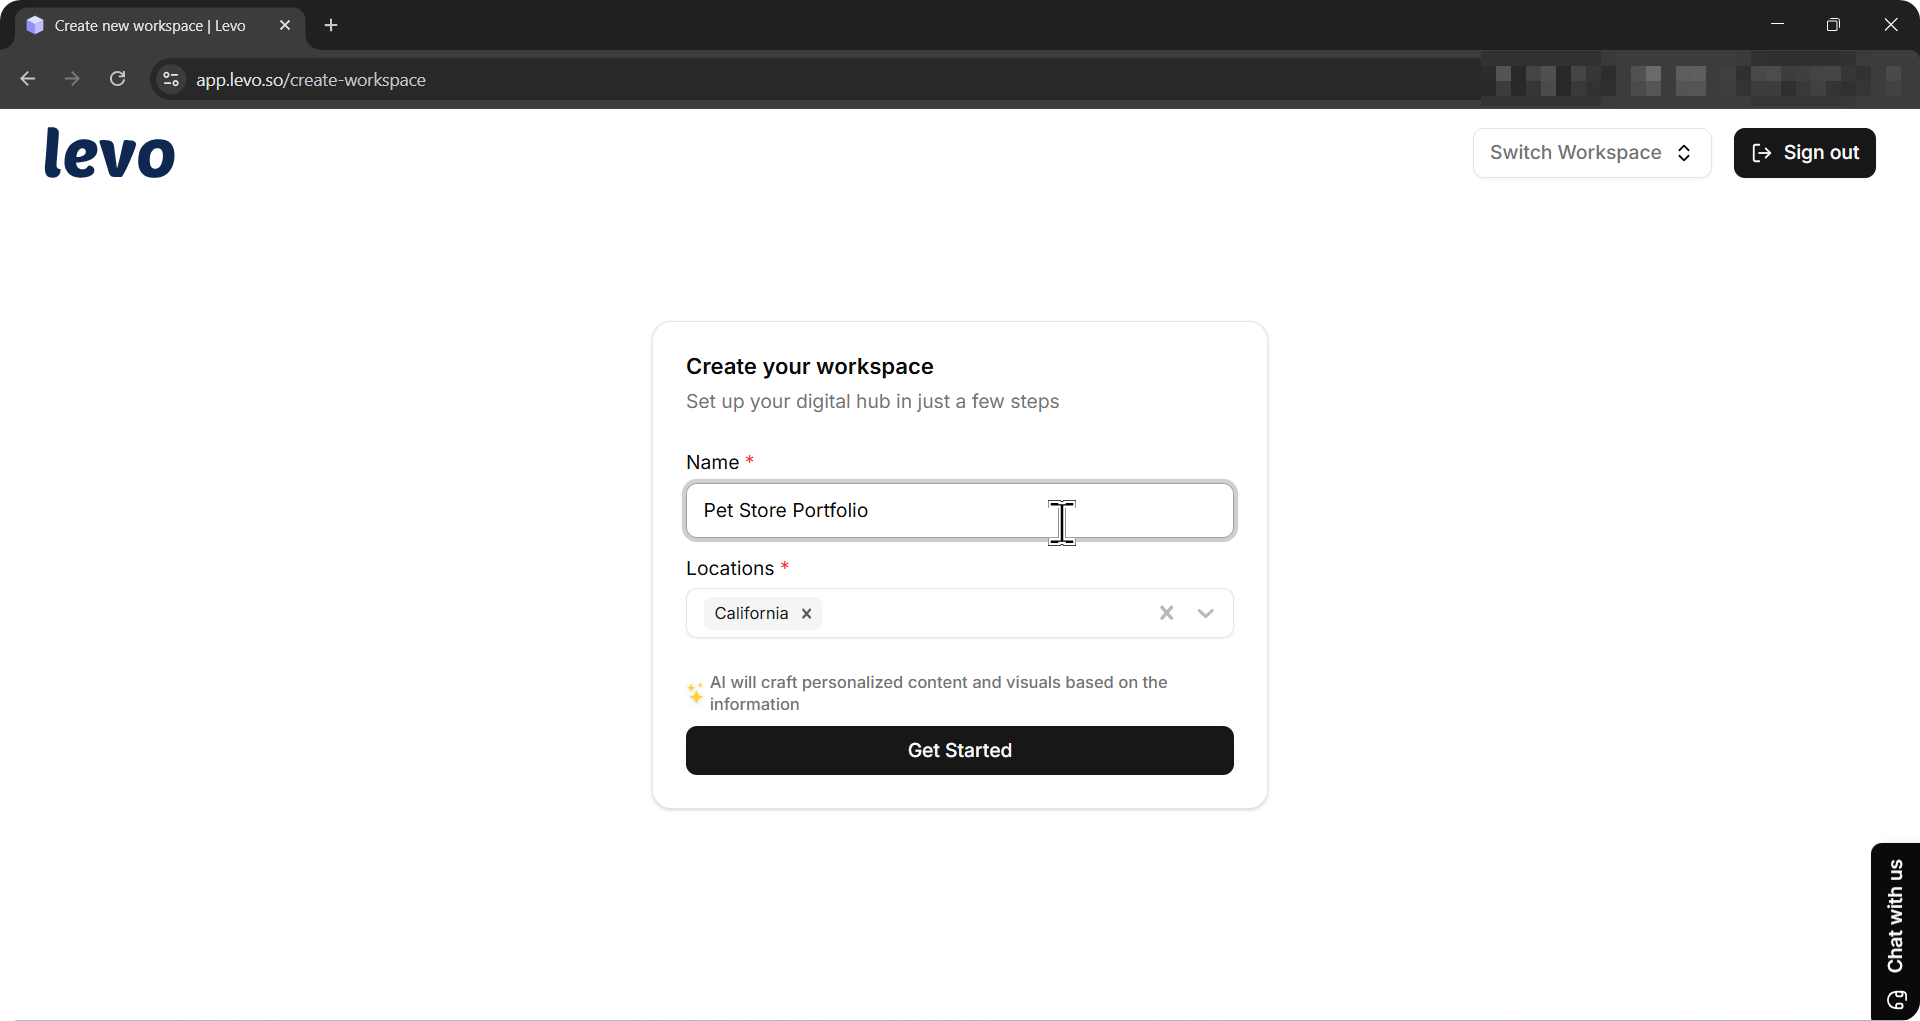
Business Name: Type the name of your business or project. This becomes your workspace name. You can change it later in Workspace Settings.
Location: Search for and select one or more business locations using the address picker. Levo uses this to personalize the AI-generated content and visuals for your region.
Click Get Started.
Levo will create your workspace and take you straight to the Onboarding wizard.
Onboarding
The onboarding wizard sets up your workspace with tailored inputs about your business, goals, and design preferences. It adapts as you go, and you can update everything anytime.
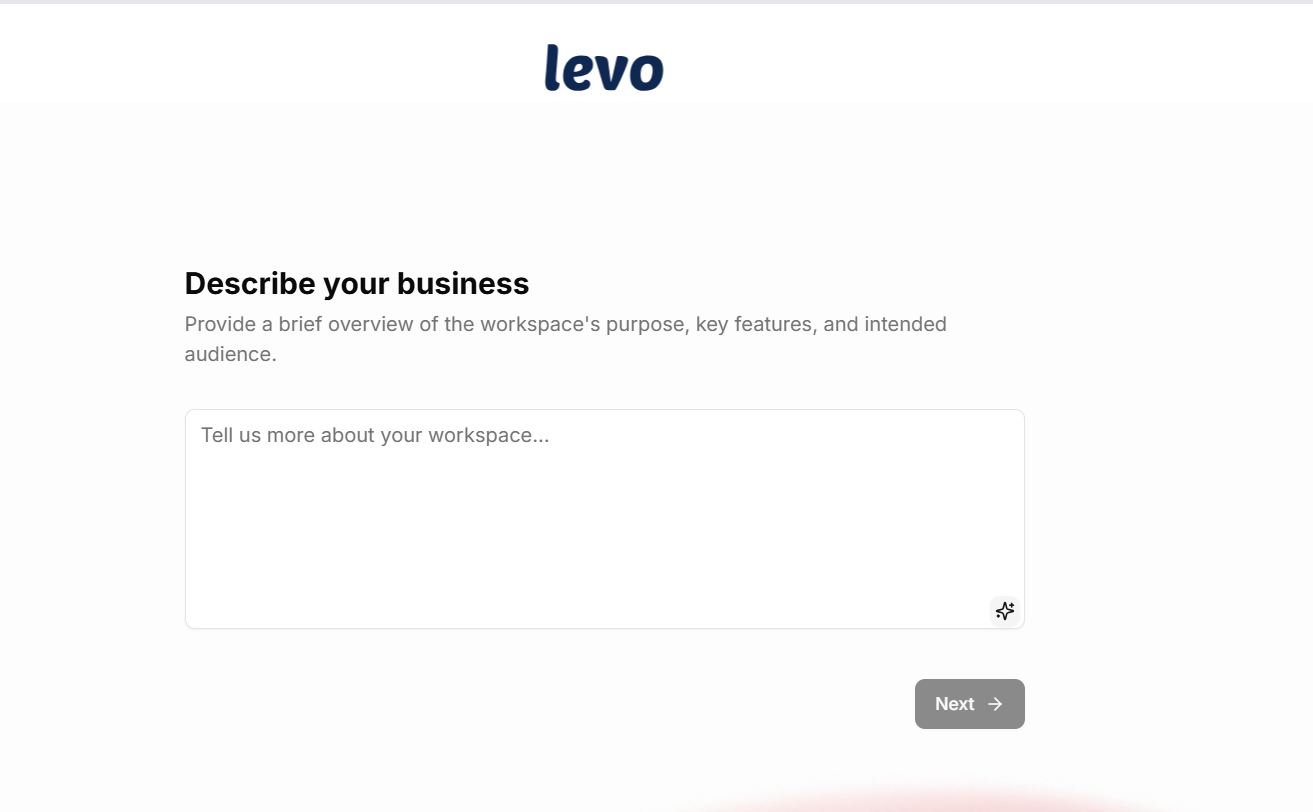
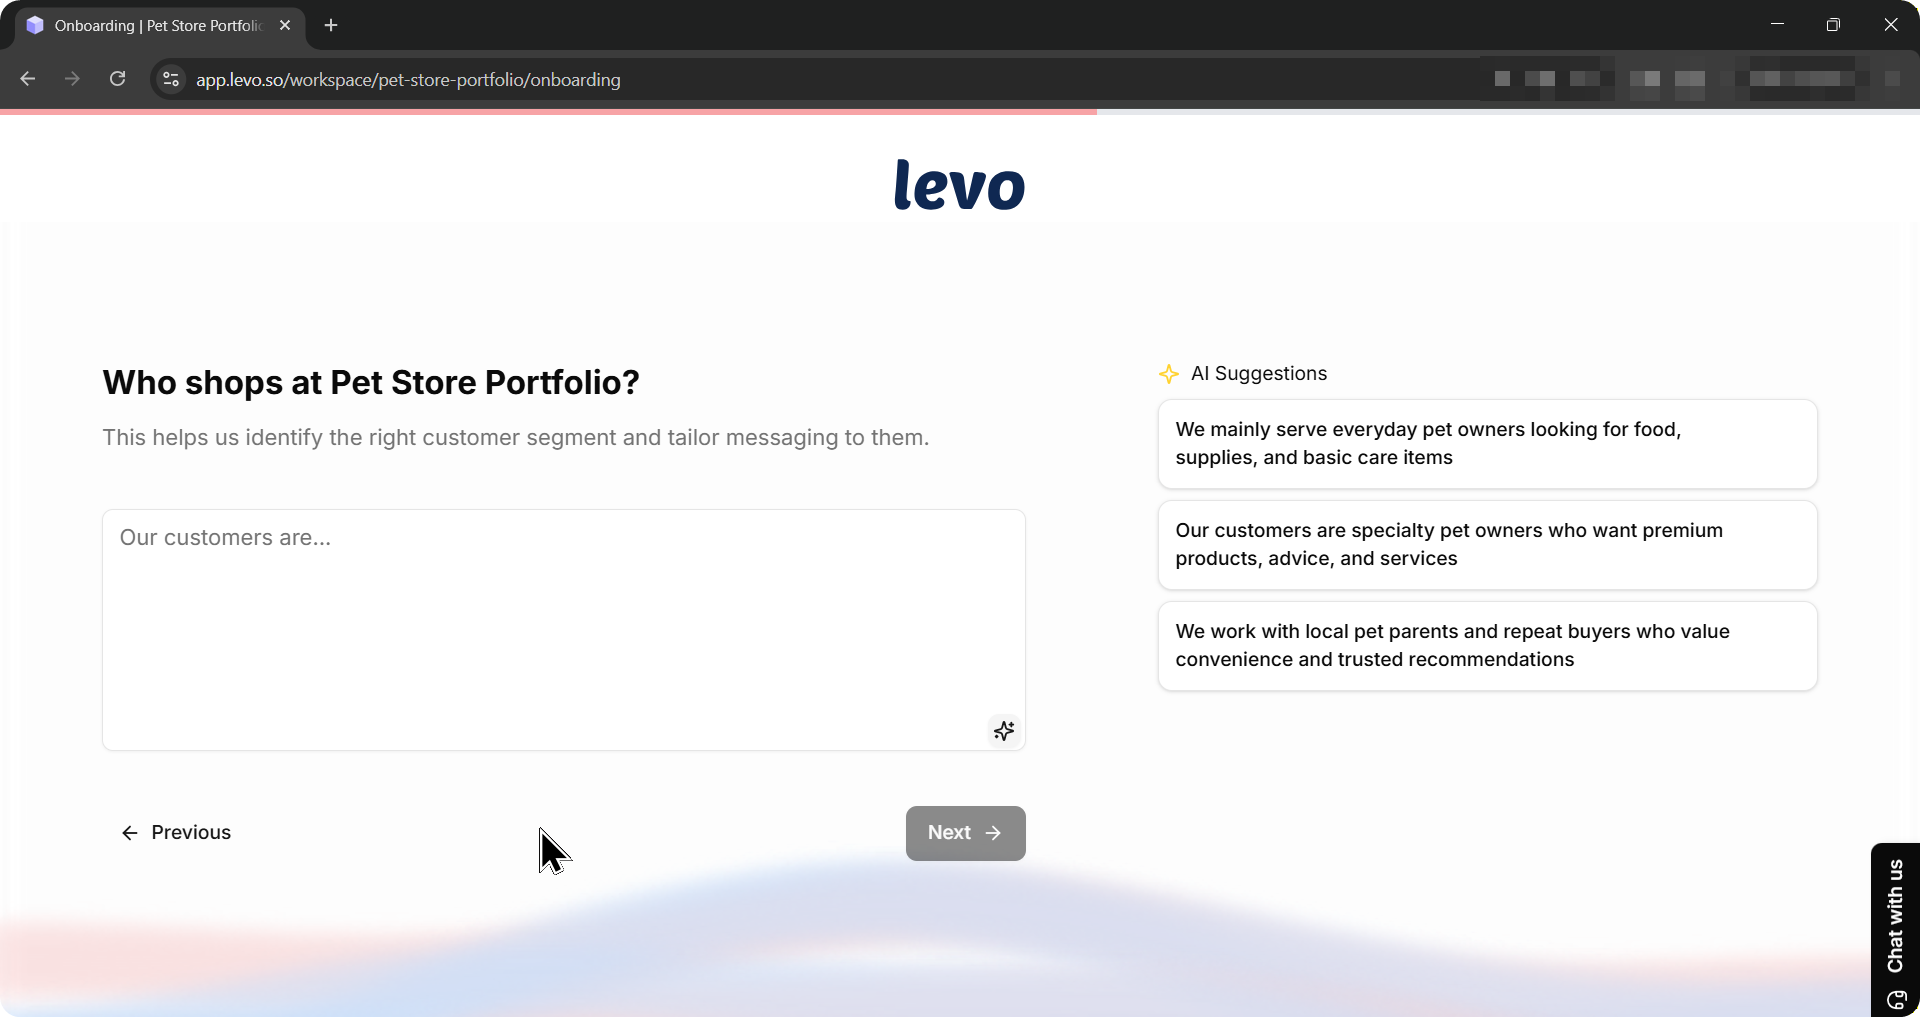
Step 1: Describe Your Business
Users provide a brief overview of the workspace's purpose, key features, and intended audience. The interface includes a text area with word count tracking and AI-generated suggestions that appear while typing. These suggestions are optional aids rather than requirements.
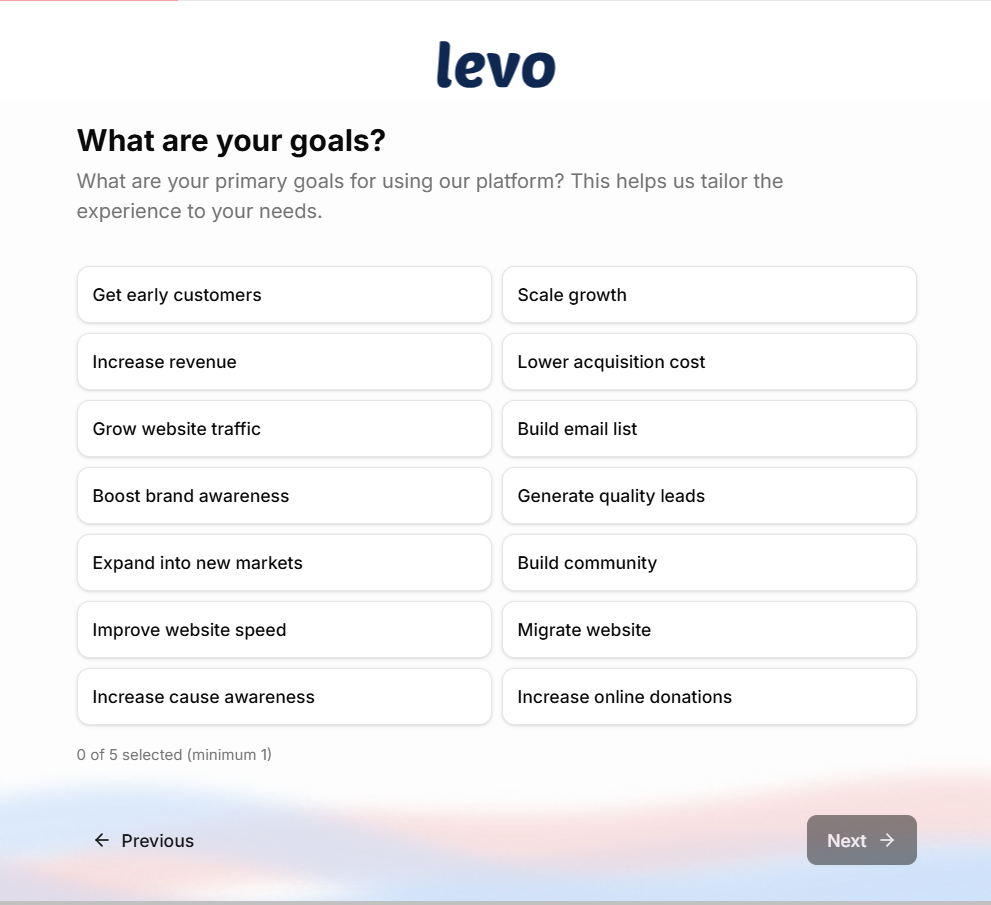
Step 2: Your Goals
Users select applicable goals from multiple checkbox options. This selection helps the platform prioritize dashboard features and quick actions.
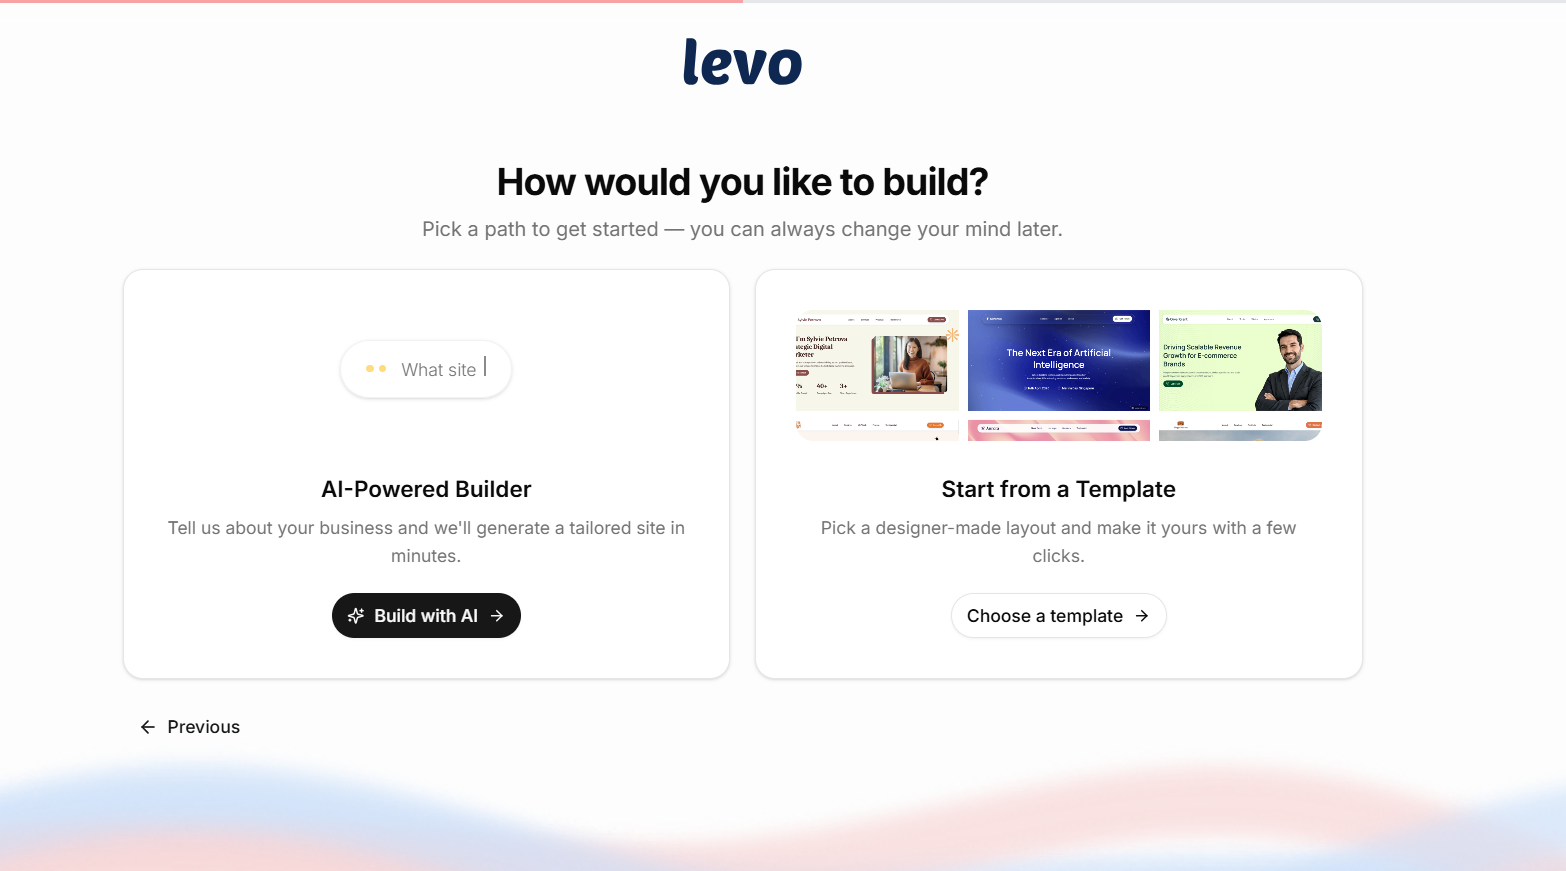
Step 3: Building Method Selection
Two pathways are available:
AI-Powered Builder: The system constructs initial site structure based on provided information, generating page sections, placeholder content, and visual themes. This is the fastest method.
Start from a Template: Users browse a professionally designed template library, with filtering and preview capabilities before selection.
Step 4: AI Questions (AI-Powered Builder only)
If you chose the AI-Powered Builder, Levo will ask additional questions about your services, audience, and the pages you need. These answers help the AI generate a site that fits your business.
If you chose a template, this step is skipped automatically.
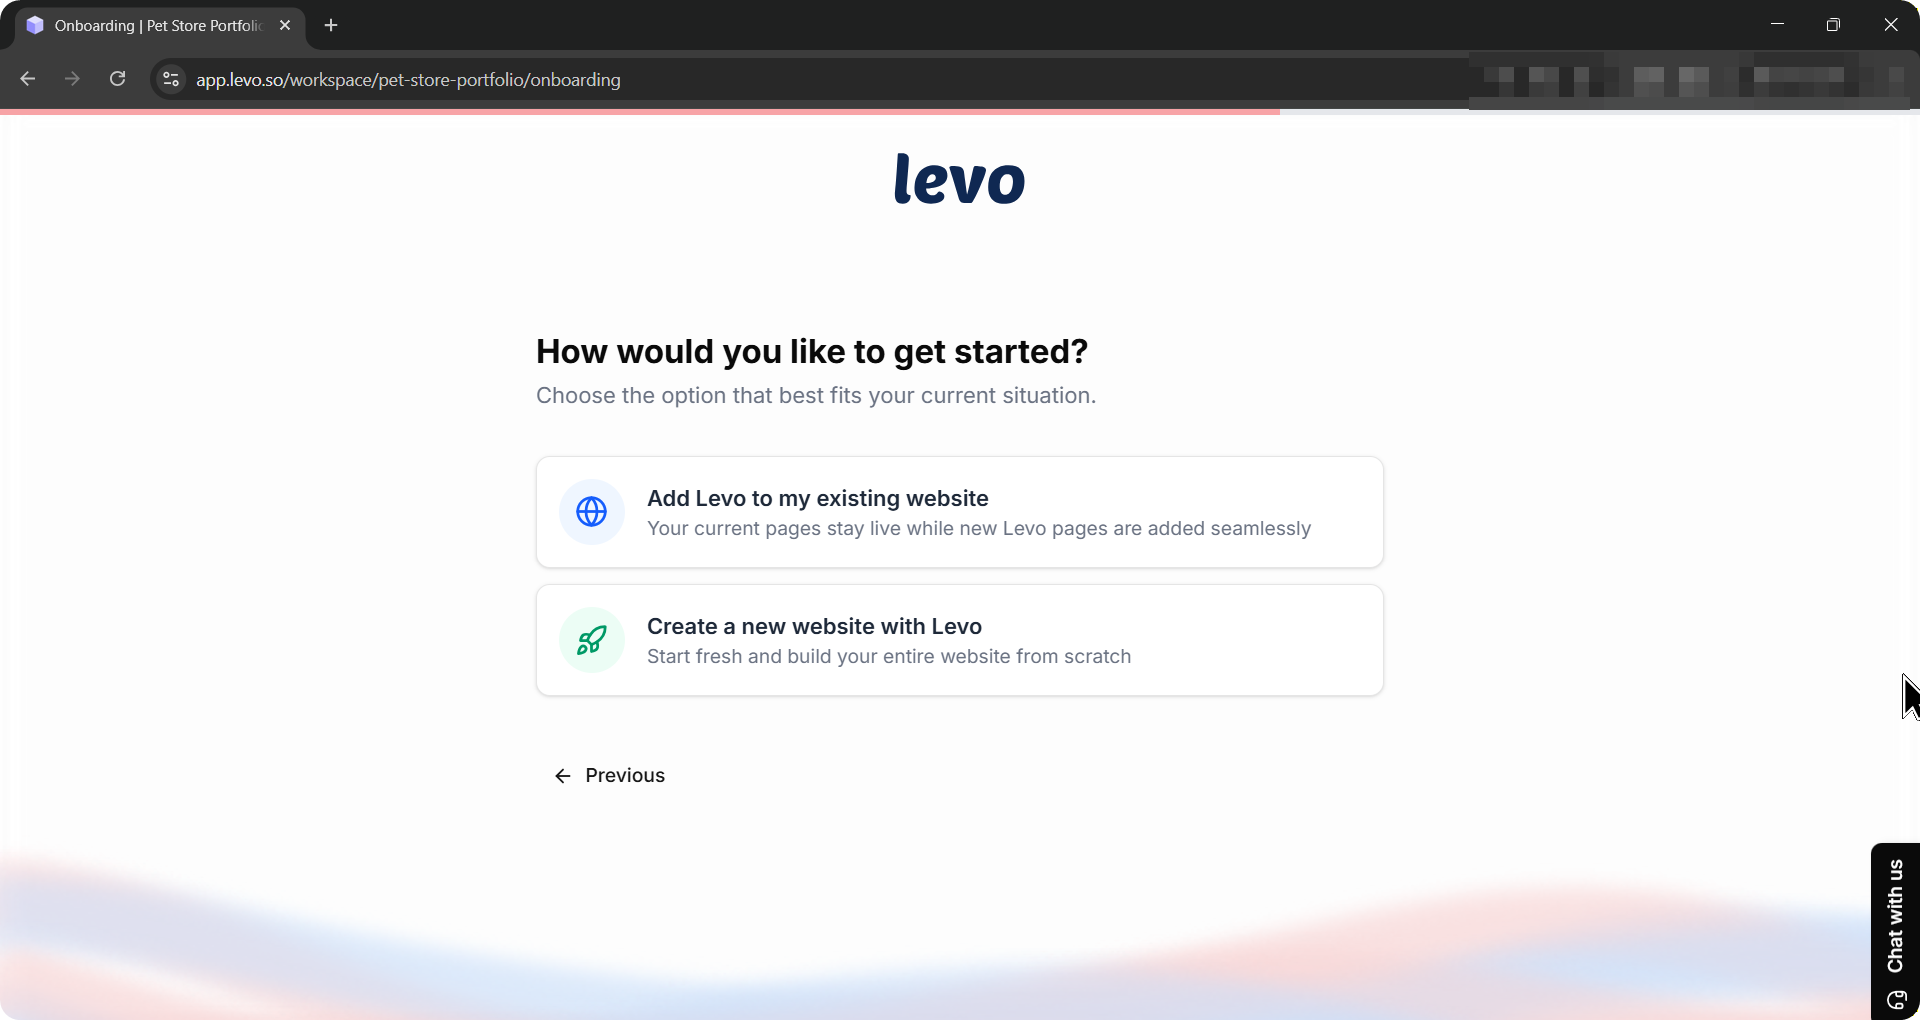
Step 5: Website Status
Tell Levo whether you are adding to an existing website or creating a brand new one.
Existing website — Your current pages stay live while Levo adds new pages alongside them.
New website — Levo becomes your complete website platform.
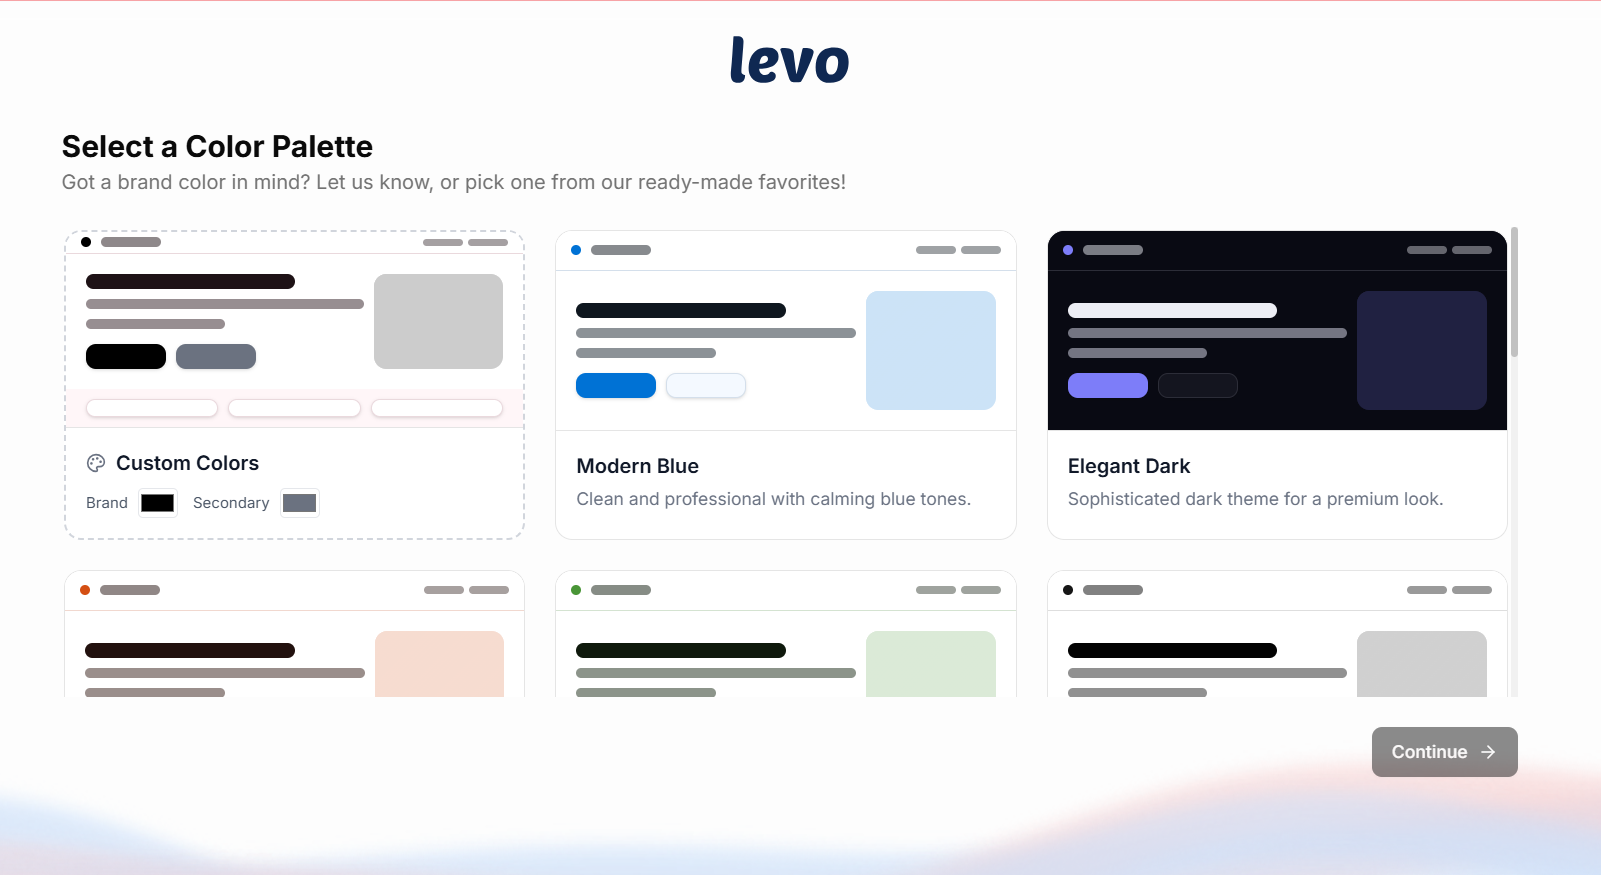
Step 6: Colour Palette Selection
Users choose from palette cards displaying live site mockups. The first card permits custom brand color definition with automatic palette generation.
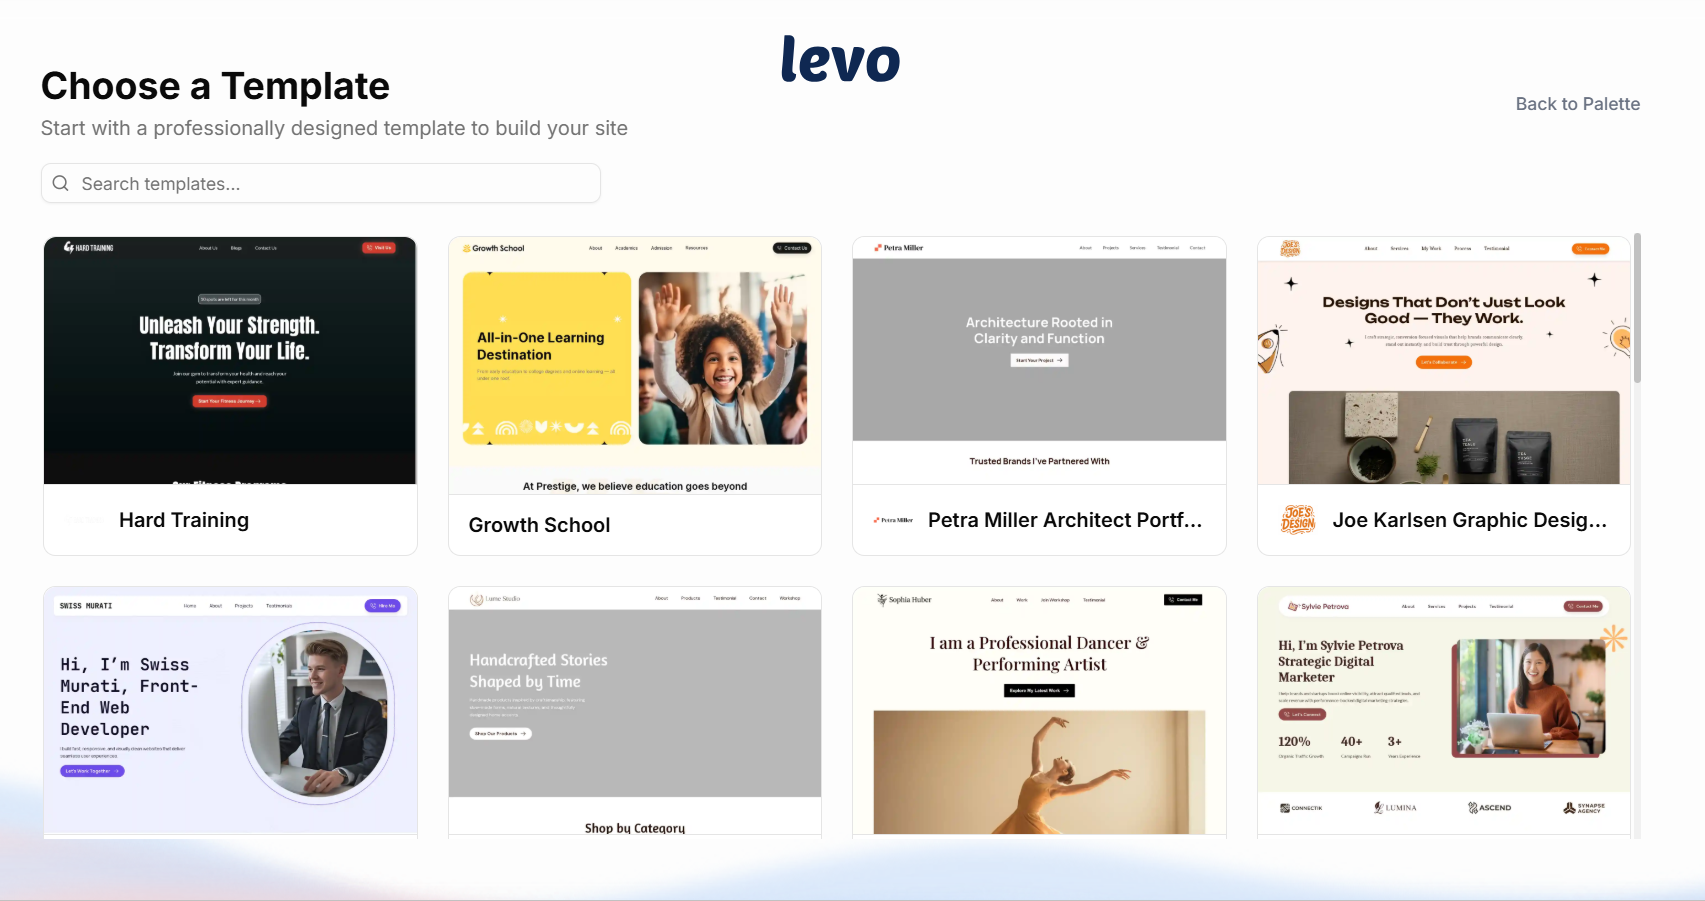
Step 7: Template Selection
The template gallery features search functionality, hover animations, preview options, and Use Template buttons for selection.
Completion leads to the Dashboard, where users can access Studio for refinements, blog posting, and domain setup. Initial onboarding choices remain adjustable.
Creating Additional Workspaces
Once you are inside the platform, you can create a new workspace from the sidebar:
Click your workspace name at the top of the left sidebar.
Select Create Workspace from the dropdown.
Every new workspace requires the same name and location setup before you go through onboarding.