Collection Views — Table, Board & More
Table of Contents
Collection Views in Levo
1. What are Collection Views?
Collection Views are saved layouts that control how Collection data appears. Instead of working with one large list of records, you can create different views for different needs, like “Drafts” or “Published.”
2. Show or Hide Fields
You can choose which columns appear in a view using the Change View settings. These are called Active Fields.
When a field is hidden, it is removed from:
the table view
forms
record details
This only applies to that specific view.
3. Filters and Layouts
You can filter records, group data, or change the layout of a view.
Example:
show only records where Status = Draft
group tasks by team member
After customizing a view, you can save it as a new tab. If you make changes later, the Update View button lets you save the new setup quickly.
4. Permissions and Access Control
Collection Views also help control access.
Instead of giving someone access to the full Collection, you can invite them to a specific view. This keeps sensitive information hidden.
Example: A freelancer can see only:
tasks assigned to them
the fields you allow
They will not see private columns like budgets or internal notes.
5. Organizing with Tabs
Saved views appear as tabs at the top of the Collection, such as:
All Entries
My Tasks
Pending Review
You can:
switch between views
duplicate views
rename views
update descriptions
Summary
Collection Views help you organize, filter, and protect your data. They make it easier for each team member to focus only on the information they need.
Views let you look at the same Collection data in different ways. Each view remembers its own layout, fields, filters, and sort order. You switch between views using the tabs at the top of a Collection.
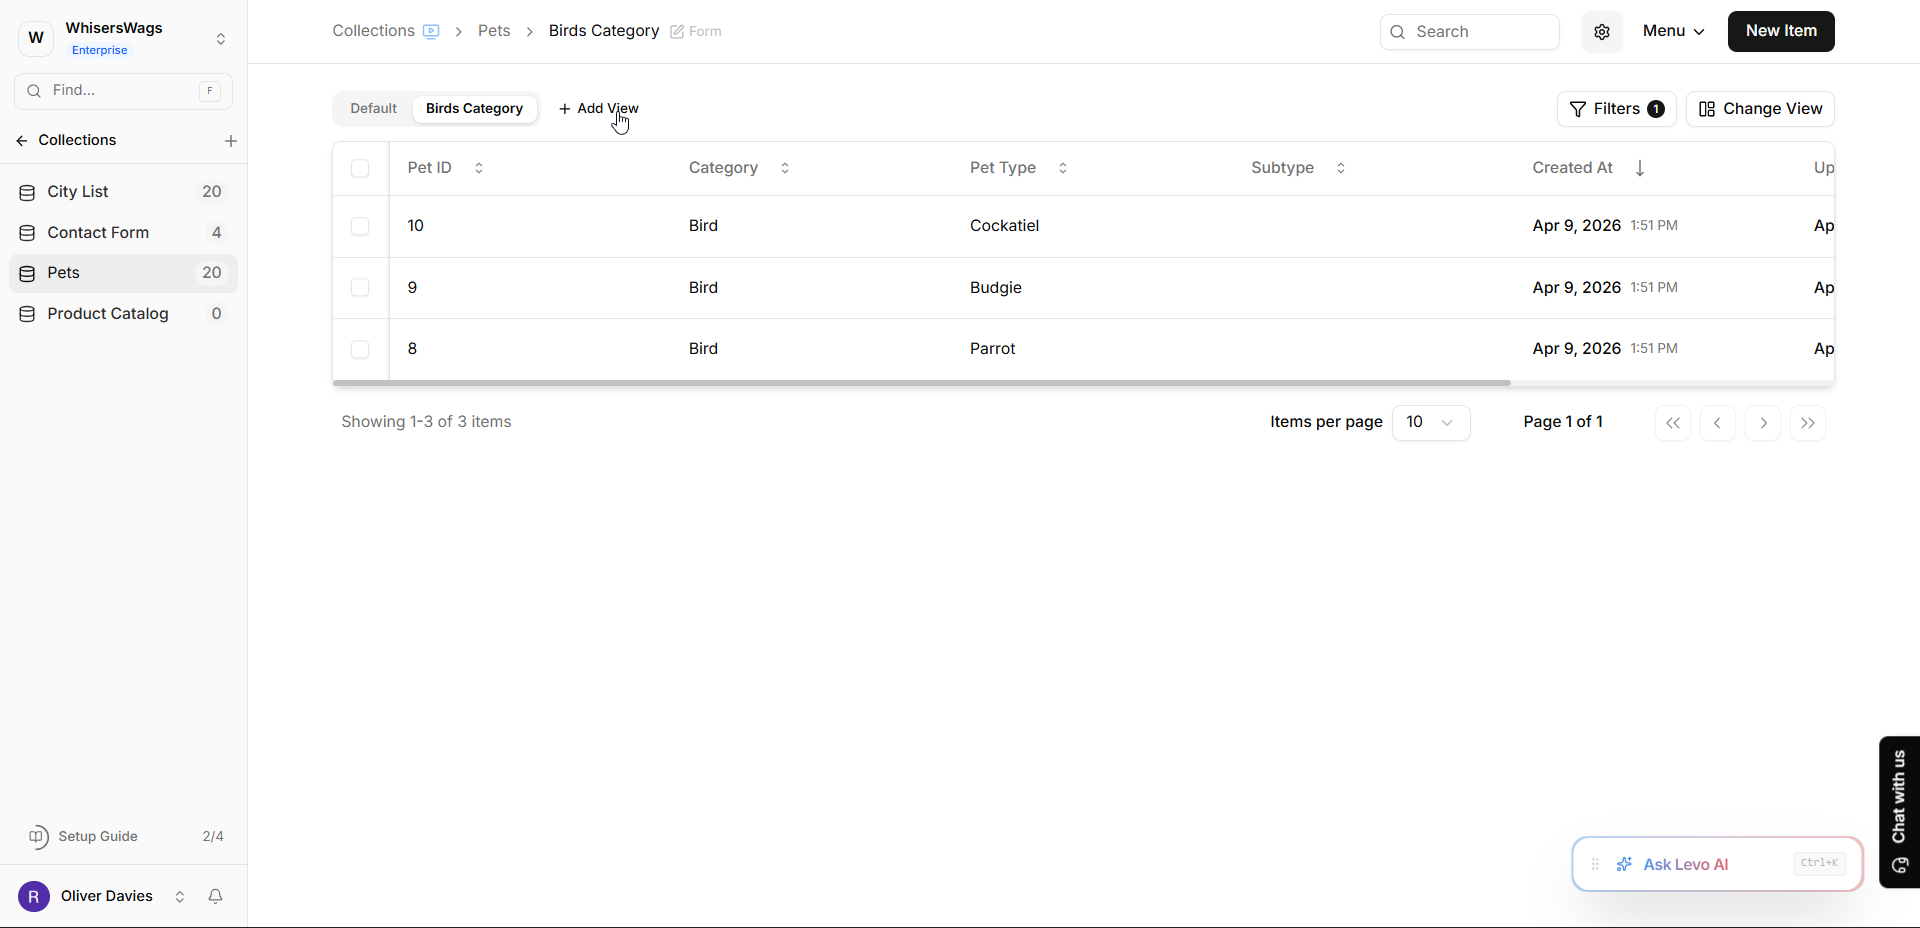
How to Create a New View
Open a Collection.
Click Add View.
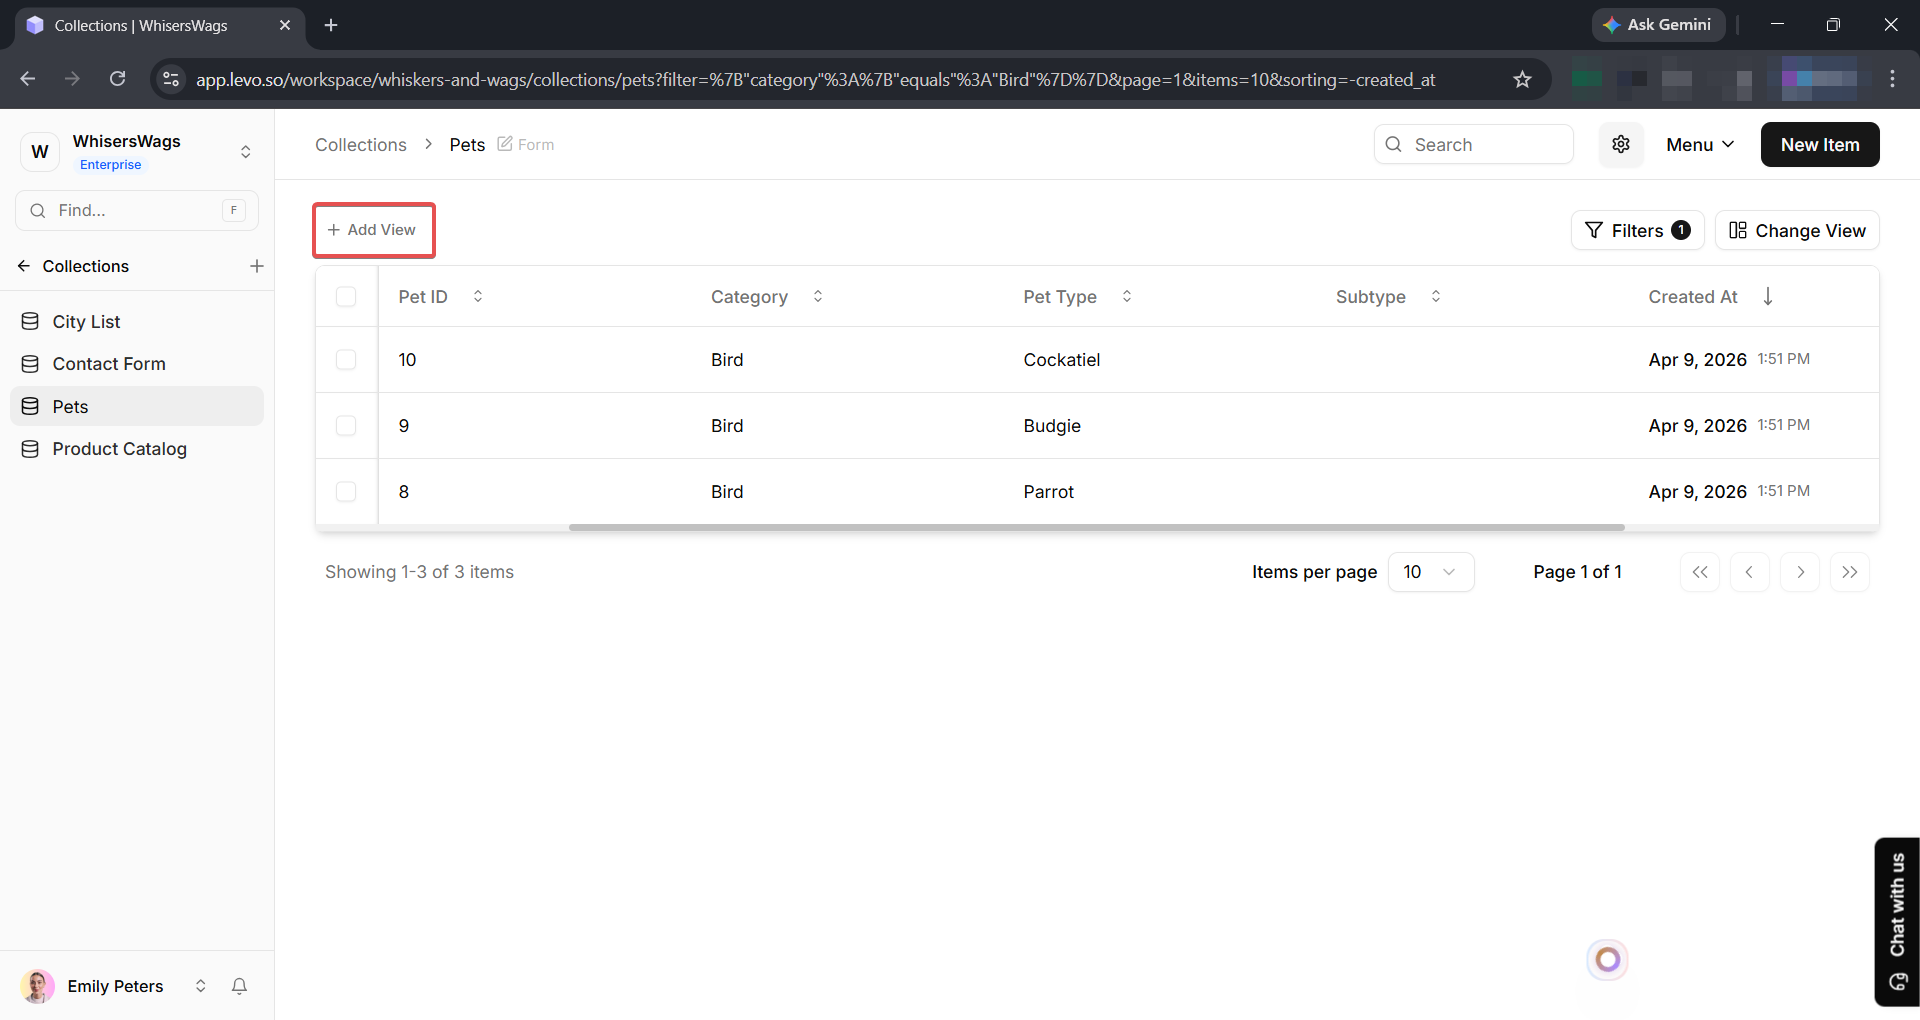
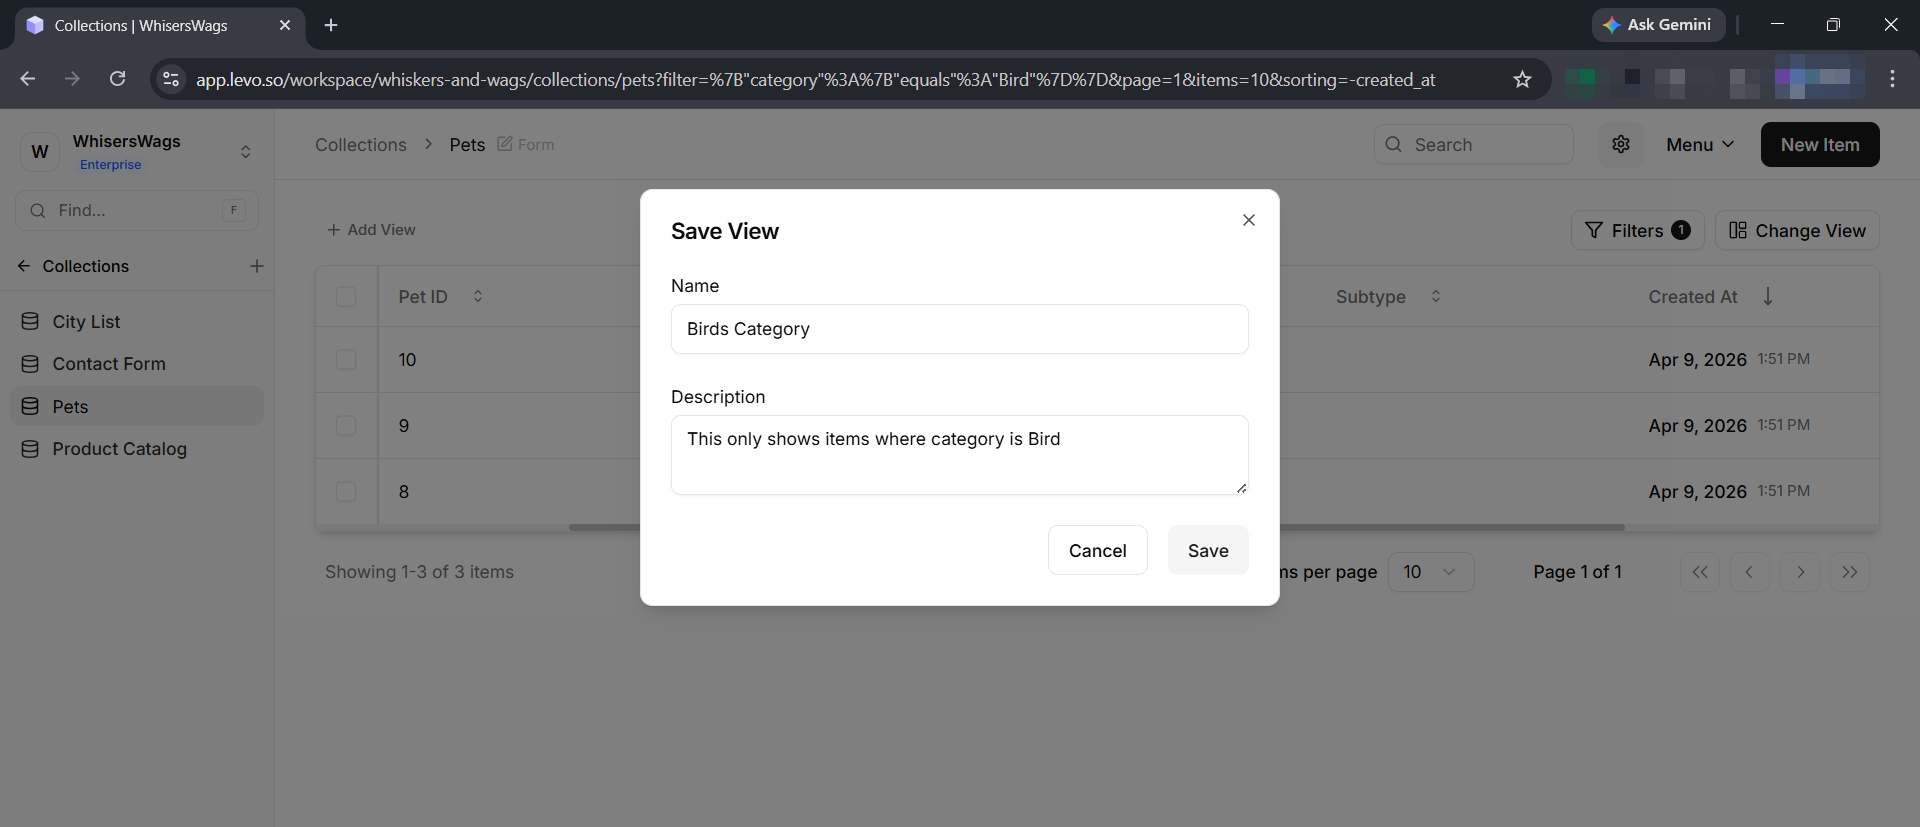
A modal appears. Enter a Name and Description for your view.
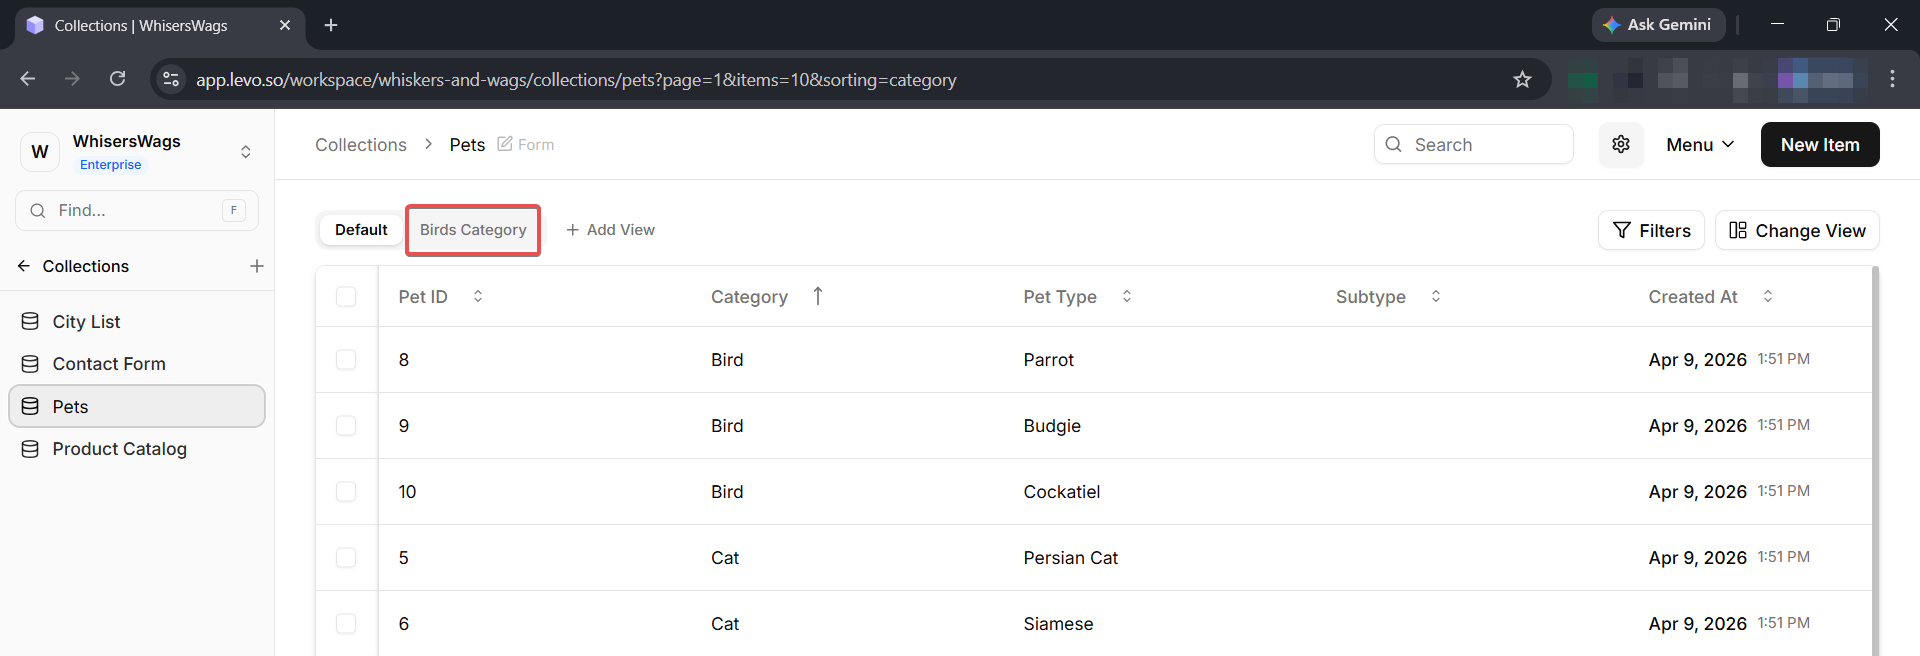
Click Save. Your new view now appears as a tab. Any filters or layout settings you had active at the time are saved with it.
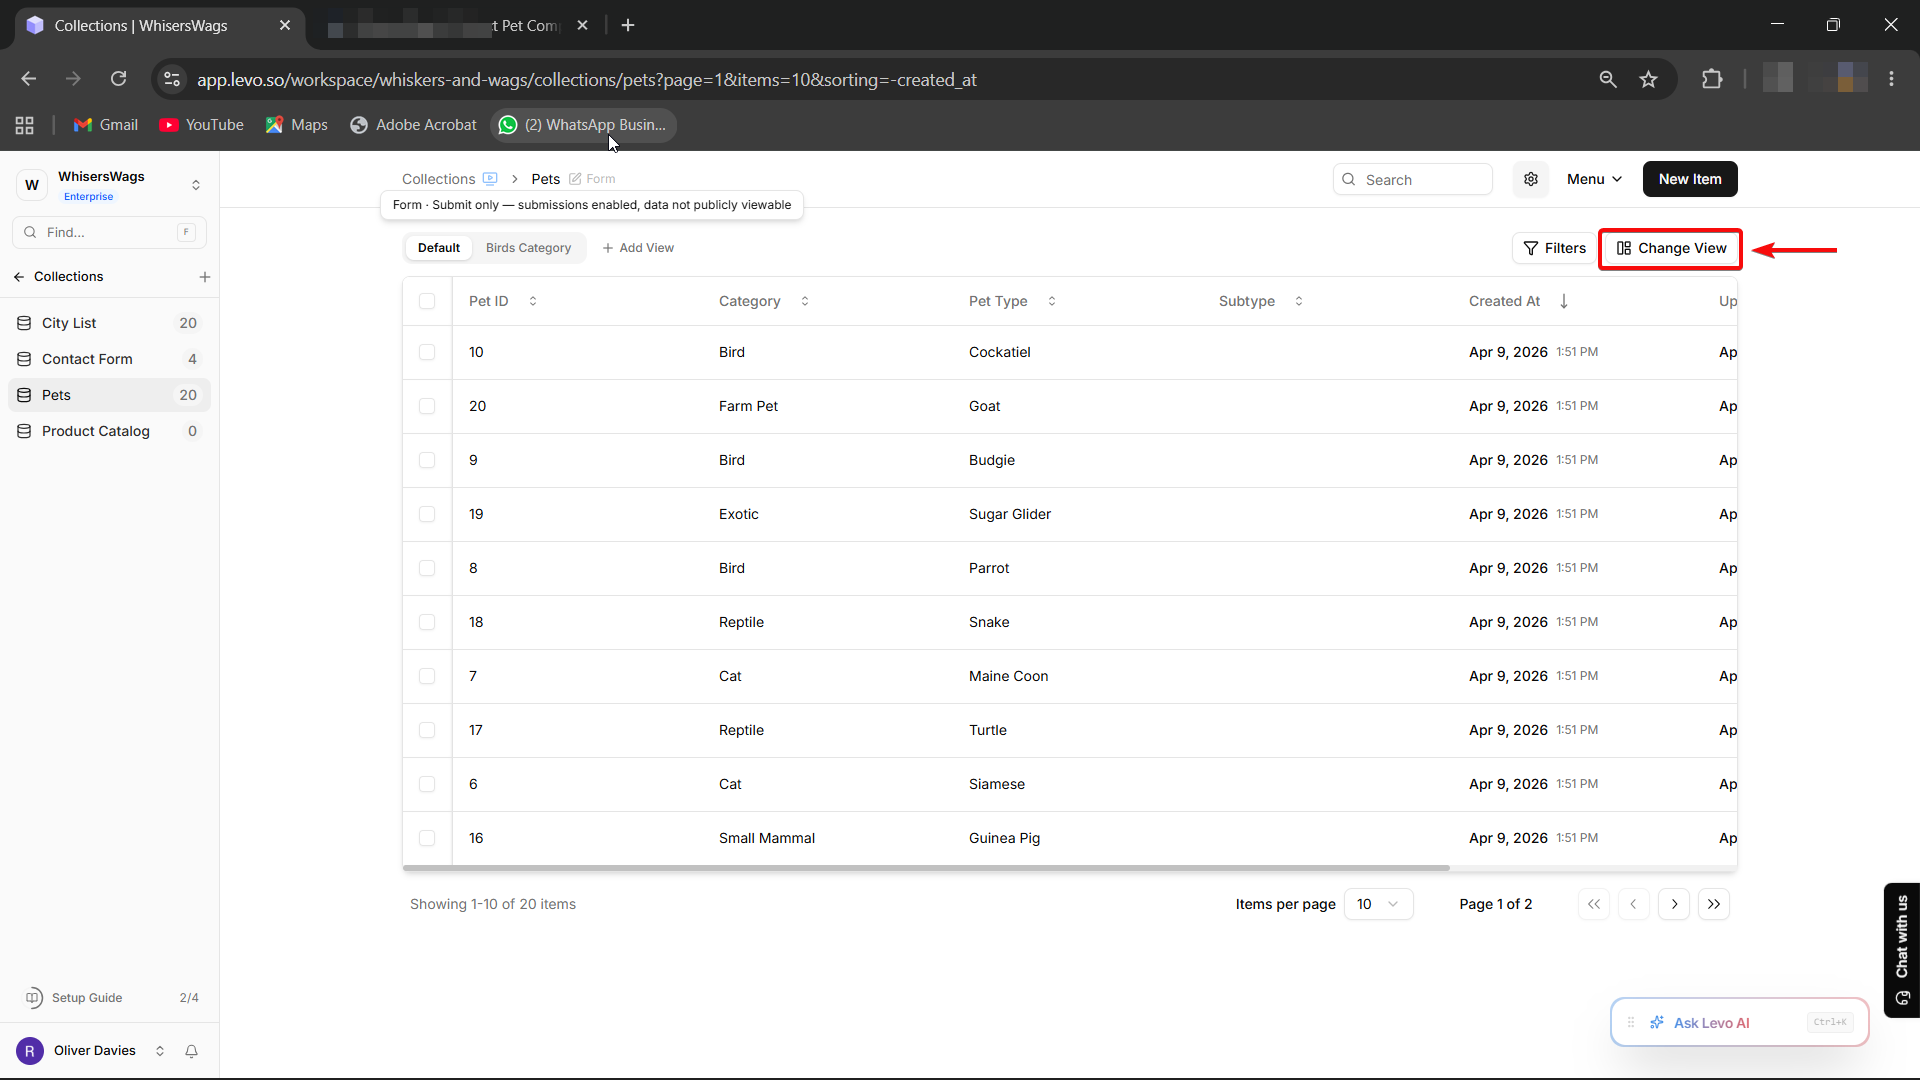
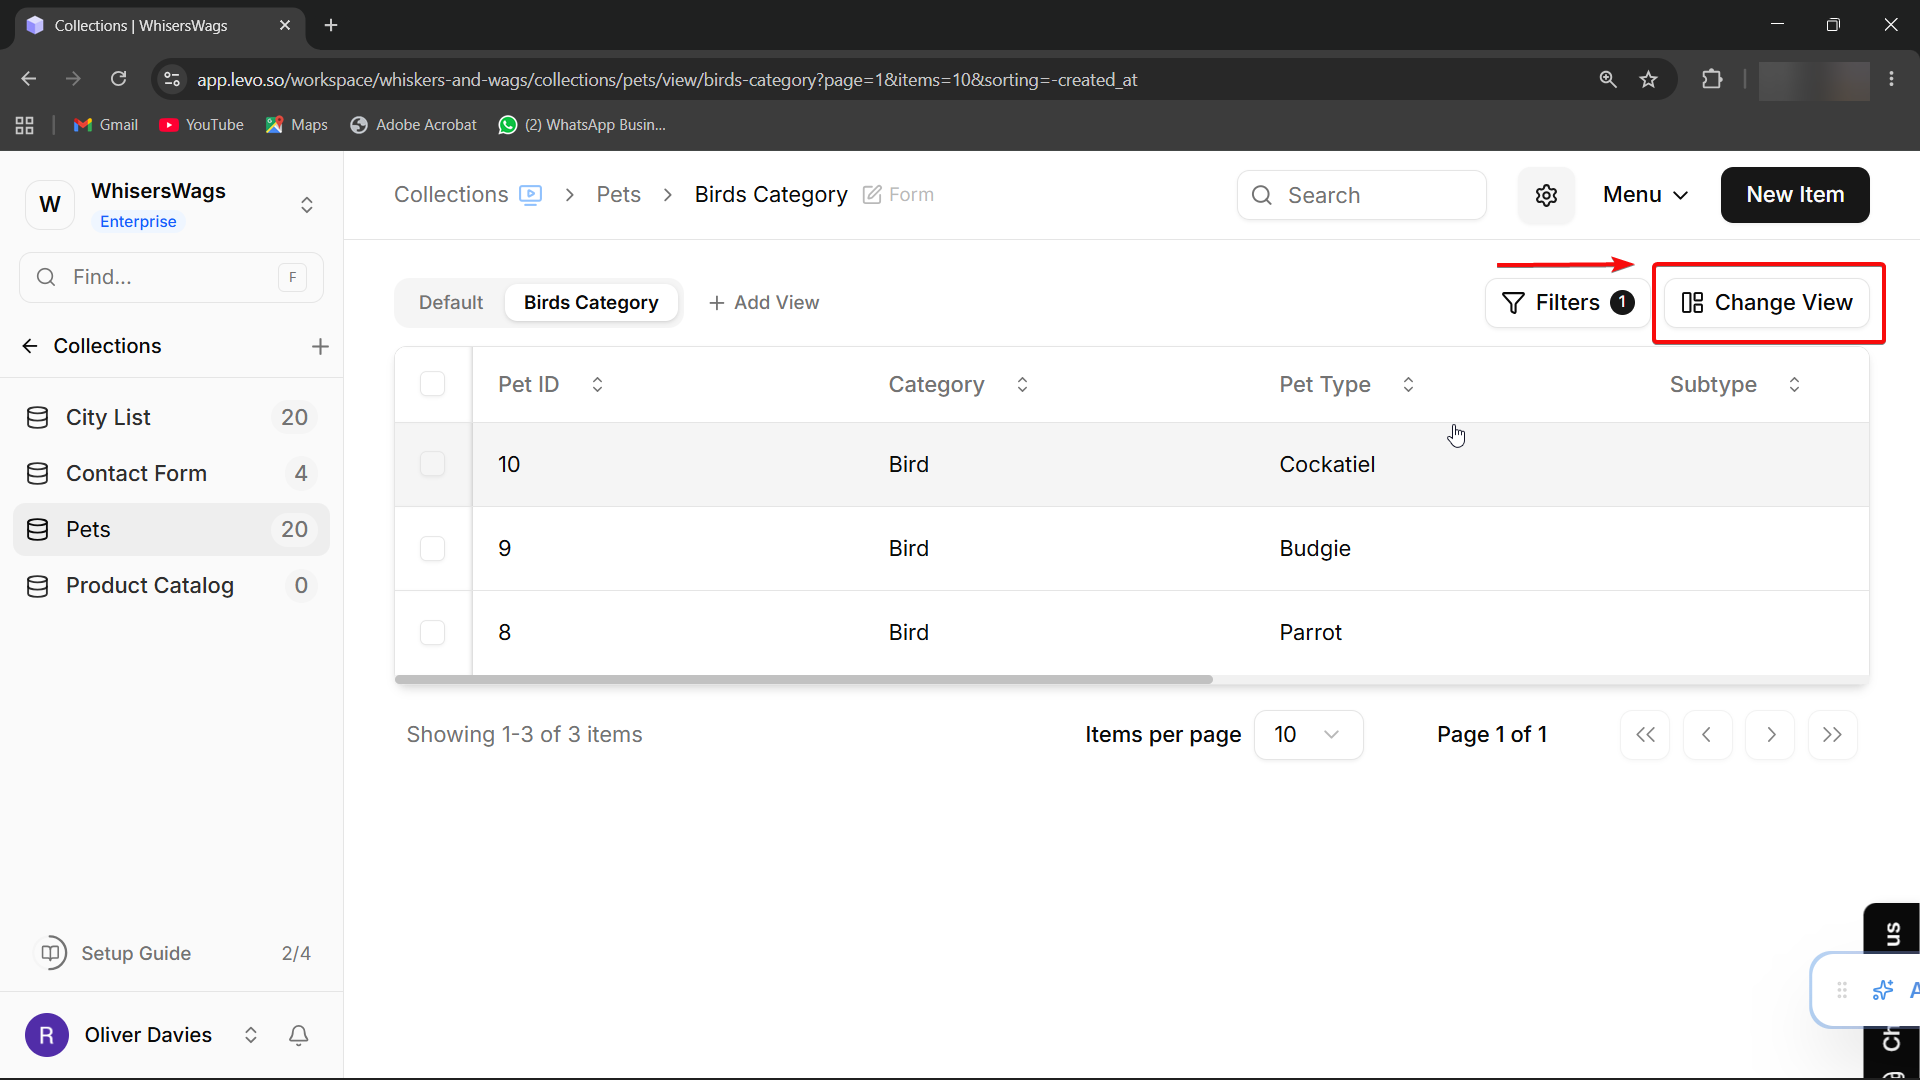
How to Configure a View
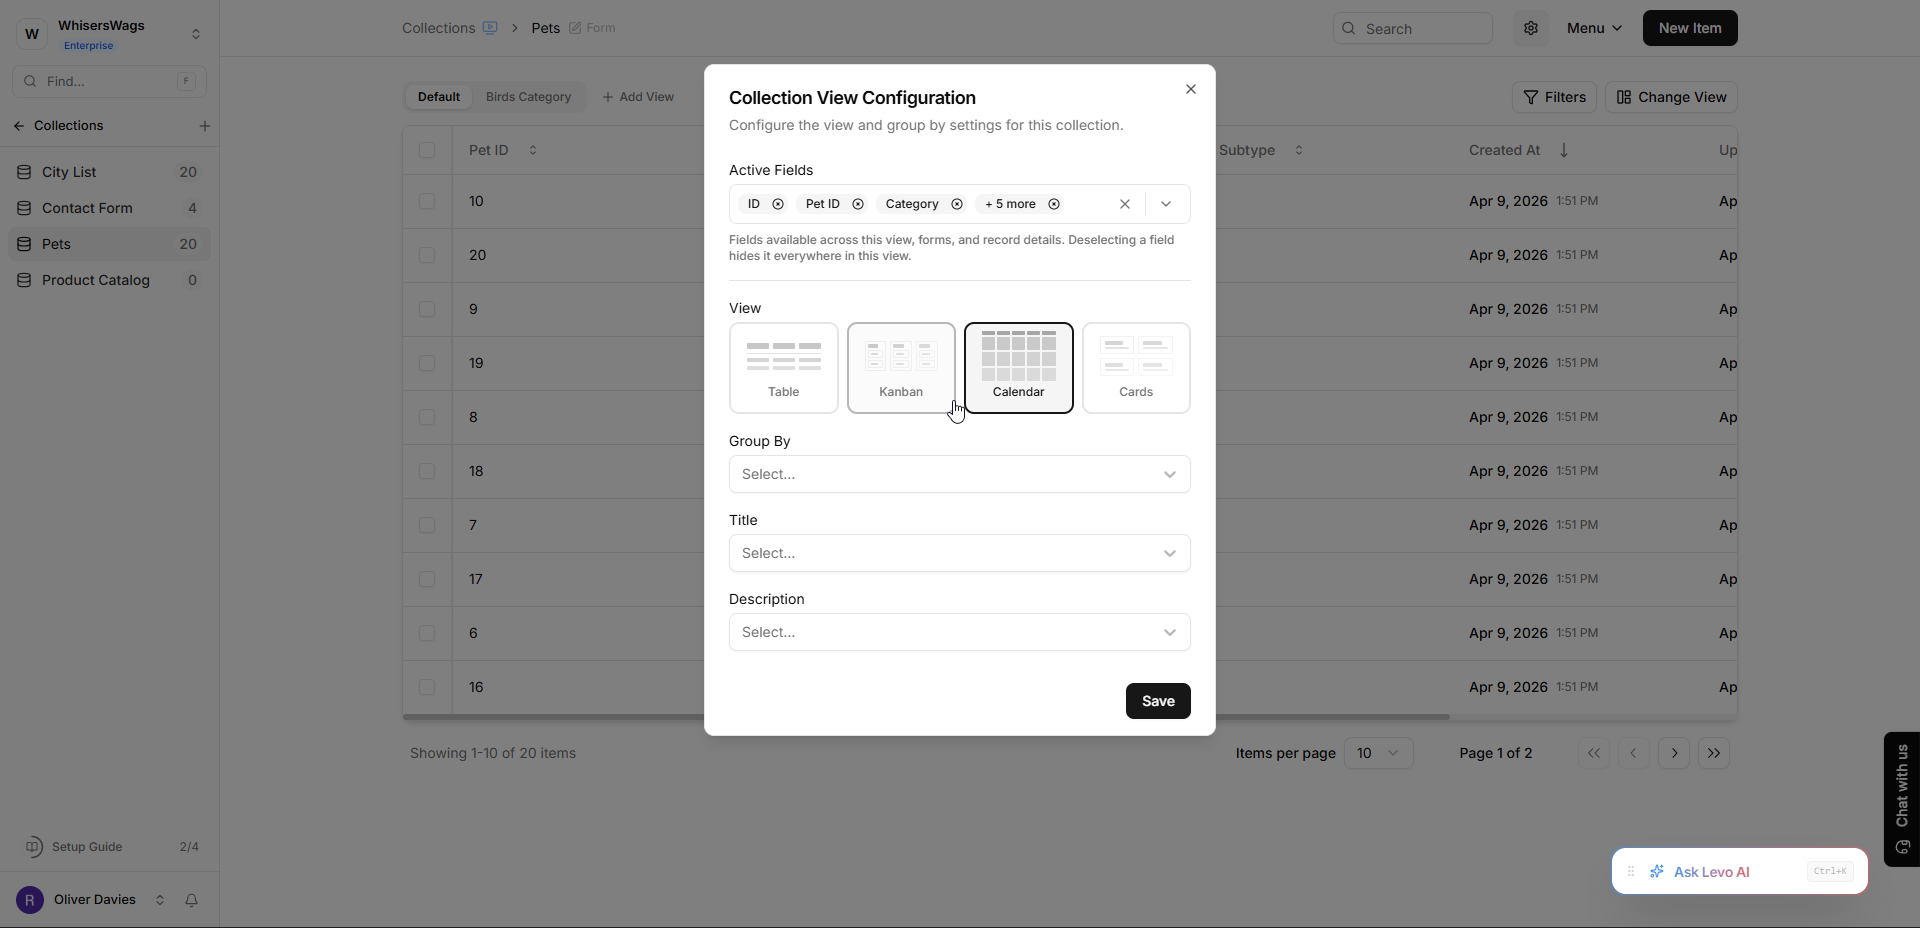
Click the Change View button (top-right of the Collection) to open the configuration modal. Here you can adjust everything about how the view displays data.
Step 1: Choose Active Fields
At the top of the modal, you will see Active Fields. This controls which fields are available across the entire view — including forms and record details. If you deselect a field here, it is hidden everywhere in this view.
Step 2: Pick a Layout
Below Active Fields, you choose the view layout. There are four options:
Layout | Best For |
|---|---|
Table | Spreadsheets, bulk editing, reviewing many entries |
Kanban | Pipelines, task boards, status-based workflows |
Calendar | Events, scheduled content, publishing dates |
Cards | Product catalogs, portfolios, image-heavy Collections |
Step 3: Set Layout-Specific Options
Depending on the layout you pick, additional settings appear:
For Kanban and Calendar:
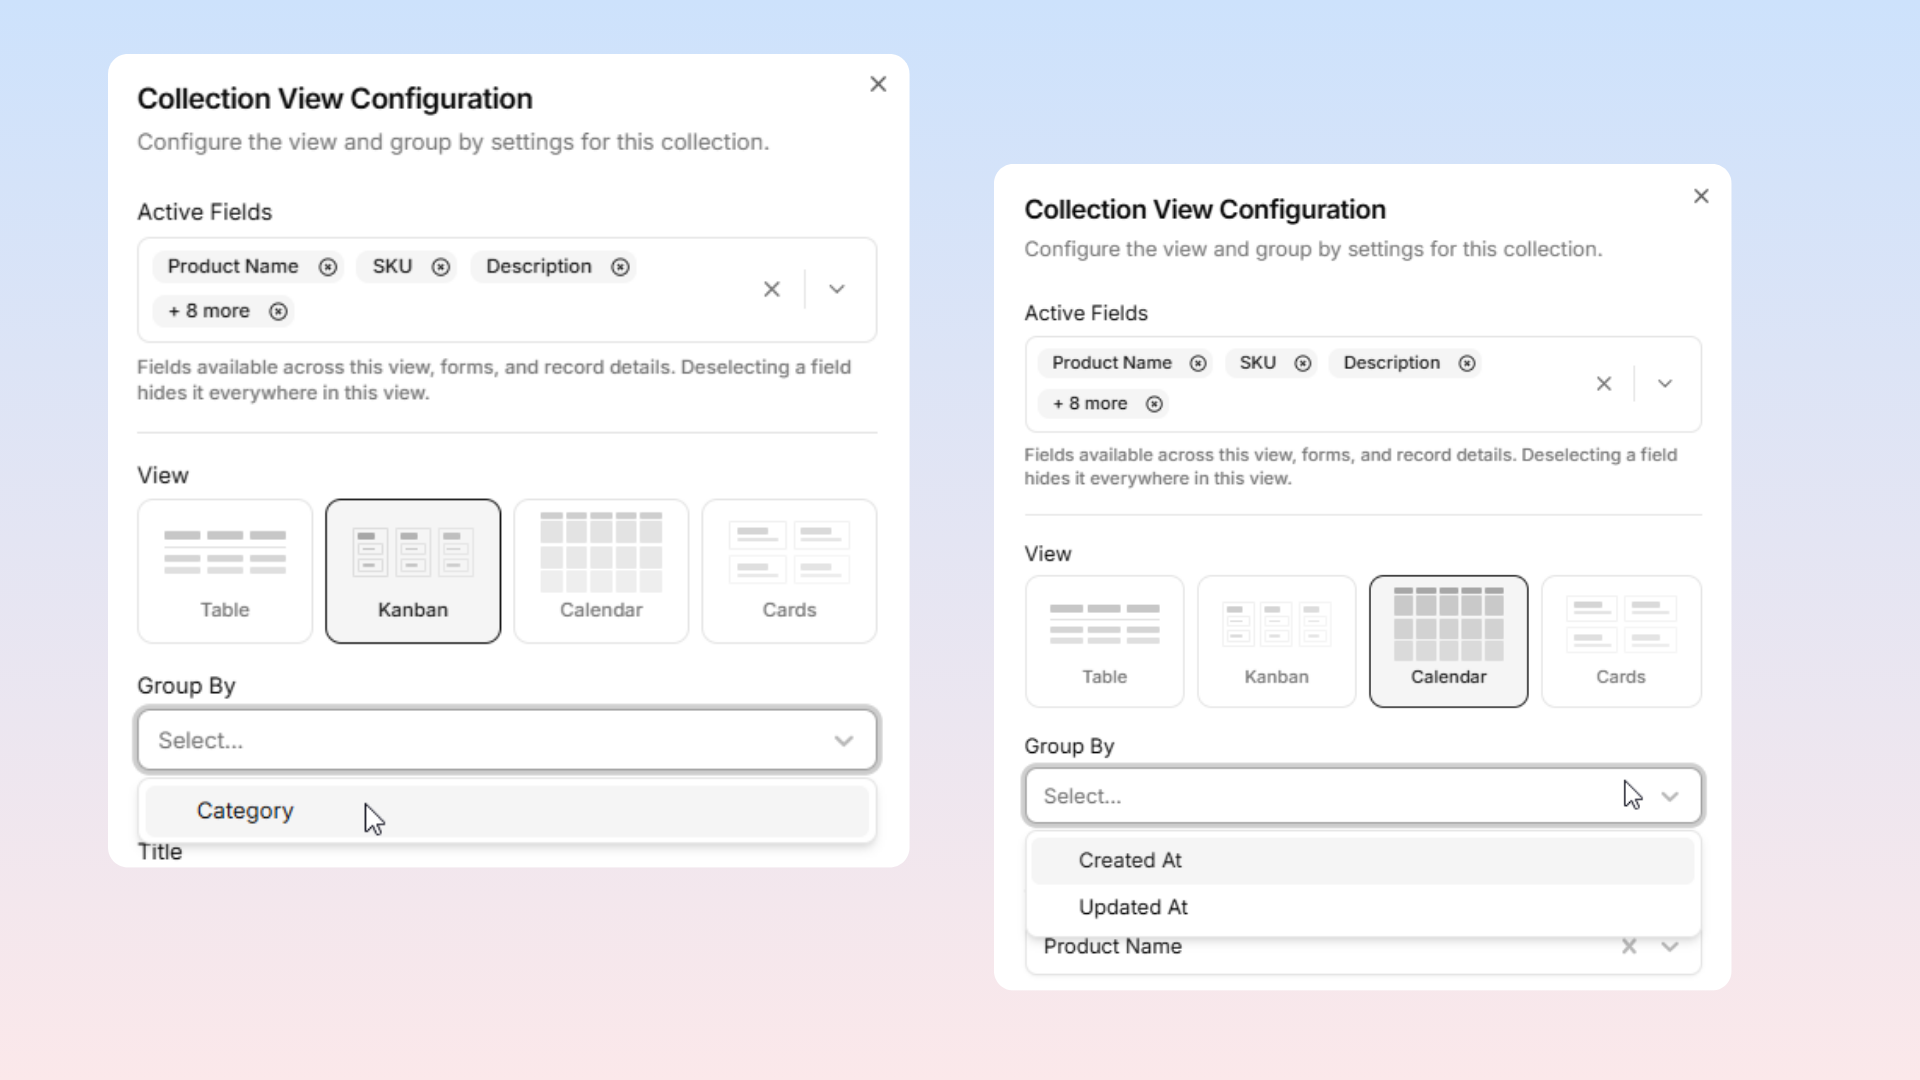
Group By — Pick a Dropdown field (Kanban) or a Date field (Calendar) to organize entries into columns or calendar dates.
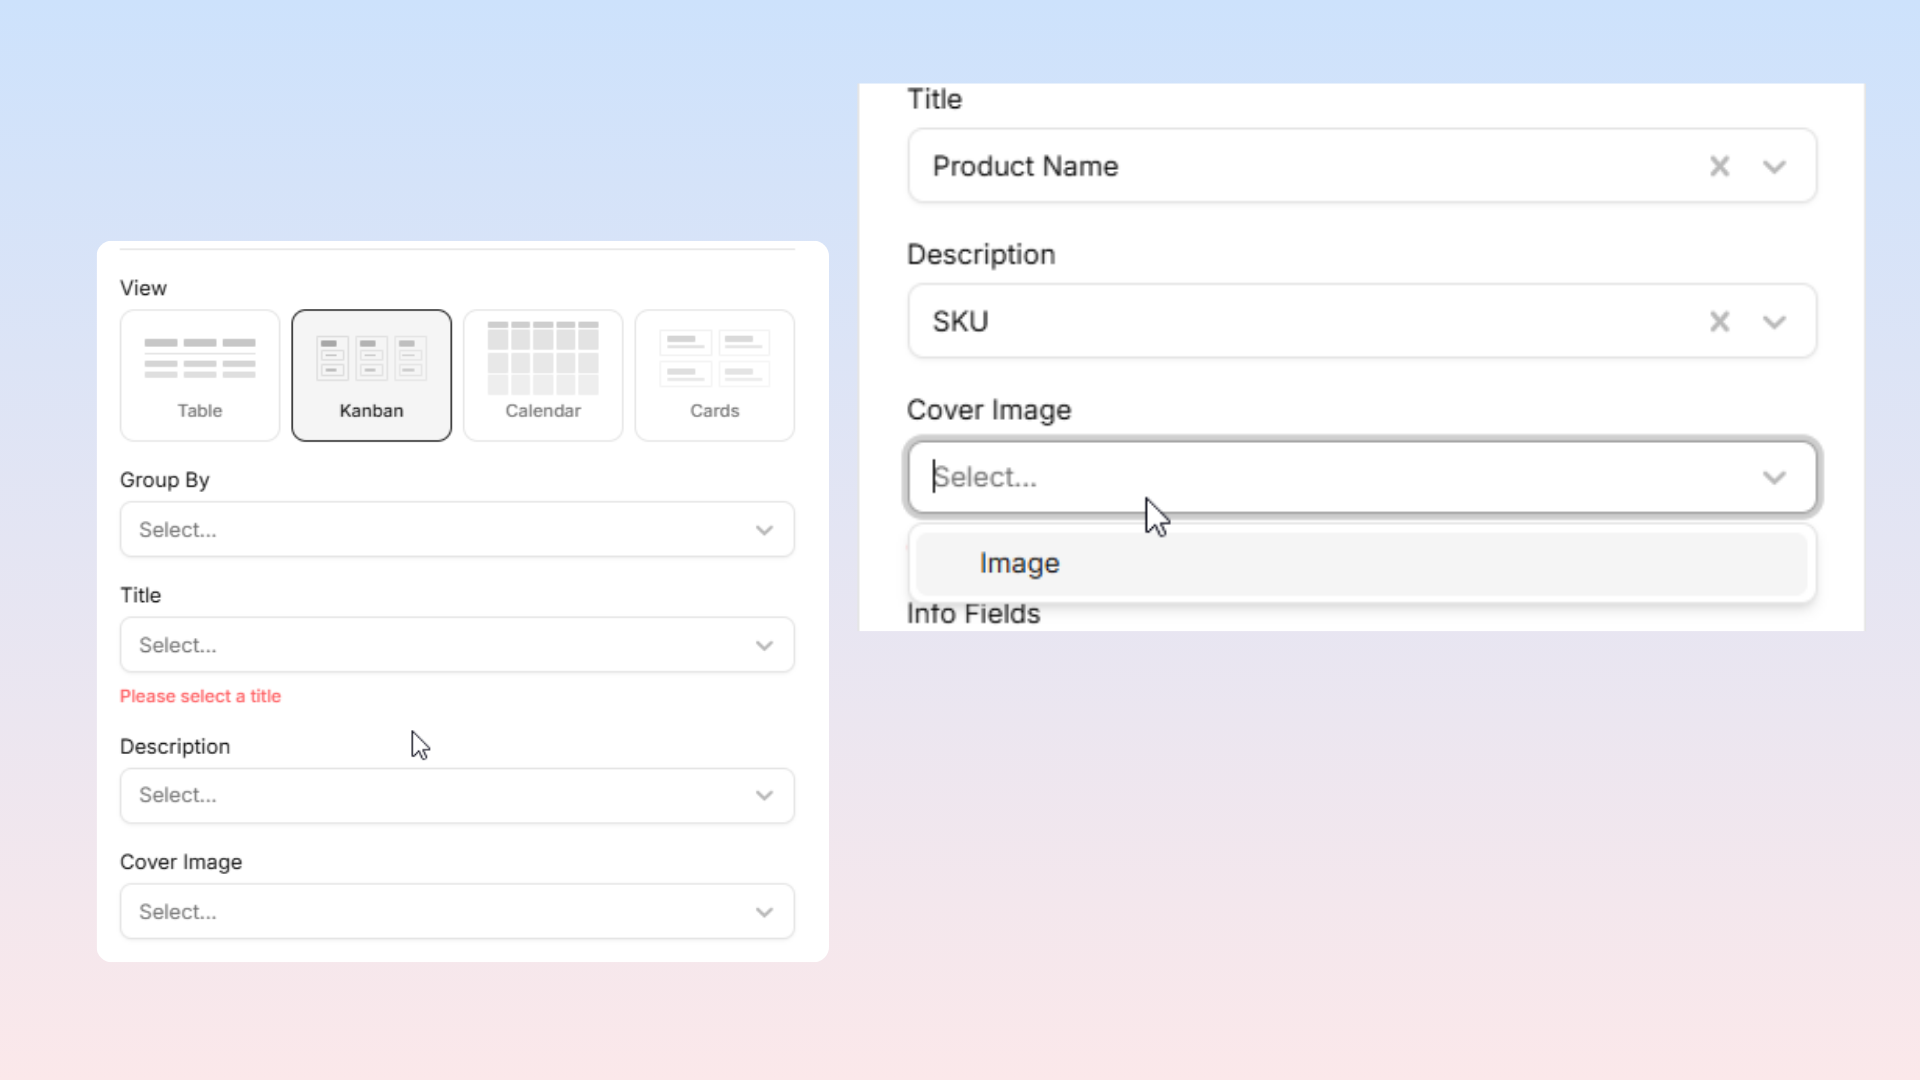
For Kanban, Calendar, and Cards:
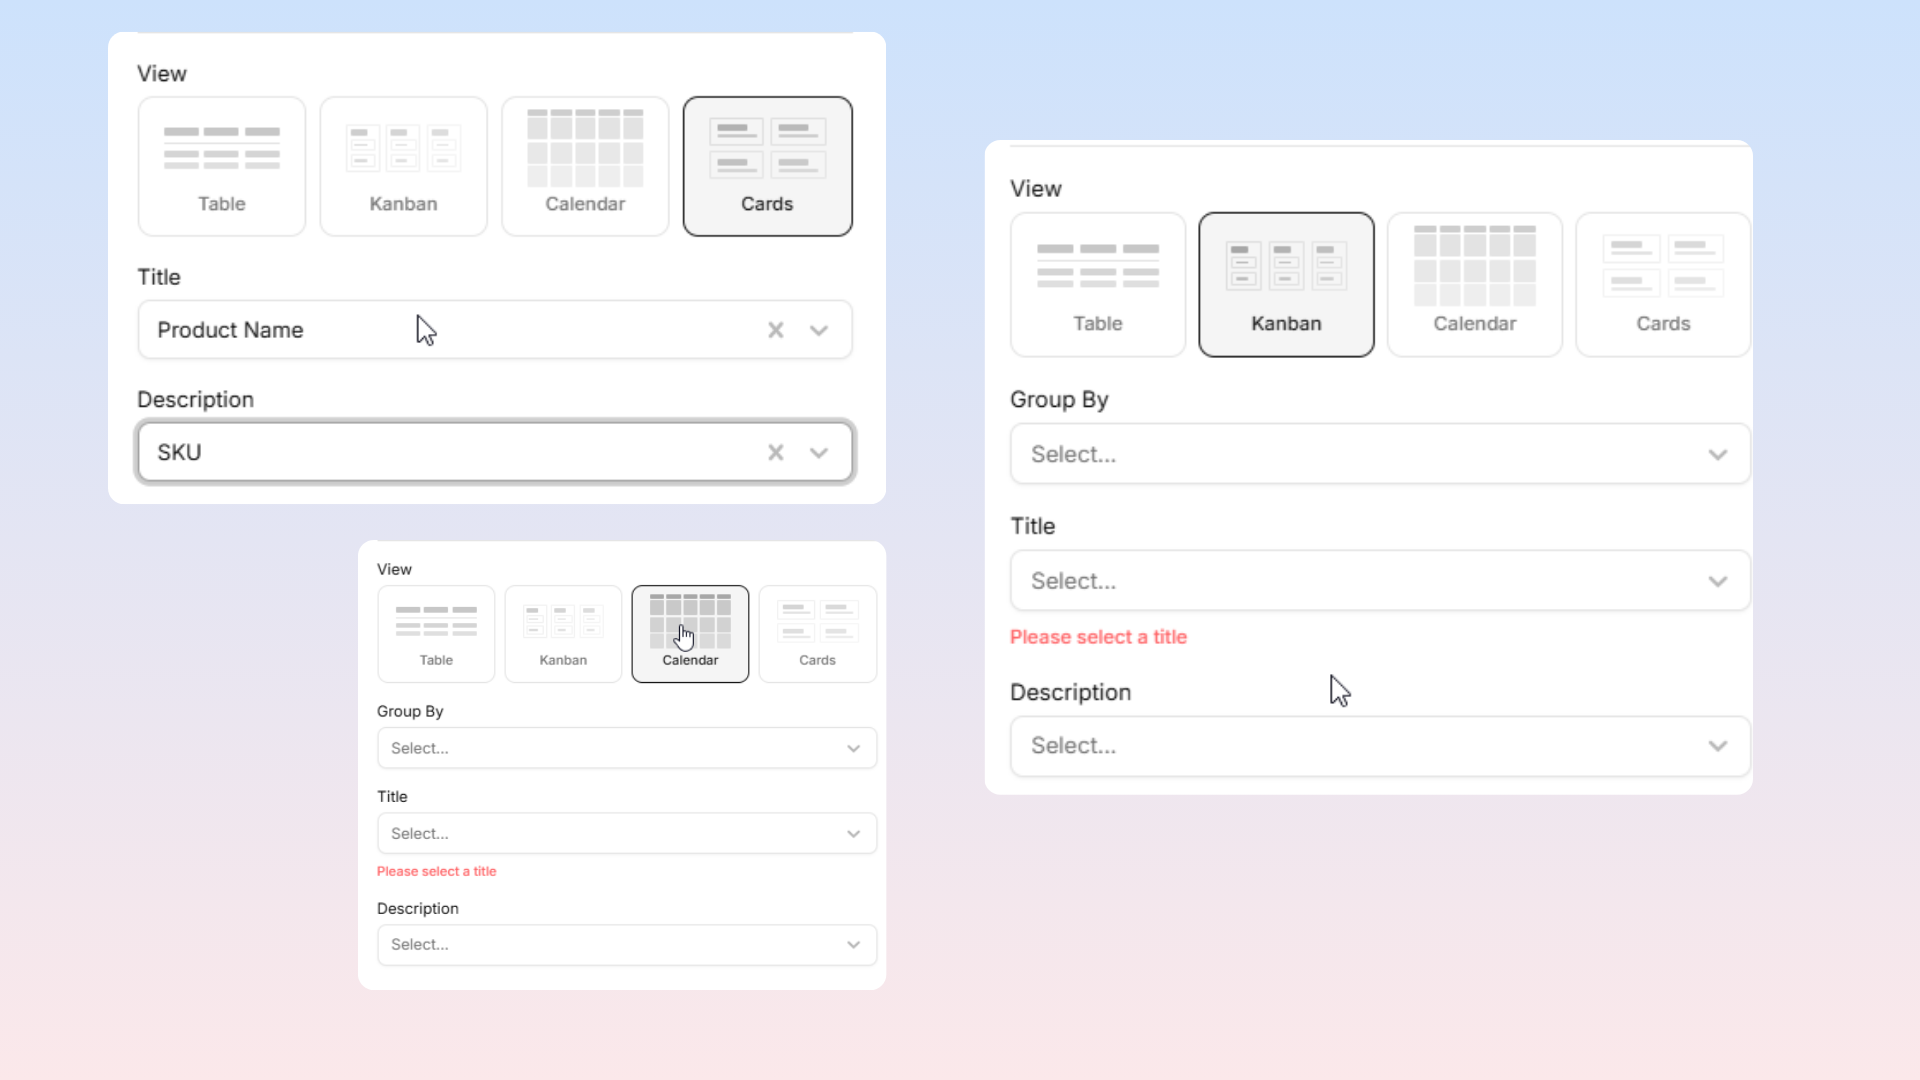
Title — Choose a text field to display as the card title.
Description — Choose a text or rich-text field for the card description.
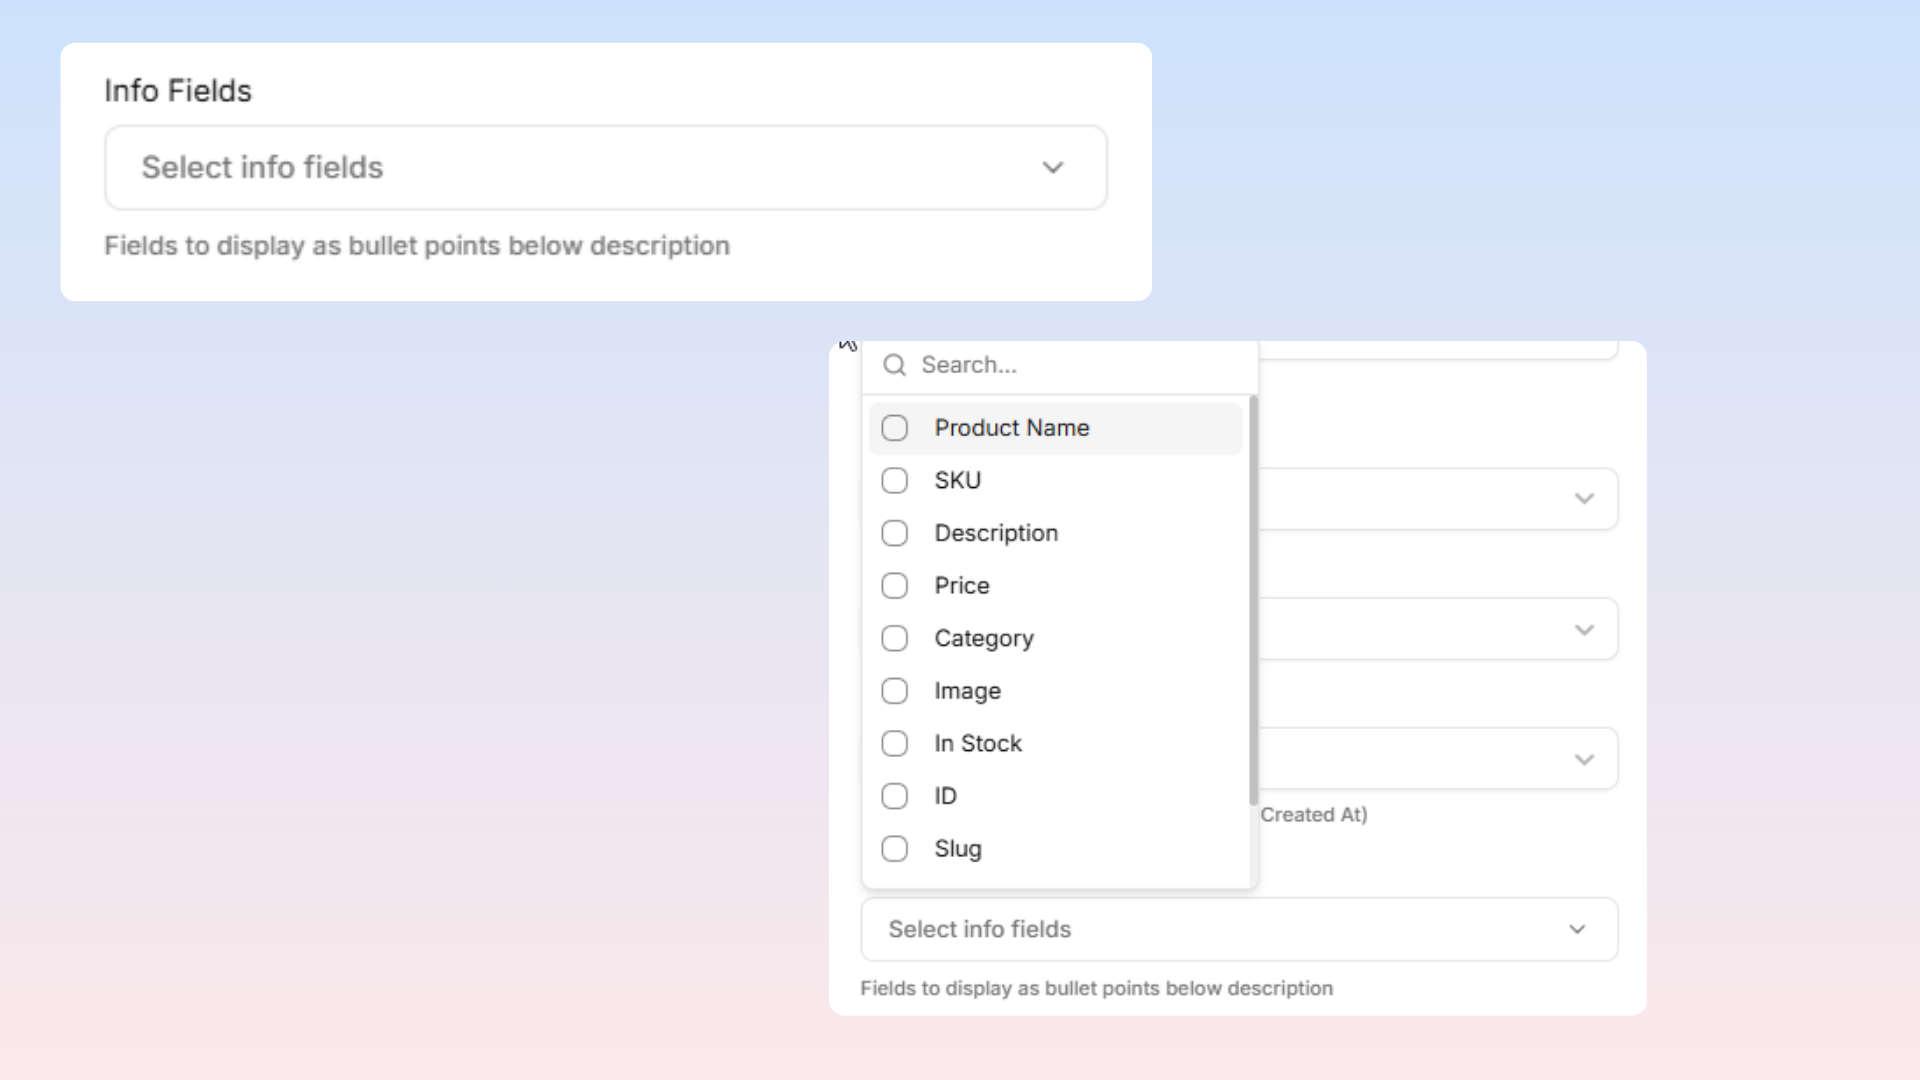
For Kanban and Cards:
Info Fields — Select additional fields to show as bullet points below the description.
Cover Image — Pick a file field to display as the card image.
For Kanban only:

Card Header — Pick a field (text, date, or number) to display in the card header area. Defaults to "Created At".
For Table only:
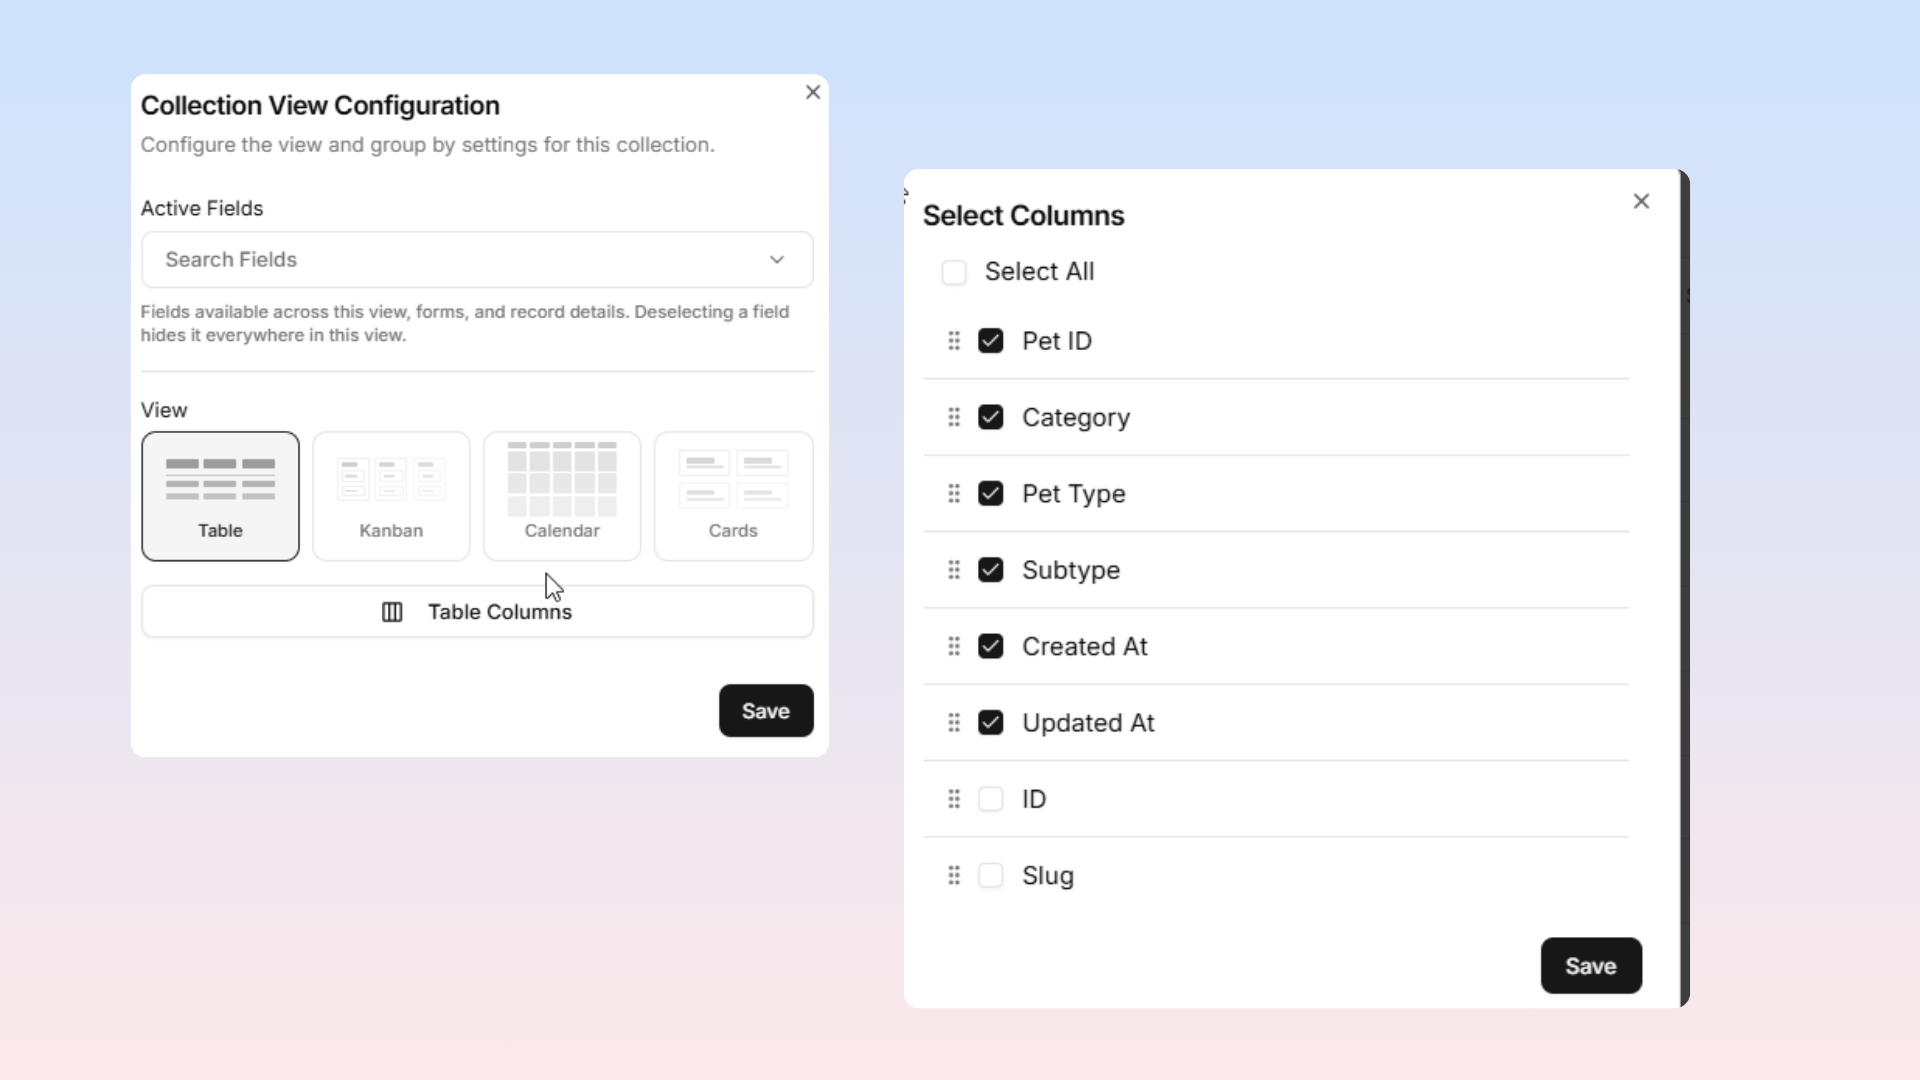
A Table Columns button appears. Click it to open a second modal where you can:
Check or uncheck columns to show or hide them.
Drag columns to reorder them.
Use "Select All" or "Unselect All" to toggle everything at once.
Step 4: Save
Click Save at the bottom of the modal to apply your changes.
How to Update a Saved View
Use this to update a saved view's name, description, layout, and filters.
Steps to Update a Saved View
Open the Dashboard.
Navigate to:
Workspace → CollectionsSelect your collection.
Click the saved view tab you want to update.
Click the “Add View” button located next to the view tabs.
Save View Modal
The “Save View” modal will open automatically and will already contain the current view’s:
Name
Description
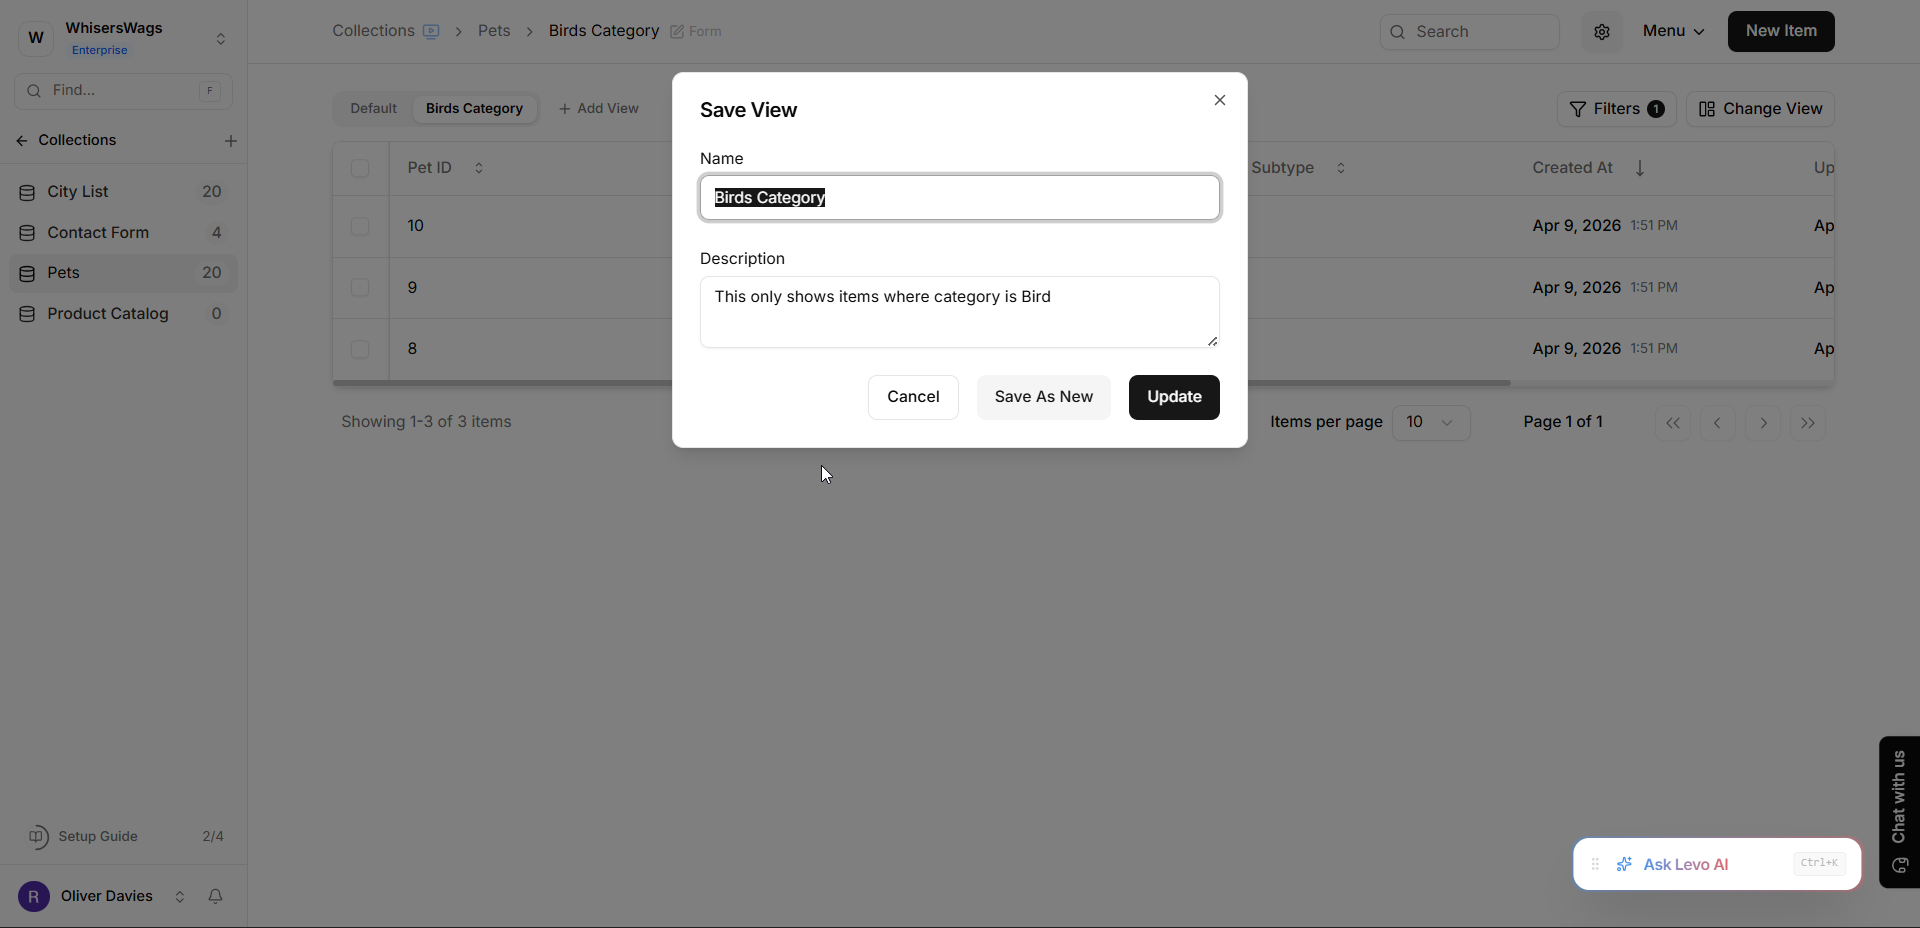
You can now edit:
The view name
The view description
You can also keep any current:
Layout changes
Filter changes
Save the Updated View
Click the “Update” button to save your changes.
The view will be updated with:
The new name
The new description
Current layout settings
Current filters
The saved view is now successfully updated
How to Delete a View
Switch to the view you want to delete.
Click Change View to open the configuration modal.
At the bottom-left of the modal, click Delete View.
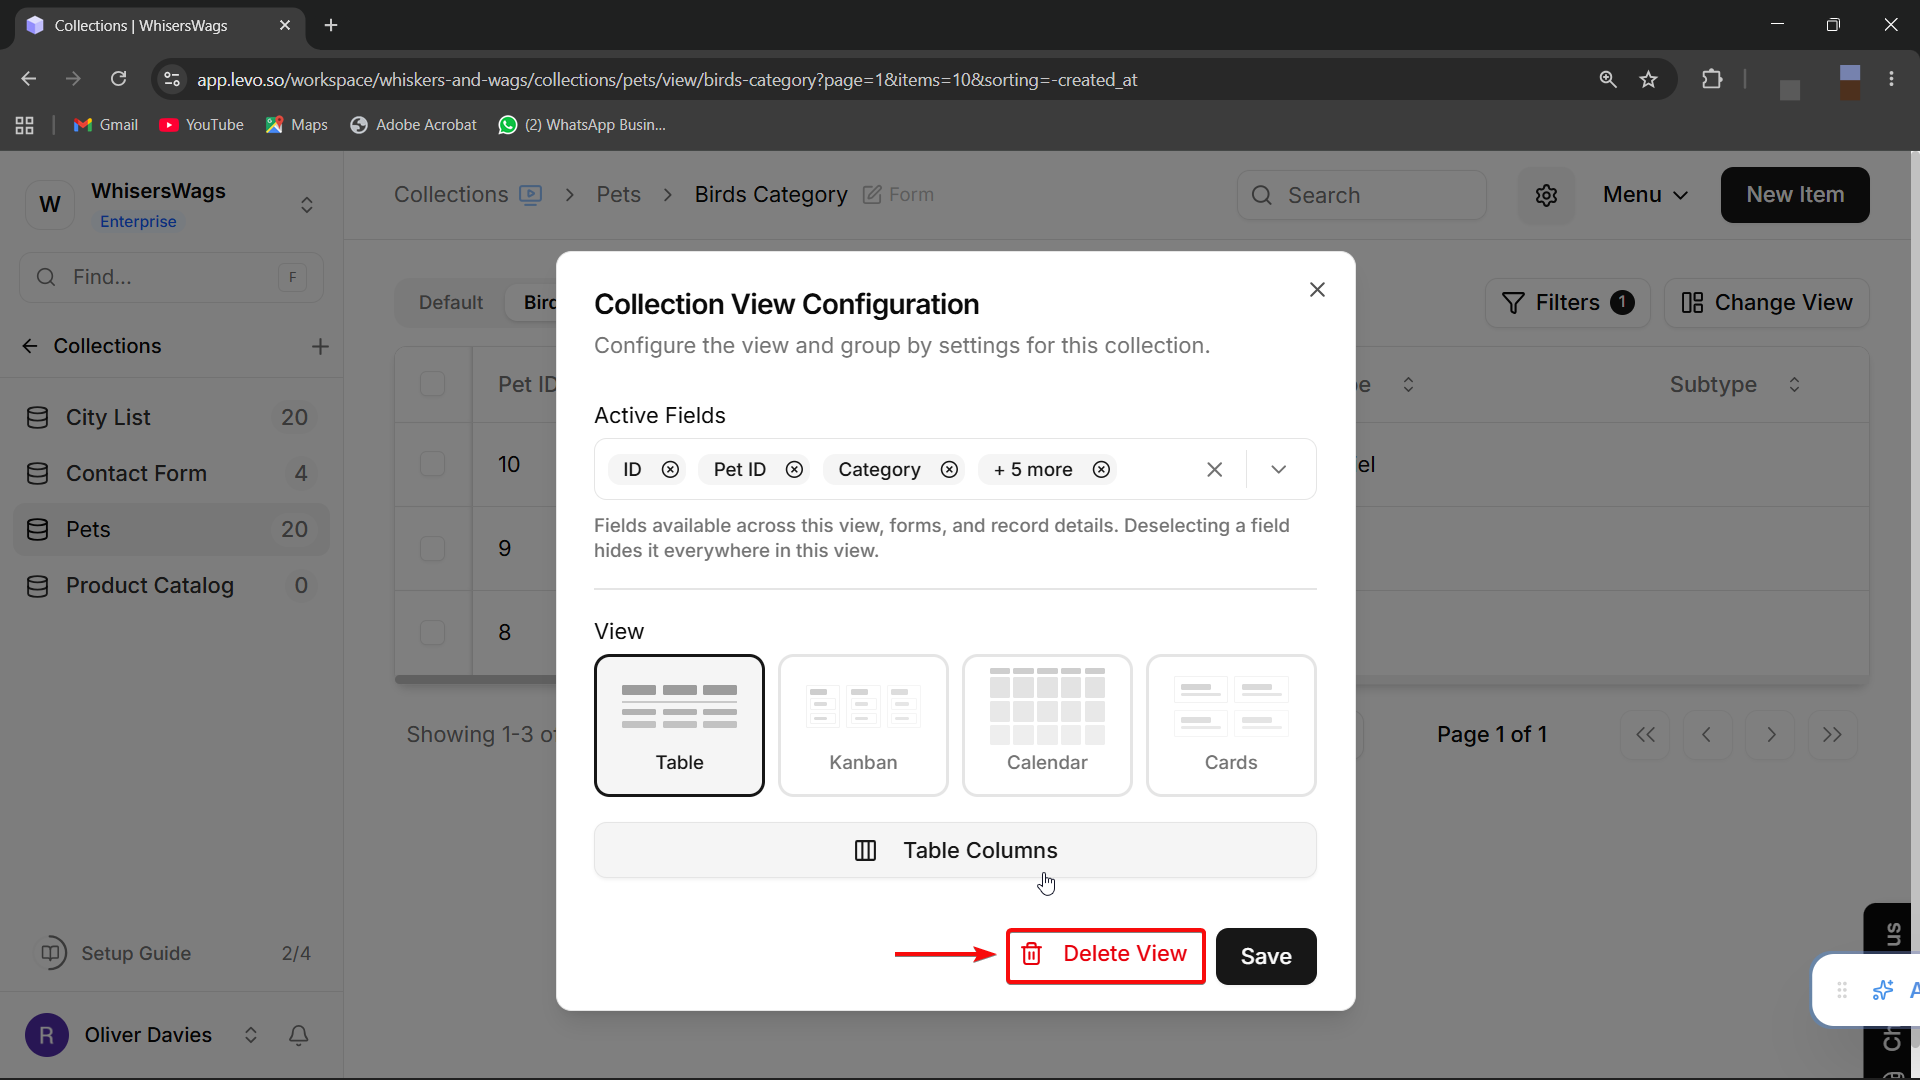
Confirm the deletion. This action cannot be undone.
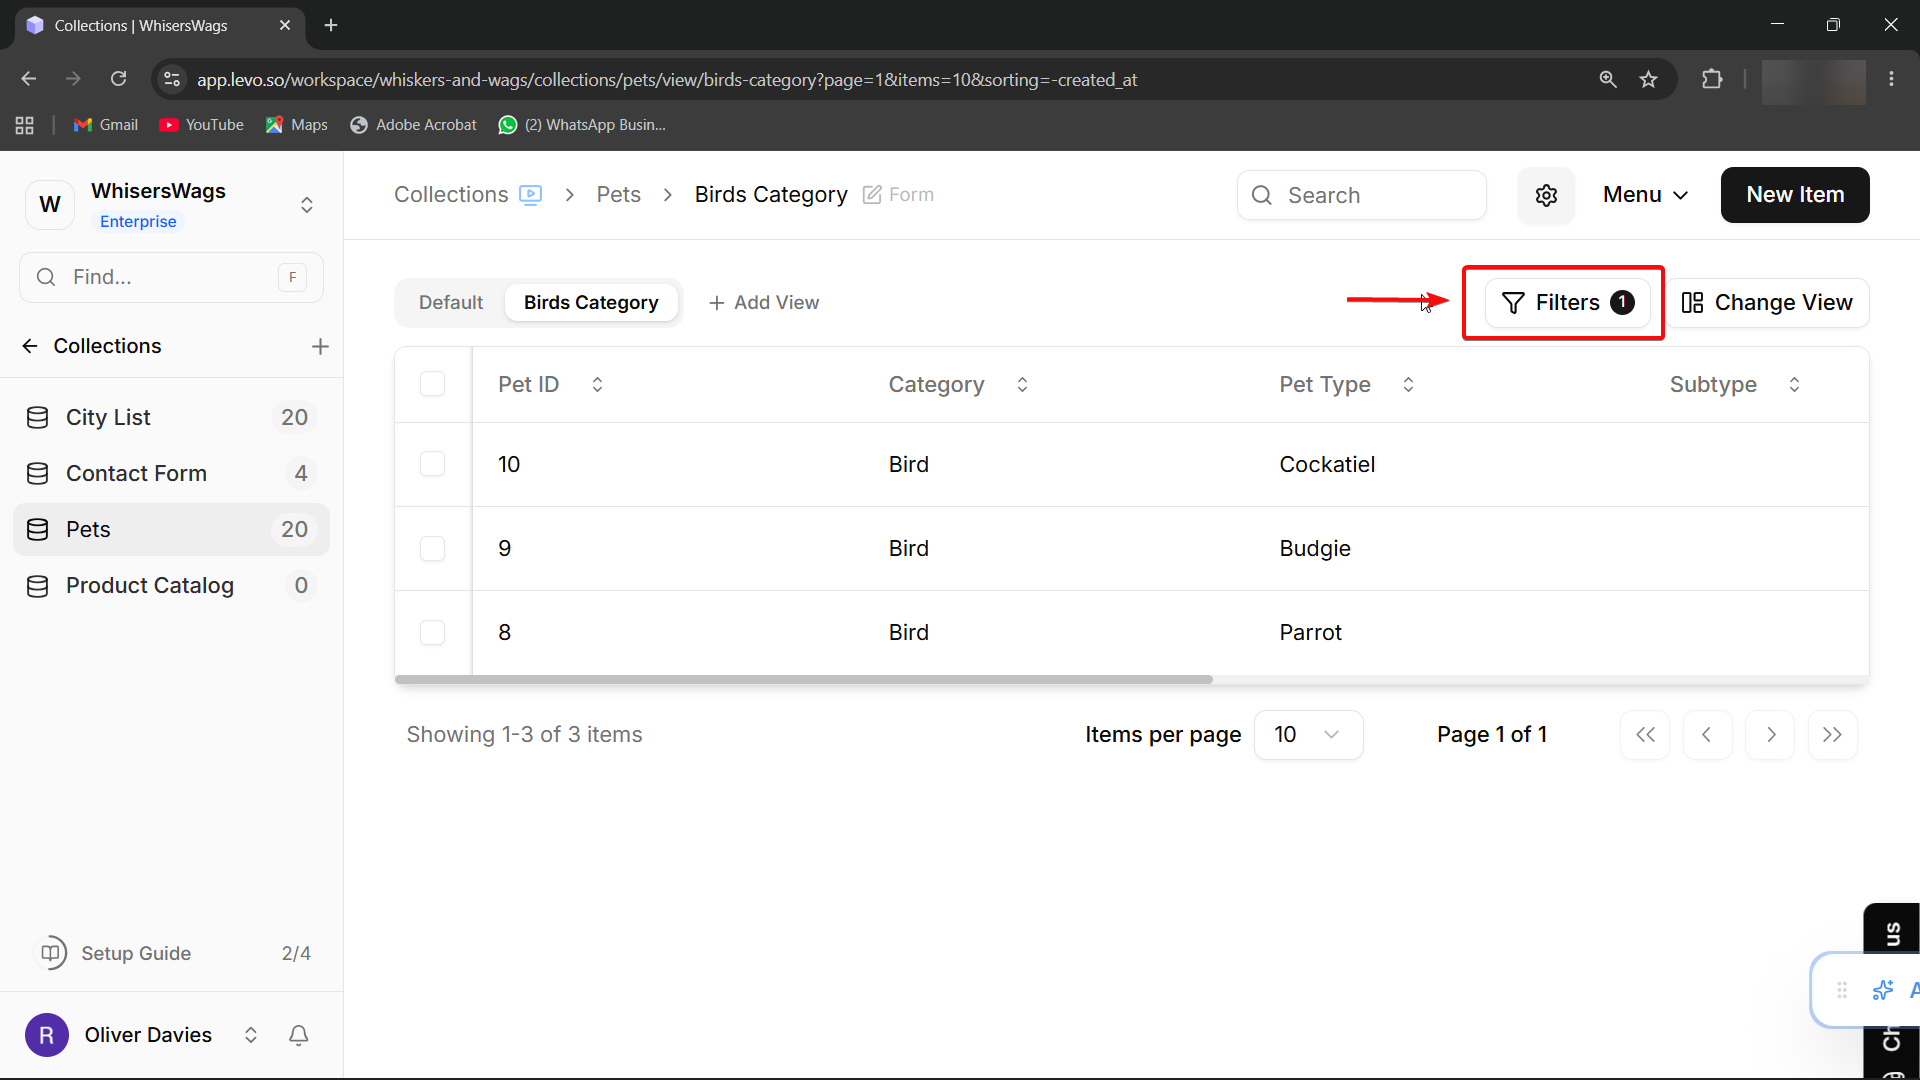
Using Filters with Views
Filters are saved as part of a view. This means you can set up a filter once, save the view, and access that filtered data instantly every time.
Examples of useful filtered views:
"My Entries" — Created by = me
"Needs Review" — Status = Pending Review
"This Week" — Created at = last 7 days
"Incomplete" — A required field is empty
Controlling Access with Views
You can invite specific team members to a particular saved view instead of giving them access to the entire collection. Users invited to a saved view will only be able to see the entries and fields exposed by that view.
How to Invite Someone to a Saved View
Open the Dashboard.
Navigate to:
Workspace → CollectionsSelect the collection that contains the view you want to share.
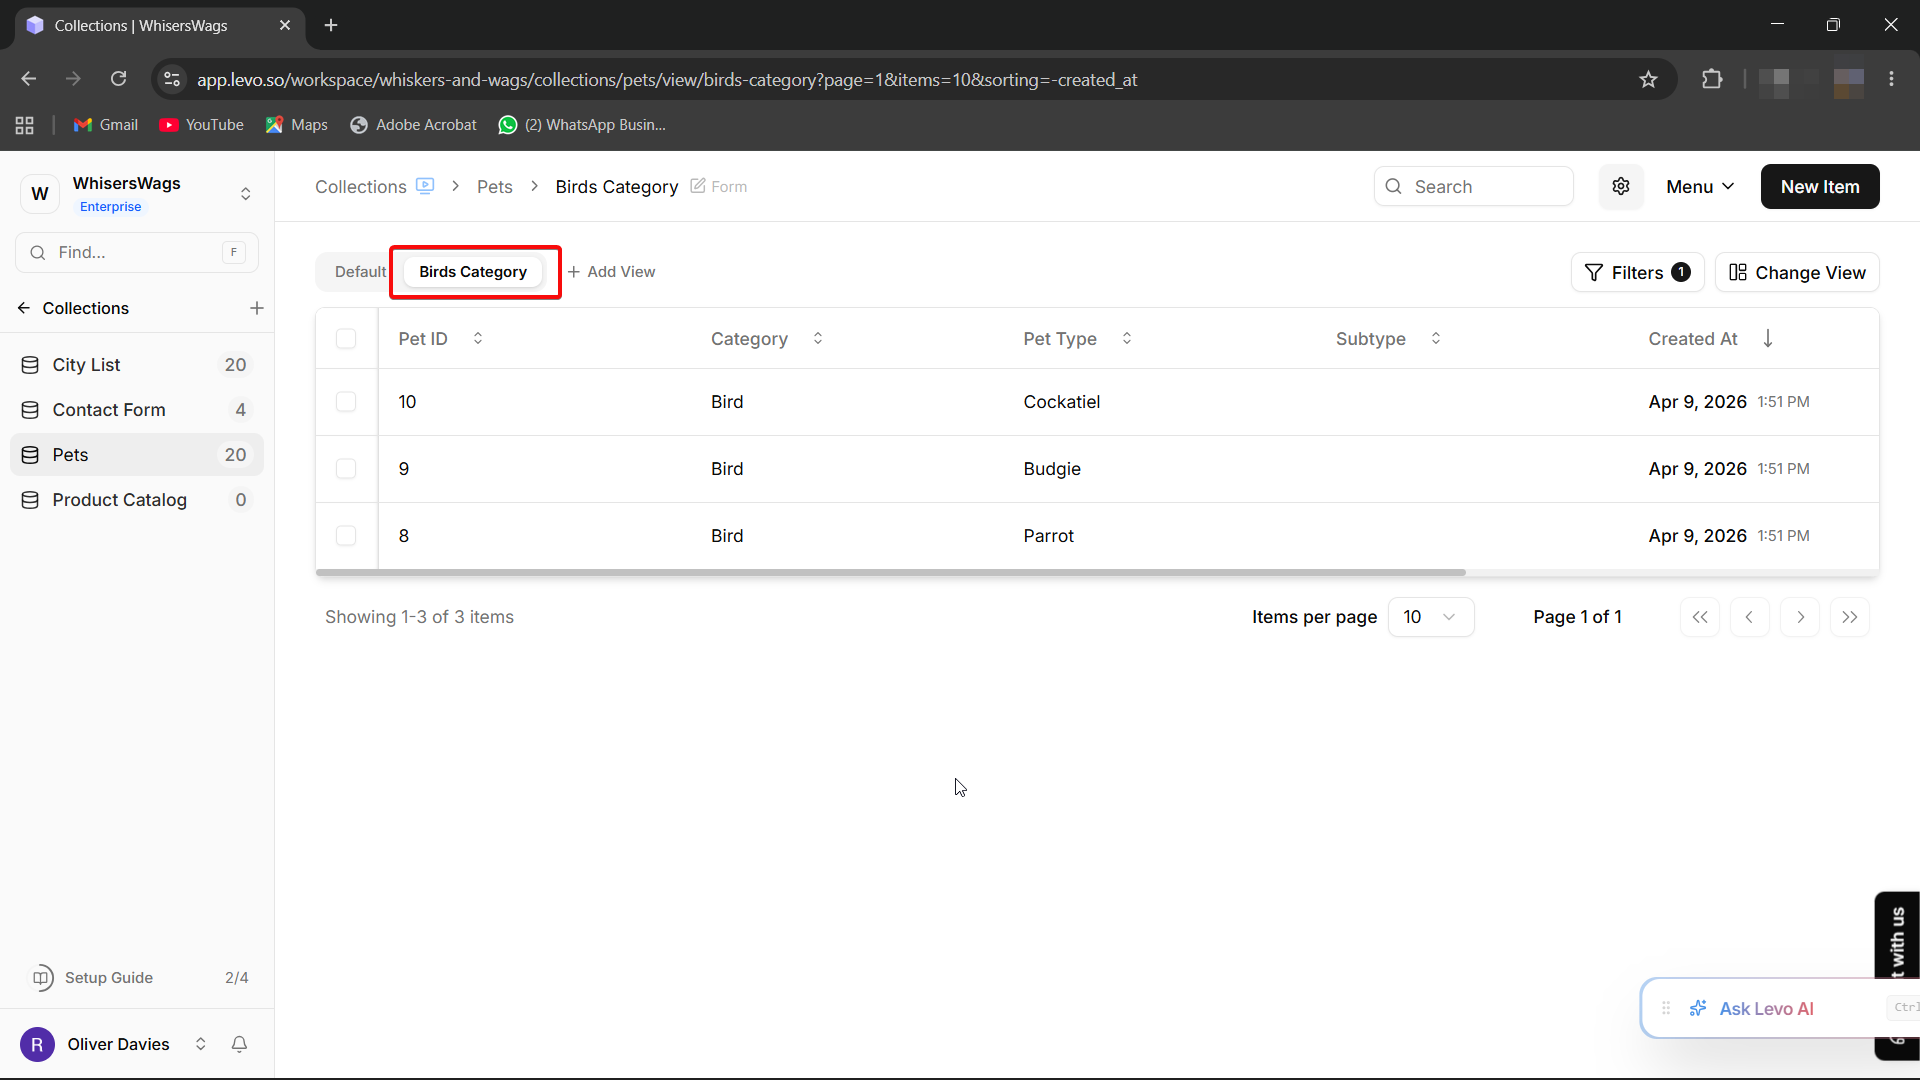
Click the saved view tab you want to share
(for example: “Birds Category”).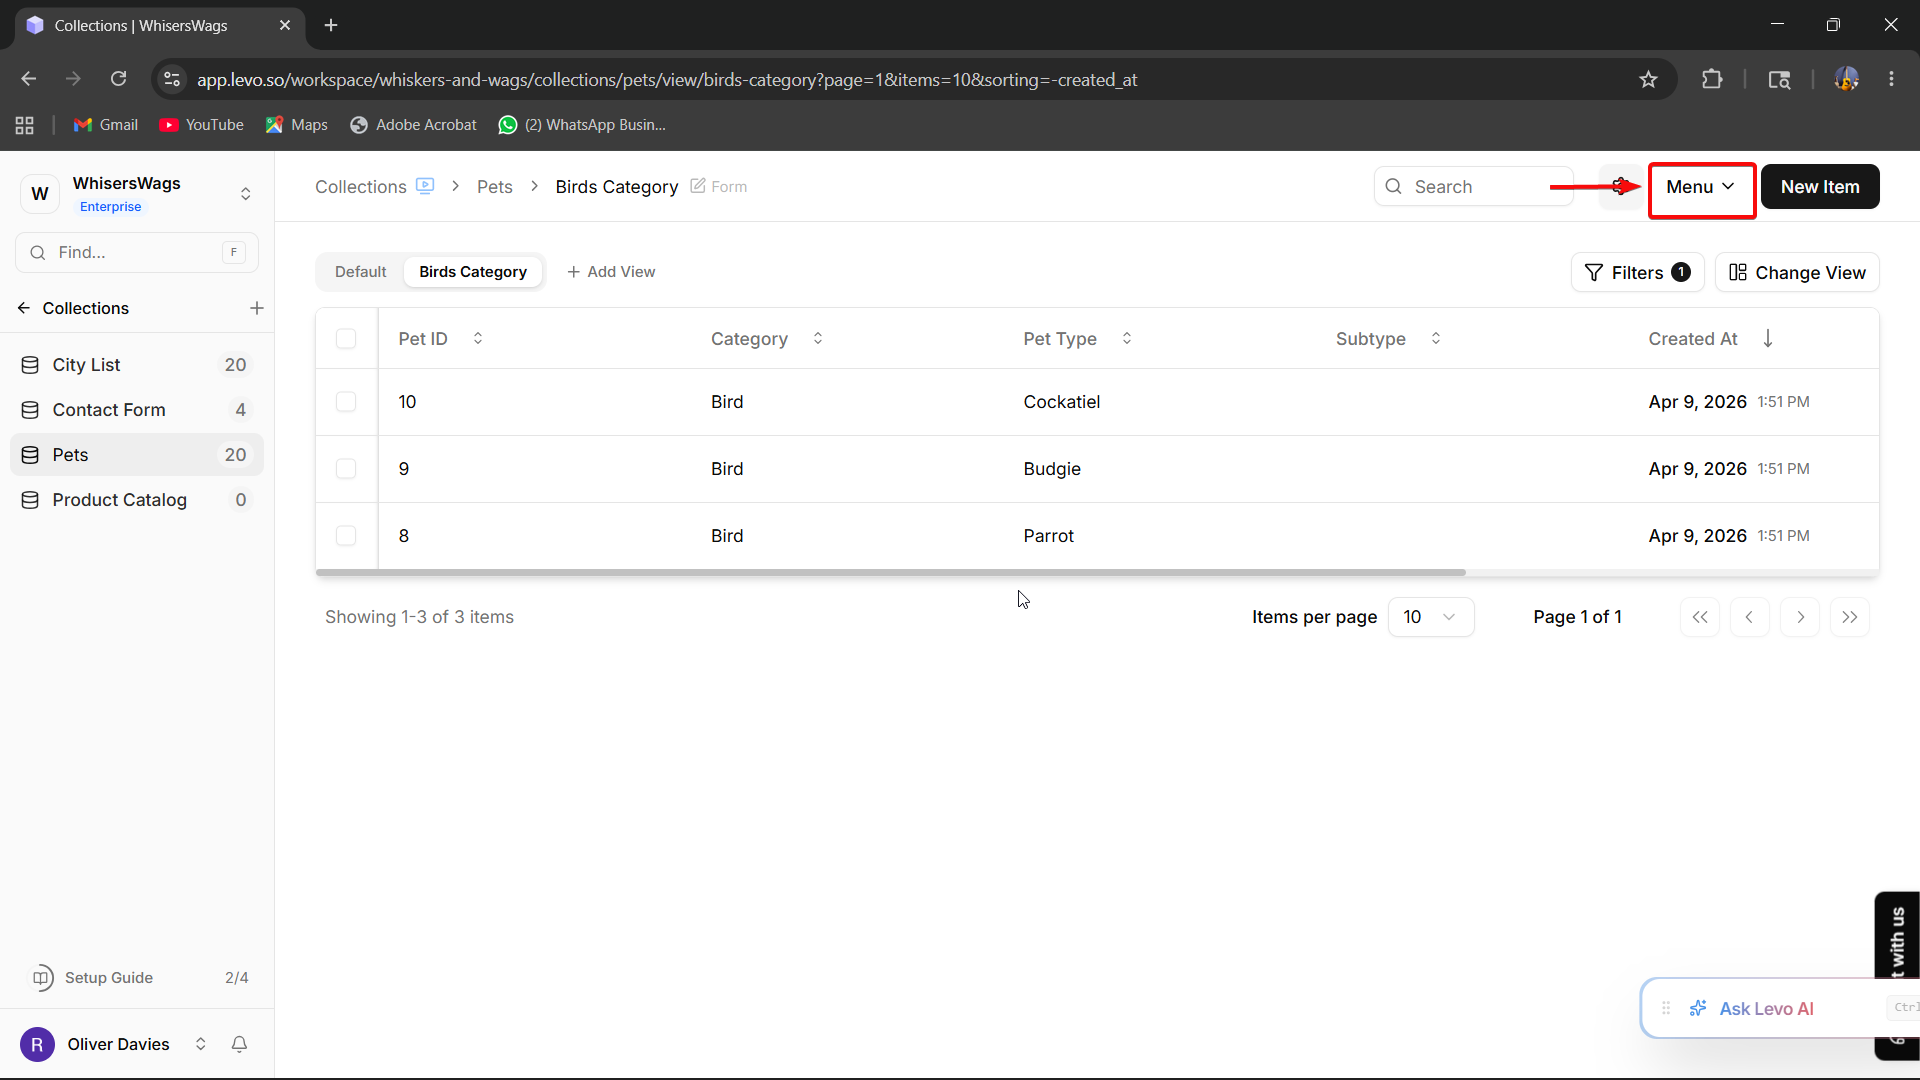
Click the Menu button located at the top-right corner of the collection page.
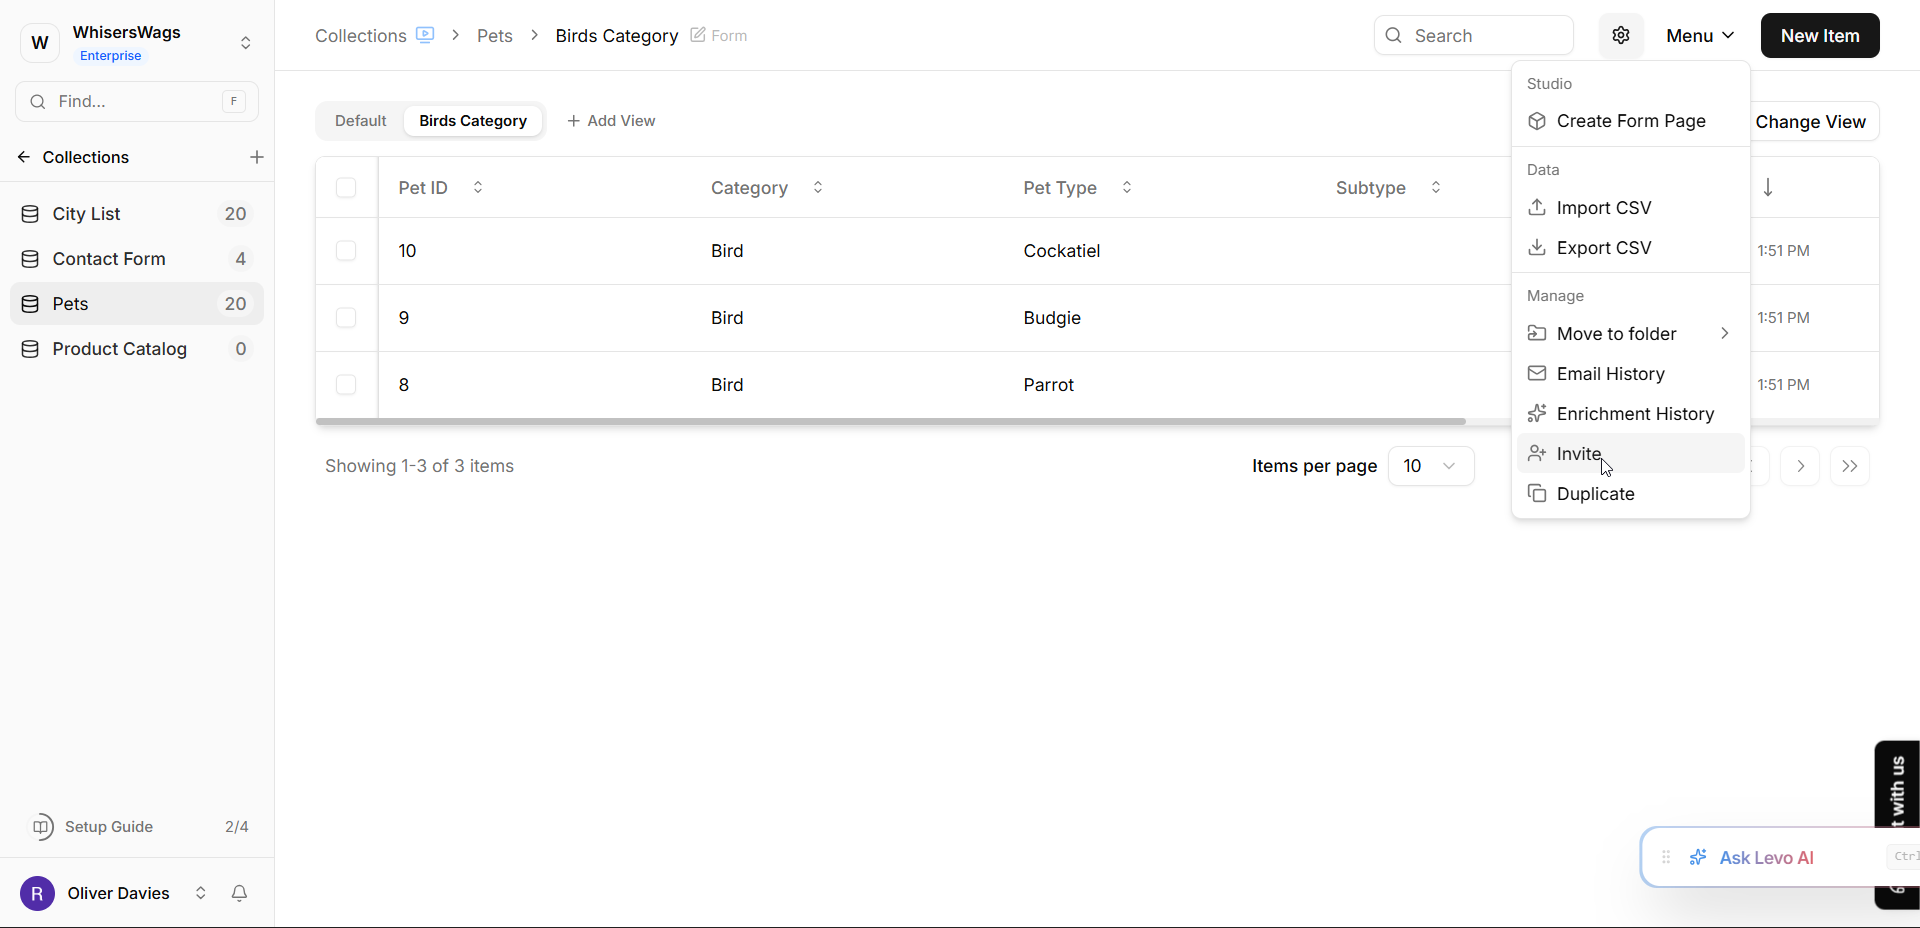
Under the Manage section, click Invite.
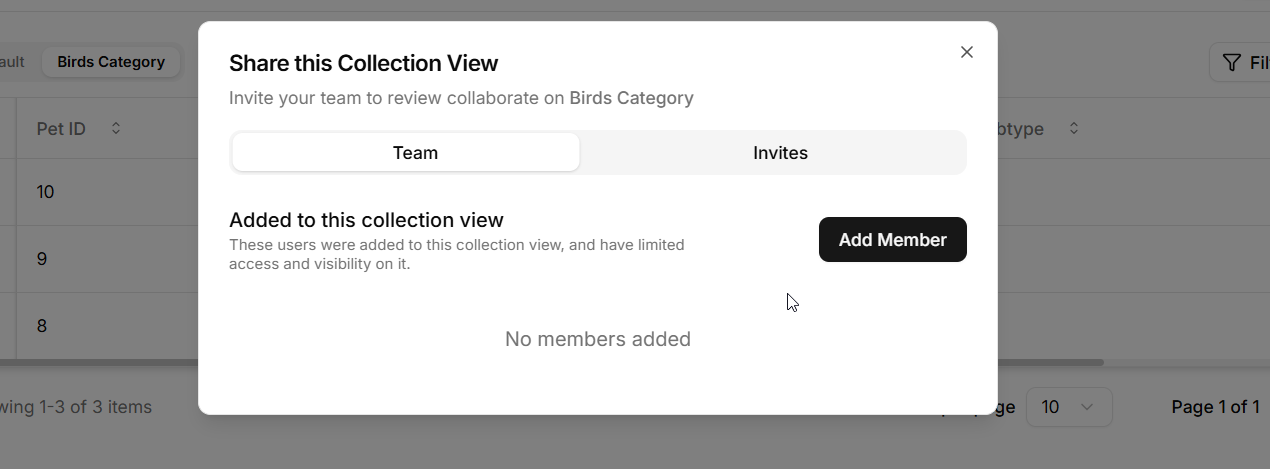
Share this Collection View Modal
The “Share this Collection View” modal will open.
Add Team Members
In the Email field, enter the team member’s email address.
Use the Role dropdown to select the appropriate permission level.
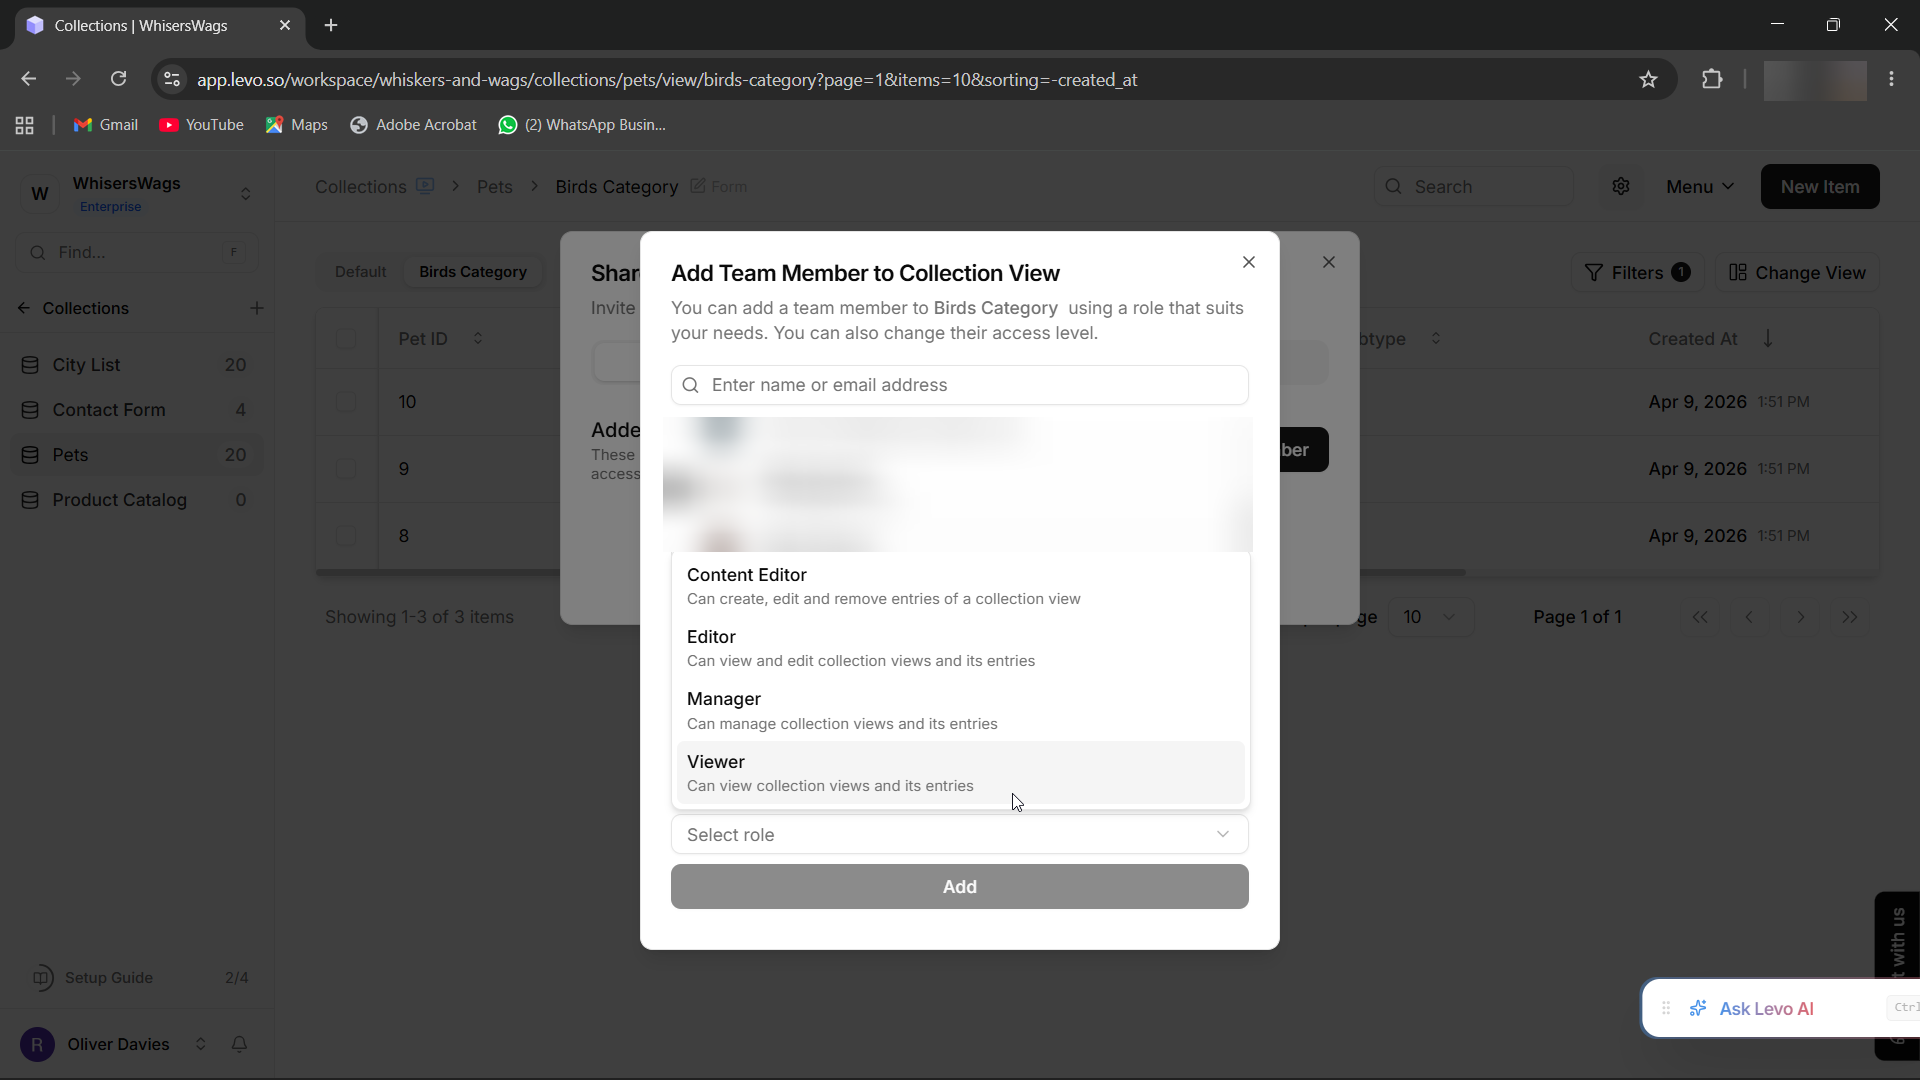
Click the Send button to send the invitation.
Invitation Status
Invited users will appear under Pending Invites until they accept the invitation.
Once accepted, they will appear under Added to this collection view.