Customizing Table Columns
Table of Contents
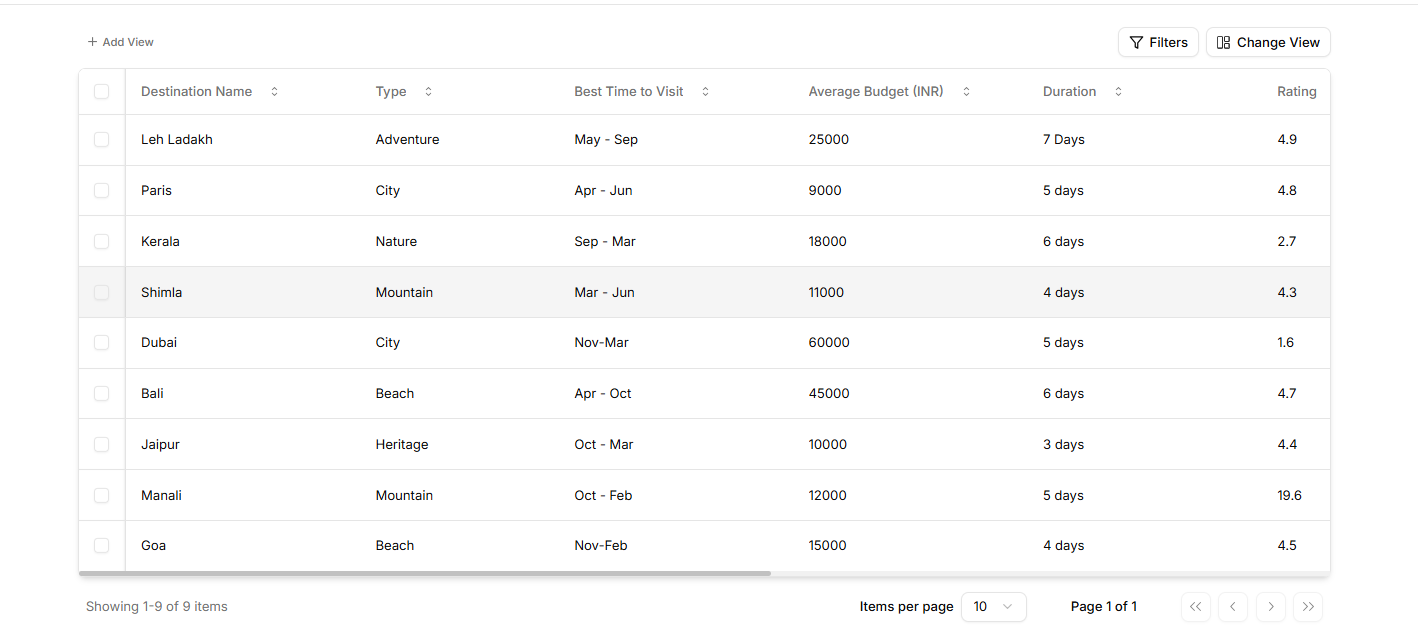
Columns
Columns represent the fields displayed in Table view, with controls for visibility, width, order, and scrolling behavior.
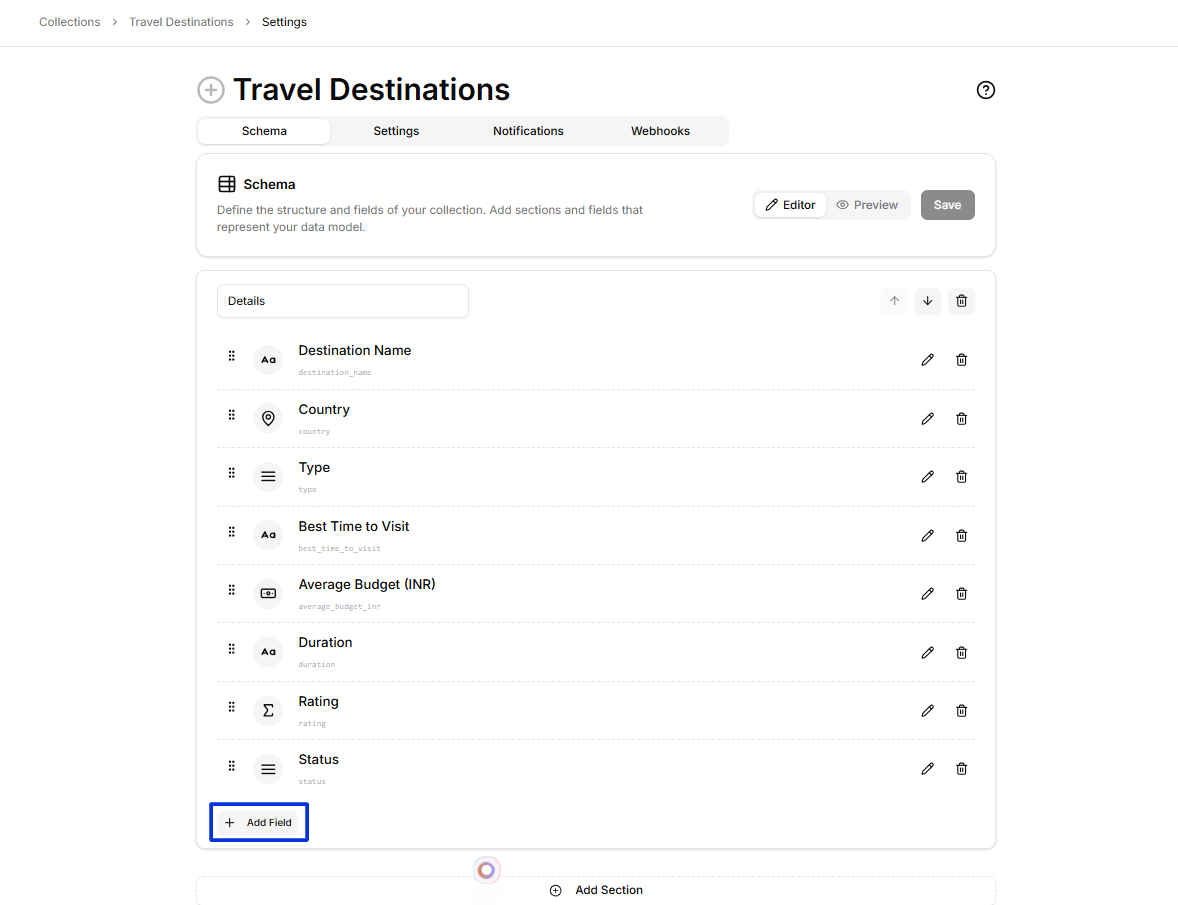
Adding a New Field (Column)
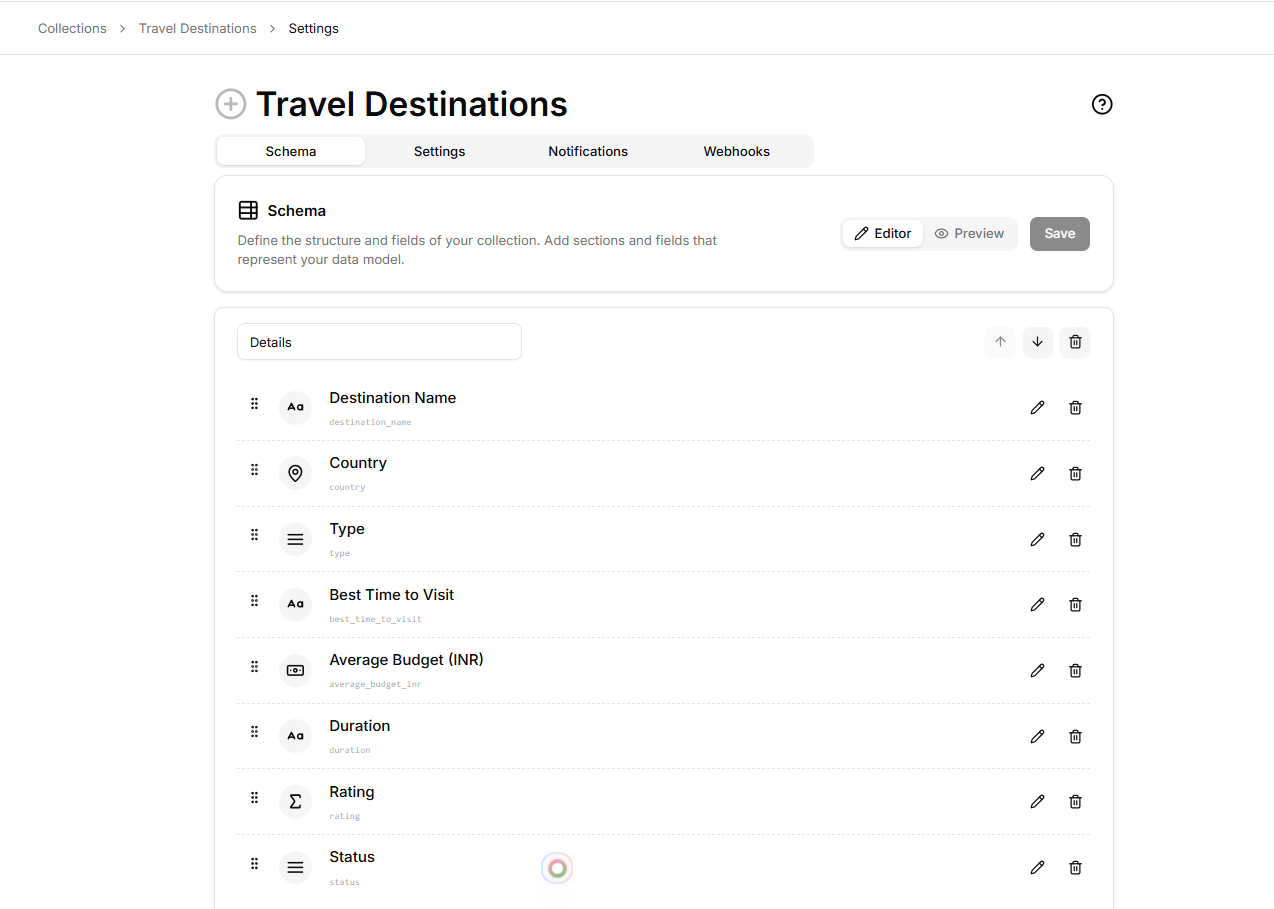
To create a new field, navigate to Settings → Schema and select “Add Field”.
Choose your field type and configure it according to your needs.
The Field Types documentation lists all available options. Once saved, the field automatically displays as a column in Table view.
Show or Hide Columns in a Levo Collection
There are two levels of controlling which fields (columns) appear in a collection.
Level 1: Active Fields (View-Wide Visibility)
This setting controls which fields are available across the entire collection view, including:
Table columns
Forms
Record details
Steps to Configure Active Fields
Open the Dashboard.
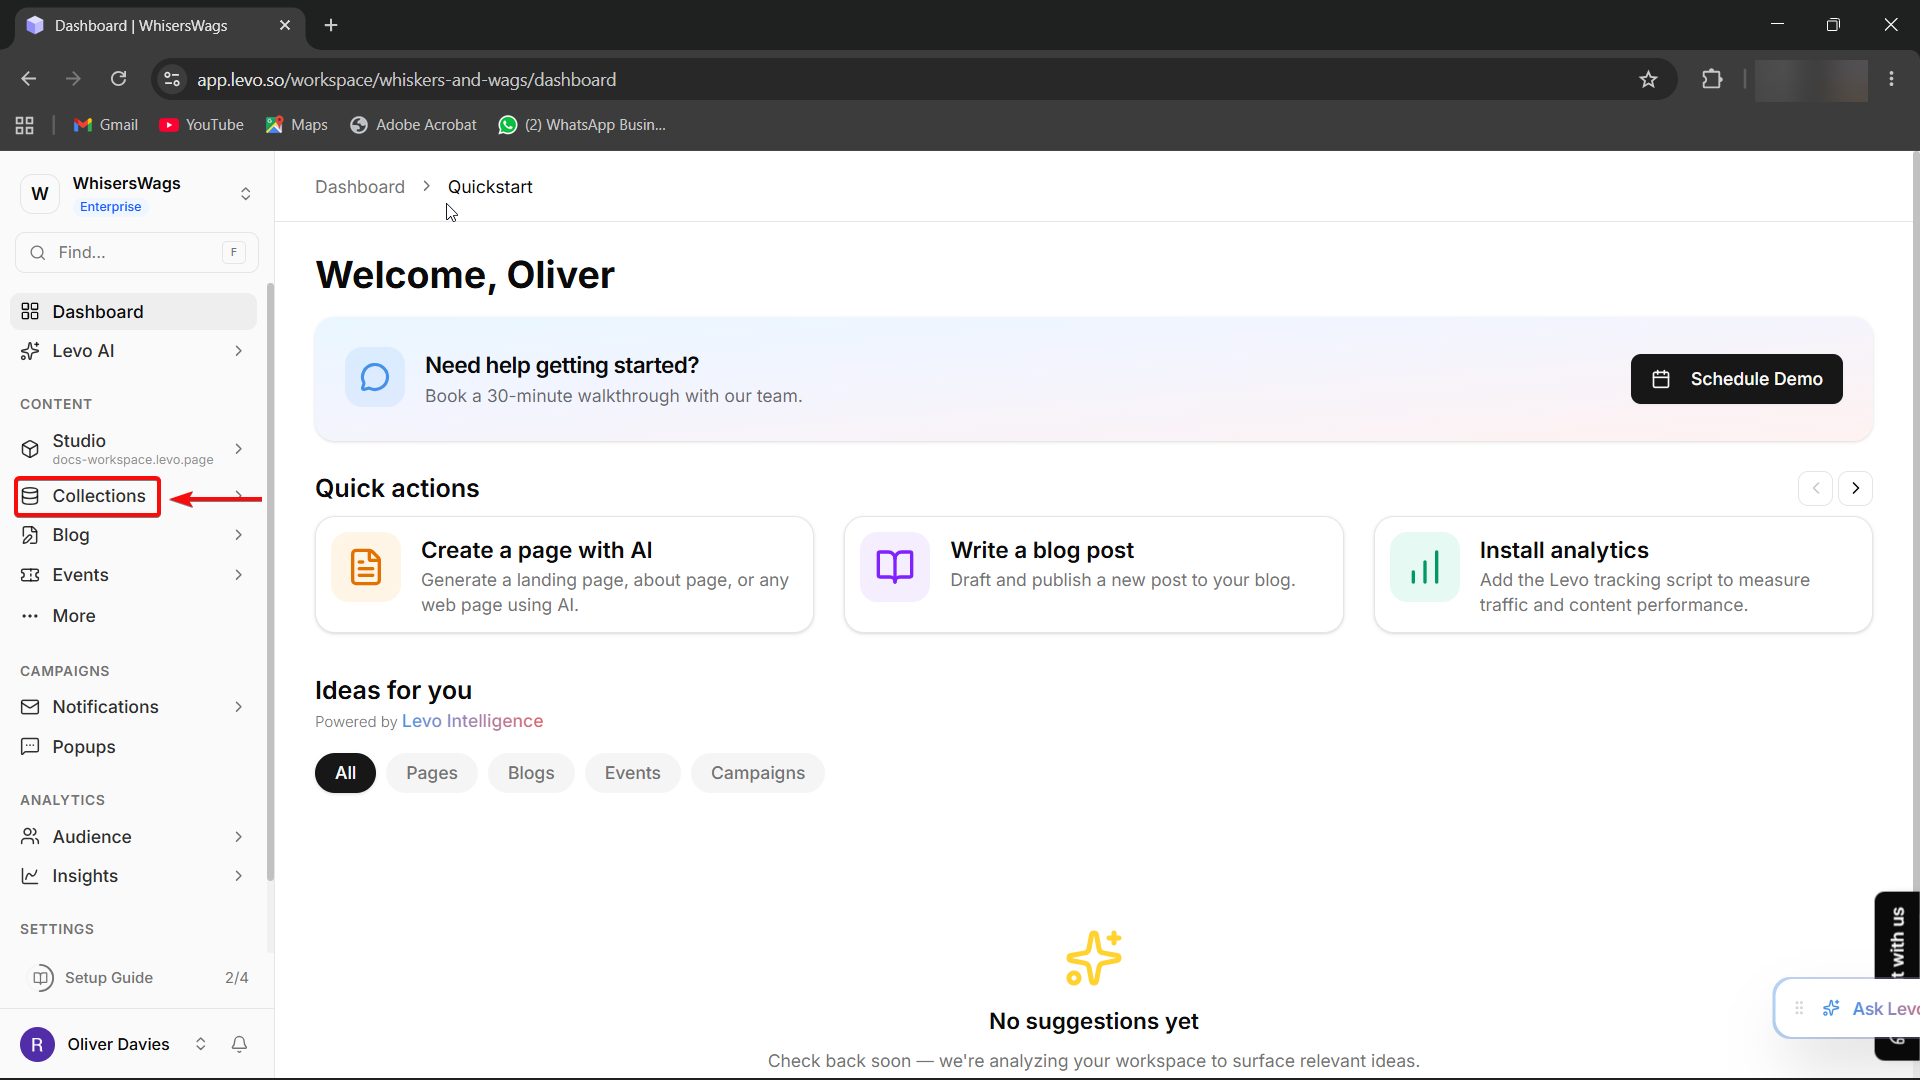
Navigate to:
Workspace → CollectionsSelect the collection you want to configure.
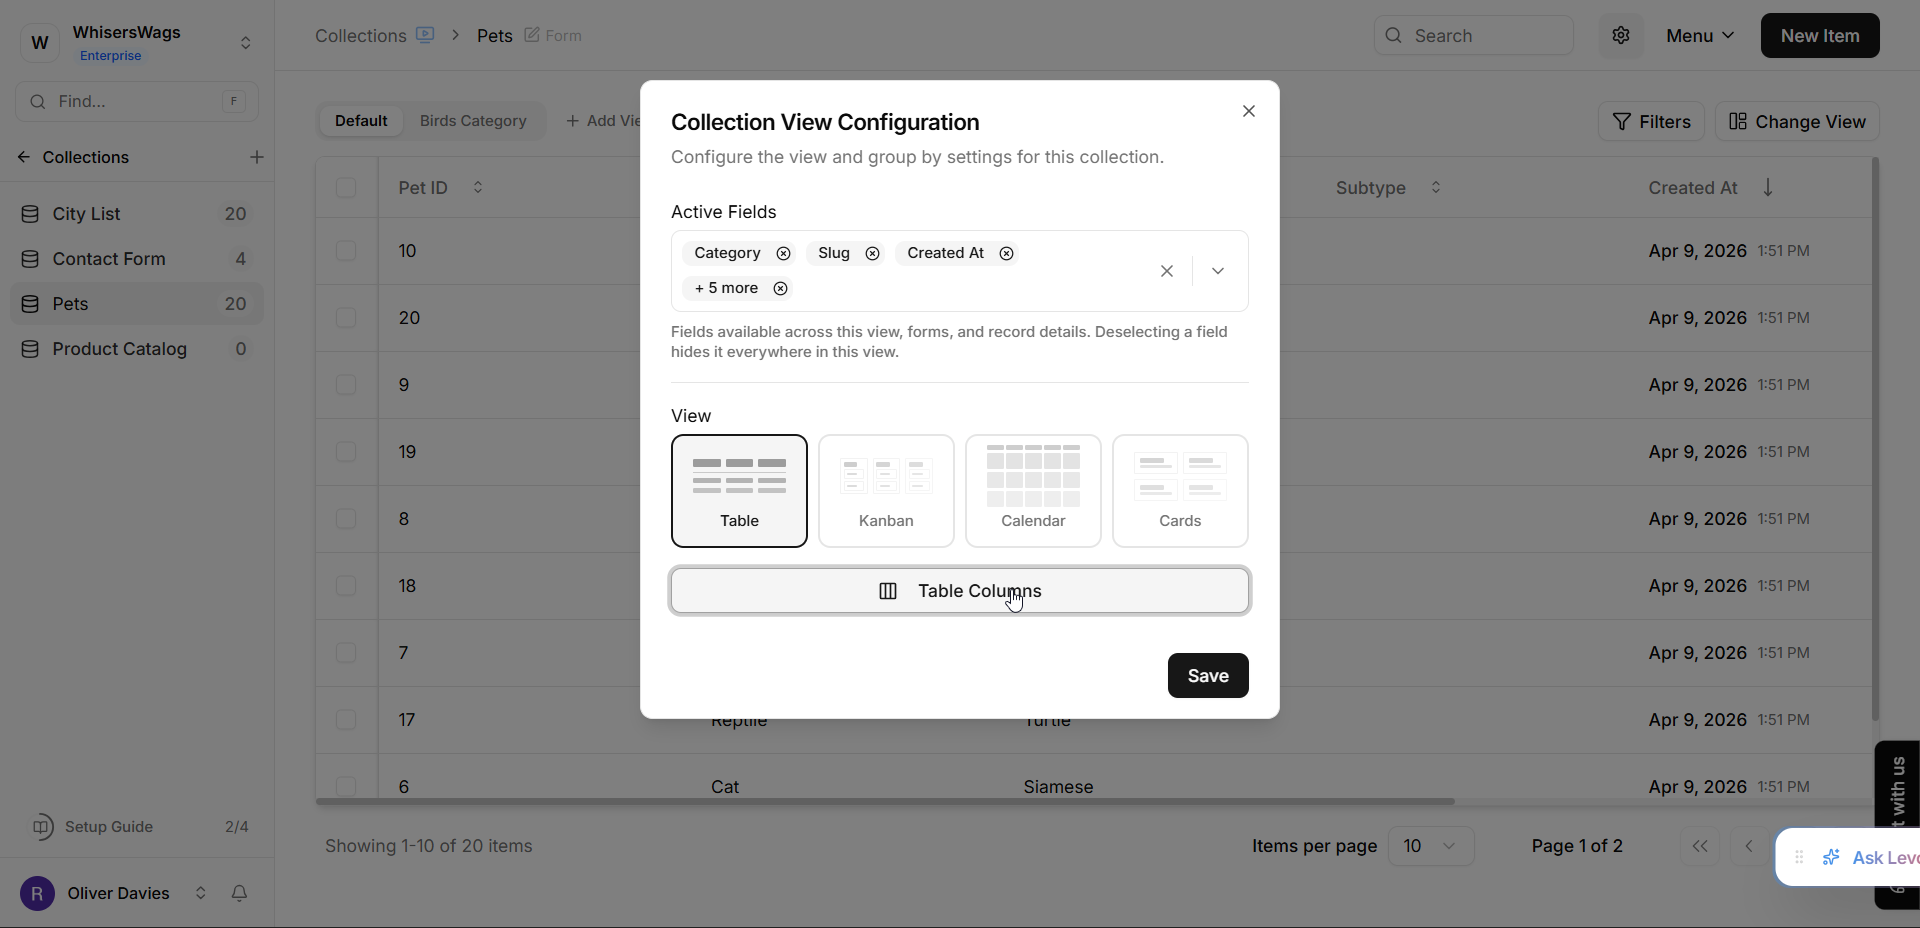
Click the “Change View” button
(located near the top-left area of the content table and marked with a layout icon).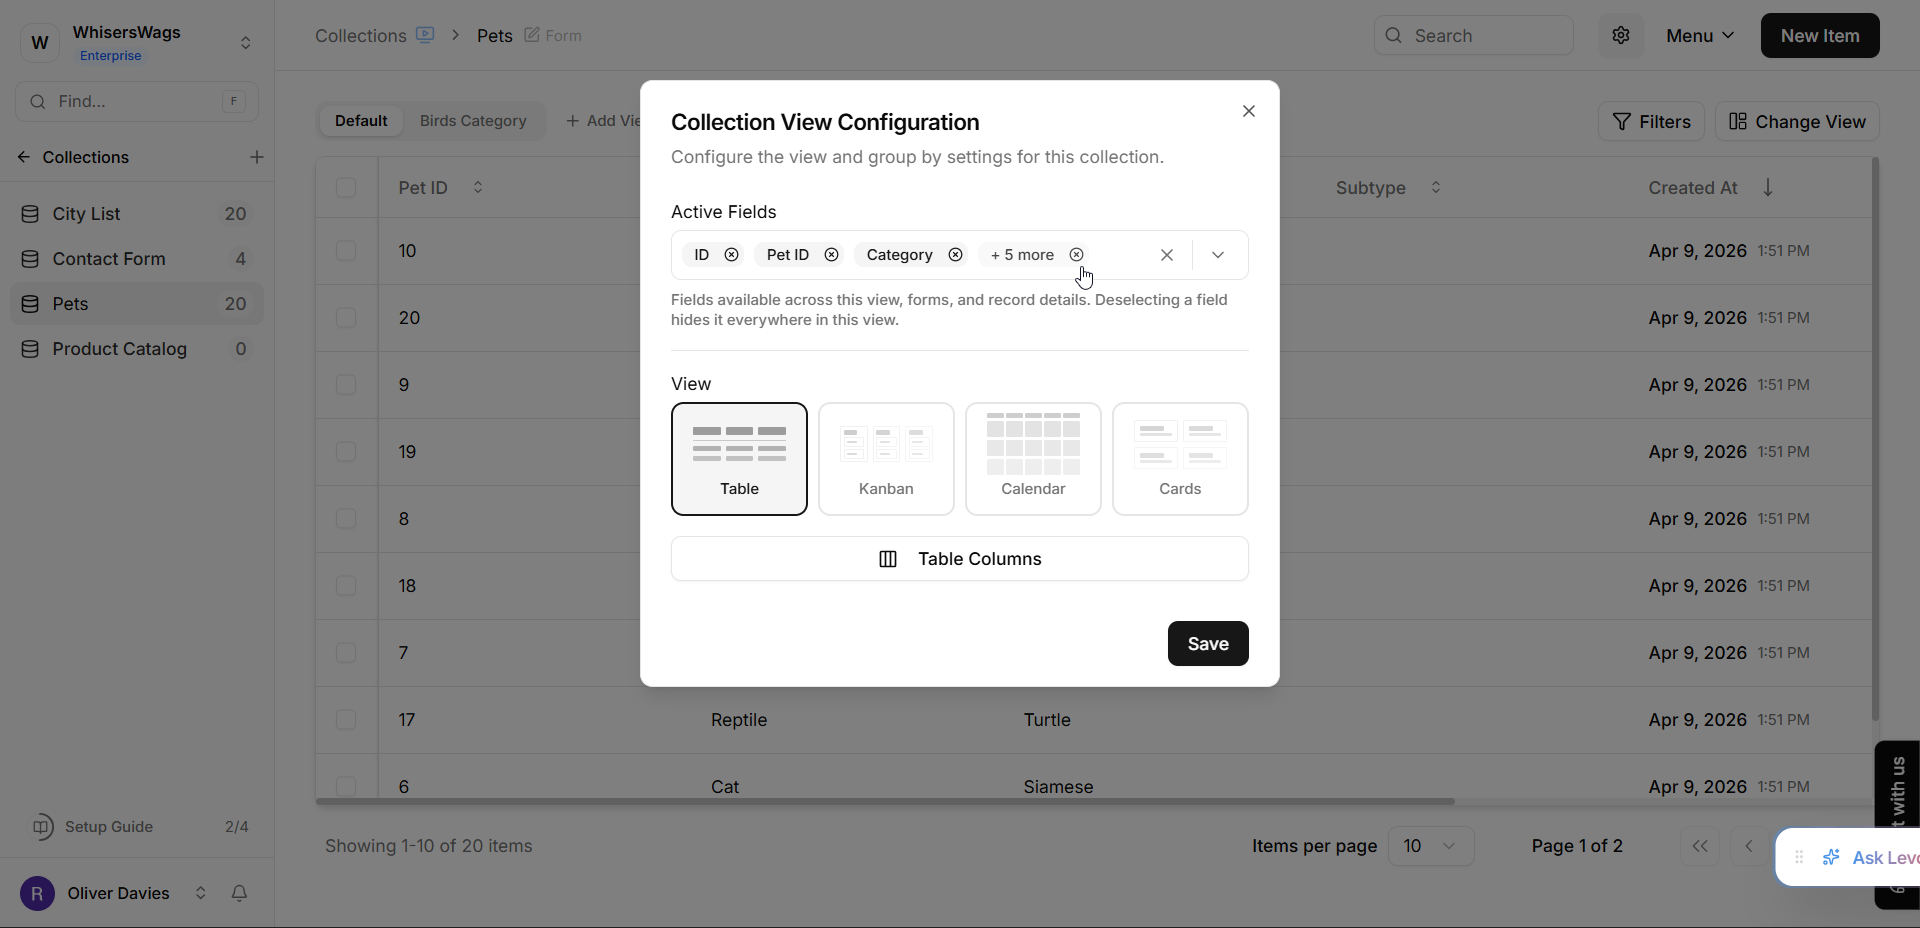
In the Collection View Configuration dialog:
Locate the “Active Fields” multi-select section at the top.
This section displays all available fields in the collection.
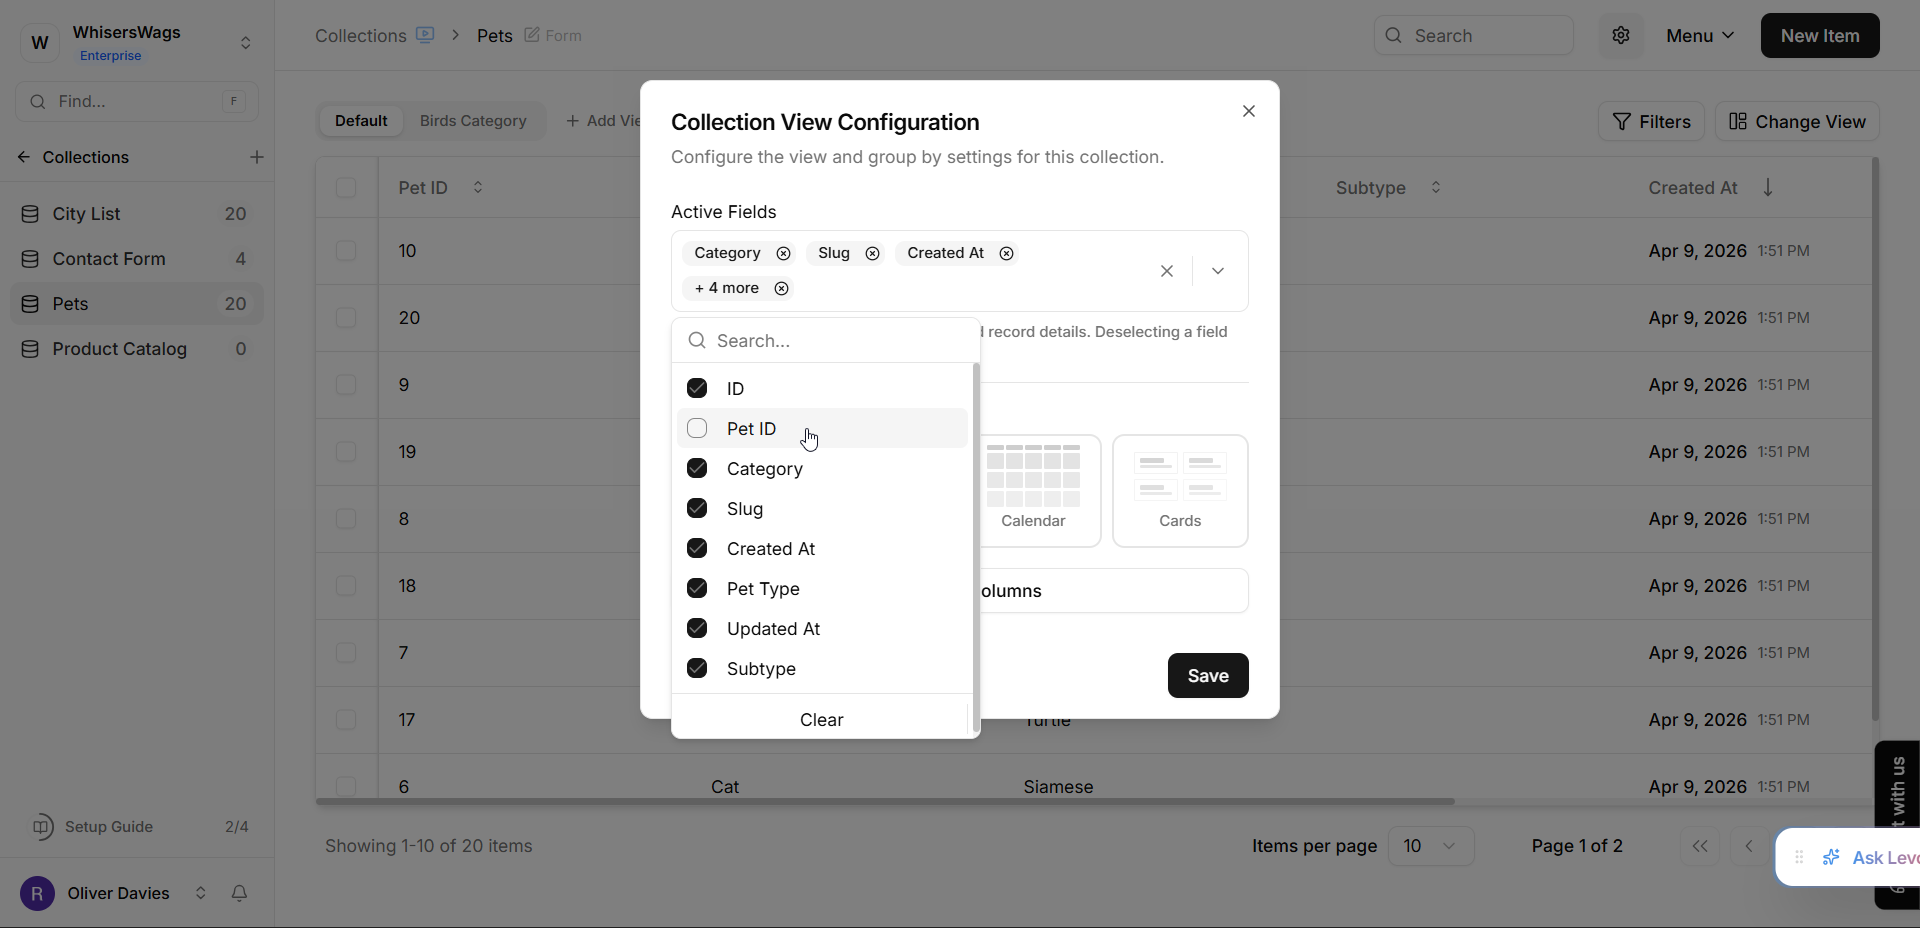
To manage visibility:
Remove a field to hide it from:
the table view,
forms,
and record details.
Add a field to make it visible again.
Click Save to apply the changes.
Level 2: Table Columns (Table-Specific Visibility)
This setting controls which columns are visible specifically in the table view and also allows you to reorder them.
Steps to Configure Table Columns
Open the “Change View” dialog
(same process as described above).Ensure the View Type is set to “Table.”
Click the “Table Columns” button to open the “Select Columns” modal.
Inside the “Select Columns” Modal
Each field appears as a separate row with a checkbox.
Show or Hide Columns
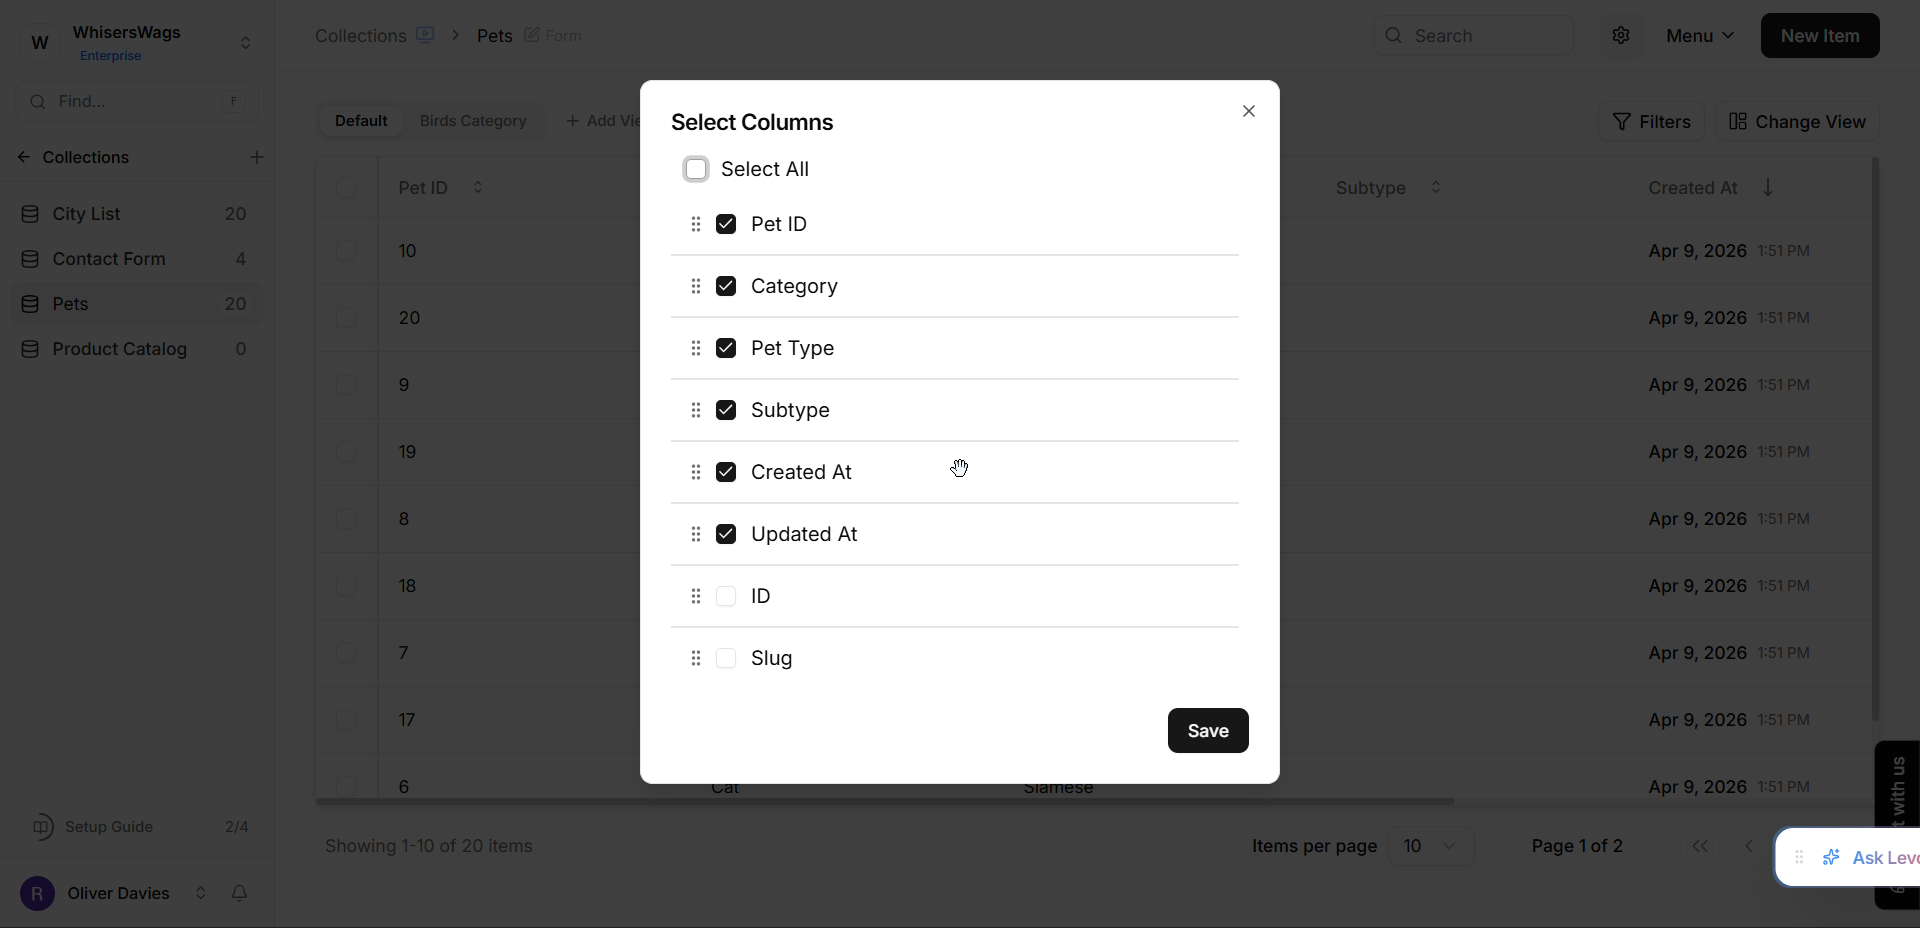
Check a field to display it as a table column.
Uncheck a field to hide it from the table view.
Select or Unselect All Columns

Use the “Select All” option to display all columns.
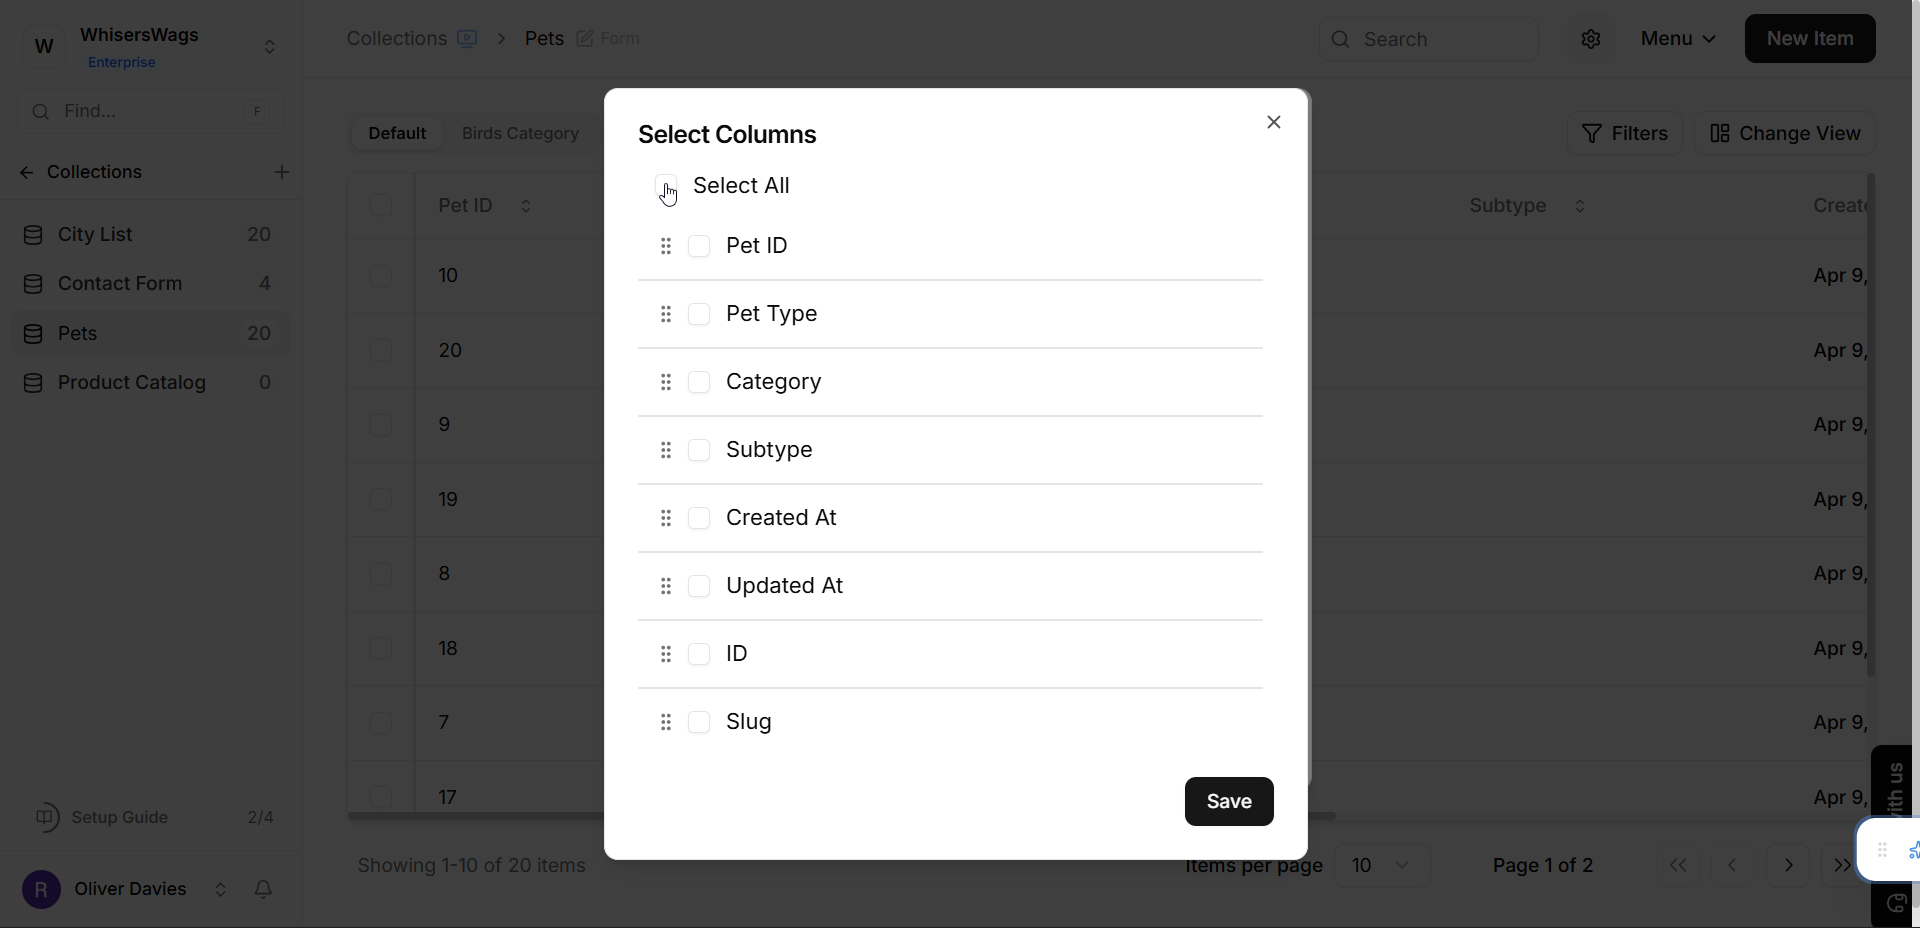
Use the “Unselect All” option to hide all columns.
Reorder Columns
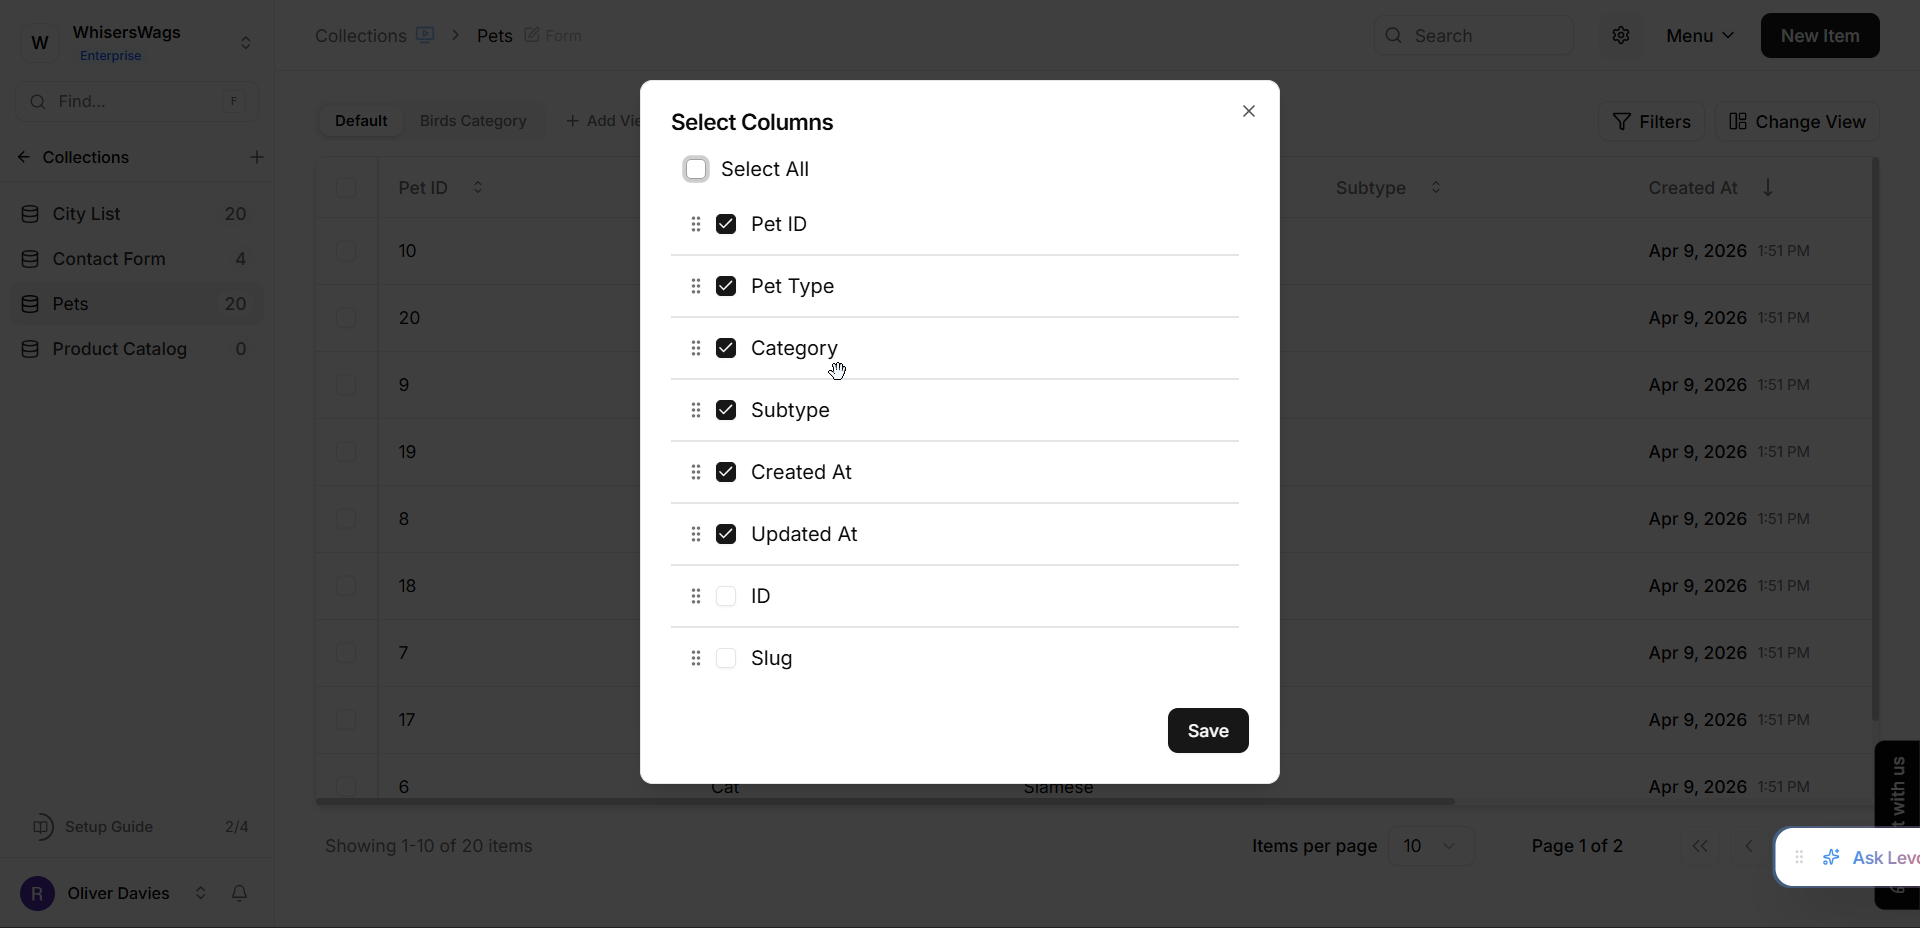
Drag and drop rows using the reorder handle to change the column order.
Save Your Changes
Click Save in the Select Columns modal.
Then click Save again in the View Configuration dialog to apply the changes.
Resizing Columns
Position your cursor over a column header’s right edge until the resize cursor appears. Drag horizontally to adjust width.
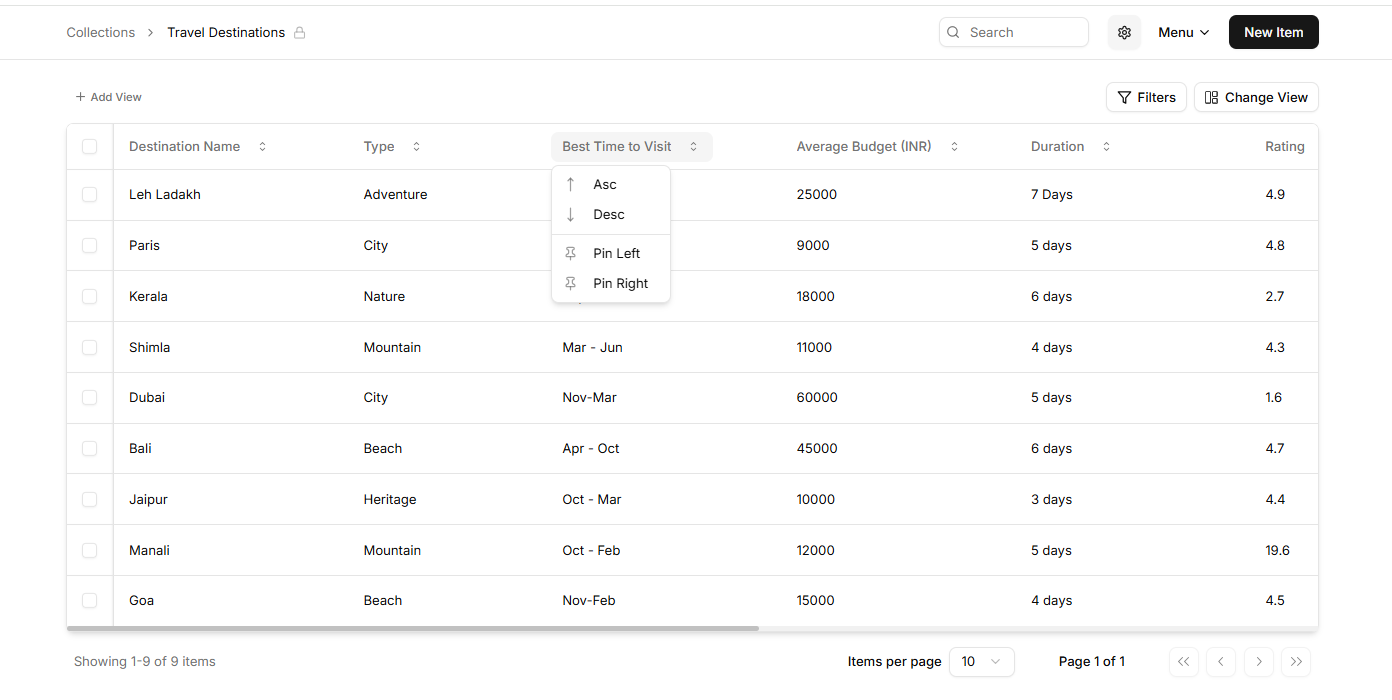
Pinning Columns
Pinning anchors columns to the left while scrolling right. Hover over a column header, click the options menu (⋮), and select “Pin column”. Pinned columns remain fixed during horizontal scrolling. Use the same menu to unpin columns.
Editing a Field
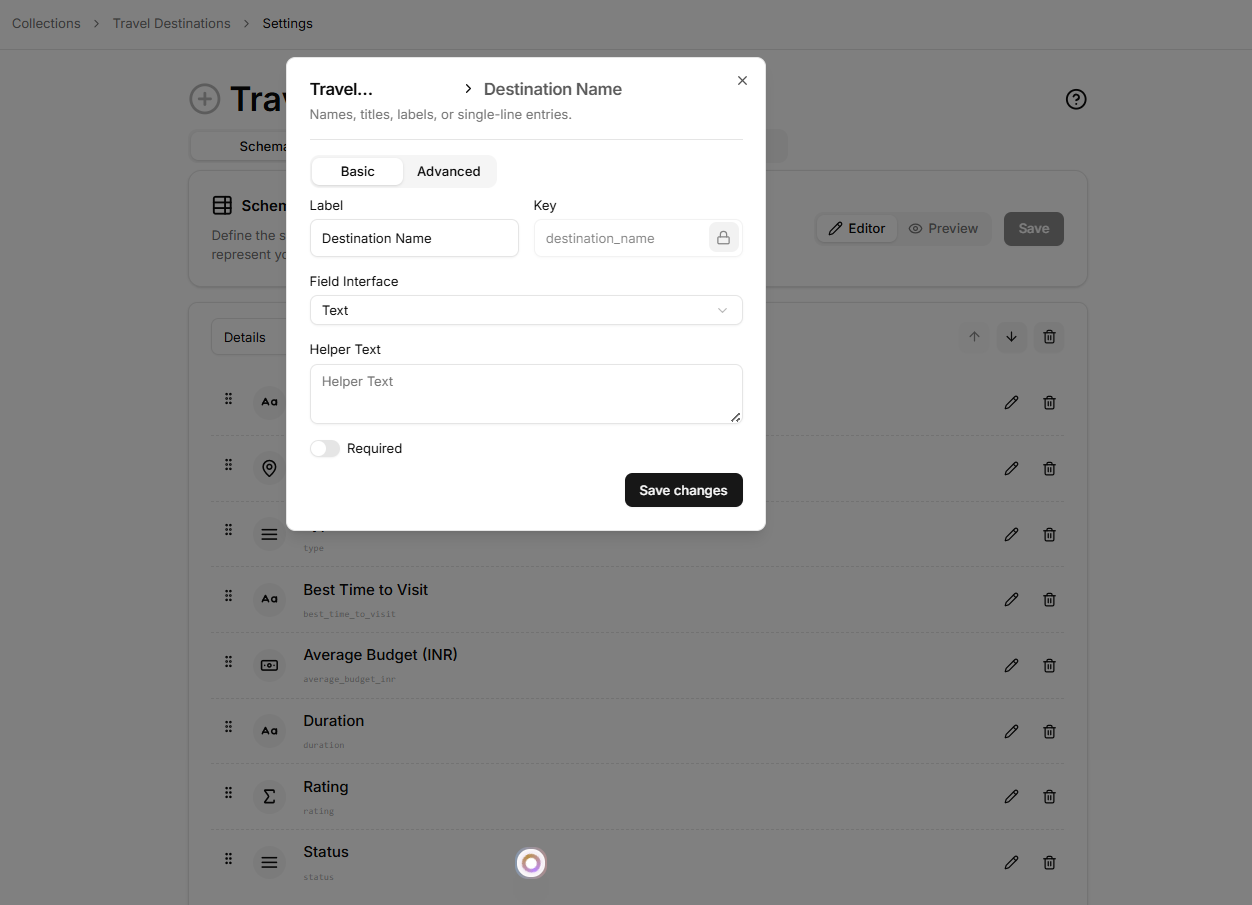
Go to Settings → Schema, select your field, and modify its name, type, or configuration. Note that some field type properties cannot be changed after entries exist.
Deleting a Field
In Settings → Schema, select a field and click Delete field.
This action is permanent and removes the column and all associated data.