Managing Site Members
Table of Contents
The Members table is your primary command center within the Audience module. From this comprehensive dashboard, you can easily control, organize, and export all identified site accounts down to the individual level.
Navigation: How to Access the Audience Dashboard
To begin managing your users, follow these steps:
Navigate to your Workspace Dashboard.
On the left-hand navigation menu, click on Audience.
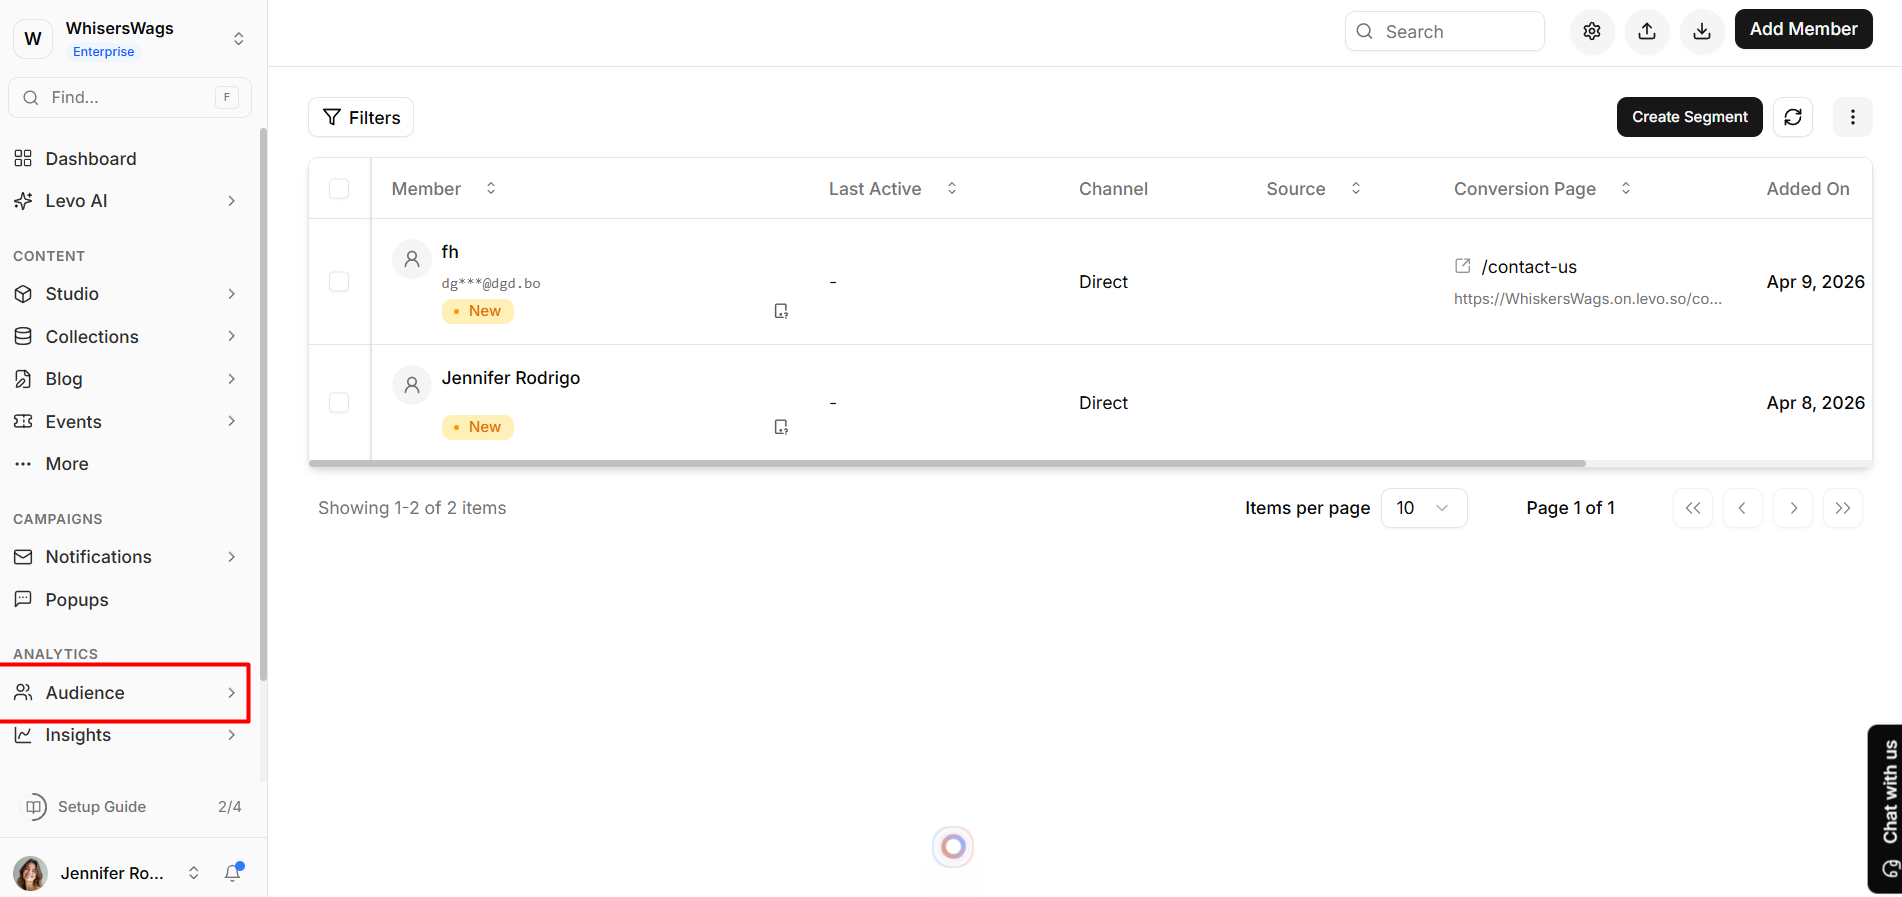
You will immediately see the full Members table along with all administrative capabilities in the top action bar.
1. Organizing & Filtering Your Data
Customize your view to focus on the information that matters most:
Customize Your View: Click the Settings (gear) icon or the View editor above the table to toggle essential data points (Name, Email, Username, Status, Signup Date, Last Access Date) on or off depending on your needs.
Filter Data Step-by-Step:
Use the real-time search bar located at the top to instantly find a member by their name, email, or username.
For complex targeting, open the advanced Filters menu to build queries using AND/OR logic (e.g., target users by subscription status, sign-up date, location, or traffic source).
2. Bringing Members In
You can populate your audience organically through your application, or provision accounts directly via the dashboard:
Manual Provisioning
Click the Add Member button located in the top action bar.
Fill out the basic information form (Name, Email, Password, Username) alongside any required custom workspace fields.
Click to save and instantly provision their account.
Bulk CSV Import
Click the Import CSV button (the upload icon) in the top action bar.
In the Import drawer that slides out, download the provided Levo CSV template.
Populate the spreadsheet perfectly with your member dataset.
Upload the file! Monitor the real-time import history log underneath to track successful migrations and identify any row-specific errors immediately.
3. Exporting Your Data
Extract your audience data accurately at any time:
Apply your desired search queries or filters to the members table (the export engine seamlessly respects your active view to extract specific subsets).
Click the Export CSV button in the top action bar.
The system will compile and securely download your targeted member list as a formatted
.csvspreadsheet.
4. Managing Access & Profiles
Maintain complete control over the lifecycle of your user accounts:
Reviewing Account Approvals
To review a single pending account, simply hover over their specific row to reveal the quick action buttons (Approve/Reject).
To approve users in massive numbers, select the checkboxes next to multiple pending users. Then, click Selected Actions from the bulk action menu and choose Approve or Reject simultaneously.
Note: Approved members gain instant site access; Rejected members are securely blocked.
Performing Quick Administrative Actions
Navigate to the end of any specific member's row and click the More (three-dot) menu.
From here, choose a fast action to update their core information, manually trigger a password reset flow, or click View to jump directly into their detailed profile view.