Connecting a Custom Domain
Table of Contents
1. Free Levo Domain
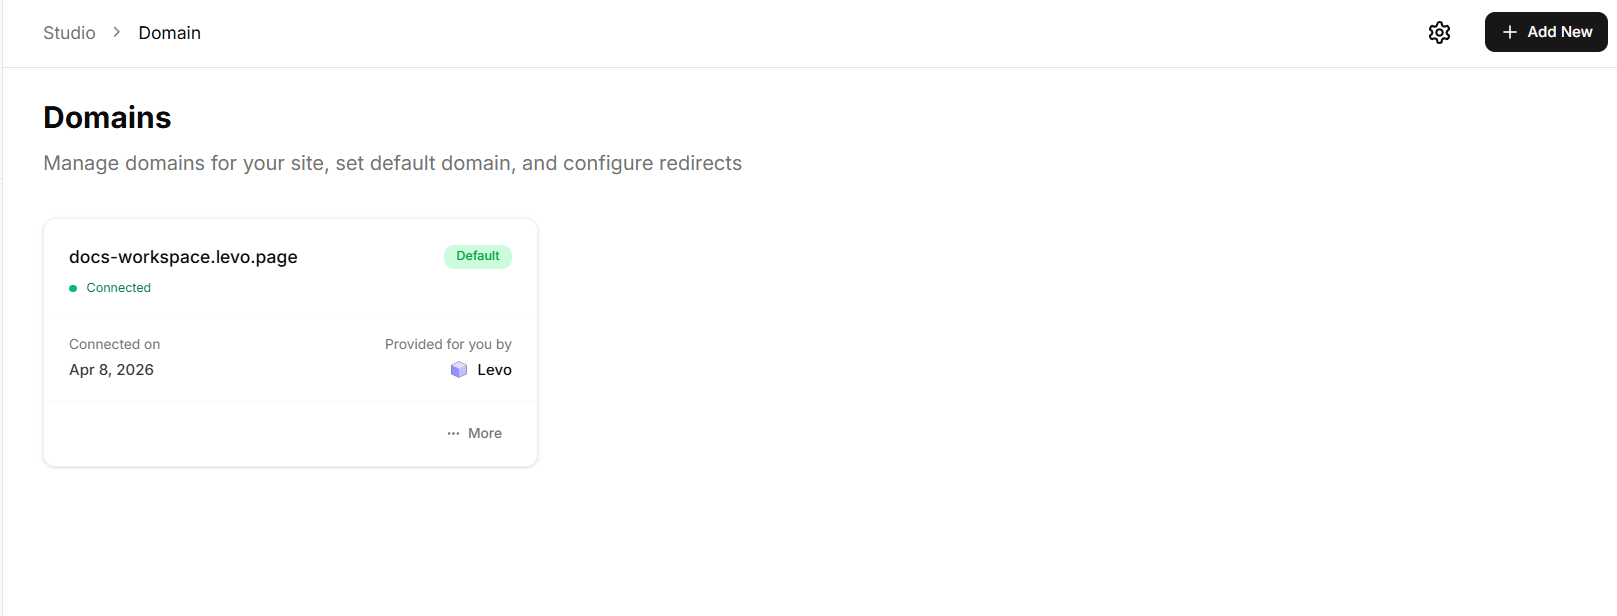
Every Levo site is assigned a free subdomain like:
What is it used for?
Acts as a ready-to-use website URL immediately after publishing
Works as a preview or testing environment before going live with a custom domain
Can be shared with others for quick access or feedback
Important things to know
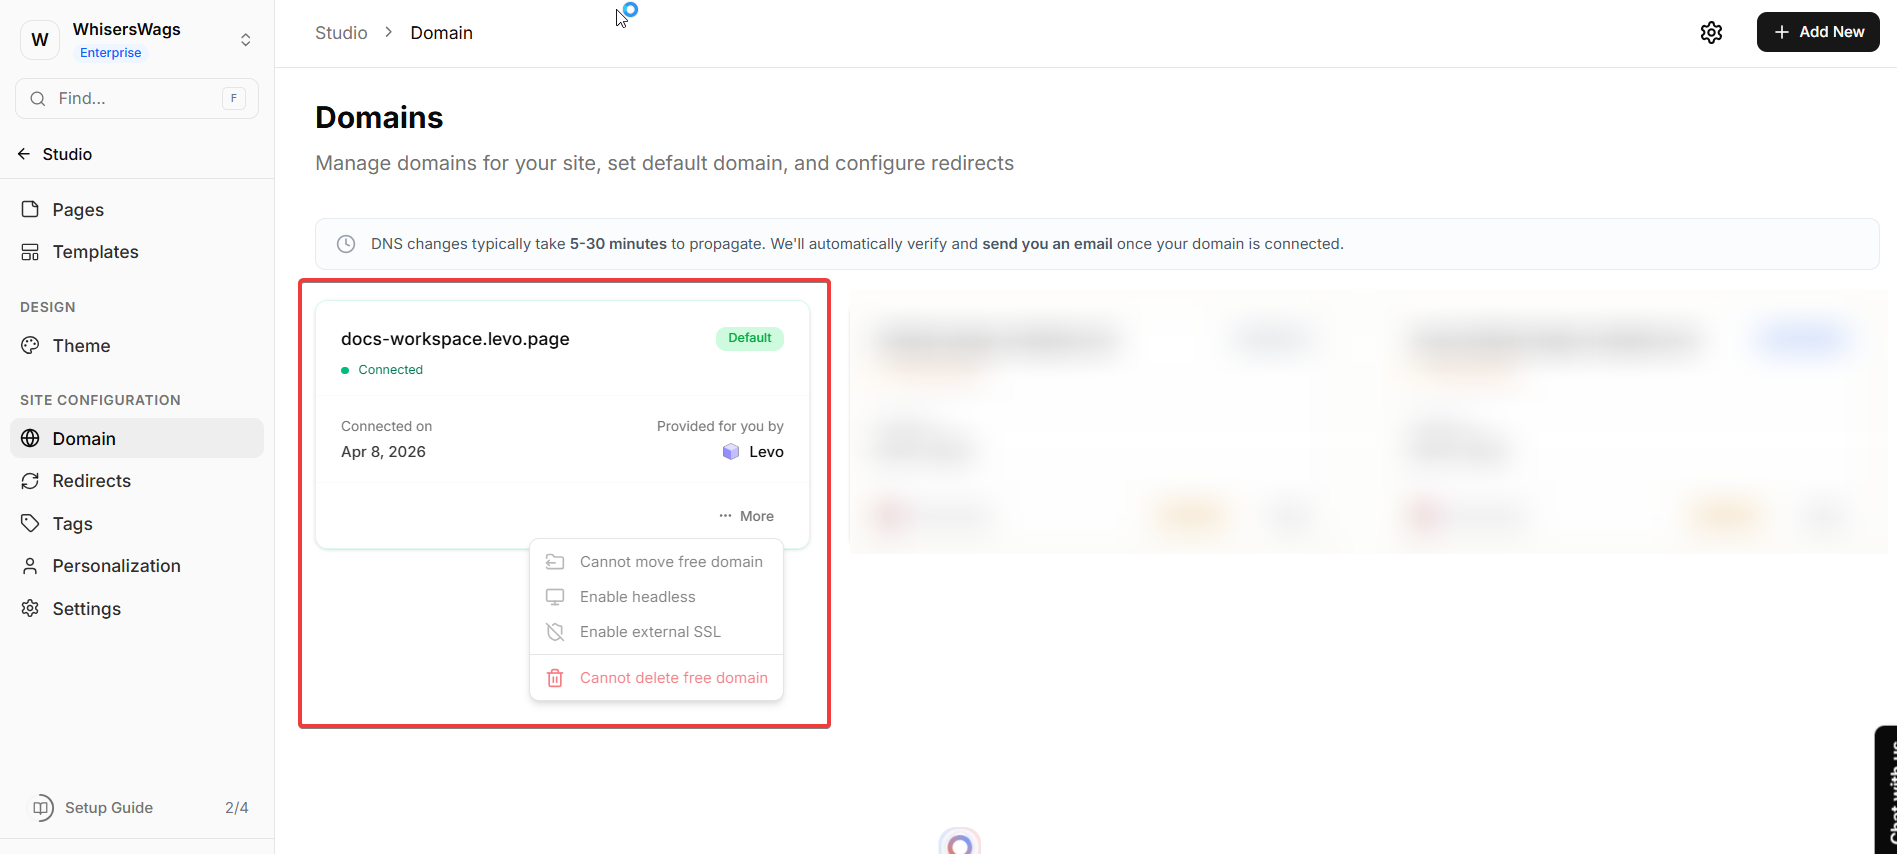
This domain is permanent and cannot be removed
It is linked only to your specific site (cannot be transferred)
It cannot be used for redirects or as a primary branded domain
2. Why Connect a Custom Domain?
A custom domain (e.g., www.yourbrand.com) helps you:
Build brand trust and credibility
Make your website look professional
Improve SEO and discoverability
Create a consistent brand identity across platforms
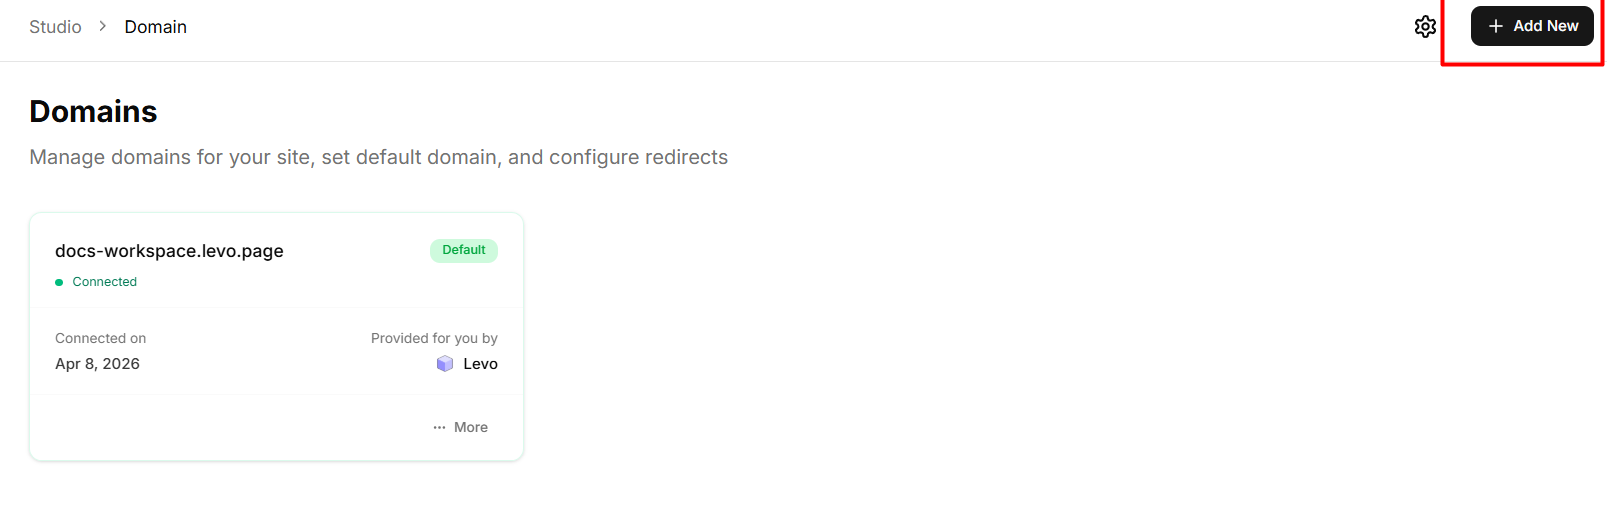
3. How to Add a Custom Domain
Follow these steps to connect your own domain to your Levo site:
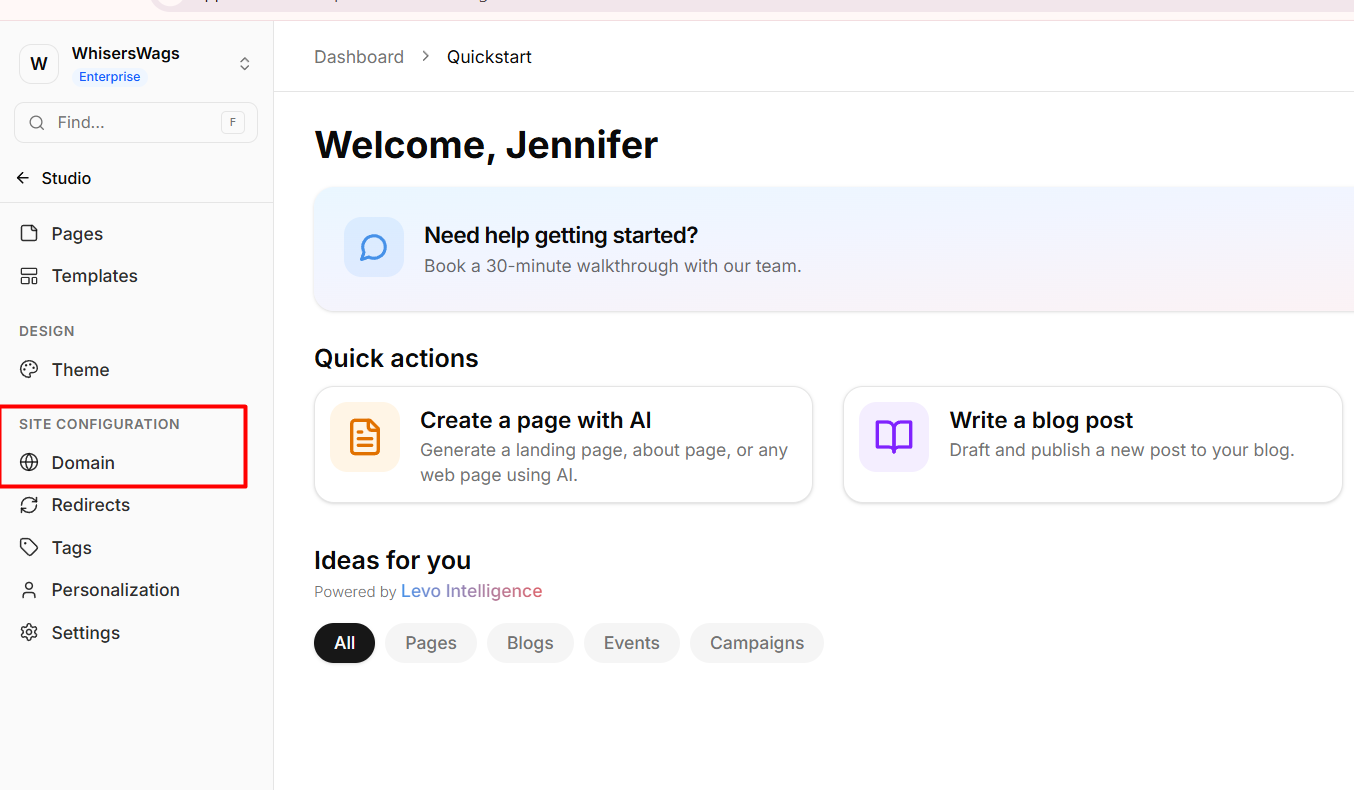
Navigate to the Domain tab in the Studio sidebar.
Click the Add New button.
Enter your desired custom domain in the modal.
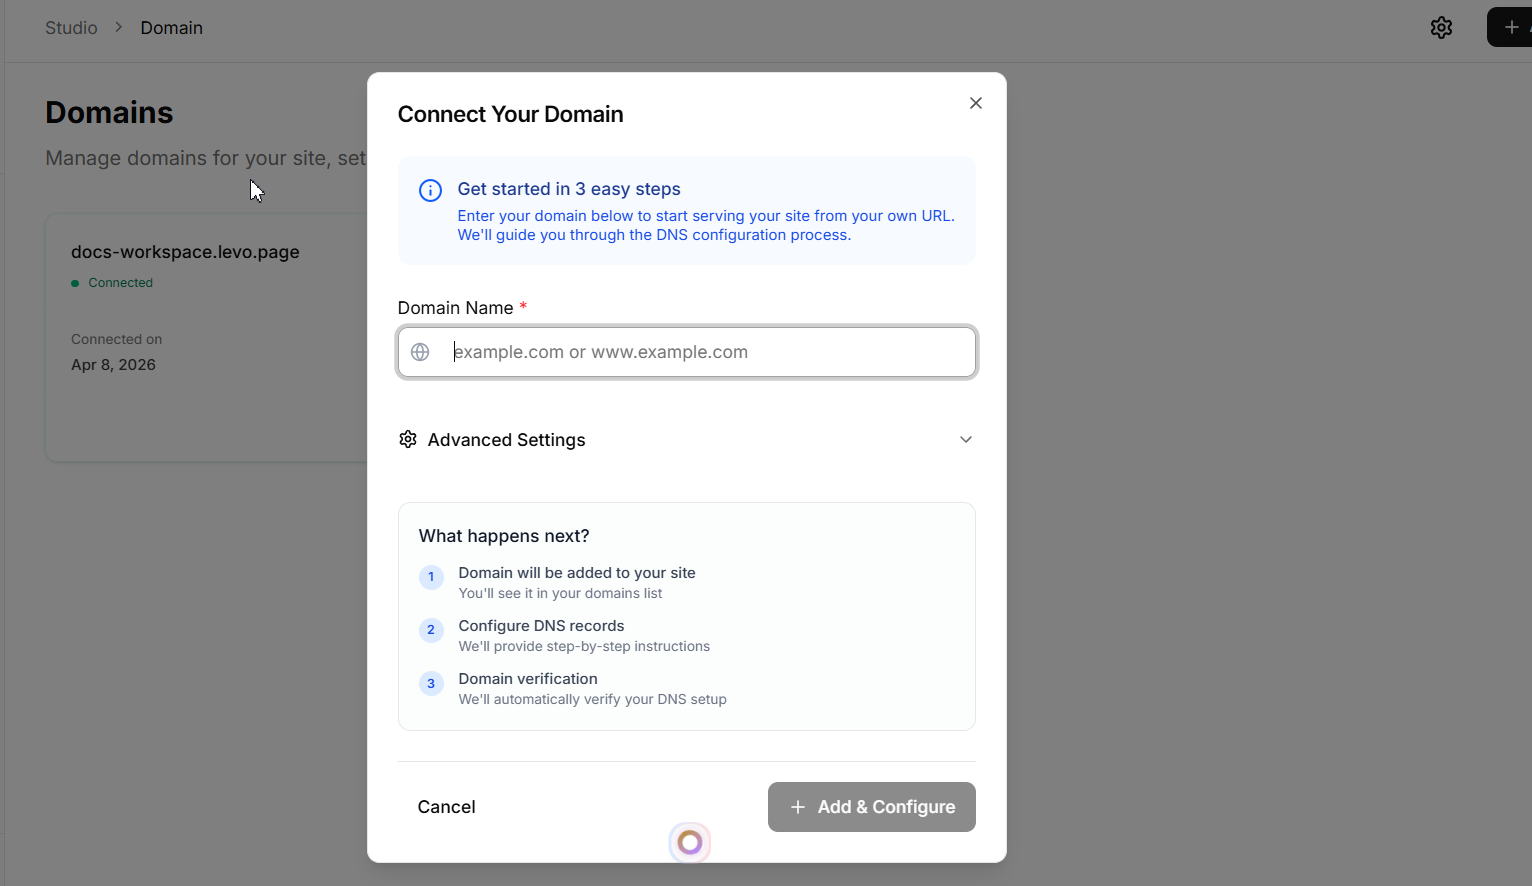
Now You also have advance setting option if you have an existing website, the advanced settings can be used to make Levo work alongside it.
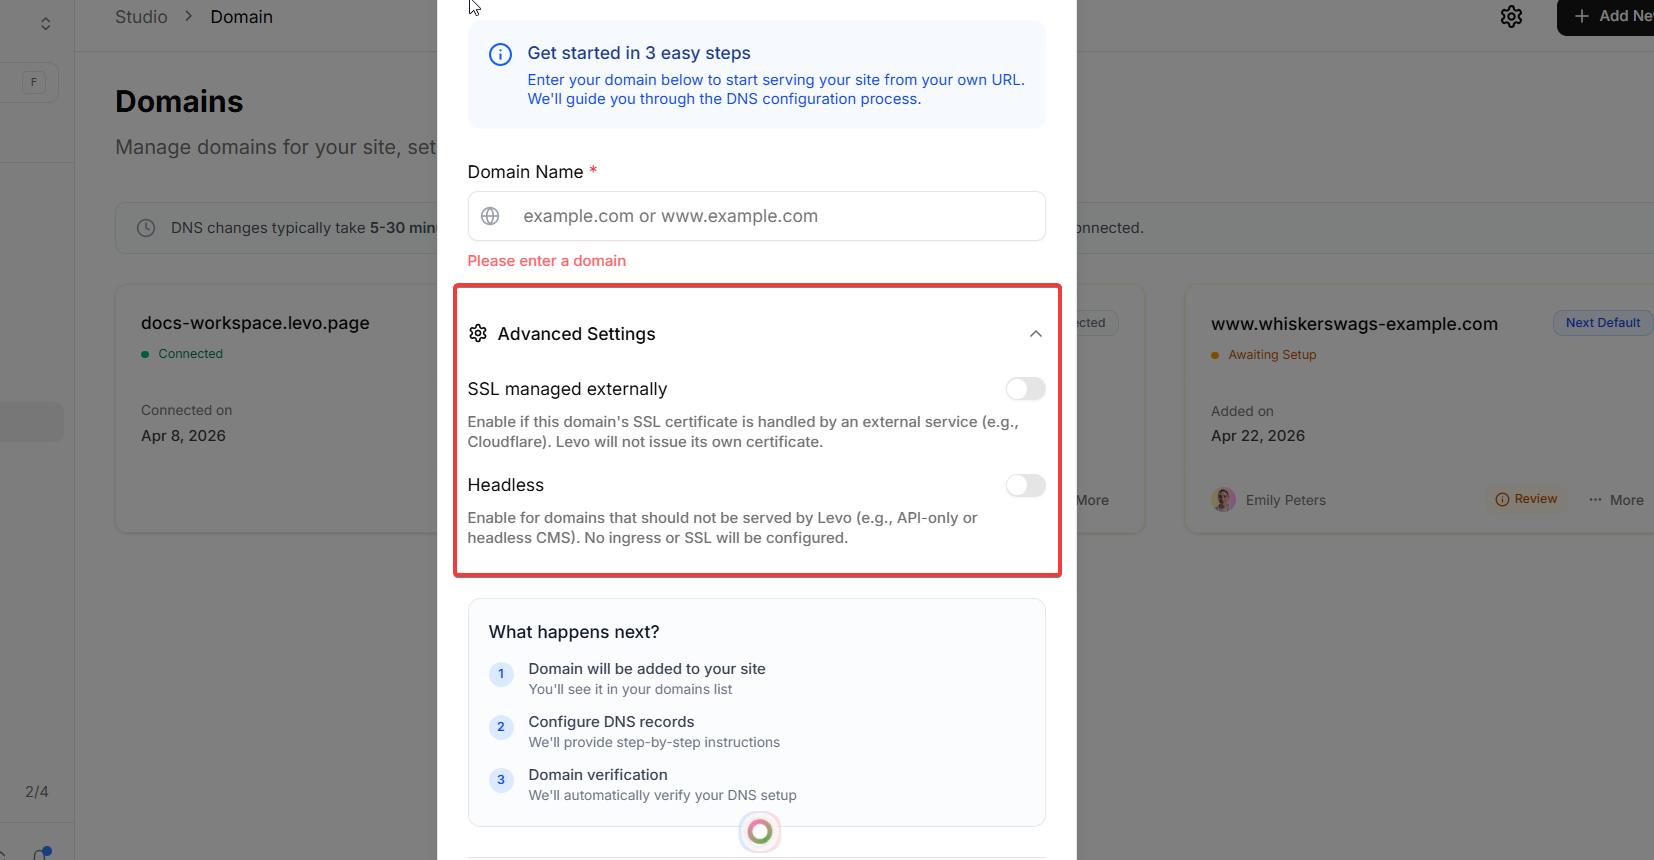
But if you want to create pages only on Levo, than you can ignore this.
After this click on add and configure button.
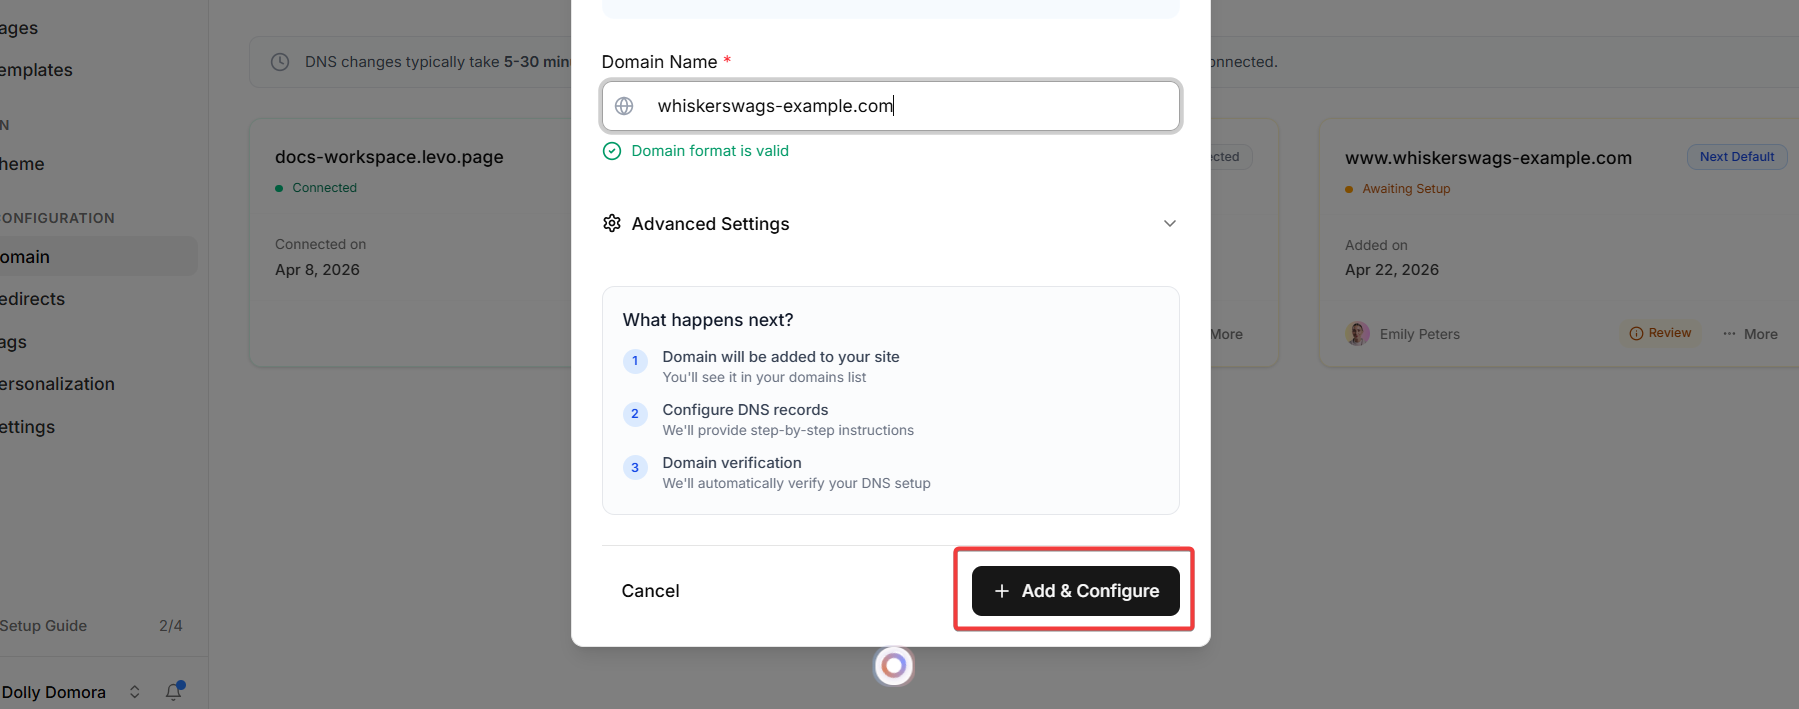
And it will open the DNS records page for you. Levo will provide you with specific DNS Records (such as an A Record or CNAME). Add these records directly into your domain registrar's DNS settings (e.g., GoDaddy, Cloudflare, Route53).
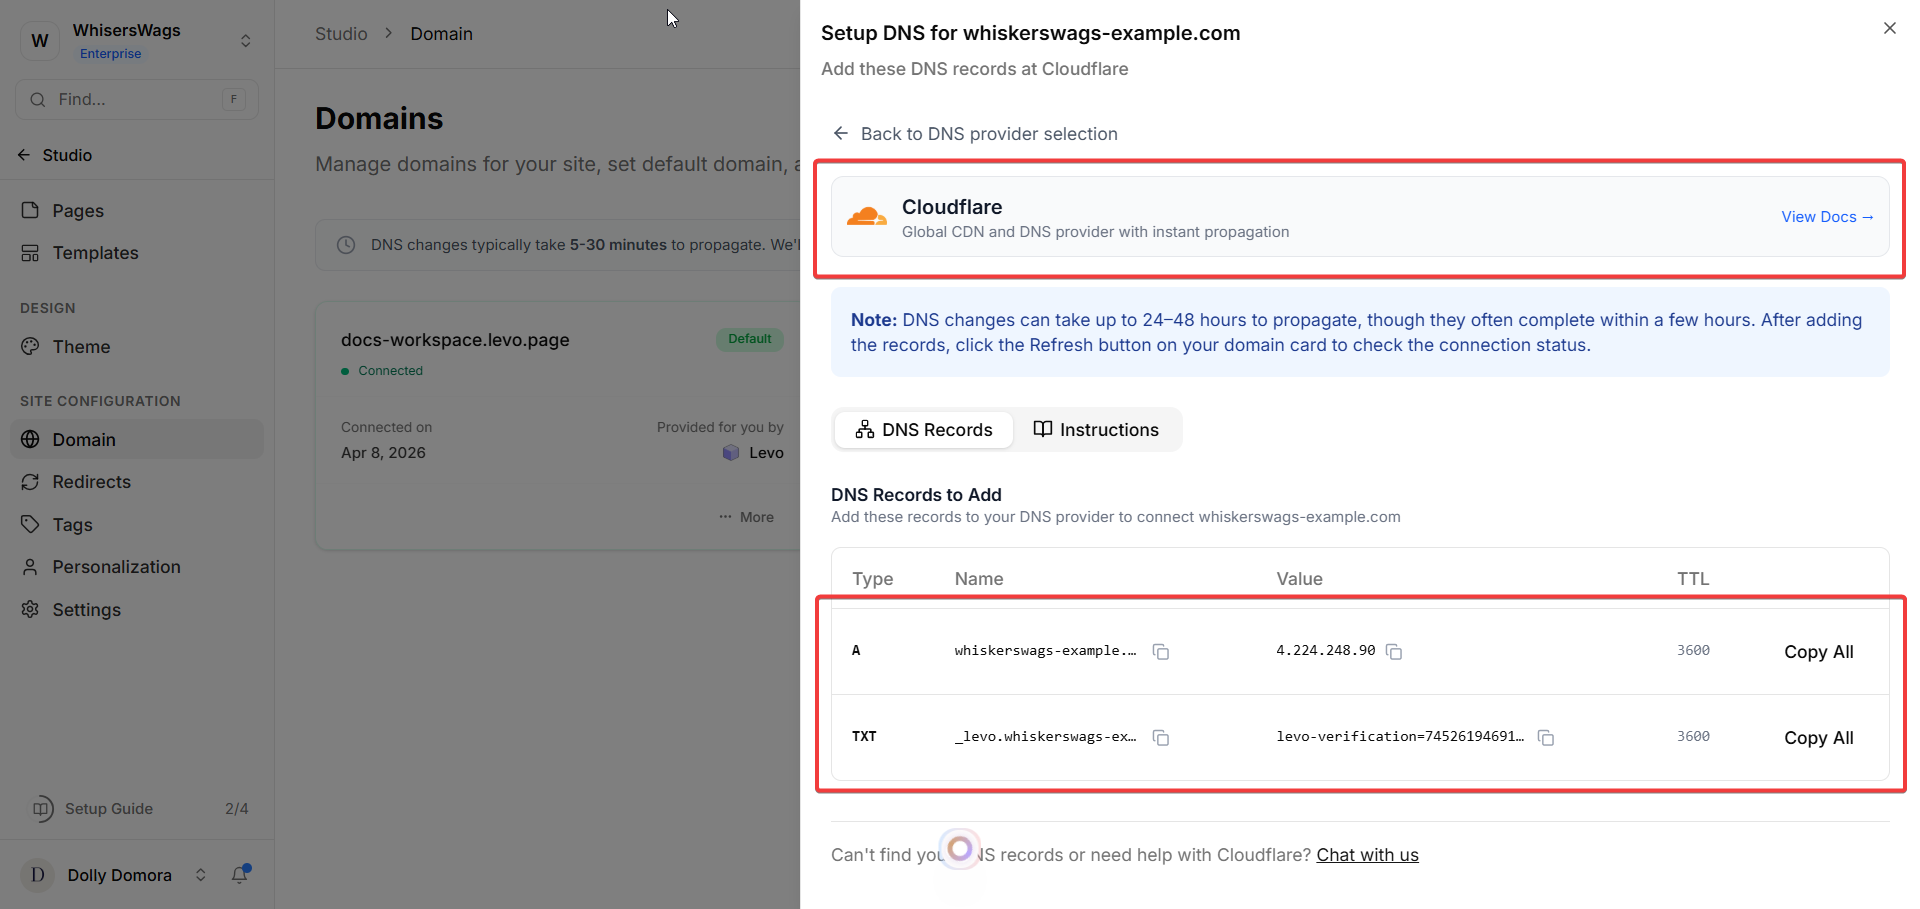
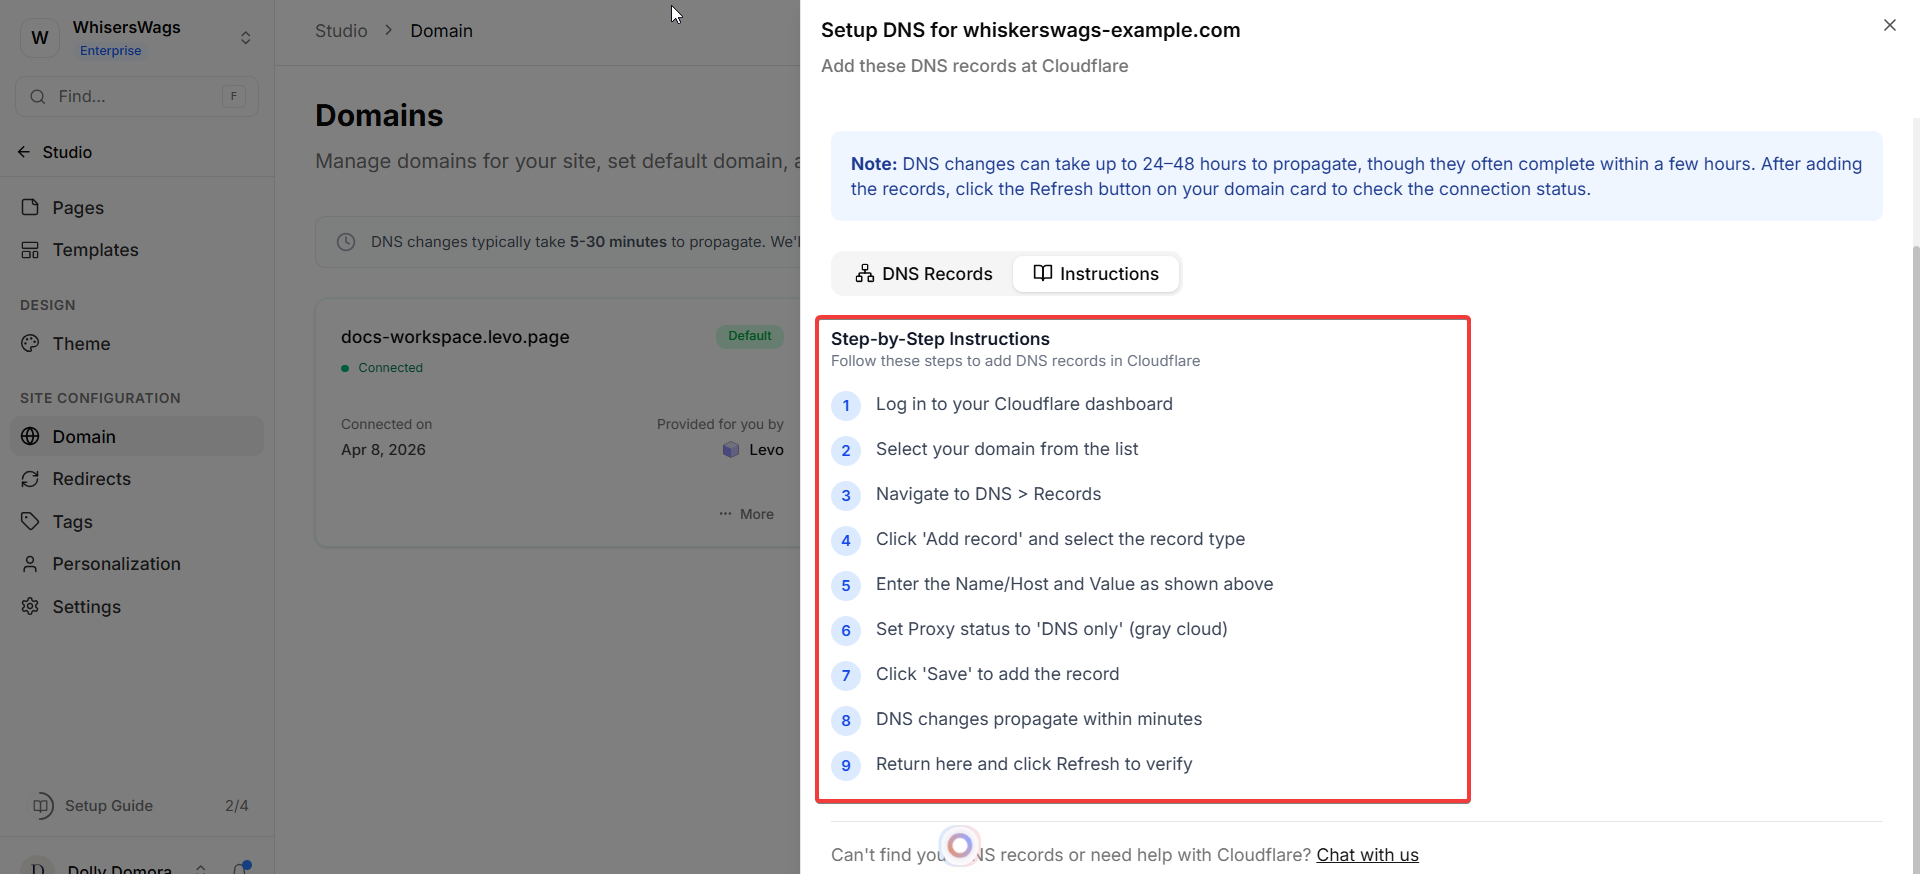
It will also show instruction on how to do DNS Records setting.
Wait for the DNS changes to propagate (this usually takes 5–30 minutes).
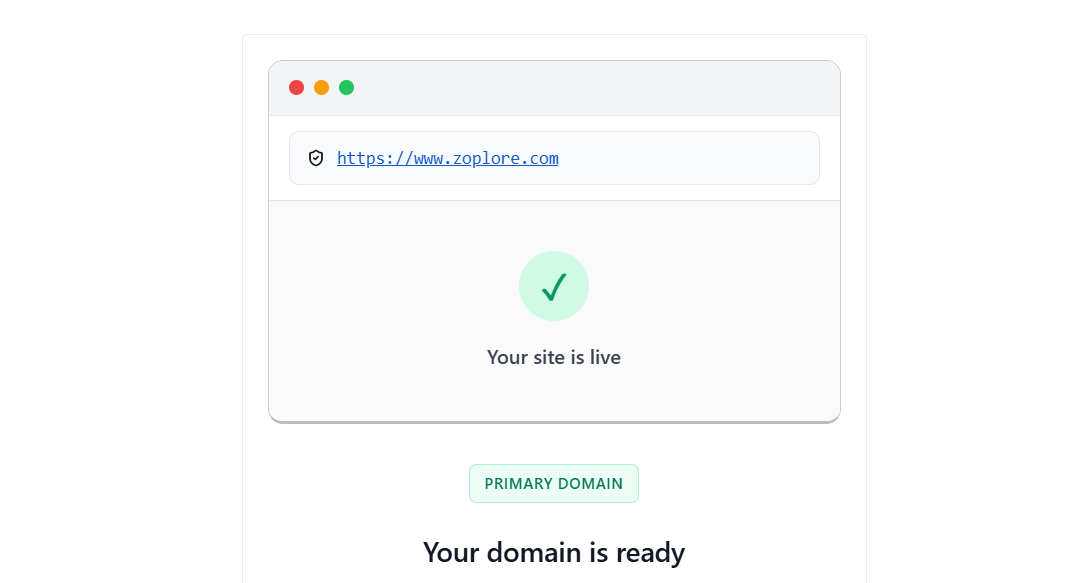
After that, you’ll receive an email confirmation that your domain is live.
What happens next?
Your site will now be accessible through your custom domain.
Visitors will see your branded URL instead of a default Levo link.
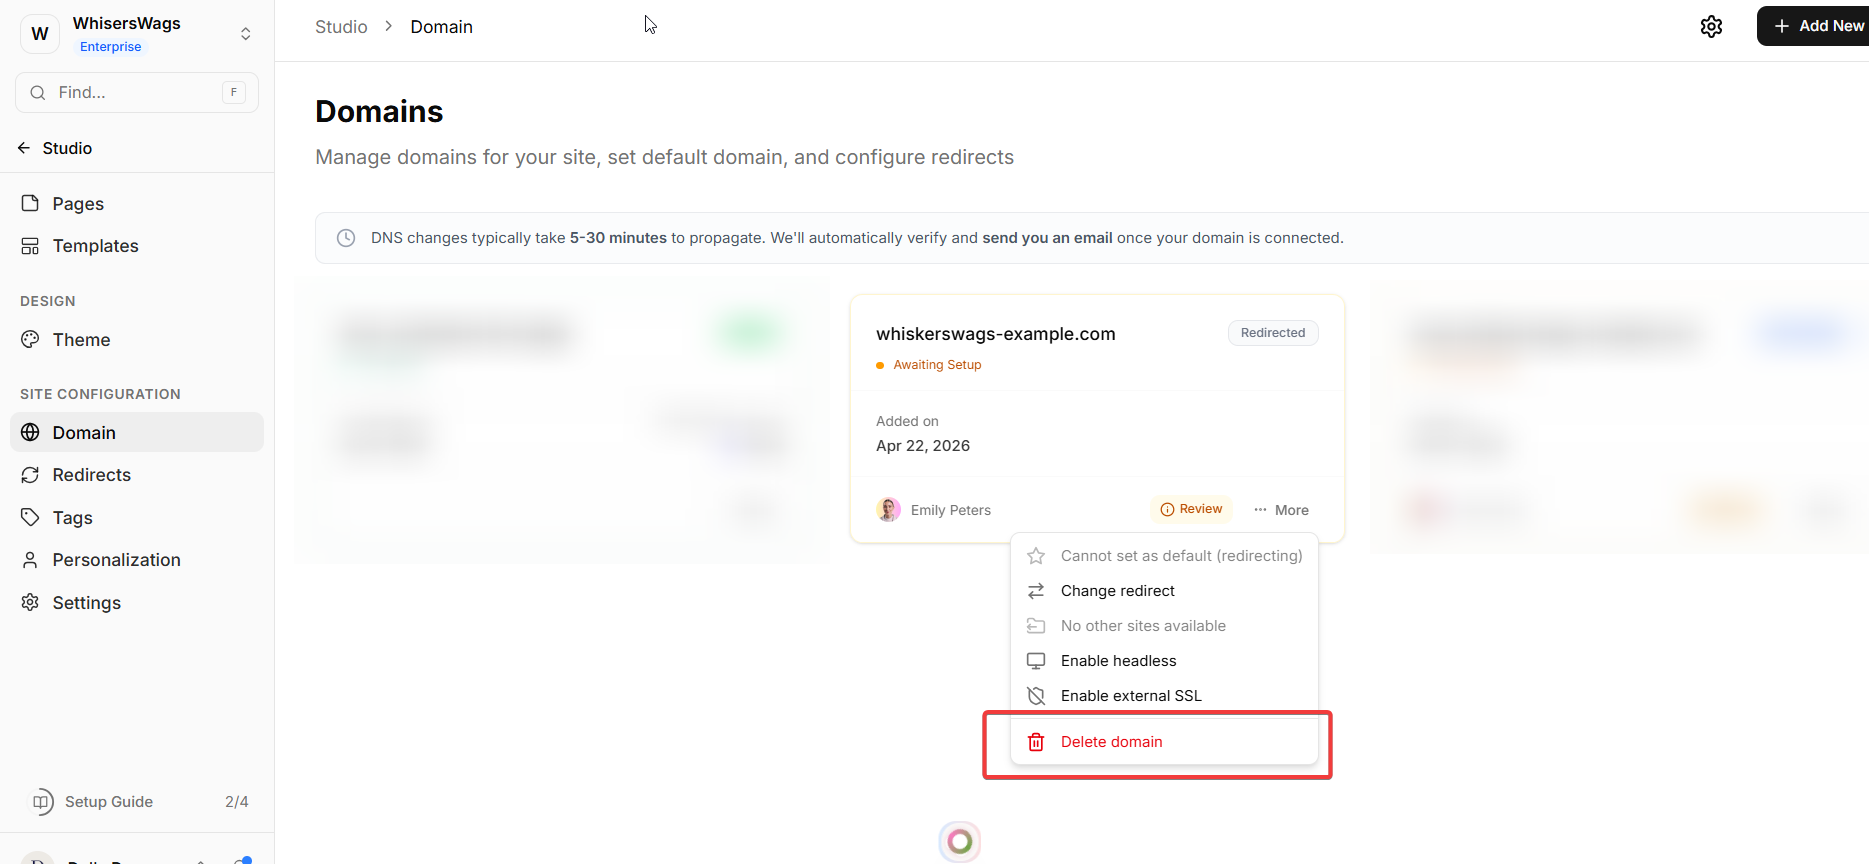
3. Managing Your Domain
Each domain has a menu (three dots) with options:
Set as Default (Primary) Makes this your main website link. Other domains will automatically redirect to it.
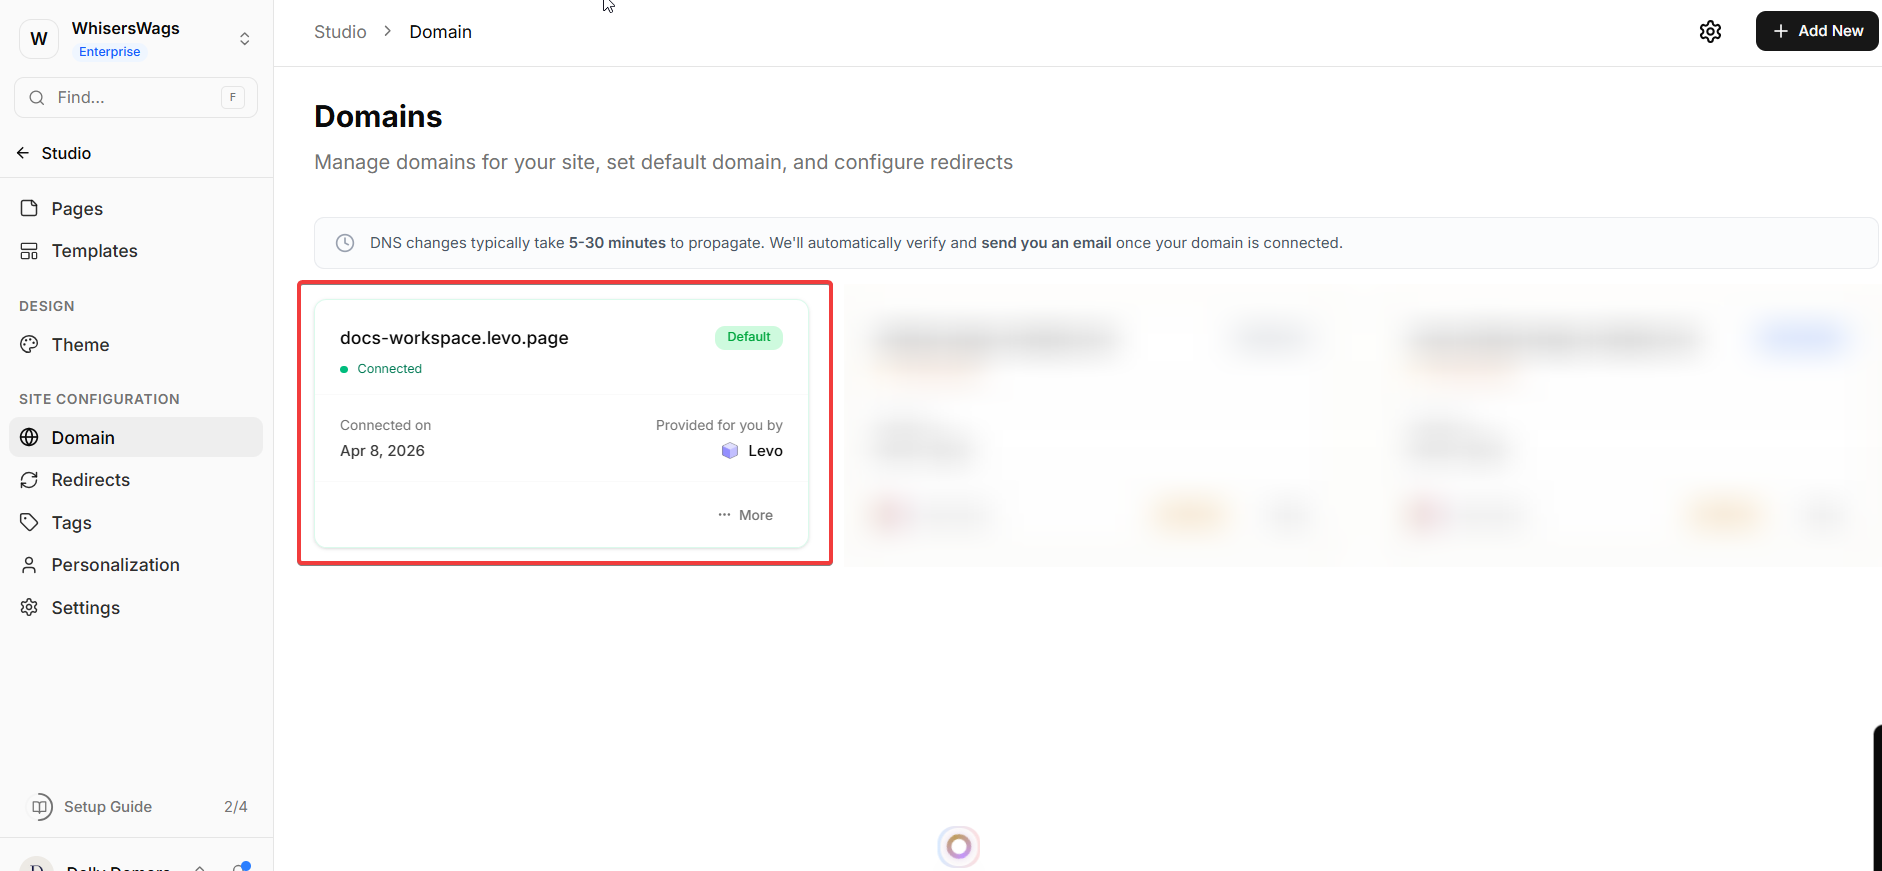
Add Redirects Send visitors from other domains (like .org) to your main domain.
Move to Another Site You can shift your domain to another Levo site easily (not available for free domain).
Delete Domain Removes the domain from Levo (Note: You cannot delete the free domain or the default domain).