Adding Custom HTML, CSS & JavaScript
Table of Contents
Think of Custom Code as a way to "teach" your website new tricks that aren't built-in yet. Whether you want to add a chat bubble, or change a specific font, Levo gives you two ways to add your own code safely.
Which one should I use?
Before you start, you need to decide if your code should run on every page or just one specific page.
Type | Best For... | Where it lives |
|---|---|---|
Site-Wide Code | Google Analytics, Facebook Pixels, or fonts that appear on every page. | Site Settings |
Page-Level Code | Special widgets (like a calculator), pop-ups, or search tags for a single page. | Page Settings |
1. Adding Page-Level Code (Local)
If you only need code to run on one specific page (like a "Thank You" page tracker or a custom design for your Home page), use this method.
How to add it:
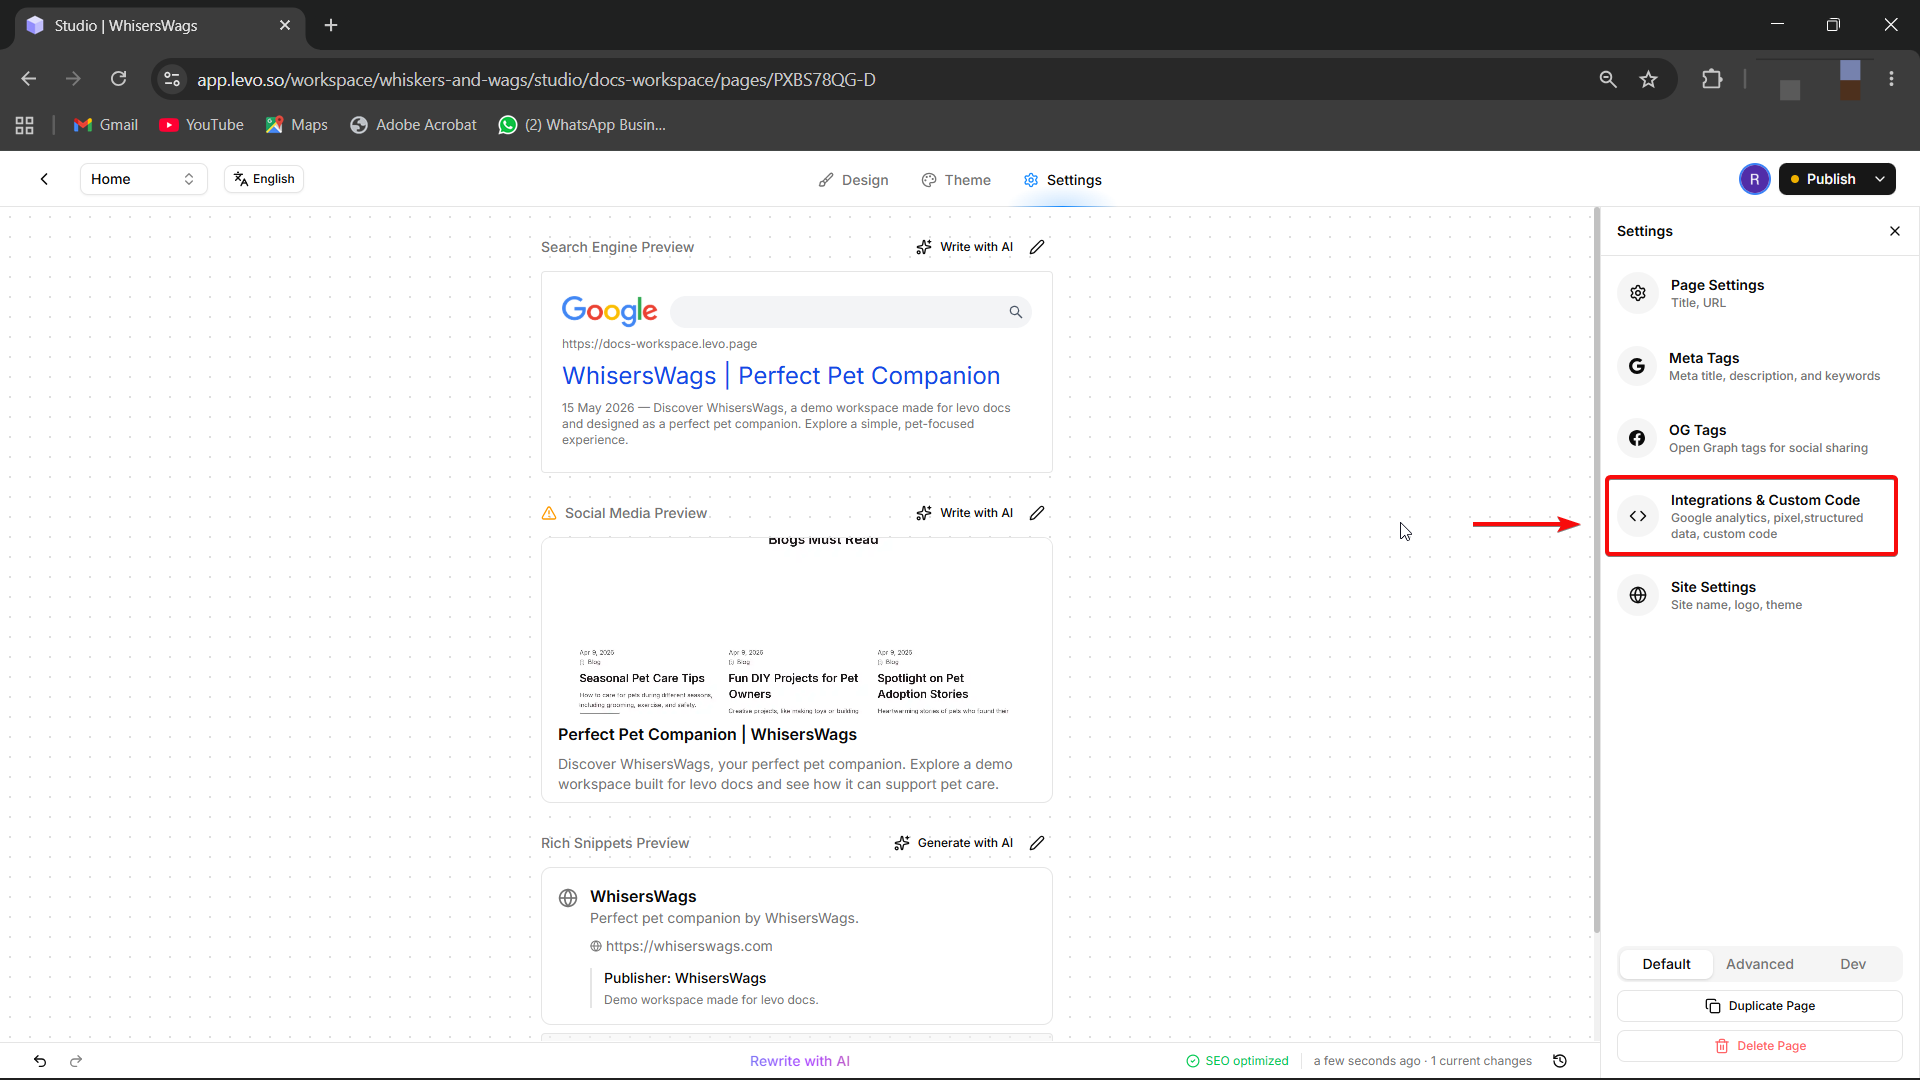
Open the Settings for the page you want to edit inside the Studio.
Select the Integrations & Custom Code tab.
You will see a box Head Code.
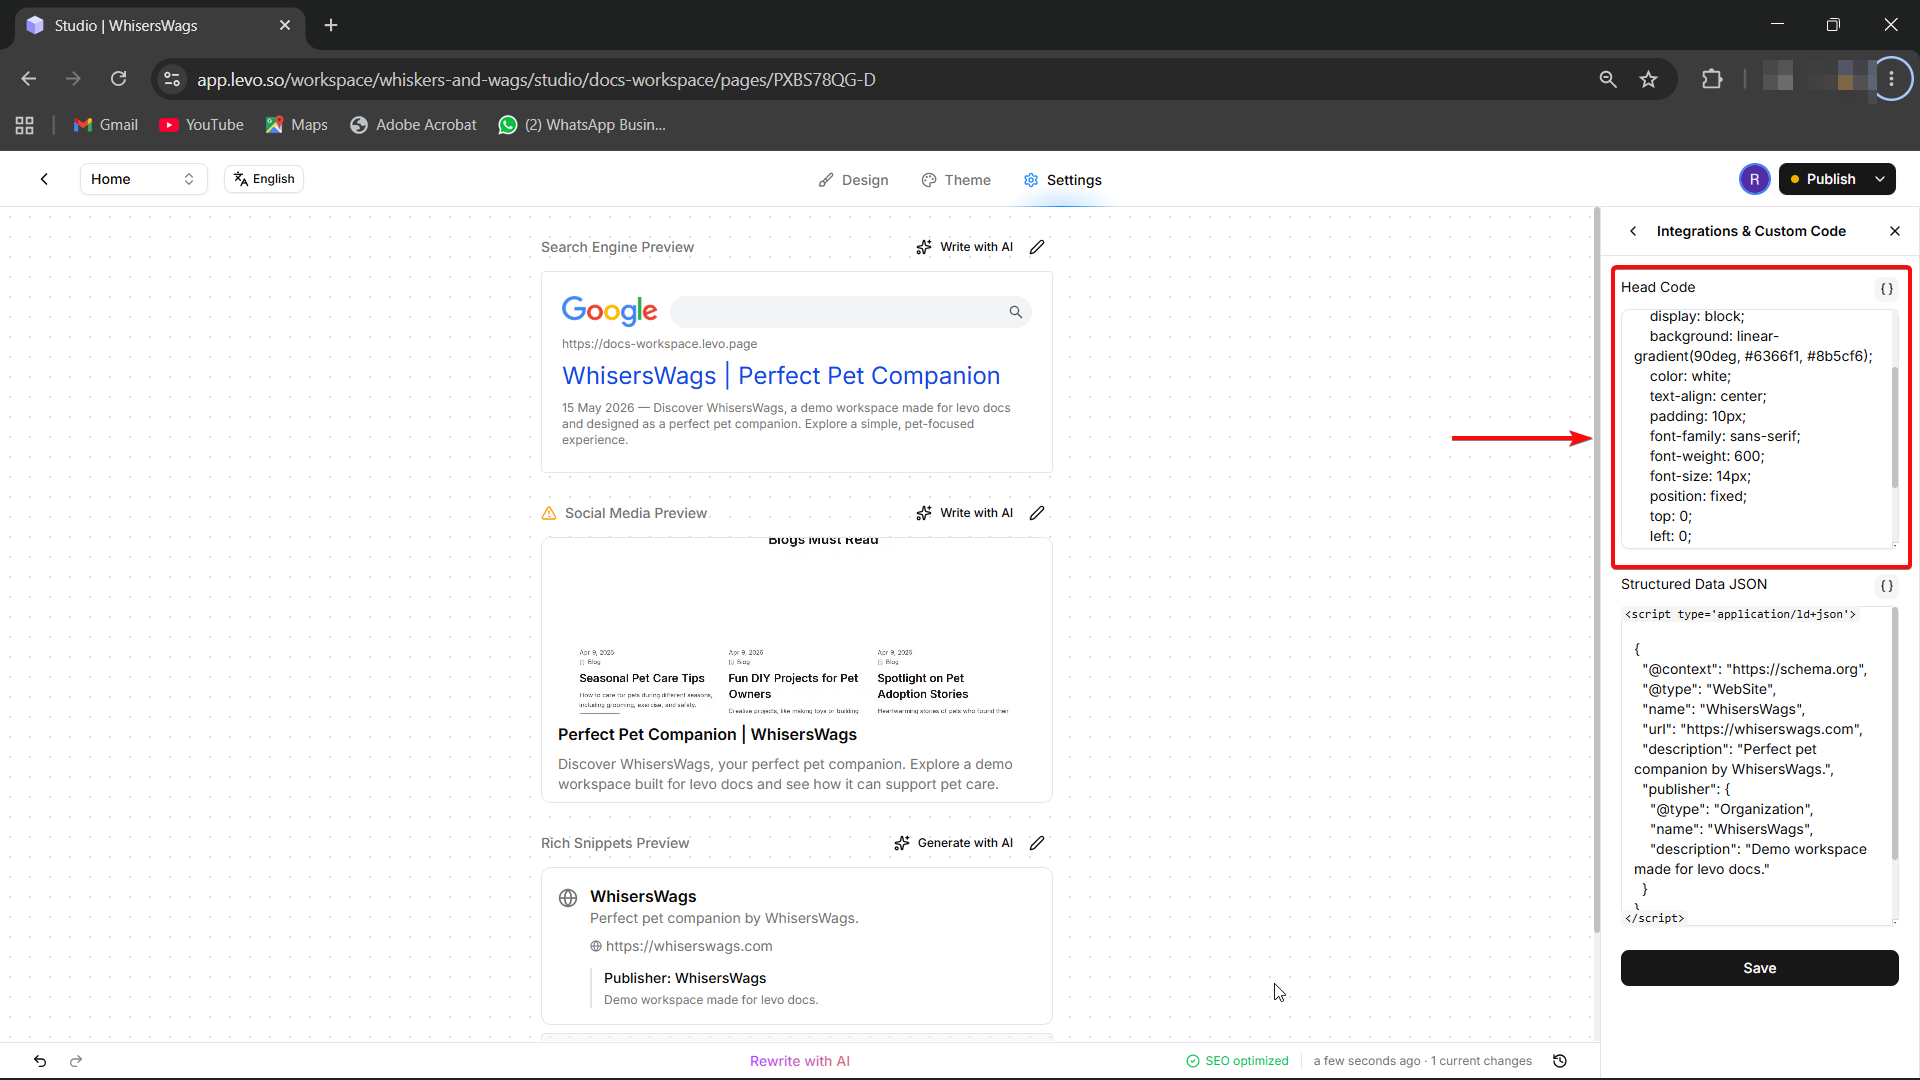
Paste your code and click Save.
Header vs. Footer: What’s the difference?
Not sure which box to use? Here is a simple rule of thumb:
Header Code (Inside <head>)
This code loads first, before your visitors even see the page content.
Use this for: Tracking scripts (Google Analytics), SEO tags, and custom fonts.
Footer Code (Before </body>)
This code loads last, after your page is already visible.
Use this for: Chat widgets, interactive buttons, or anything that doesn't need to load instantly. Using the footer helps your page feel faster for visitors.
