Turn Any Collection into a Website Form
Table of Contents
Your Collection already has fields, sections, and structure. You can turn it into a live form on your website in a few clicks — no rebuilding needed. Levo creates a ready-to-use form page that feeds submissions directly into your Collection.
Two Ways to Create a Form Page
You can create a form from a Collection in multiple ways. All three open the same step-by-step dialog.
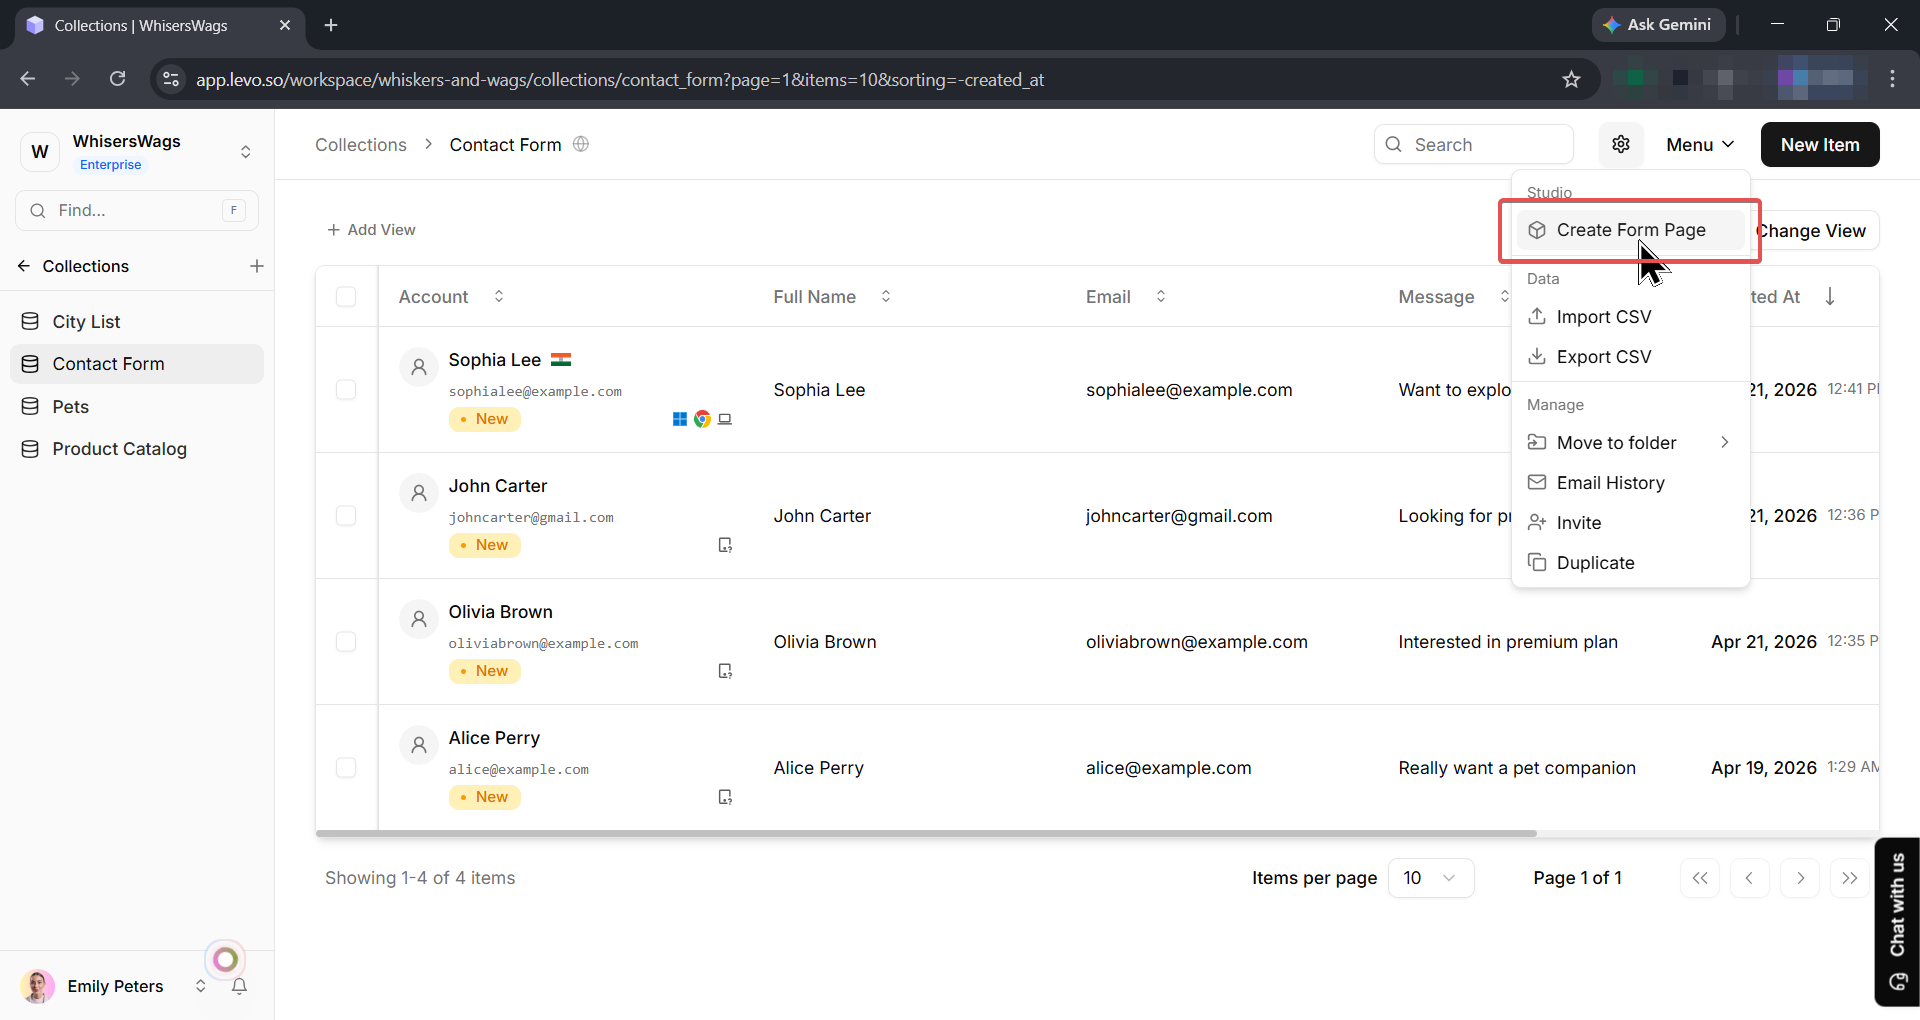
Way 1: From the Collection Page
Open a Collection.
Click the Menu button (top-right of the Collection).
Under the Studio section, click Create Form Page.
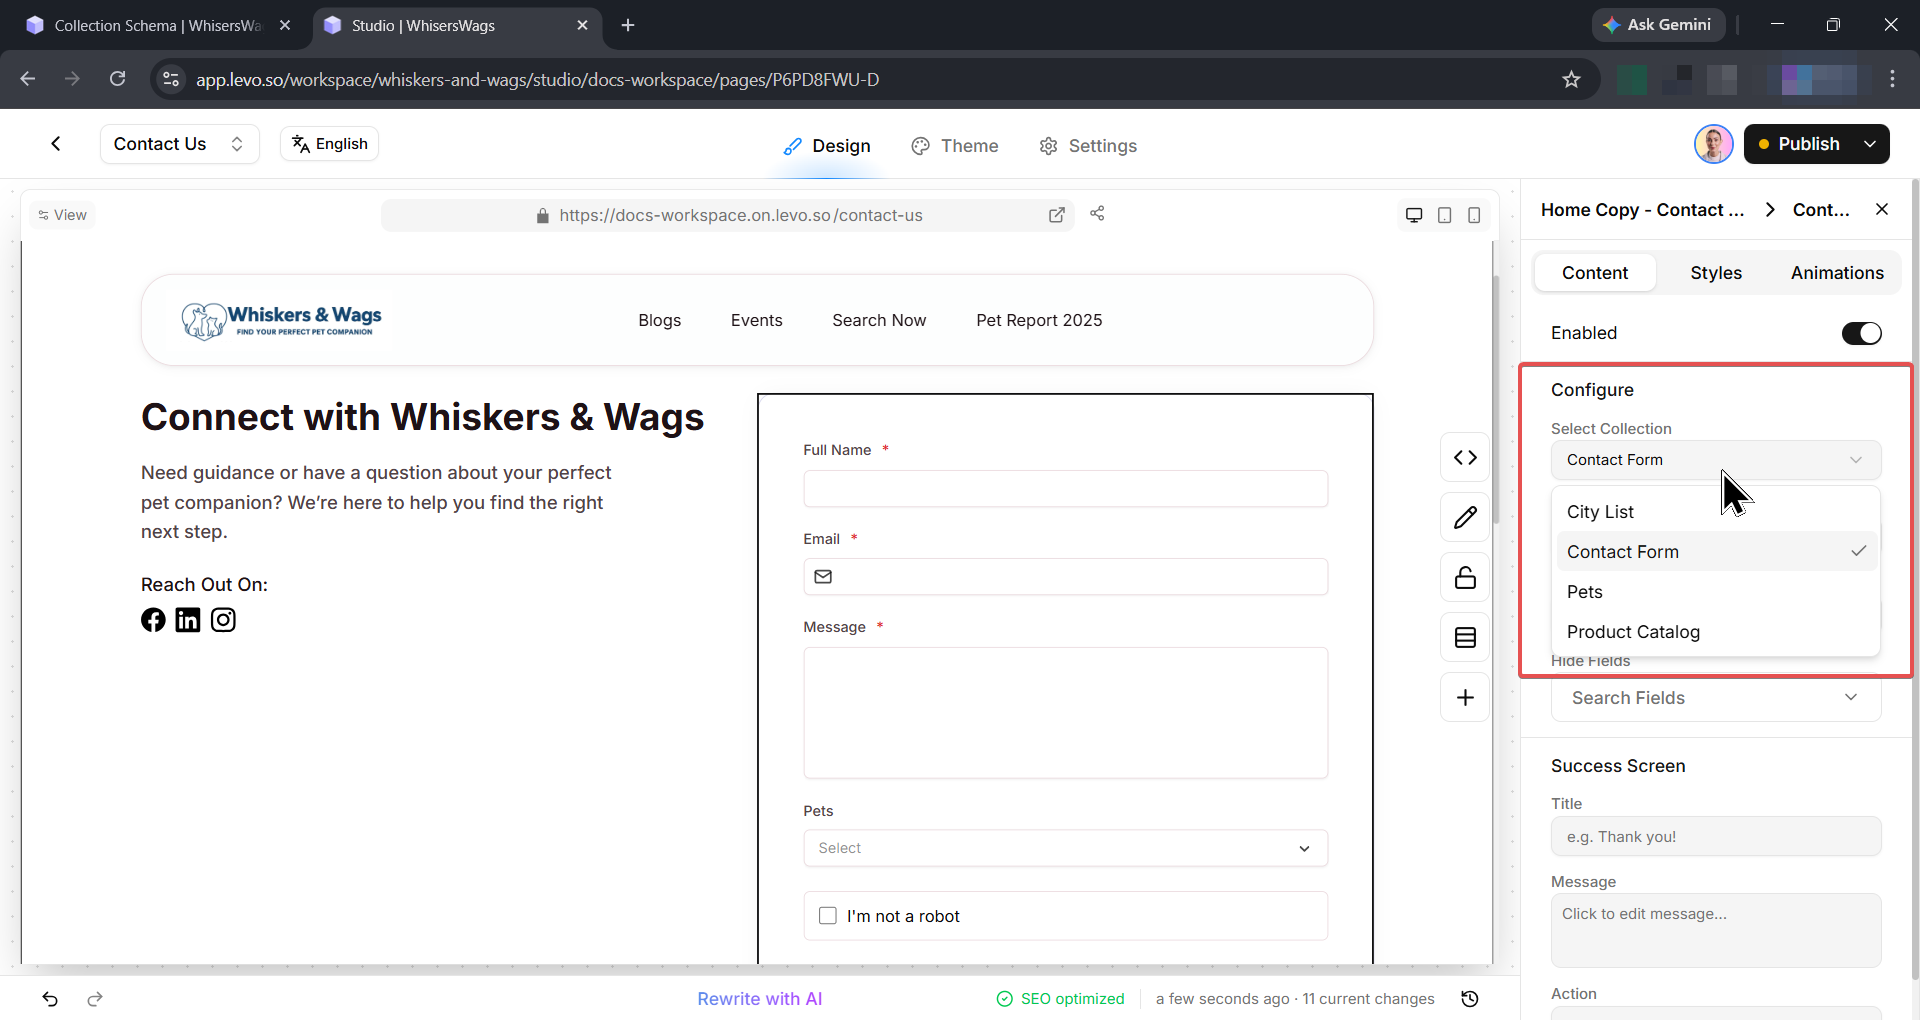
Way 2: From Studio (Add a Form Block)
You can also connect a Collection to a form directly from Studio:
Open a page in Studio.
Add a form block to the page.
In the block's settings panel, select a Collection from the Select Collection dropdown.
The form will automatically display the Collection's fields.
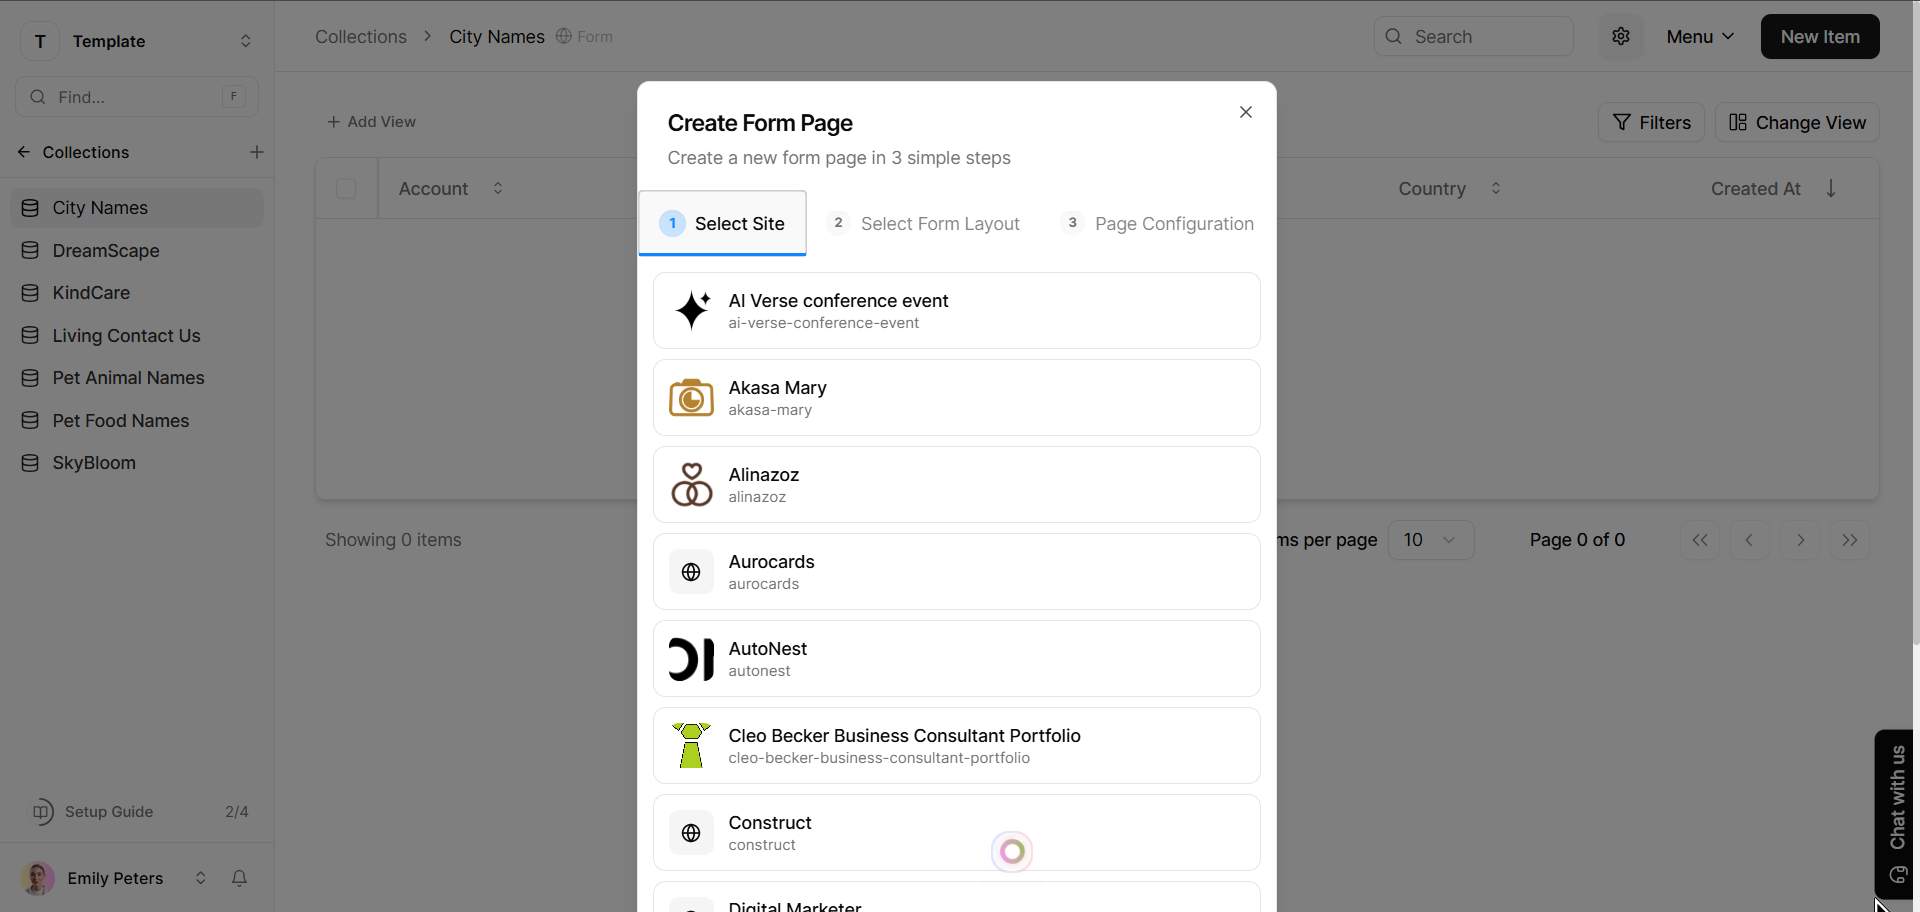
The Create Form Page Dialog
When you use Way 1, a step-by-step dialog walks you through the setup:
Step 1: Select a Site
(This step only appears if you have more than one site.) Pick which website the form page should be added to.
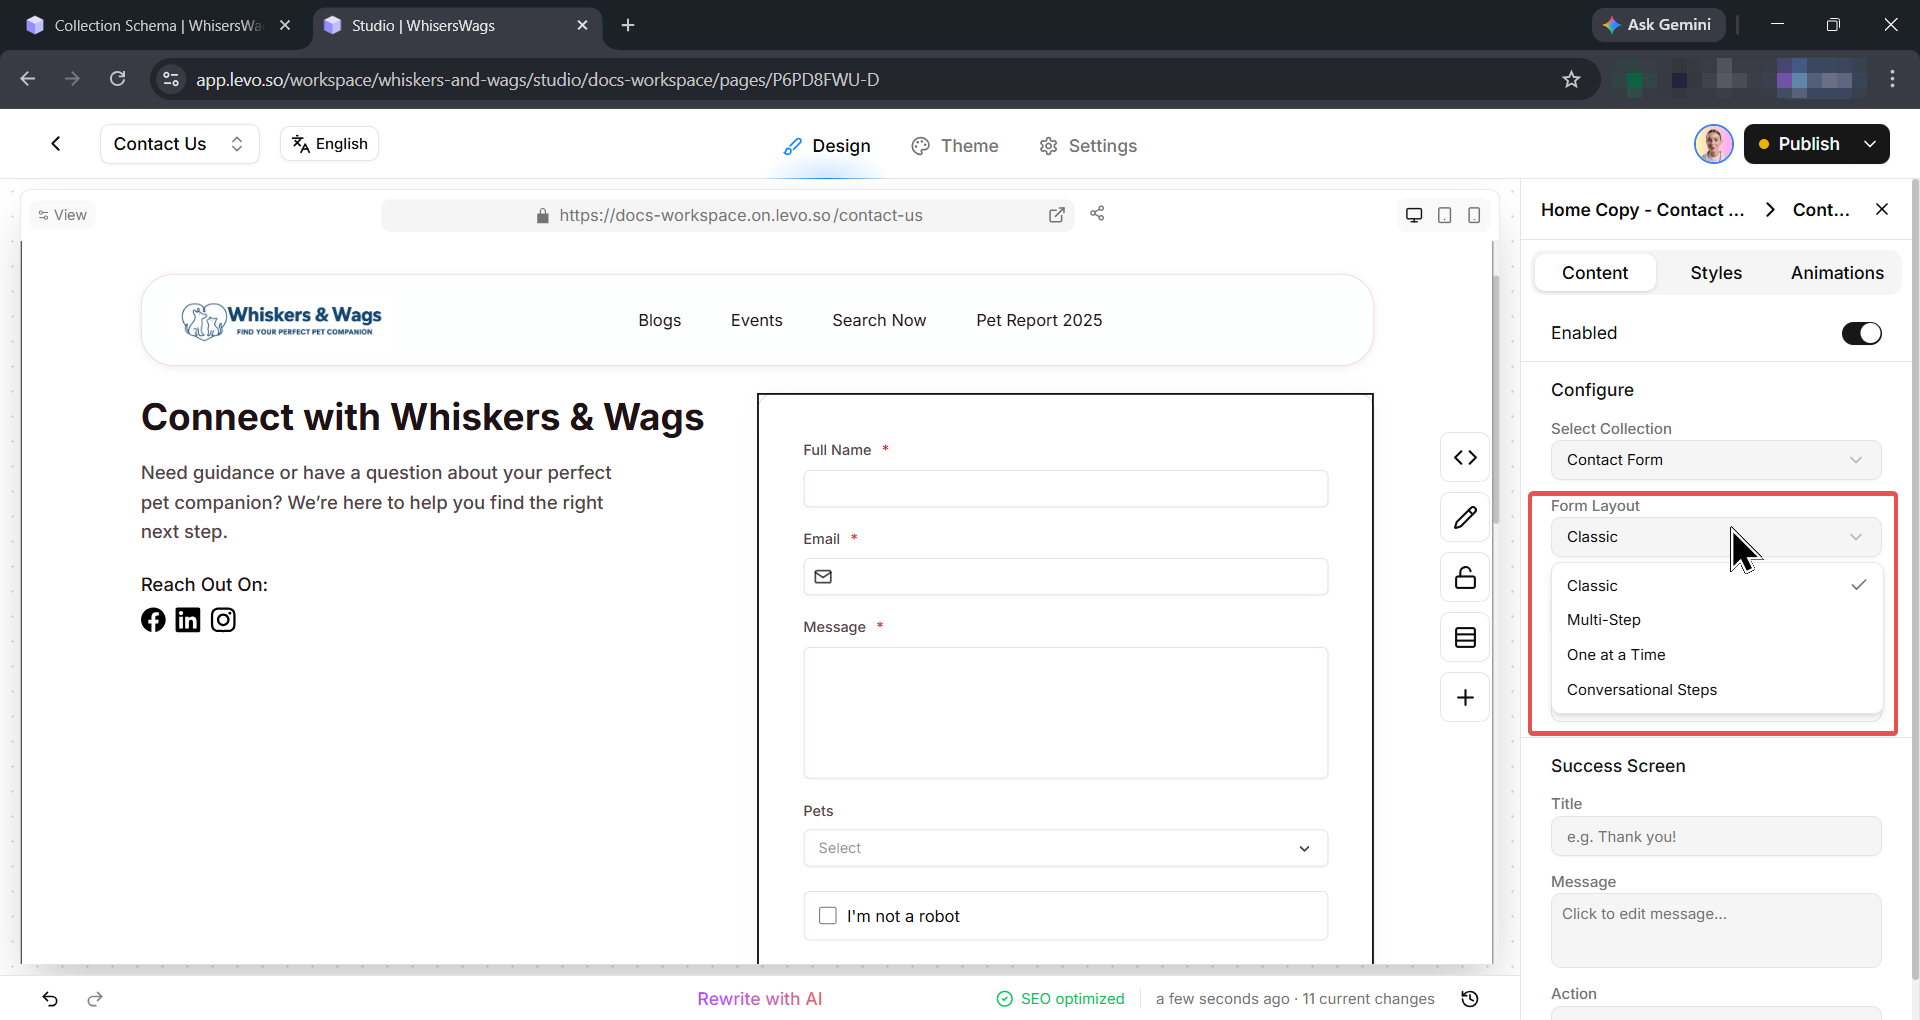
Step 2: Choose a Form Layout
You will see a list of available form block templates. Click one to select it — a live preview appears on the right so you can see how it looks.
Below the templates, choose a Form Layout style:
Style | How It Works |
|---|---|
Classic | All fields displayed together on one screen |
Multi-Step | Each section becomes a separate step with next/previous buttons |
One at a Time | One field per screen with smooth transitions (Typeform-style) |
Conversational Steps | Multi-step layout with one-field-at-a-time presentation |
Step 3: Set Page Details
Title (required) — The name of your form page.
Description — A short summary of the page.
Page URL (required) — Auto-generated from the title. You can edit it manually.
Click Create to finish.

Levo automatically creates the page with your site's navbar, the form block, and your footer — then opens it in Studio so you can customize it further.
Set Up Field Mapping
In the Settings tab, the Field Mapping card lets you tell Levo which fields to use for key purposes:
Title Field — Displayed as the entry name in lists and search results.
Email Field — Used for sending notifications to the person who submitted.
Mobile Field — Used for sending SMS notifications to the submitter.
Levo auto-detects email and phone fields in your Collection and pre-selects them when possible.
Customize the Success Message
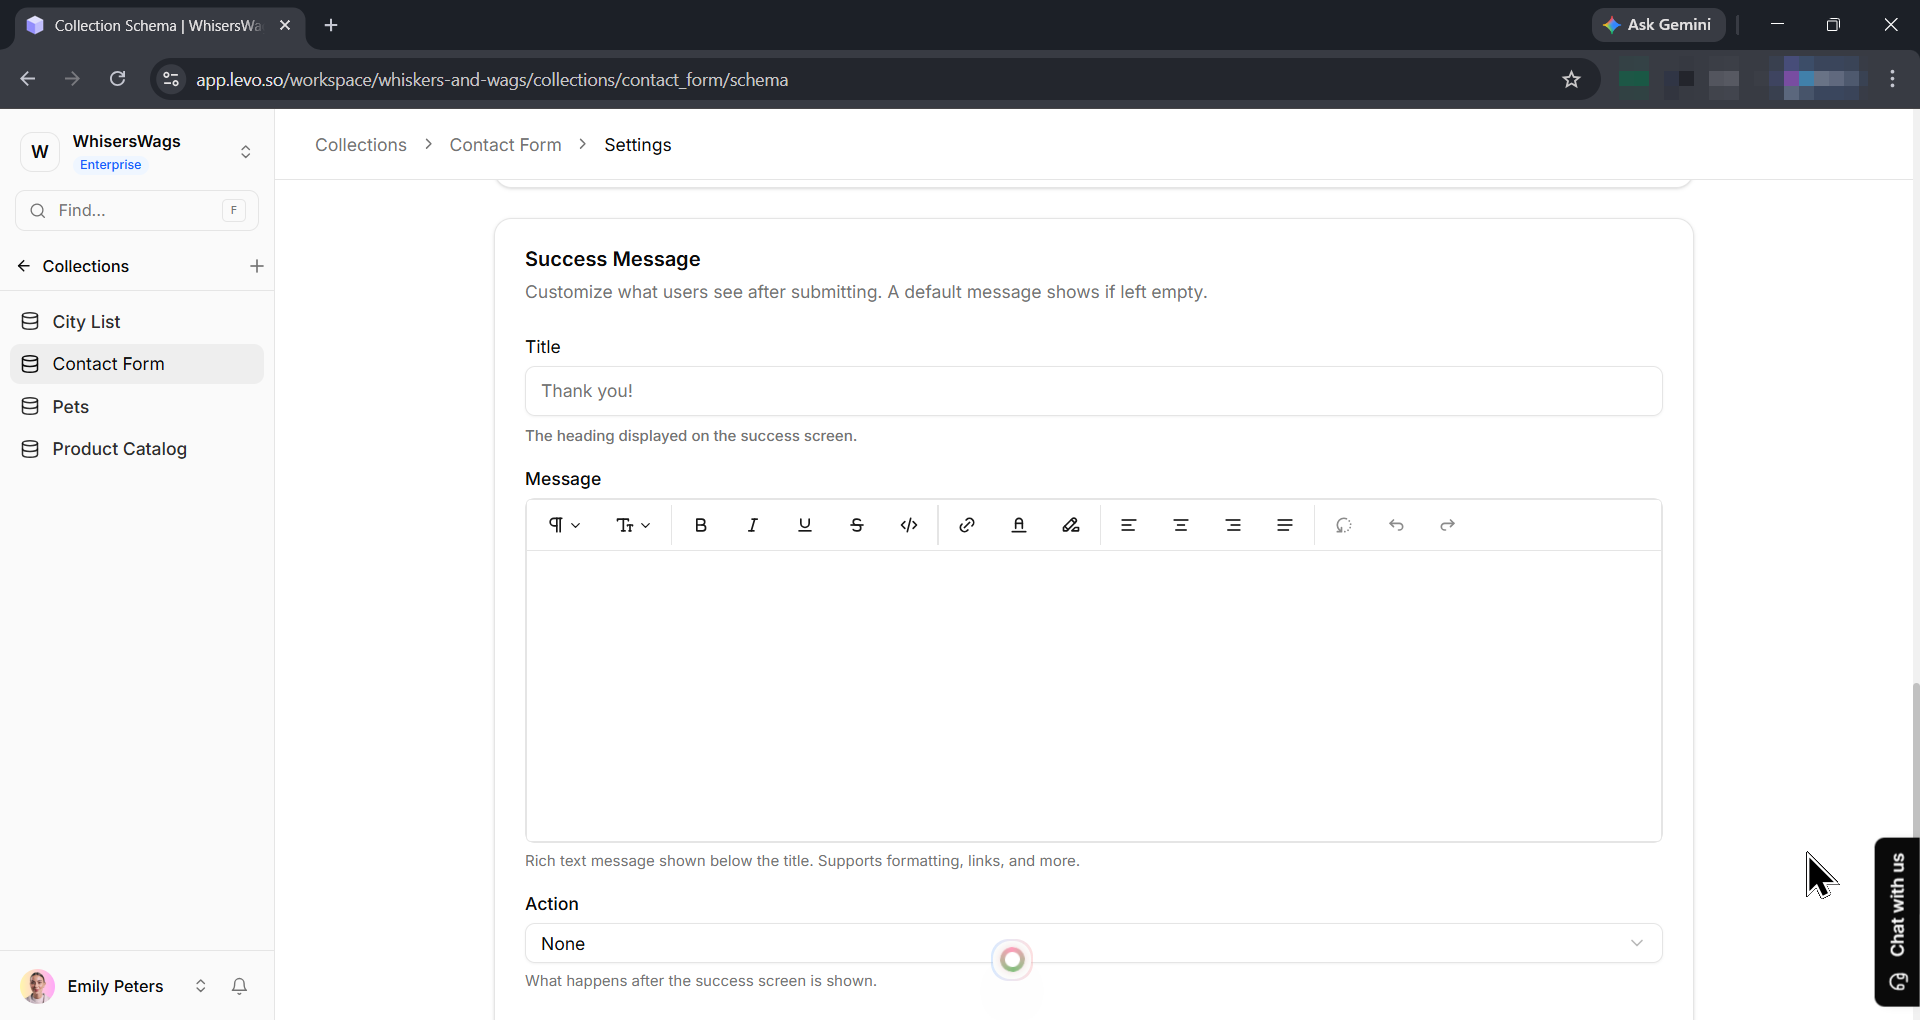
After someone submits a form, they see a success screen. You can customize this in two places — they both work the same way:
Collection Settings → Success Message card (applies to all forms using this Collection)
Studio → select the form block → Success Screen section (overrides settings for that specific block)
The settings are:
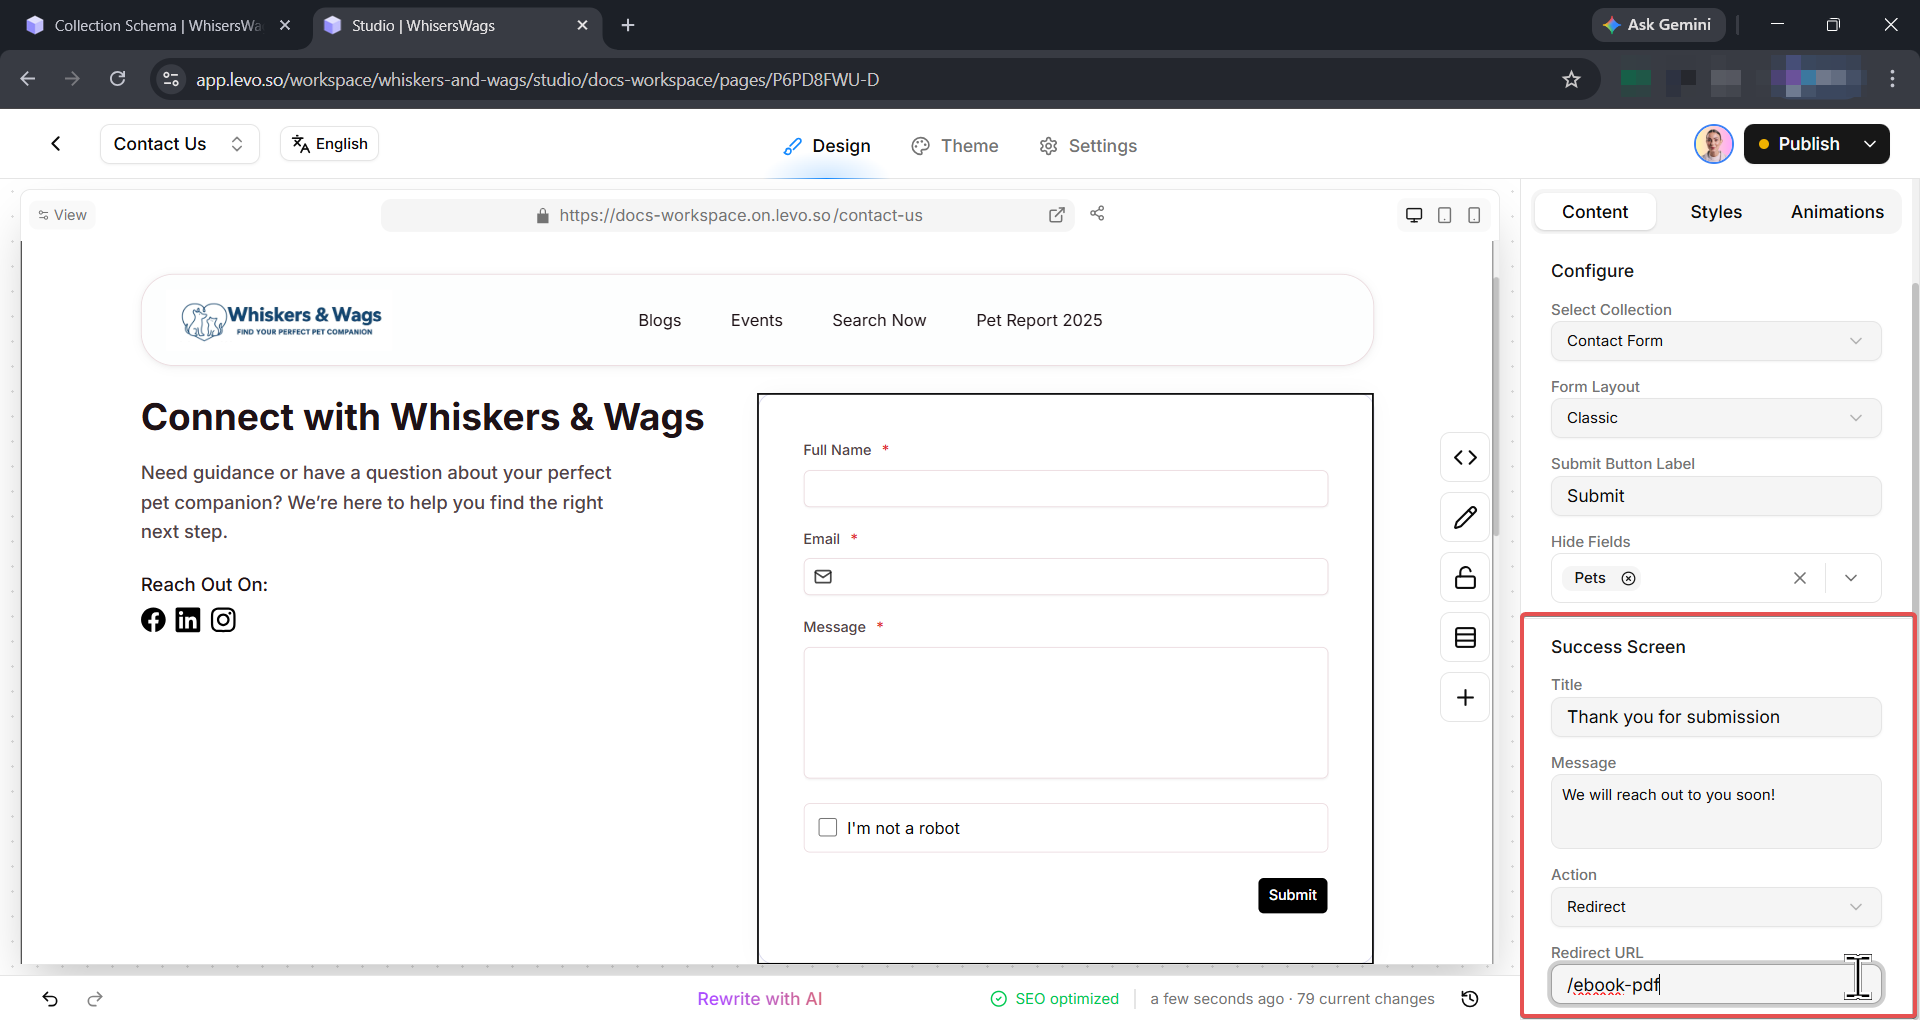
Title — The heading on the success screen (e.g., "Thank you!").
Message — A rich text area where you can add formatted text, links, and more.
Action — What happens after the success screen:
Action | What Happens |
|---|---|
None | The success message is displayed. Nothing else happens. |
Submit Another | A button appears letting the user fill out the form again. |
Redirect | The user is redirected to a URL you specify after a countdown. |
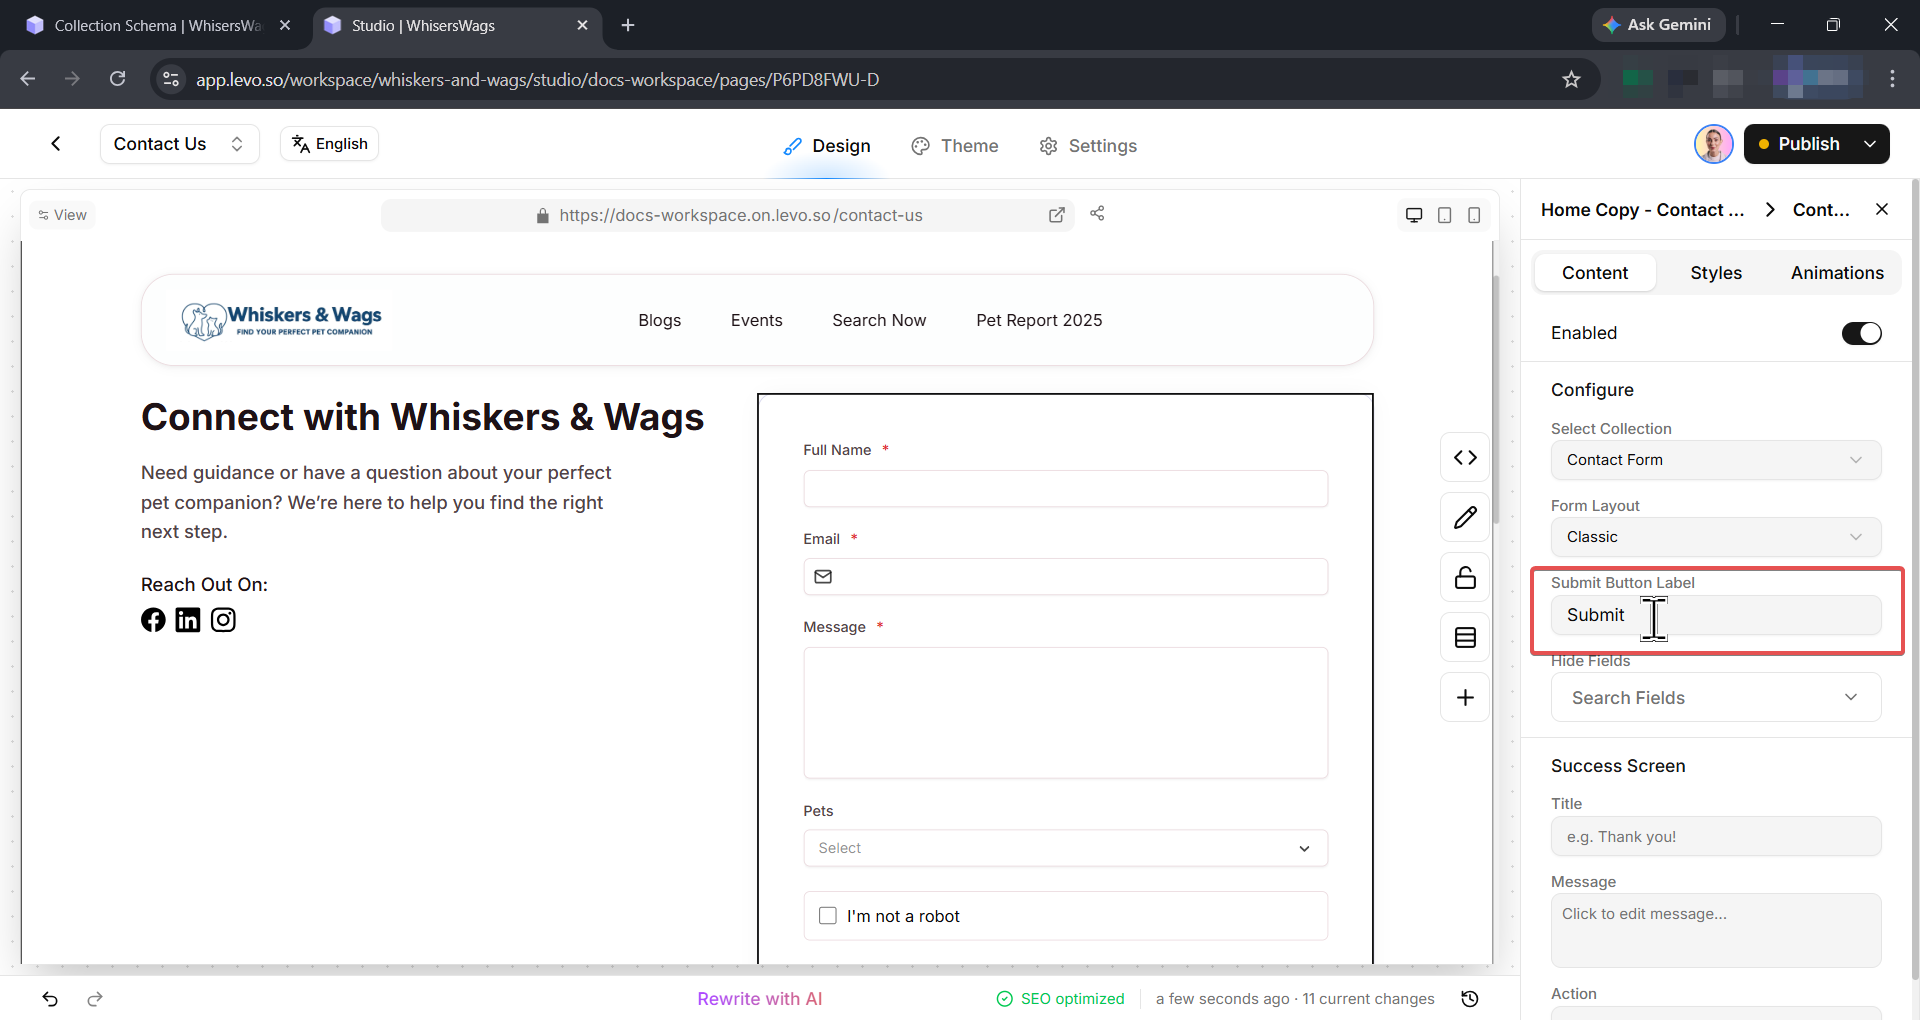
Edit the Form in Studio
After creating the form page, Levo opens it in Studio automatically. When you select the form block in Studio, you get additional controls:
Select Collection — Change which Collection powers this form.
Form Layout — Switch between Classic, Multi-Step, One at a Time, or Conversational Steps.
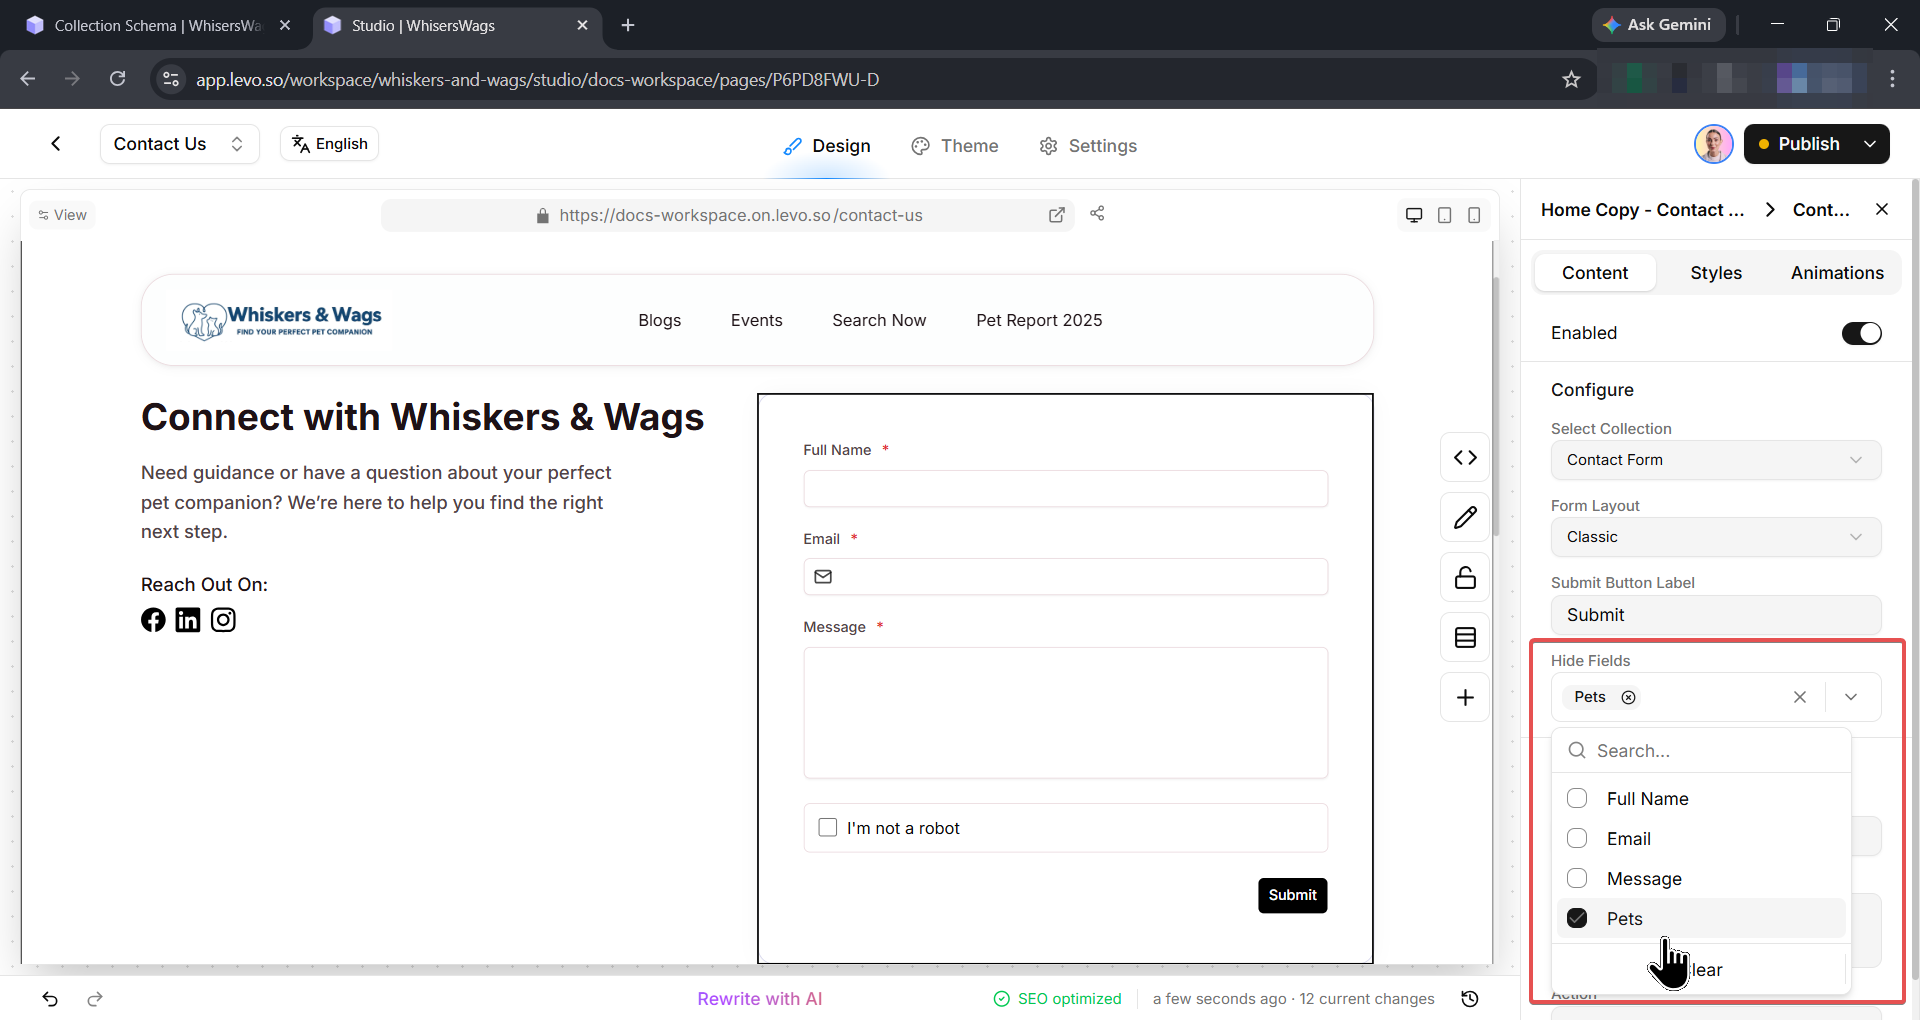
Submit Button Label — Customize the text on the submit button (default is "Submit").
Hide Fields — Select specific fields to hide from the form without removing them from the Collection.
Success Screen — Override the title, message, and post-submit action for this specific form block.
You can also rearrange, restyle, or add other blocks above or below the form, then preview and publish when you are ready.