Collection Notifications: Automatic Email Notifications for Form Submissions
Table of Contents
Collection Notifications
Levo’s Notification System works like an automatic email sender for your workspace. Whenever something important happens like someone submits a form or a record gets updated — it sends an email right away. You don’t need to set up or connect any external tools; everything works on its own inside Levo.
Why Use Notifications?
Saying Thanks: Send an instant, personalized "Thank You" or confirmation email to a customer right after they successfully complete a form submission.
Team Alerts: Dispatch an internal email alert to your team as soon as a high-priority message, lead, or sale arrives. -
Status Updates: Trigger contextual alerts when someone modifies an existing entry (for example, if a project's status transitions from "In Progress" to "Finished").
Email Funnel: Use multiple notifications with different delays on the same trigger to send a timed email sequence. For example, send one email immediately, another after 1 day, and a final one after 3 days.
How to Set It Up?
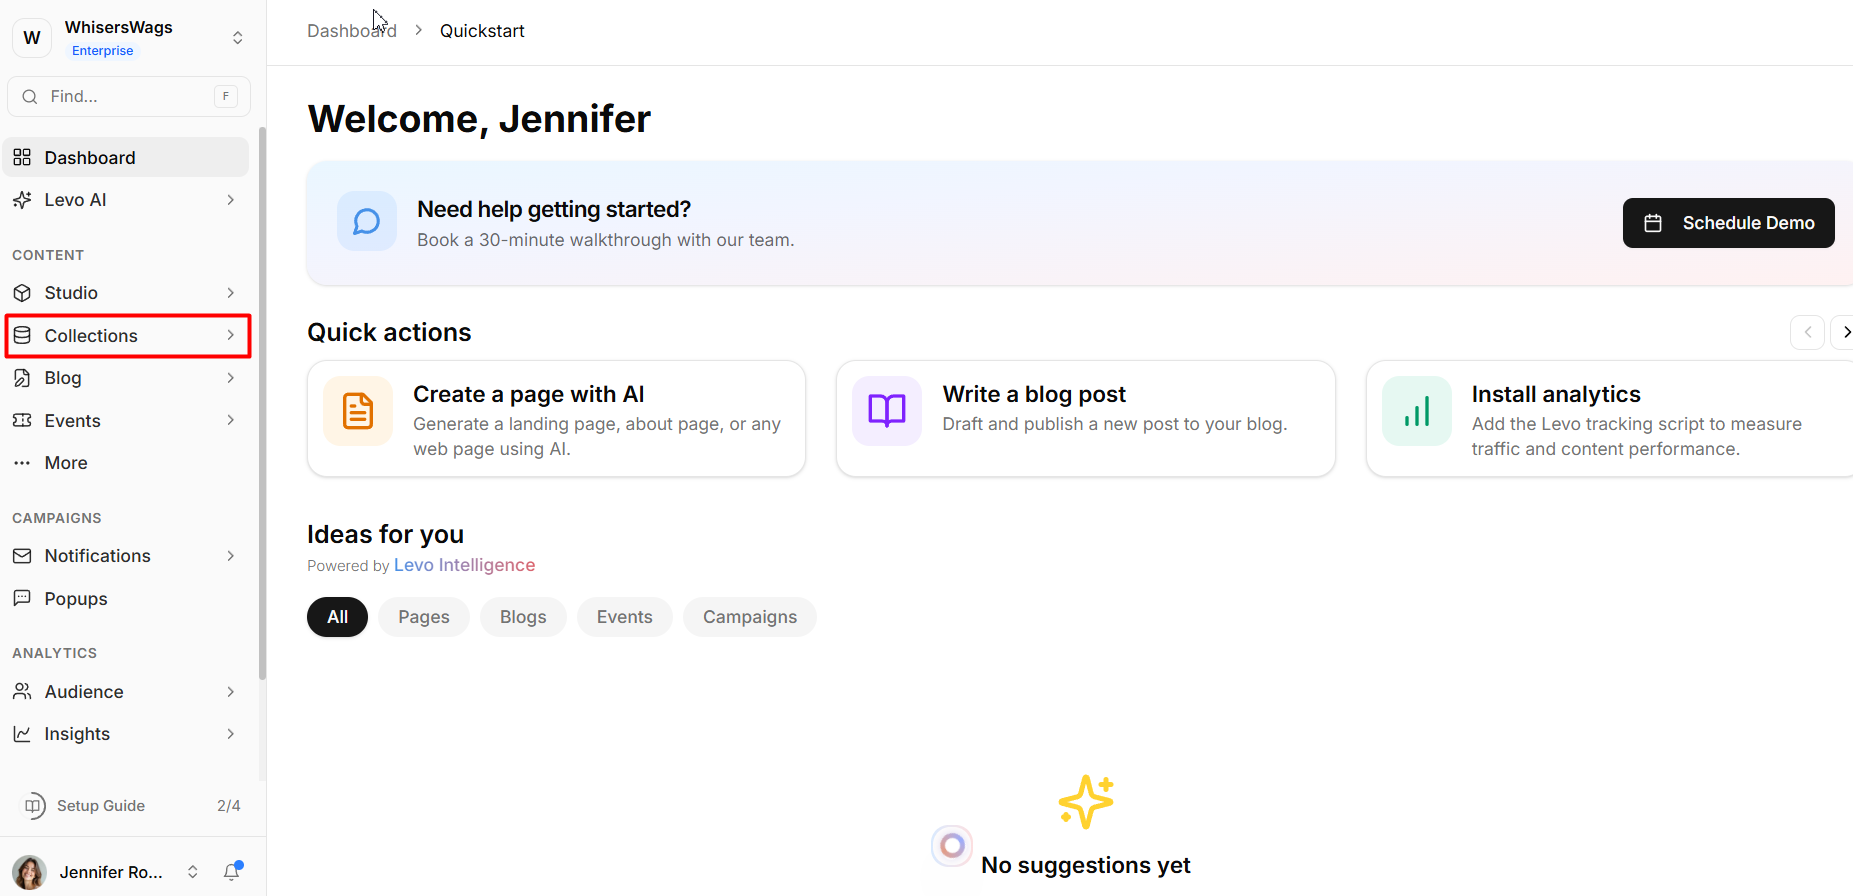
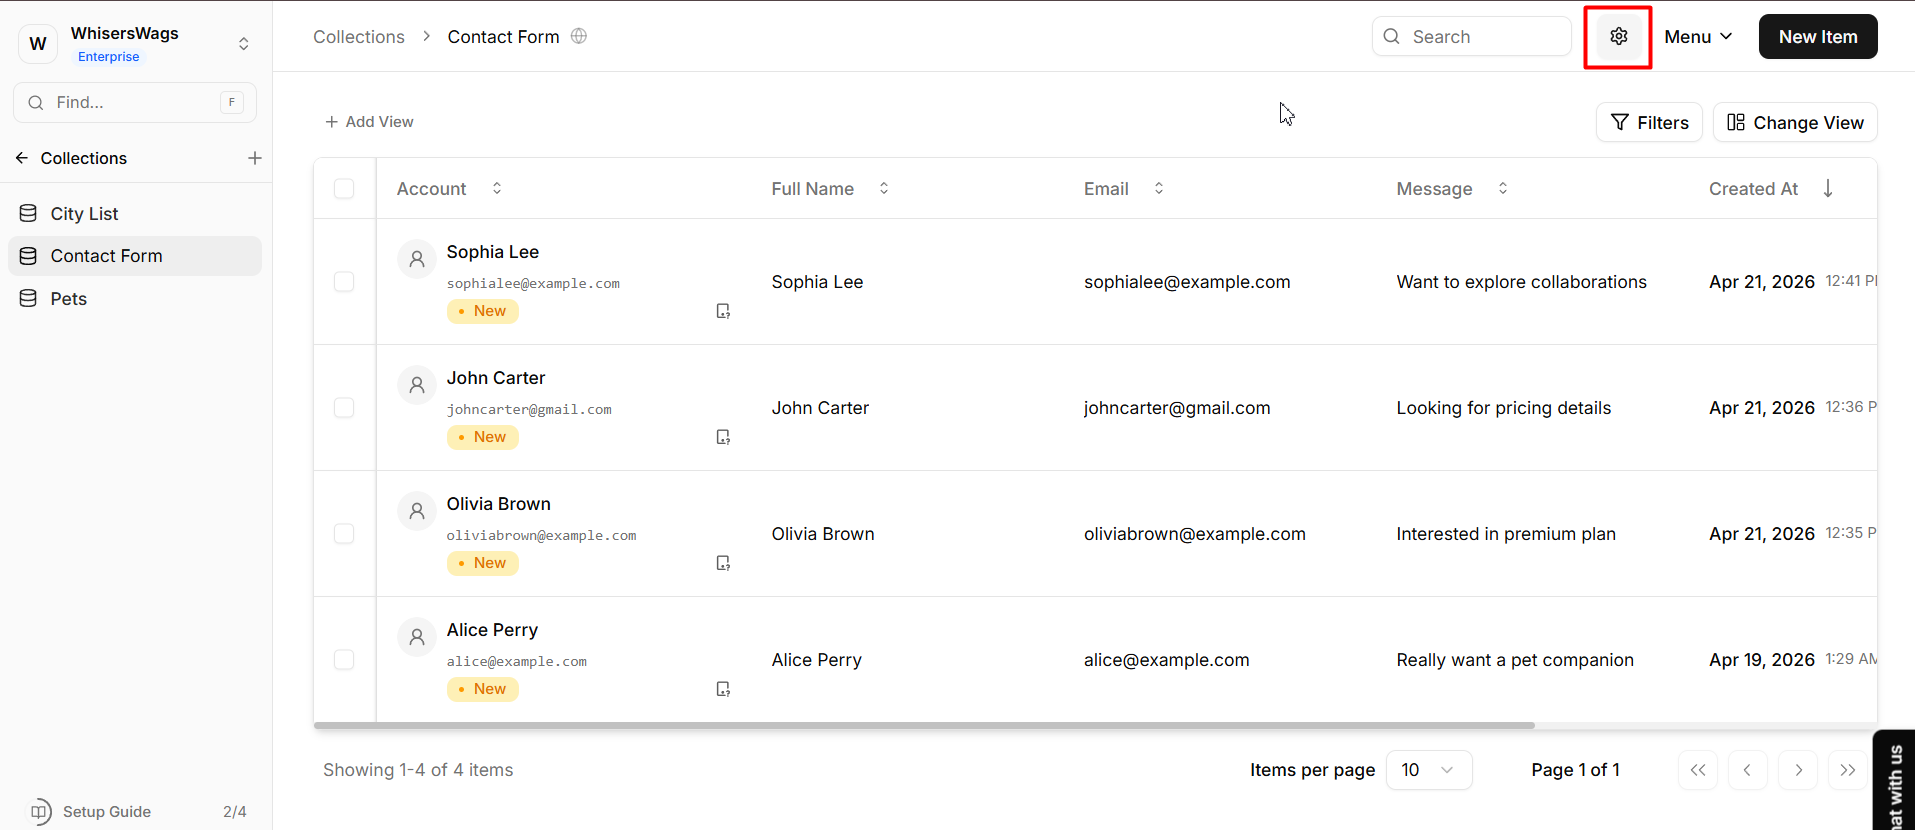
Go to your Collection tab and open Settings
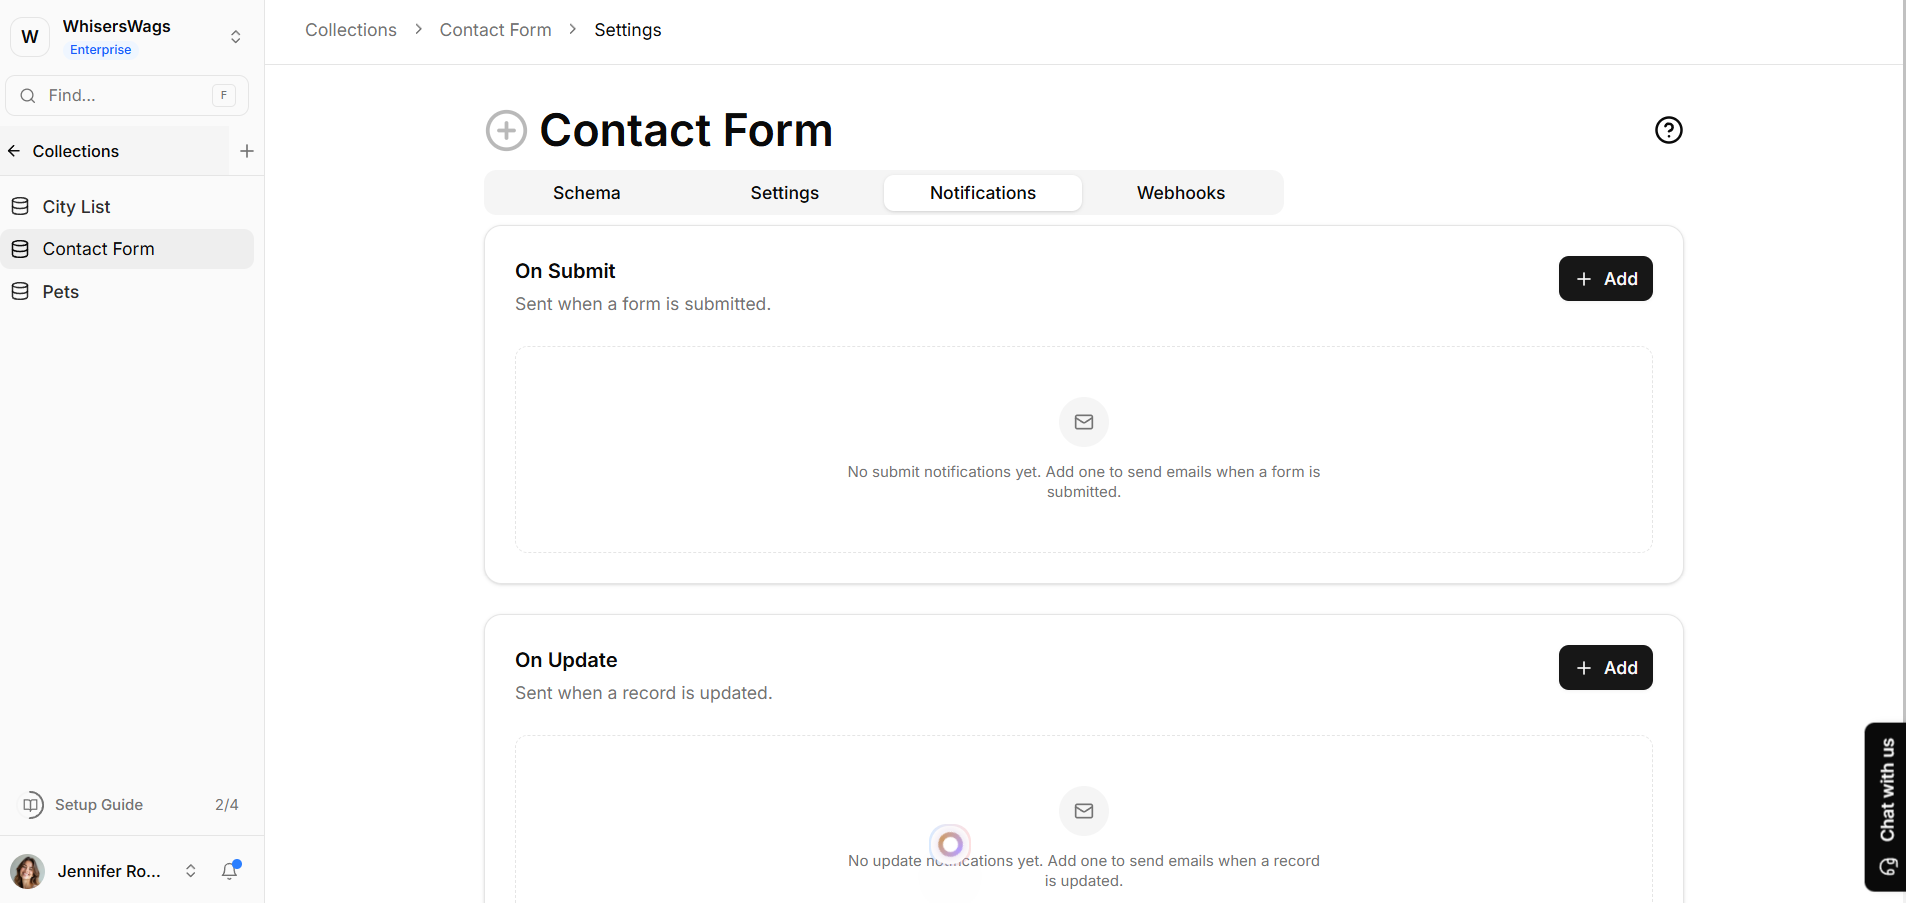
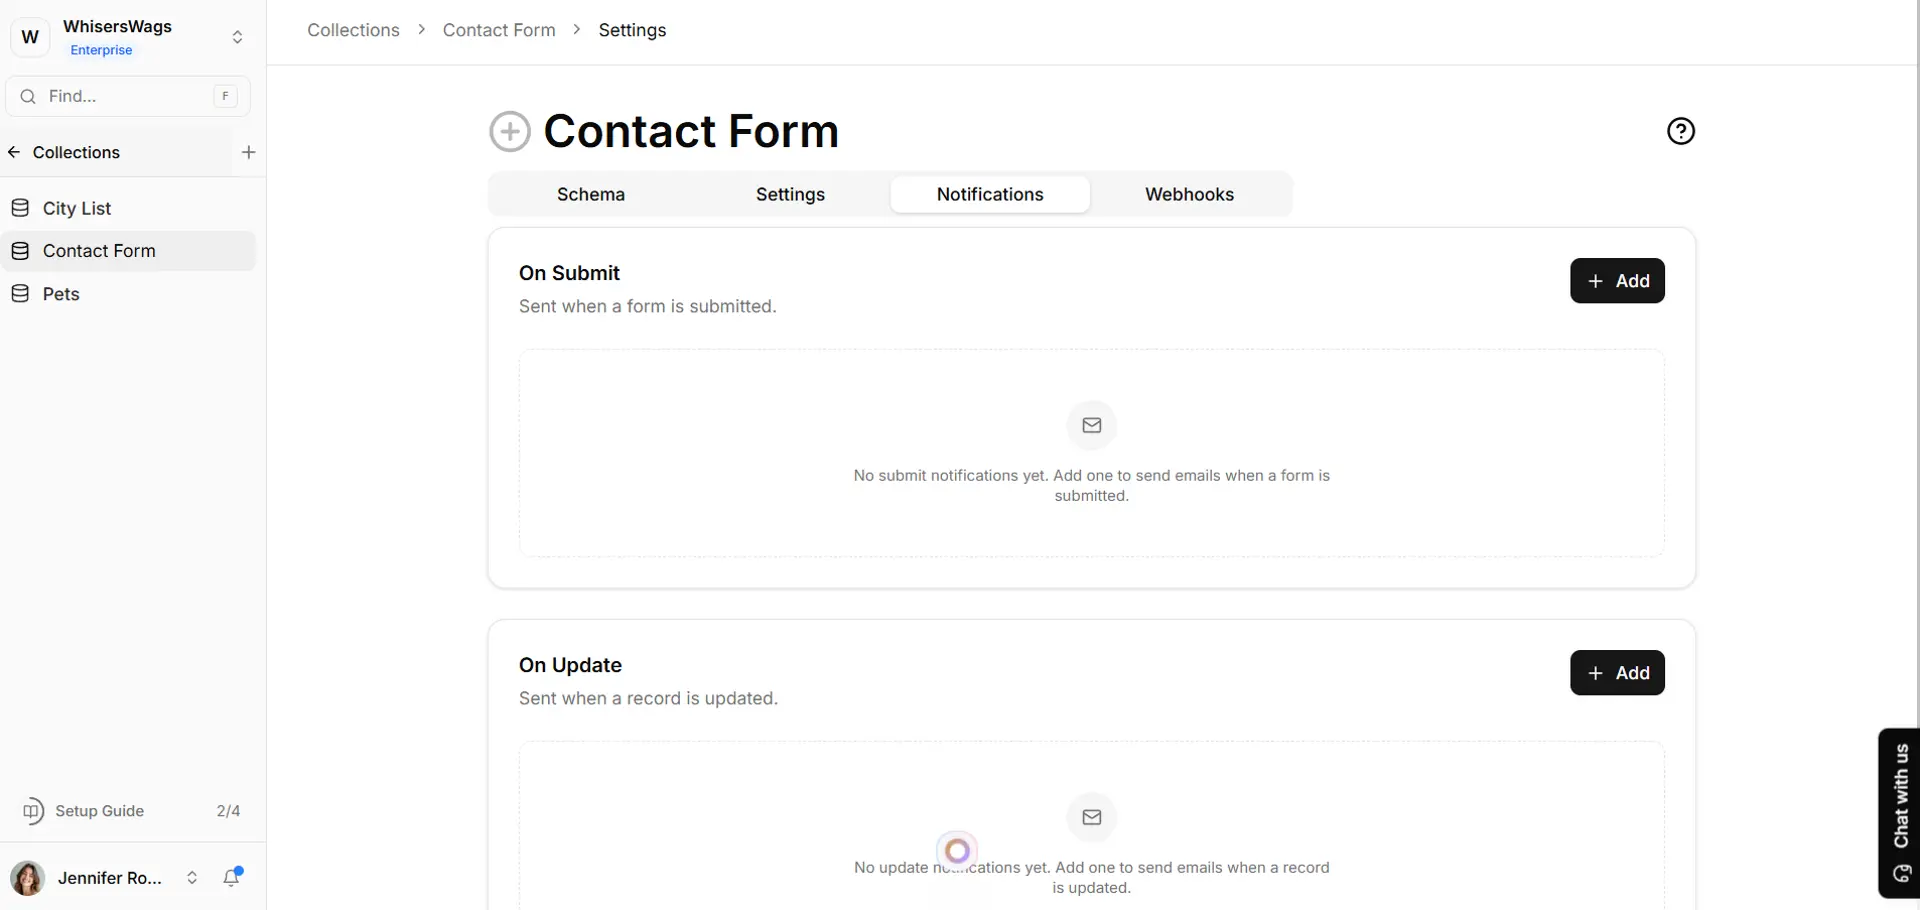
Click on the Notifications tab, where you can enable notifications either on Submit or Update
Setting up a notification relies on a streamlined, 3-step modal flow:
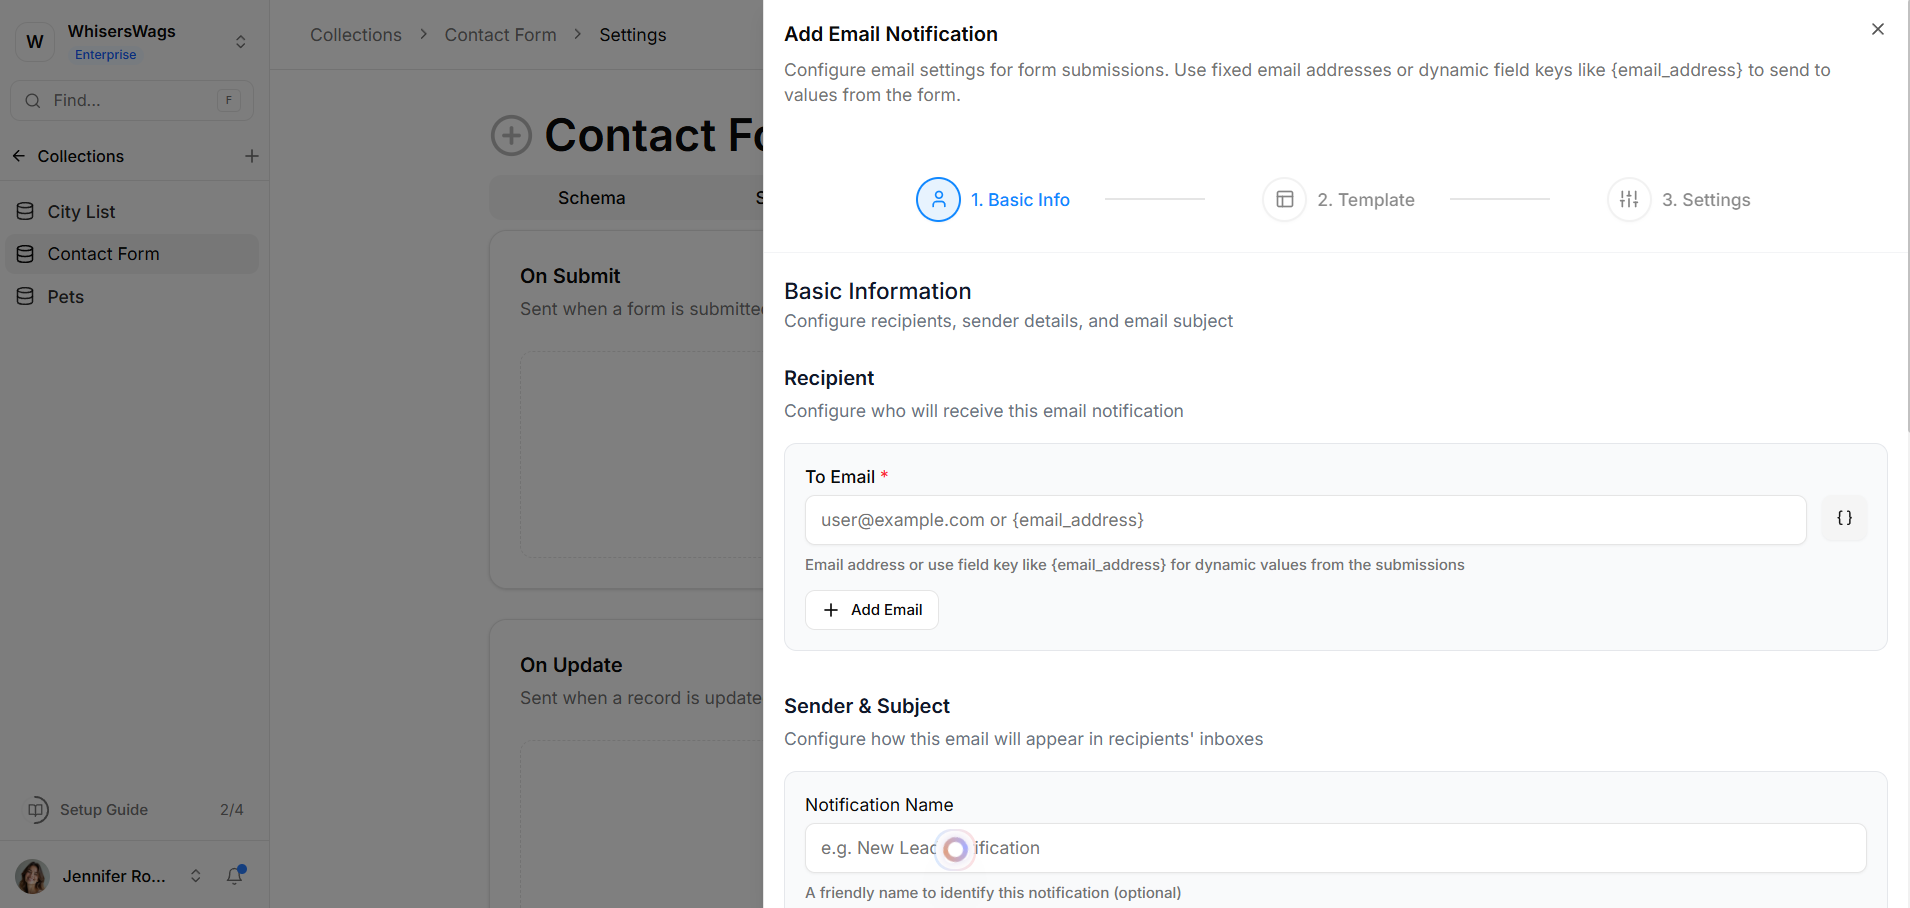
1. Basic Info:
Define the foundational properties of your email notification:
- The Trigger (On Submit / On Update):Choose if the email should be sent for a New Entry (when someone first submits data) or an Update (when someone changes existing data).
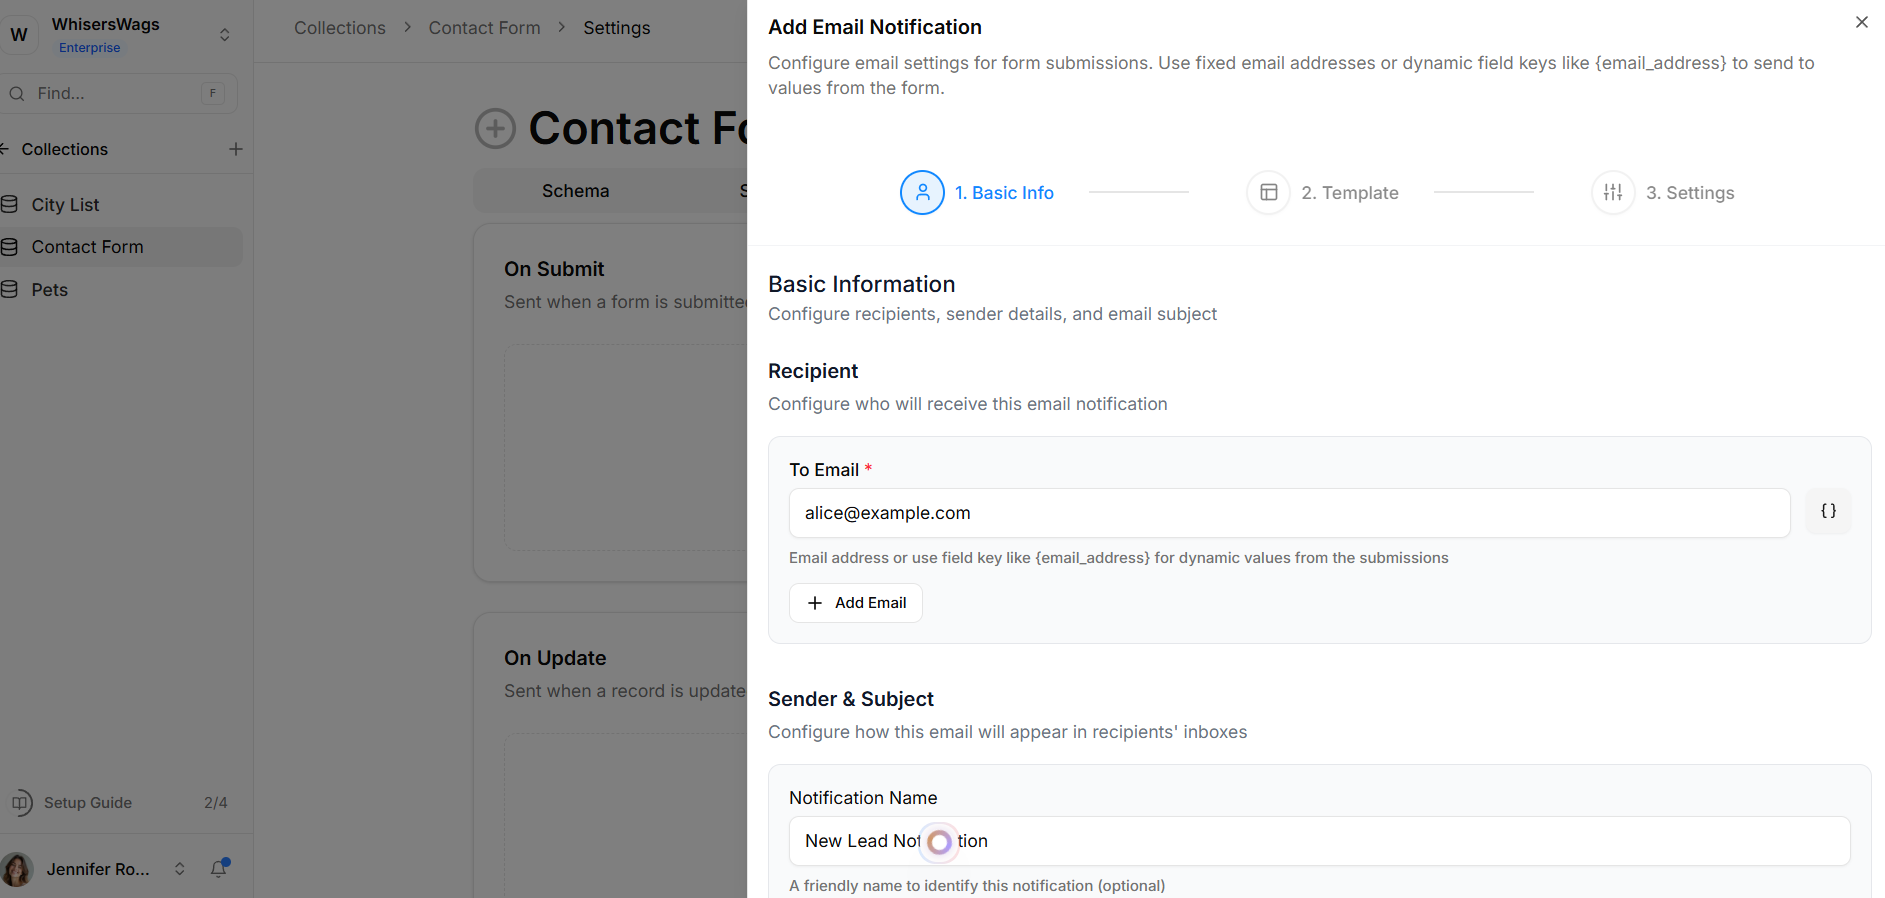
- The Recipient to_email: Choose who gets the email. You can type in a specific static email address, or use a dynamic variable like {{email}} to send it securely to the person who just filled out your form.
- Sender/Reply from_name & reply_to: Specify the sender details shown to the recipient. This defaults to your Workspace name.
- The Subject: Write an engaging headline for your email. You can include personalizing variables like {{first_name}}.
Using Filters (Conditional Logic):You don't have to send an email for every single submission globally. You can set conditional constraints so emails only go out in specific cases.
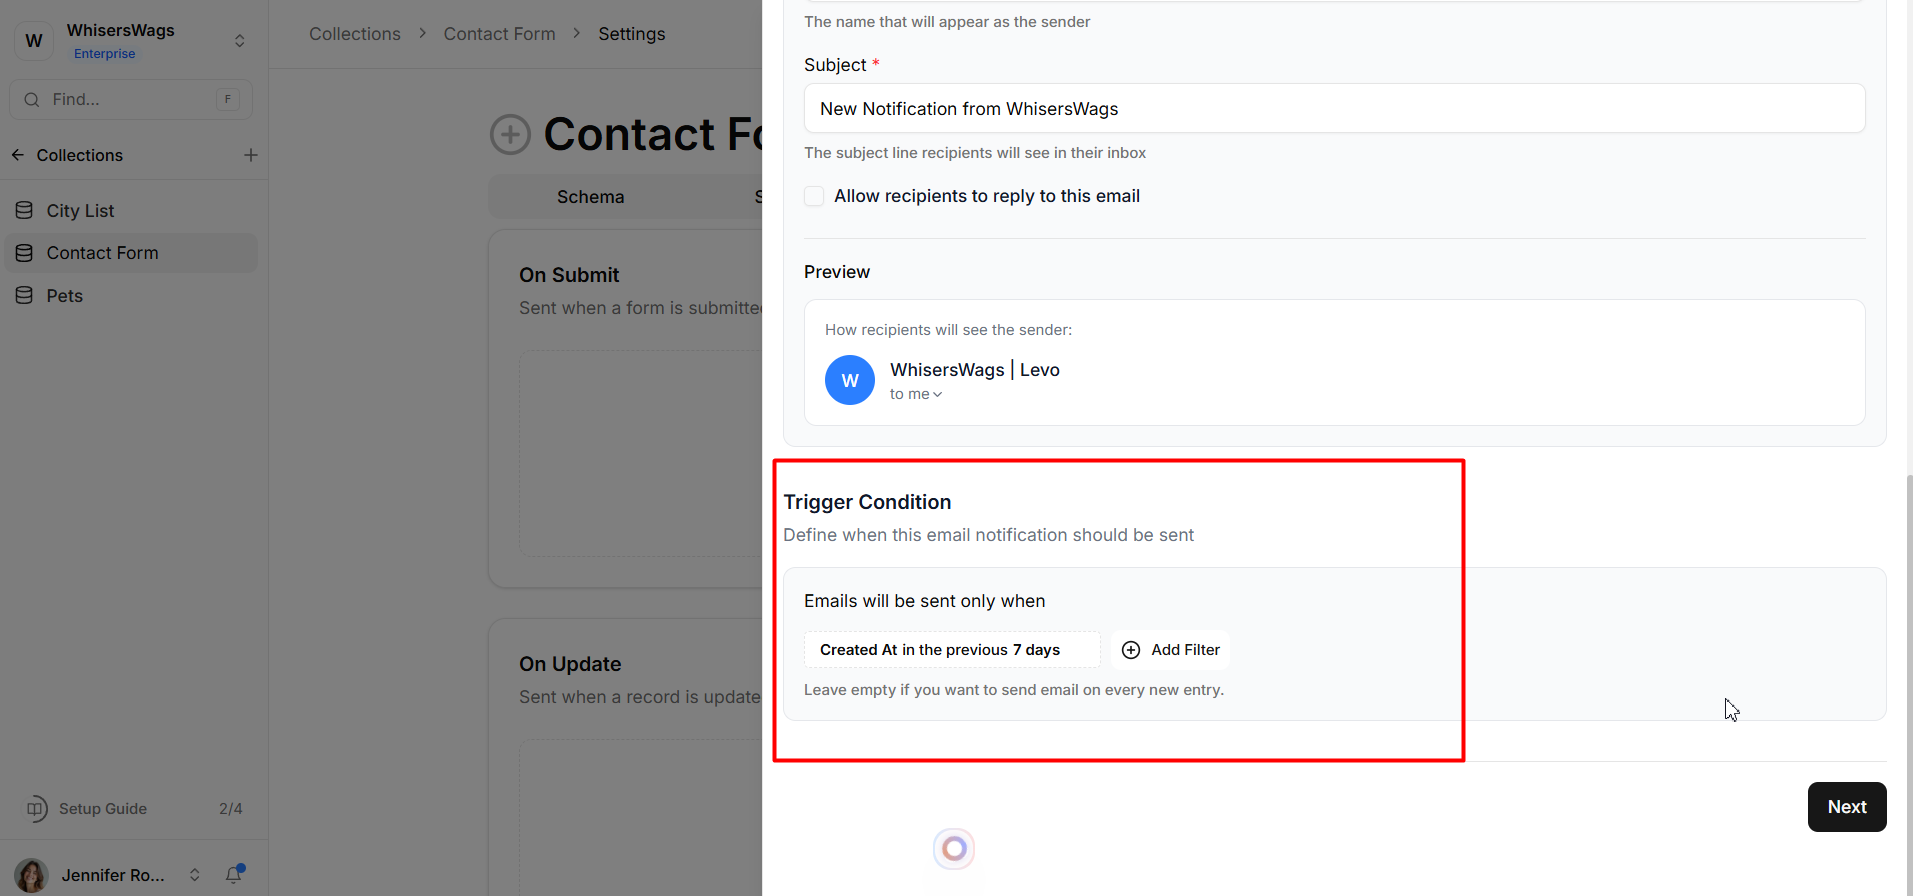
For example:
- Emit an alert only if the customer chose the "Enterprise" plan.
- Emit an alert only if the "Country" field is "United Kingdom."
2. Payload Delivery (Templates)
Dictate how the automated email is rendered. You have choices for how your email looks:
Form Notification (Default): Sends an automatic email whenever a form is submitted. It includes all the submitted details in a clean, structured format, so you don’t need to write or design anything.
Email Campaign: Lets you create professional emails like newsletters or announcements using an easy editor. You can format text, add styling, and include dynamic fields to personalize the content.
Custom Email: Gives you full control to design your email exactly how you want using HTML. You can build custom layouts, use templates, and add variables for complete flexibility.

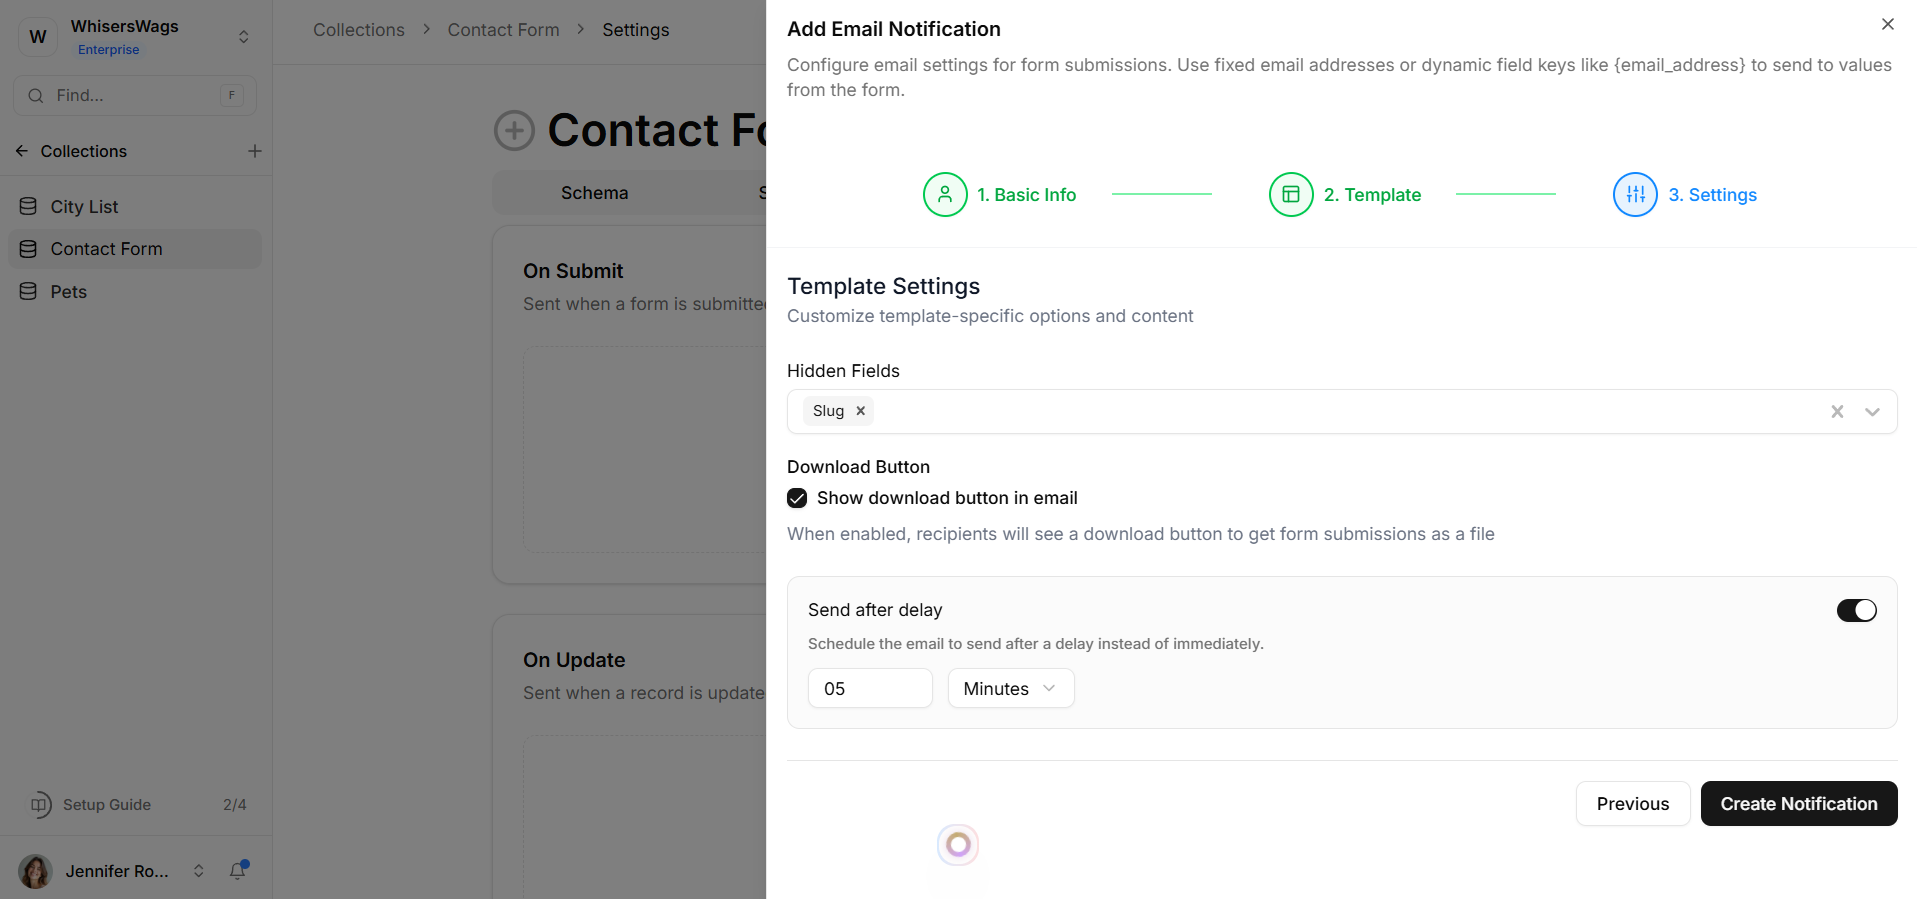
3. Settings
Configure additional parameters specific to the template type you selected in Step 2:
- For Collection Entry (Default): -
Show Download Button: Optionally append a button allowing the recipient to download their entry. -
Hide Fields: Specifically select fields that should be omitted from the generated email table.
- For Custom / Rich Text:- Compose your specific custom_body or richtext_content directly in the editor layout.
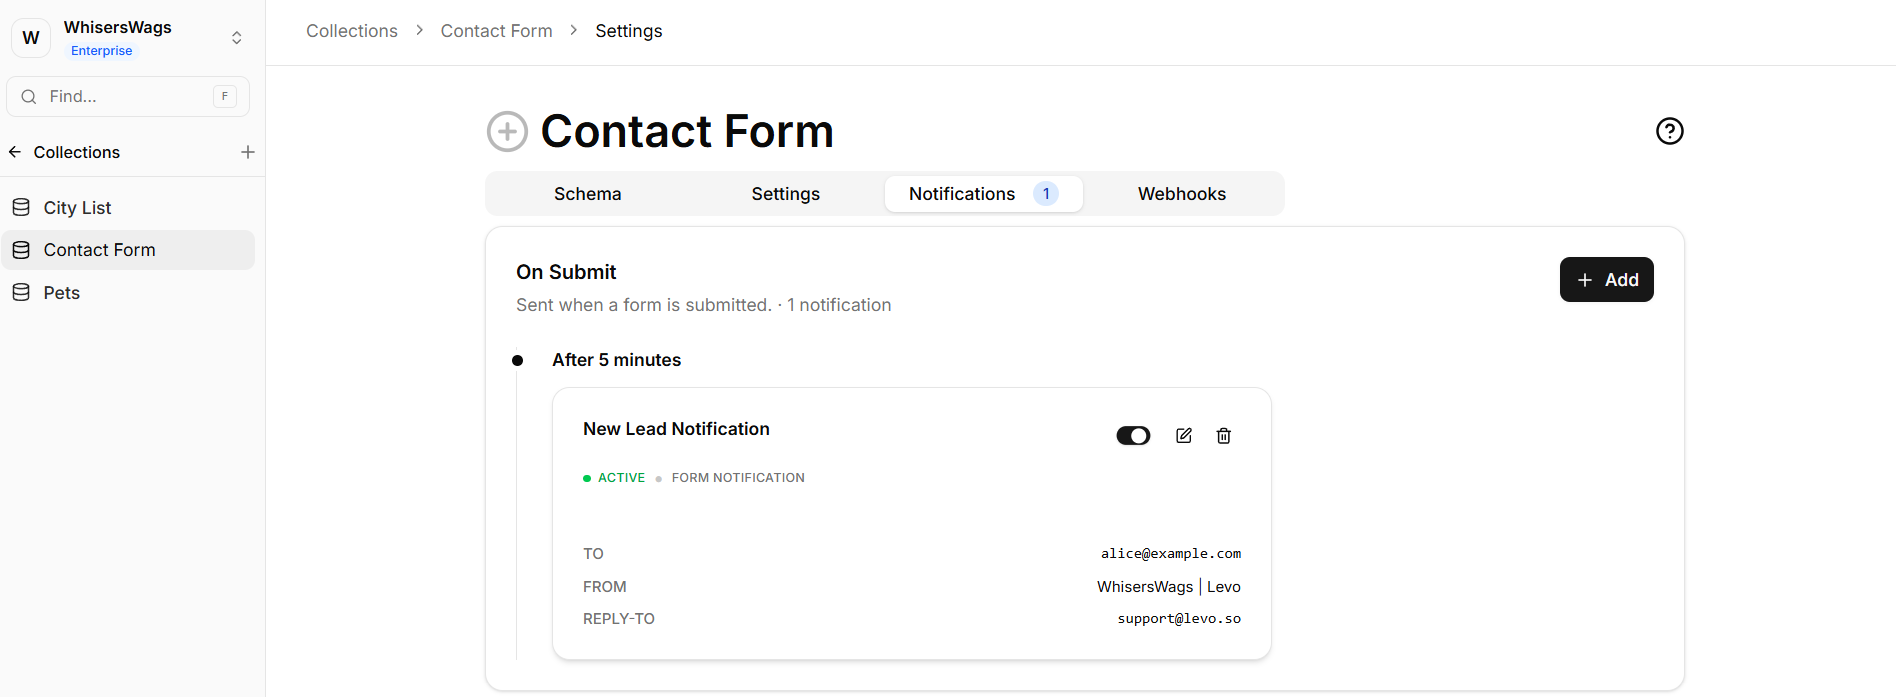
- Send after delay:- By default, a notification is sent the moment its trigger fires. Turn on Send after Delay when you'd rather wait before the email goes out. Enter a number and choose a unit: minutes, hours, or days and Levo holds the email for that long after the entry is submitted or updated, then sends it automatically. It works for both the On Submit and On Update triggers, and still respects any filters/conditions on the rule.
Managing Your Rules:
The Notifications tab displays an active pipeline of all configured rules, grouped by trigger type. Each rule card shows its name, status, template type, and recipient details at a glance. Use the inline controls on each card to Toggle a rule on or off without deleting it, Edit its configuration, or Delete it permanently.
Leveraging Dynamic Variables
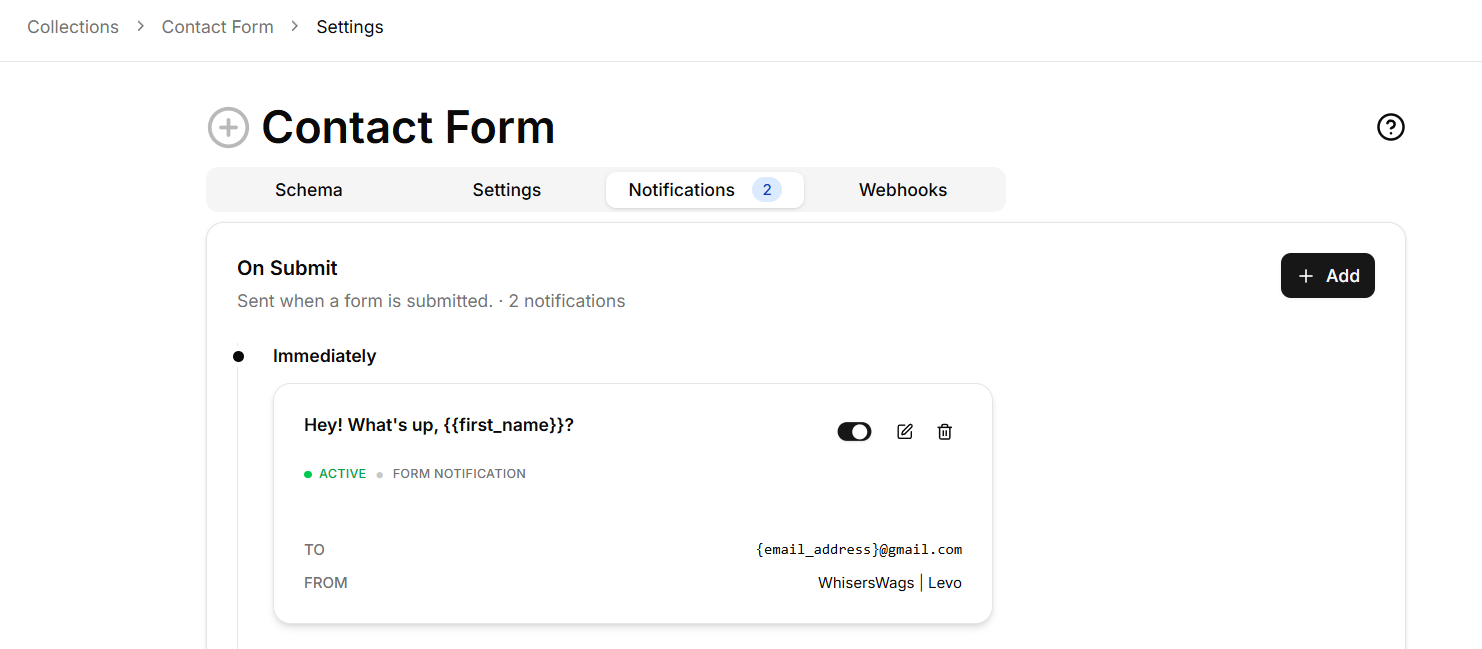
If you want to personalize your emails, use Dynamic Variables. By wrapping a collection's field key in double curly brackets, Levo will automatically extract that data from the submission and inject it into your email.
Example:
If your form has a field for the user's first name with the key first_name, you can set your notification subject to:
Hey! What's up, {{first_name}}?
When the email is sent, {{first_name}} will be dynamically swapped with the actual name the user typed!